It’s rare that we can hide things in art. Our paint strokes, pencil marks, and ink marks are there for the world to see. Digital art changes the game. Unlike traditional art, digital art gives us the chance to use technology to our advantage to hide our work. Procreate makes it easy to hide layers and make private layers that our viewers can’t see.
To hide layers in Procreate, open the Layers panel and tap on the checkmark on the layer you want to hide. This will make the layer disappear from your working canvas. Another way to hide layers is to make them private. Private layers won’t show up in Gallery previews or time-lapse videos.
If you’ve been searching for the best way to change the visibility of your Procreate layers, you’ve come to the right place.
We’re going to dive into the methods for temporarily hiding layers. We’ll also talk about more permanent ways to make your layers private and invisible to your viewers.
How to Hide Procreate Layers
To hide a layer in Procreate, open the Layers panel and click on the checkmark next to the layer you want to hide. This will remove your layer from your active working canvas, essentially making it disappear. To make your layer reappear on your canvas, click on the checkmark again.
Hiding your Procreate layers is one of the best ways to isolate layers so that you can work on them individually, see what your work looks like layer-by-layer, and keep your layers organized.
It’s one of those digital art magic tricks that you can’t pull off with traditional art.
Let’s walk through the process of hiding your Procreate layers step-by-step:
1. Open your Layers panel
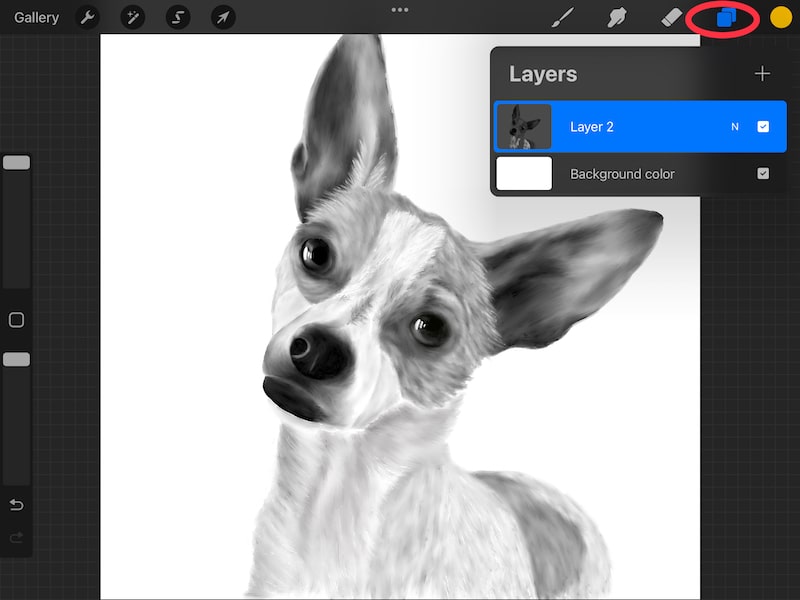

Your Layers panel can be found in the top right corner of your Procreate screen. It’s the one that has the icon in the shape of squares.
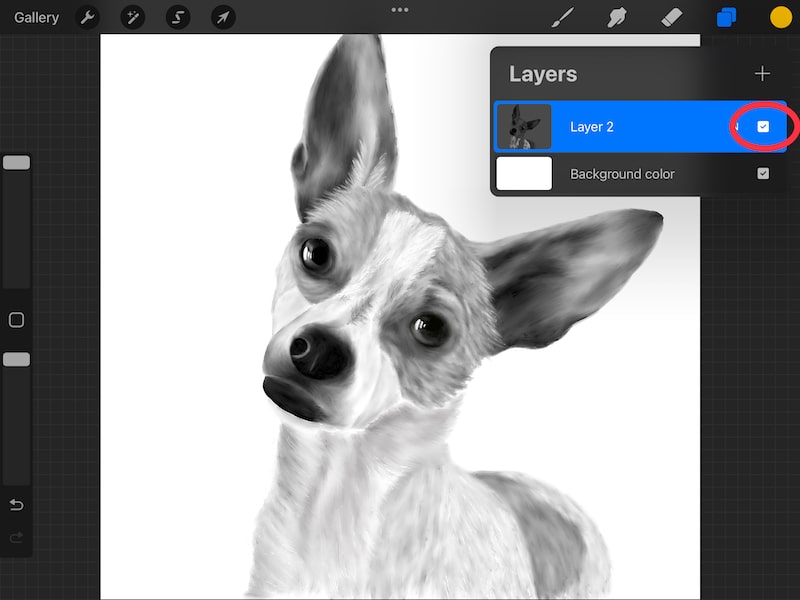
2. Find the layer you want to hide and tap on the checkmark next to it
There’s a checkmark on the left-hand side of each Procreate layer. You’ll use these checkmarks to change the visibility of your layers.
When the checkmark is there, your layer is visible and active on your canvas. This means that it will be a functional part of your piece of art. You can add to it, alter it, and work with it as you normally would.

Also, when the checkmark is checked and your layer is active, your layer will be included when you export your work.
If you want to remove your layer from your active canvas, you don’t need to delete it. Hooray! Deleting is too permanent. Instead, simply tap the checkmark to uncheck it.

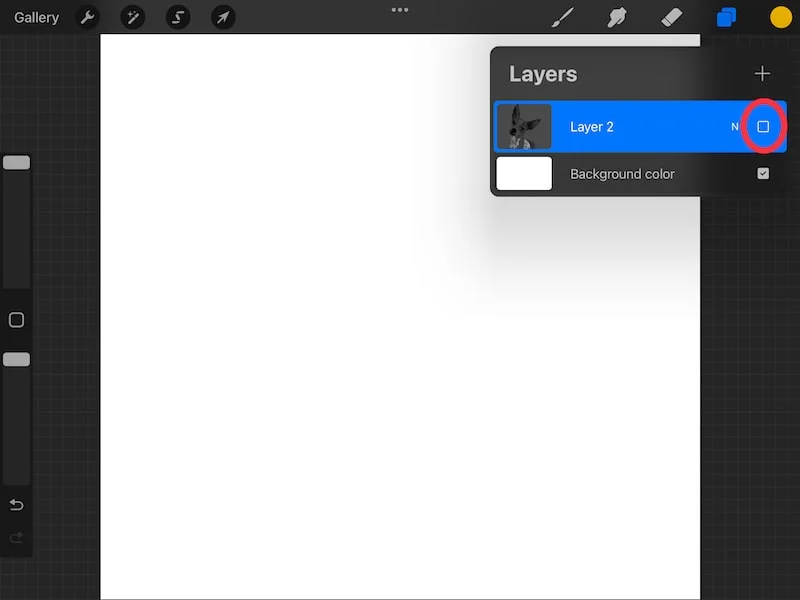
Without the checkmark, your layer will essentially disappear from your working canvas. You won’t be able to see it, draw on it, alter it, or use it at all.
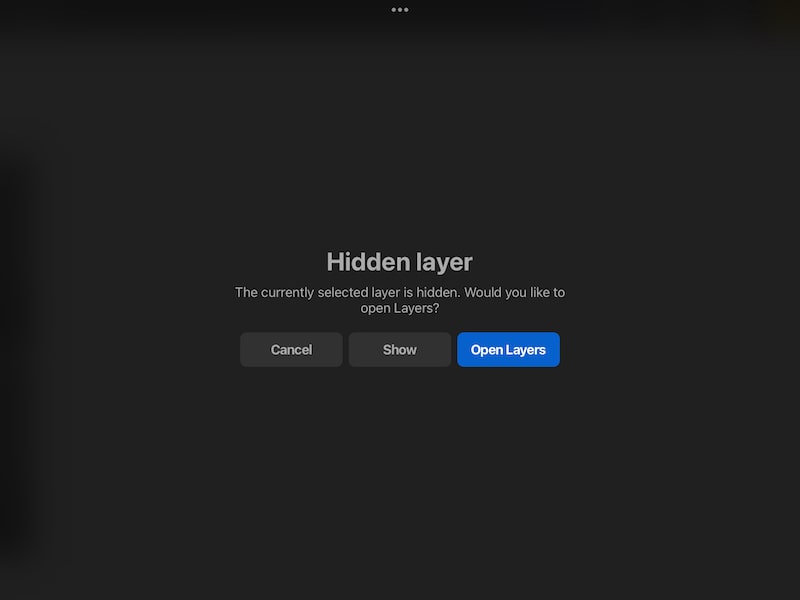
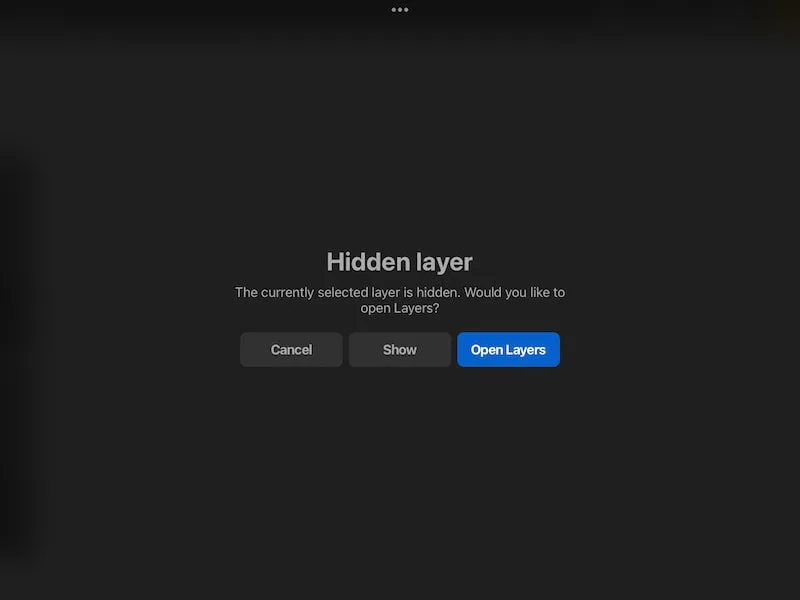
If you try to draw on a hidden layer, Procreate will tell you. You’ll need to un-hide the layer in order to use it again.
If you export your artwork with the layer unchecked, it won’t be included. Your art would export as you see it on your screen. If your layer is unchecked and invisible on your working canvas, it won’t be included.
Even if you export your Procreate art in individual layers, your unchecked, hidden layer won’t be included.
And, that’s it! If you need to hide a Procreate layer, simply uncheck it. Easy peasy!
The fantastic thing about hiding layers in Procreate is that they are easily un-hidden. Simply check and uncheck your layer as often as you need to.
Procreate’s undo and redo features also works with hiding layers. For example, if I accidentally uncheck a layer, I can simply use two fingers to tap my screen and undo it. Or, I can use three fingers to tap my screen to redo it again.
As someone who started out in traditional art, the ability to hide parts of my artwork through the use of layers and simple checkmarks is incredible.
It seriously takes away so much of my fear of making mistakes and increases my desire to experiment with my work when a layer can easily be hidden and disappear.
Using layer visibility is also a great way to work on background objects without the other objects on your canvas getting in the way.
Alright, if you think that hiding layers is neat, just wait until you hear about private layers.
Let’s dive into private layers next.

How to Use Private Layers in Procreate
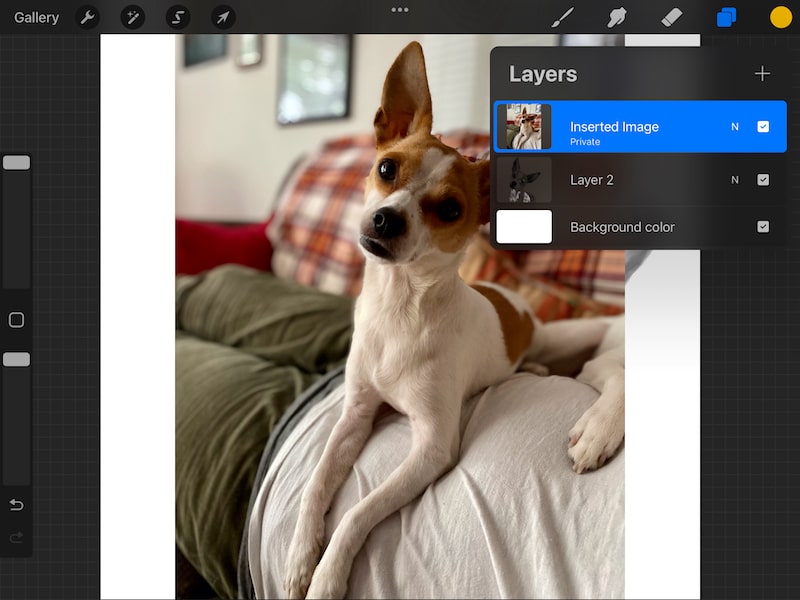
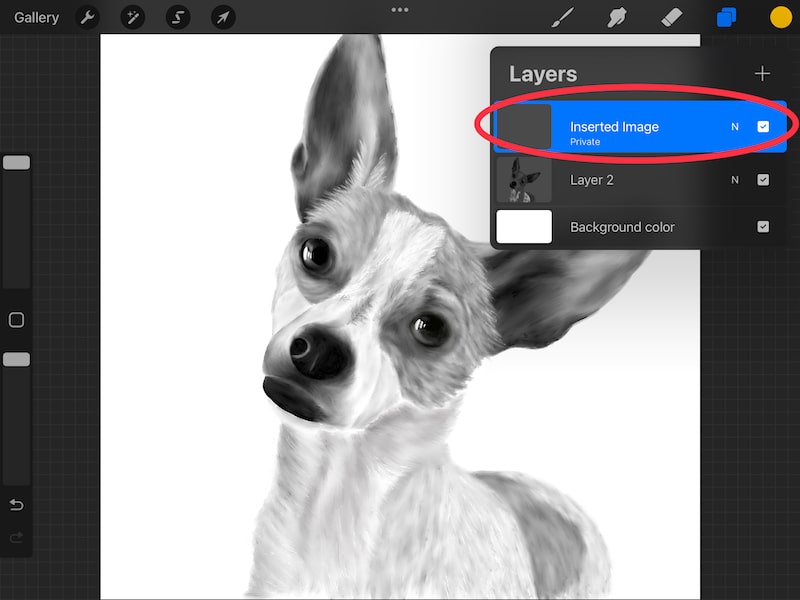
To create a private layer in Procreate, click on the Add button within the Actions menu. Swipe left on any of the following buttons: Insert a file, Insert a photo, or Take a photo. Tap the button to create a private file or photo that will be added to your Layers panel.
Private layers won’t appear in your Gallery previews or your time-lapse videos. This makes them a great choice for reference photos and other layers that you have no intention of ever including in your work.
This is important because you can’t make a layer un-private. Don’t accidentally create work on a private layer that you wish was on a public layer. You’ll have to go through the hassle of copying and pasting everything to a normal layer, which is no fun.
It’s also important to be aware of when private layers show up. Private layers will appear in your exported artwork. When you export your Procreate art, it looks exactly like your active canvas. So, what you see on your screen is what you’ll get in your exported work.
Private layers will also be included if you export your work as individual layers.
Where they won’t appear is in your Gallery previews and time-lapse videos, which is nice 🙂
Alright, so how do we make private layers? Let’s walk through it, step-by-step.
1. Open the Actions menu and click the Add button

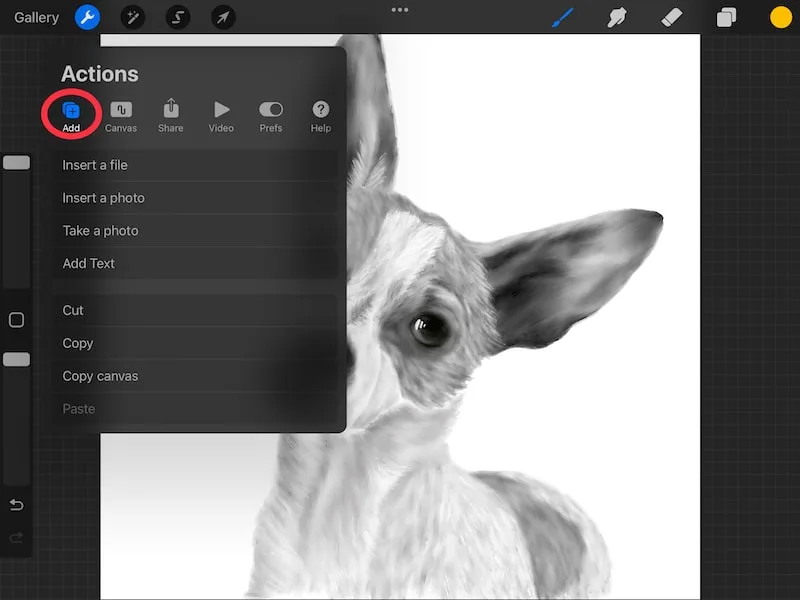
The Actions menu is the one that has the wrench icon. Once you click on it, click on the Add sub-menu.
2. Choose Insert a file, Insert a photo, or Take a photo button
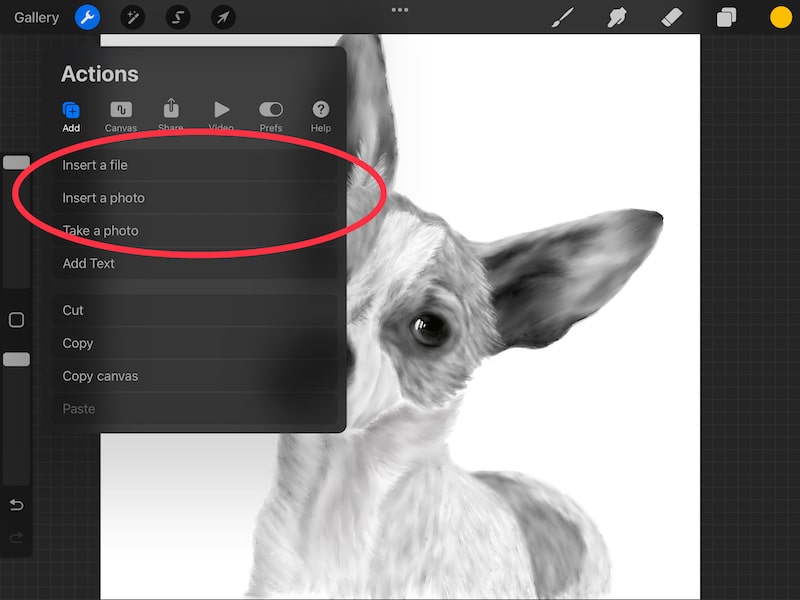

Any of these 3 buttons will work, but I usually choose the Insert a photo button for simplicity’s sake.
3. Swipe left on the button and click on the Insert a private photo button that appears
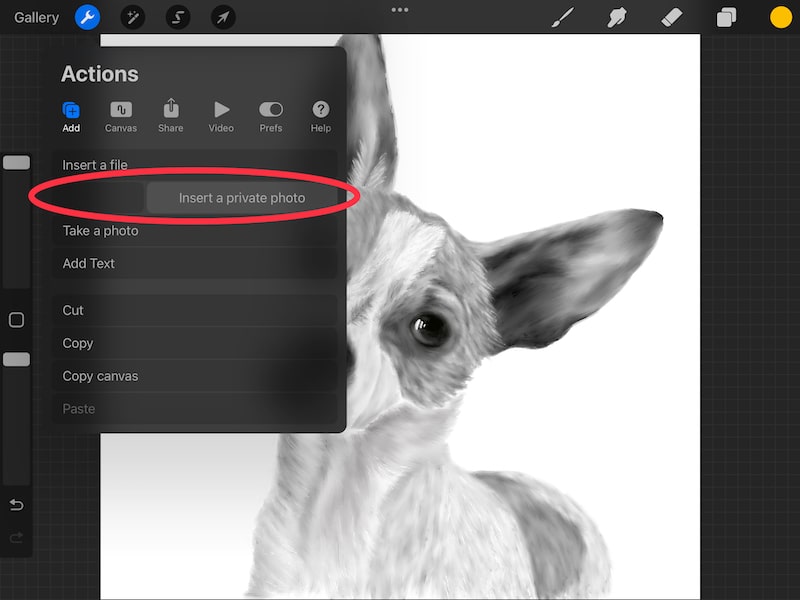

If I’m using the Insert a photo button, I’ll swipe left on it until I see the Insert a private photo button
4. Choose a photo

If you have a specific reference photo you want to use, choose it from your photo library. If you simply want a blank, private layer, choose any random photo.
5. Clear the photo, if needed
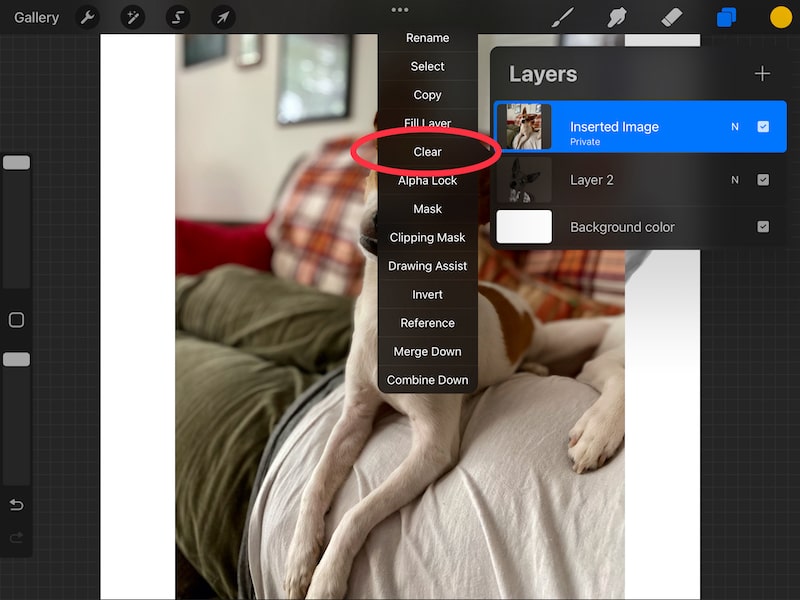
Here’s the deal. You can’t create blank private layers from the get-go. Instead, you have to create them via a file or image and then clear them. It’s a bit of a pain, but that’s how it works.
So, if you want to have a blank private layer, insert a random image or file. Then, find that image or file in your layers panel and clear it.
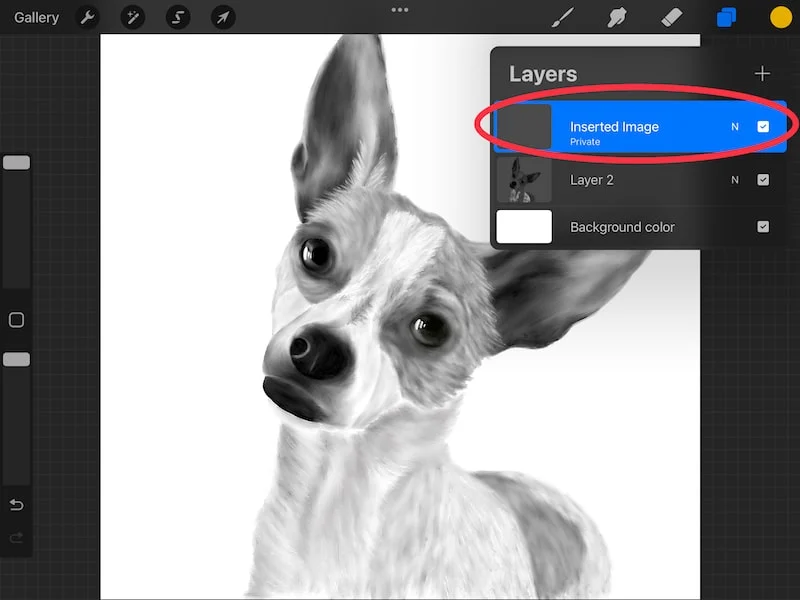
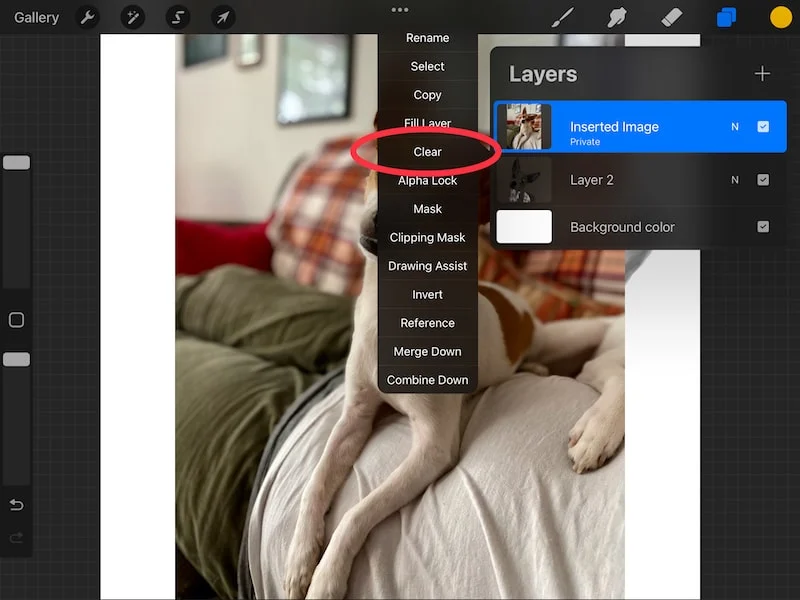
You can clear your private layer by tapping on it within your Layers panel to open up the additional settings. Next, tap on the Clear button.
That will leave you with a beautiful, blank private layer you can use!
Being able to hide layers in Procreate is one of those simple features that, in reality, is a huge gamechanger.
The power of making parts of your work disappear and reappear with a simple tap of a button is something that makes digital art so cool. Being able to make entire layers private only adds to the magic.
Take advantage of everything that hidden and private layers can do for your work process in Procreate. It’s pretty darn cool.


Diana has been an artist for over 27 years and has training in drawing, painting, digital drawing and graphic design. Diana’s latest obsession is digitally drawing with Procreate and Procreate Dreams. Diana has experience selling her art across a number of platforms and loves helping other artists learn how to make money from their art as well.