Knowing how to customize your brushes opens up a whole new world of creative potential in Clip Studio Paint. One of the fundamental customizations you need to know how to make is brush shape.
To change brush shape in Clip Studio Paint, click on the Tool properties menu for the brush you want to change the shape of. Next, click on the wrench to open the Sub tool detail menu and choose the Brush tip menu. Choose a new shape within the Material menu to apply to your brush.
Before I ever start customizing a brush, I like to duplicate. That way, I can make changes to the duplicated brush without worrying about messing up the original.
Clip Studio Paint has a reset button that will restore the brush settings, which I’ll show you once we dive into the brush settings. Personally though, I prefer to have a duplicate of my original brush so that I don’t have to worry about it.
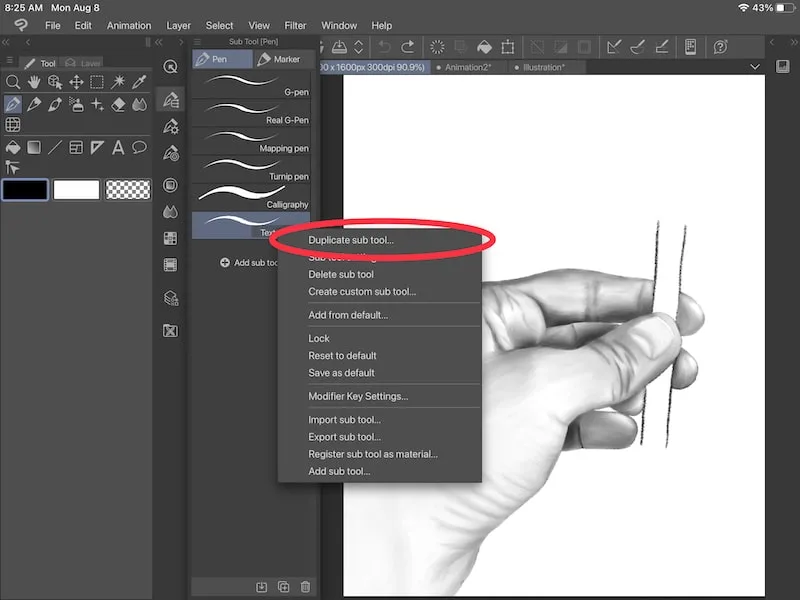
To duplicate your brush in Clip Studio Paint, right click (computer) or long hold (iPad) on your brush and click on the “Duplicate sub tool” button.

Change the name of your brush as needed and click the “Ok” button to create your duplicate.
Alright, now that we have a duplicated brush we can mess around with, here’s what you need to do to change the brush shape.
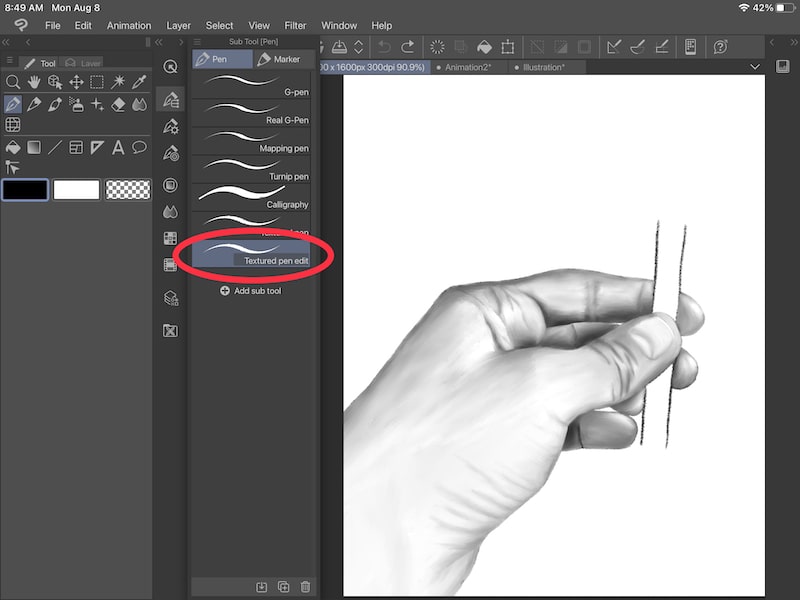
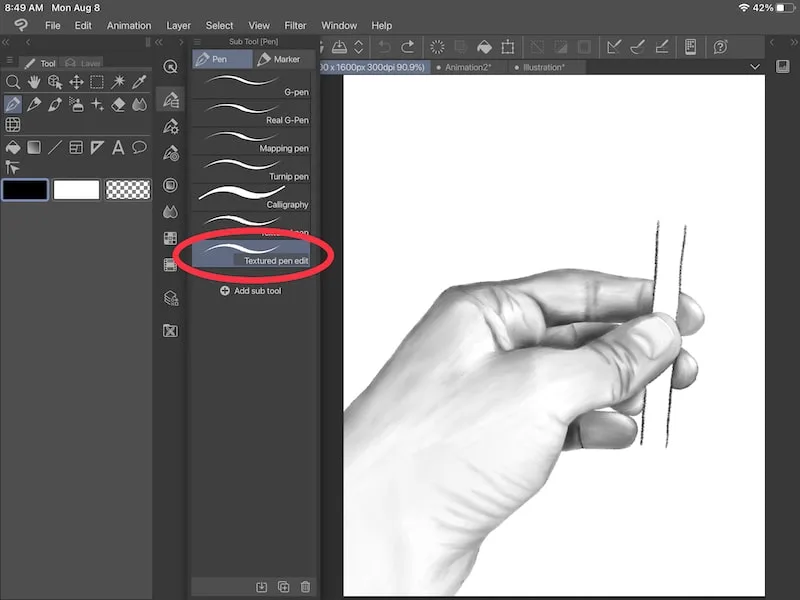
1. Select the brush you want to change the shape of
If your desired brush isn’t selected already, click on it to select it. You’ll know it’s selected if it’s highlighted.
To be clear, your brush shape is different from your brush cursor. Your brush shape is what impacts how your lines look on your canvas. Your cursor is what you see on your screen as you draw. I have a full guide on changing your brush cursor in Clip Studio Paint!
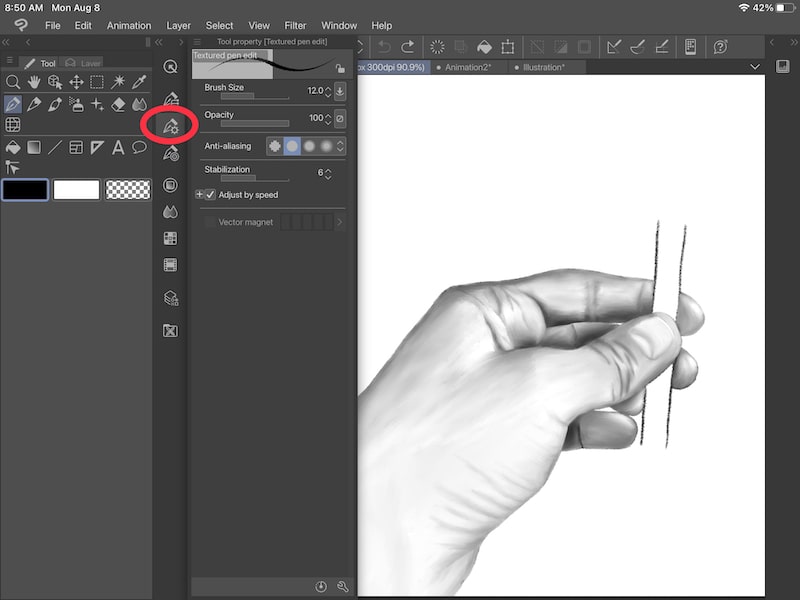
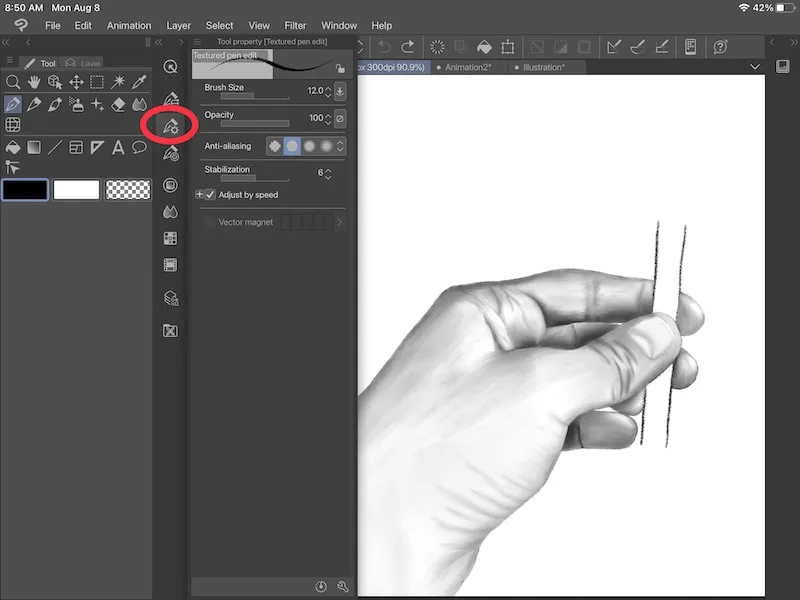
2. Click on the Tool property menu
Right under the Sub tool menu, the menu where your brushes live, is your Tool property menu. It’s the one with the gear icon. Click on it.
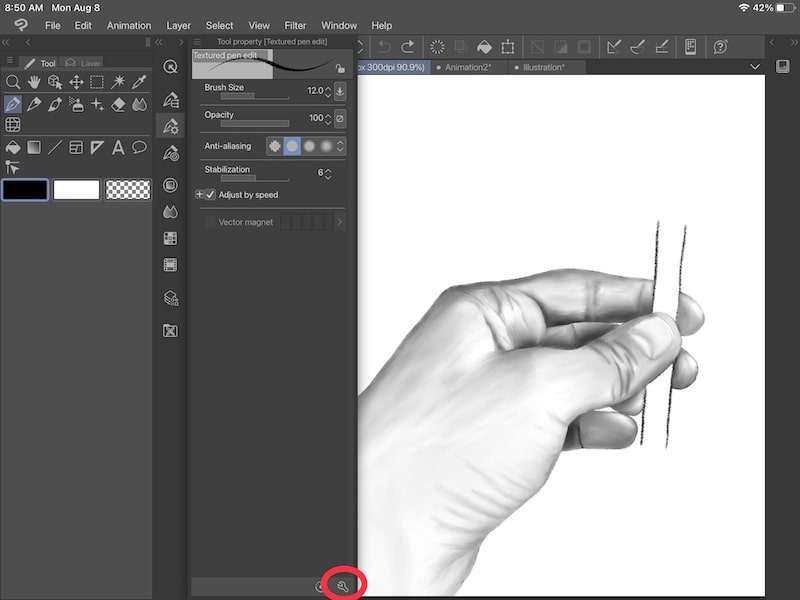
3. Click on the wrench at the bottom of your Tool property menu.
Once you click on the Tool Property menu, you’ll see a wrench at the bottom of your screen. Click on it.

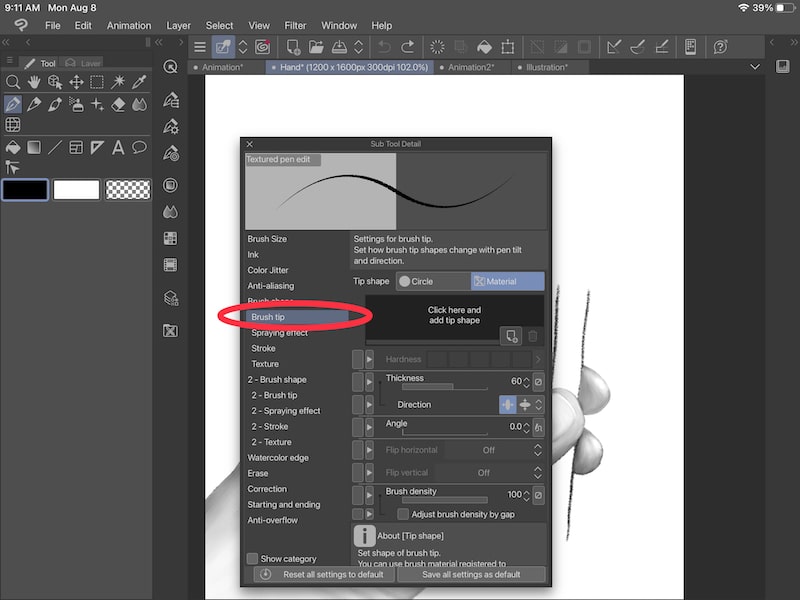
4. Click on Brush tip option
Once you click on the wrench, you’ll see a plethora of fun brush options to choose from. These are great to explore, but we’re only going to look at the Brush tip menu for now.

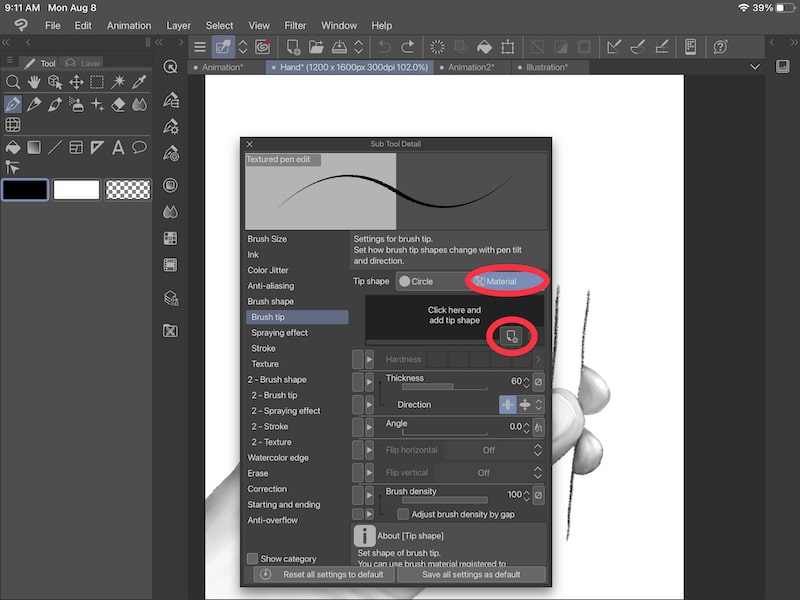
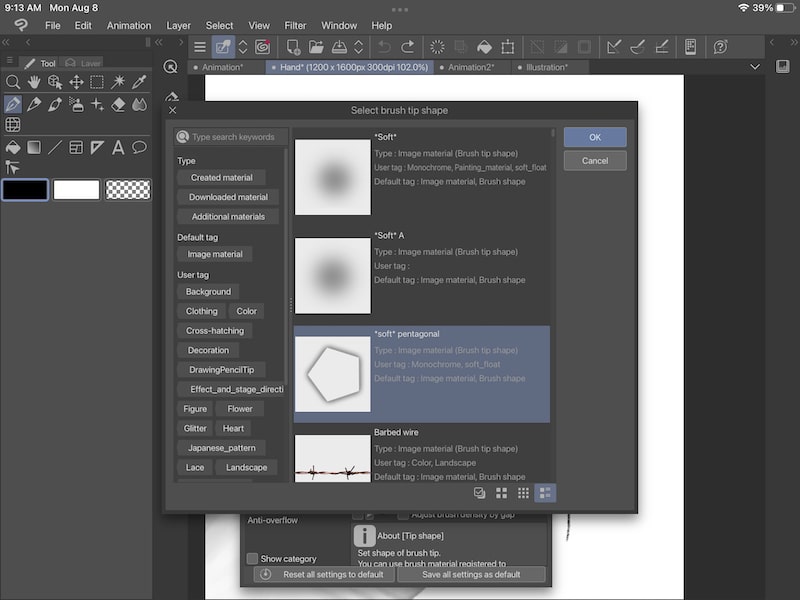
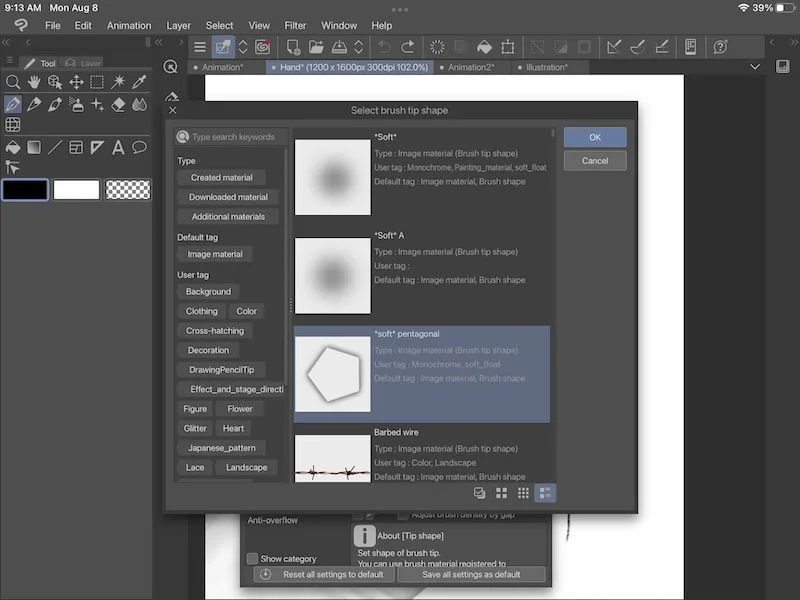
5. Click on the Material option and the plus button to add a shape
Once you’ve clicked on the Brush tip menu, click on the “Material” button that’s listed next to the “Tip shape” label.
Then, click on the plus button to add a shape. If your brush doesn’t have any shapes yet, you can simply click on the empty box to open the shape options.

6. Choose your brush shapes
When selecting your brush shapes, you aren’t limited to just one. Experiment with adding as many brush shapes as you’d like to make the custom Clip Studio Paint brush you’re looking for.
Even though Clip Studio Paint comes with a TON of brush shapes to choose from, maybe you want to create your own! Well, you can! Stick around because we’re going to talk about how to create your own brush shapes in the next section.

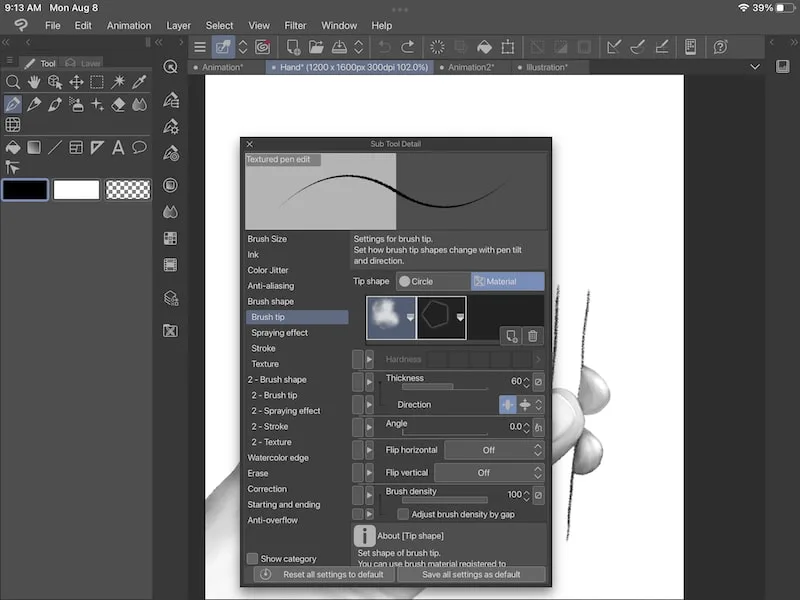
In this same window, you can also change a number of other things about your brush tip. Play around with the thickness, angle, and all of the other options.
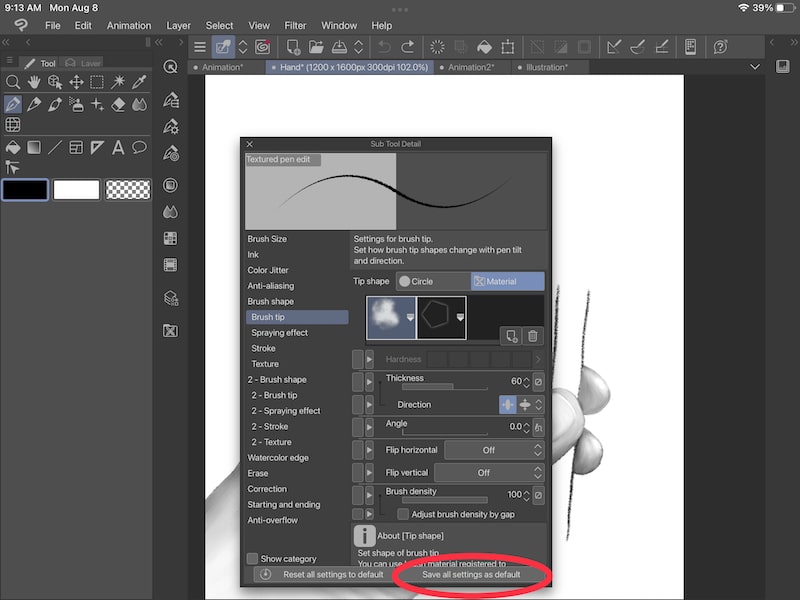
7. When you’re done, click the “Save all settings as default” button
After choosing all of your brush shapes, click on the “Save all settings as default” button to finalize your brush. Now you have a new brush with customized brush shapes!

How to Make Custom Brush Shapes in Clip Studio Paint
To make a custom brush shape in Clip Studio Paint, make a new canvas in gray or monotone. Draw your brush shape on your new canvas and save it to your brush materials folder. When customizing your brush shape, you’ll now find your new brush shape in your list of materials to choose from.
Here your step-by-step guide on what to do:
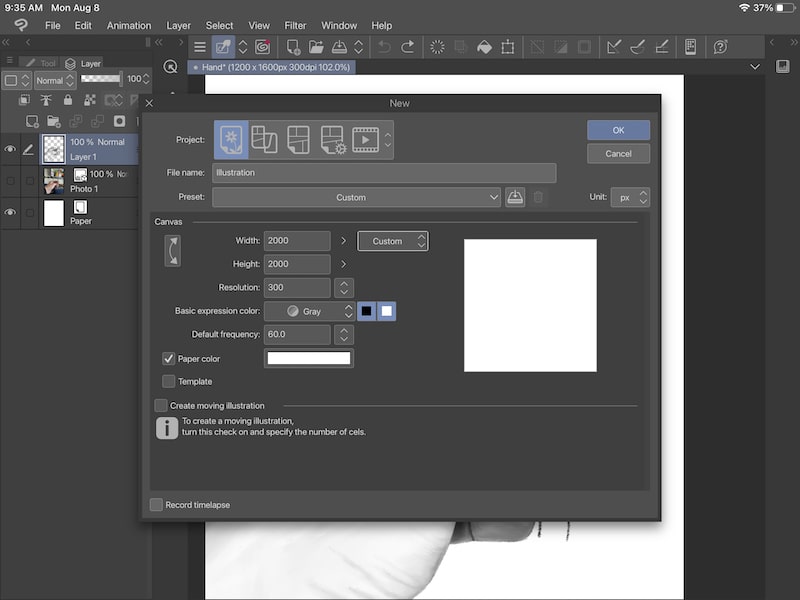
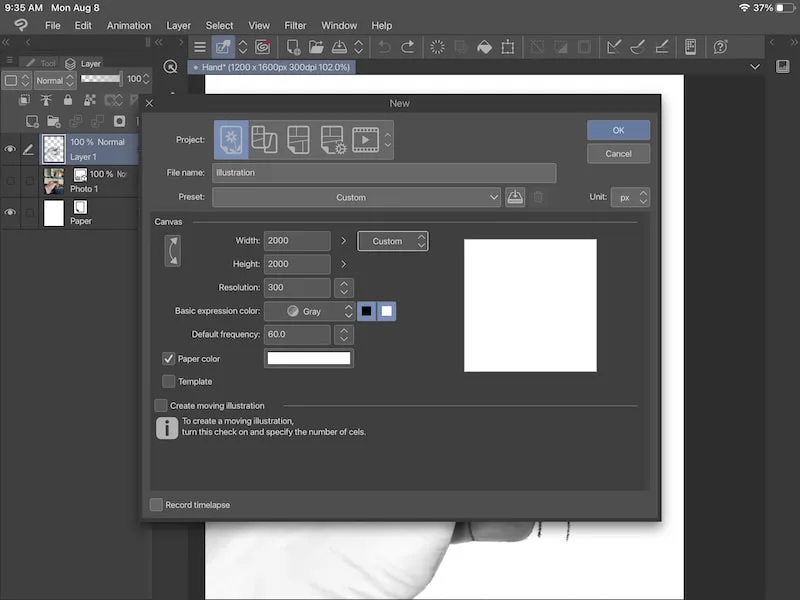
1. Make a new canvas in Gray or Montone
To begin with, you’ll want to create a new canvas. You don’t need to worry too much about the size – a basic square canvas will do. Just make sure it’s not so small that your brush shape ends up being pixelated and not so large that it slows things down.
Next, you want to make sure your canvas is gray or monotone. Drawing your brush shape in color won’t work.
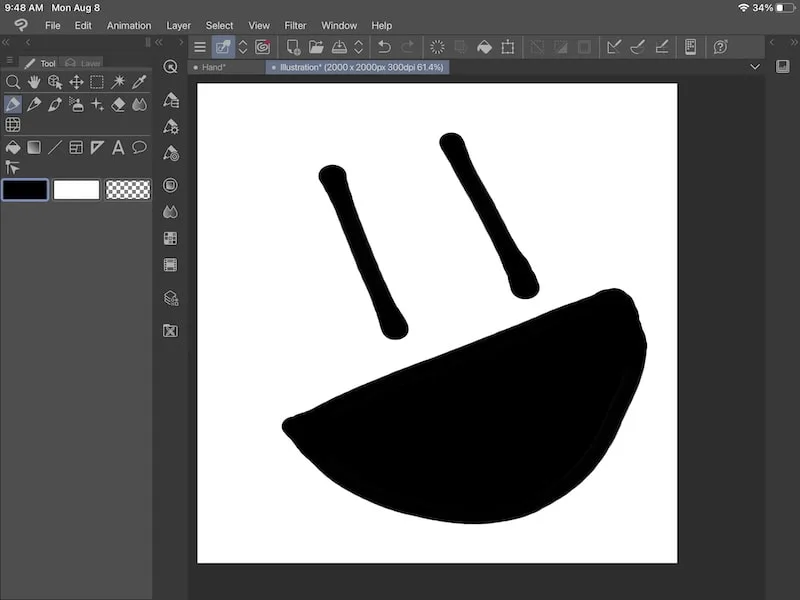
2. Draw your brush shape.
Go ahead and draw your brush shape. Remember that it needs to be in black.

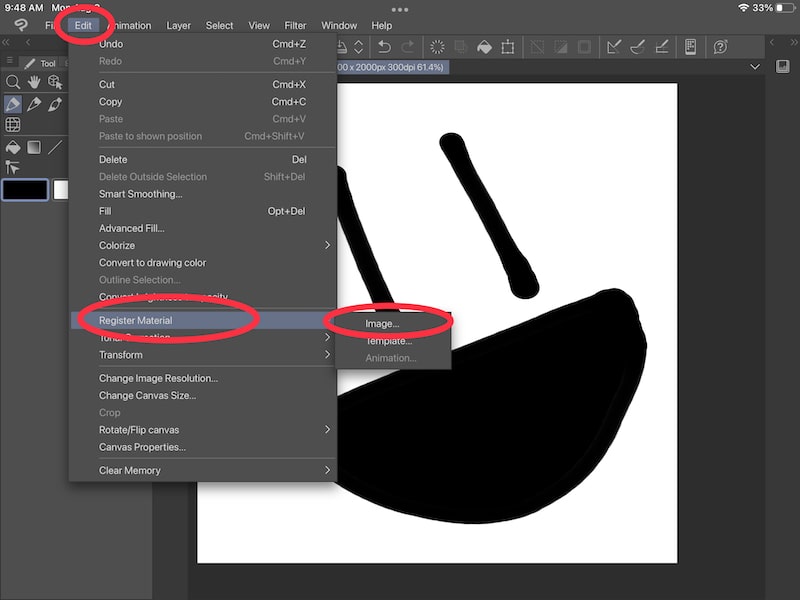
3. Click the “Edit” button, the “Register Material” button, and the “Image” button
Once your brush shape is ready, it’s time to save it. To get started with that, open the “Edit” menu and scroll down to the “Register Material button. Then, click on the “Image” button.

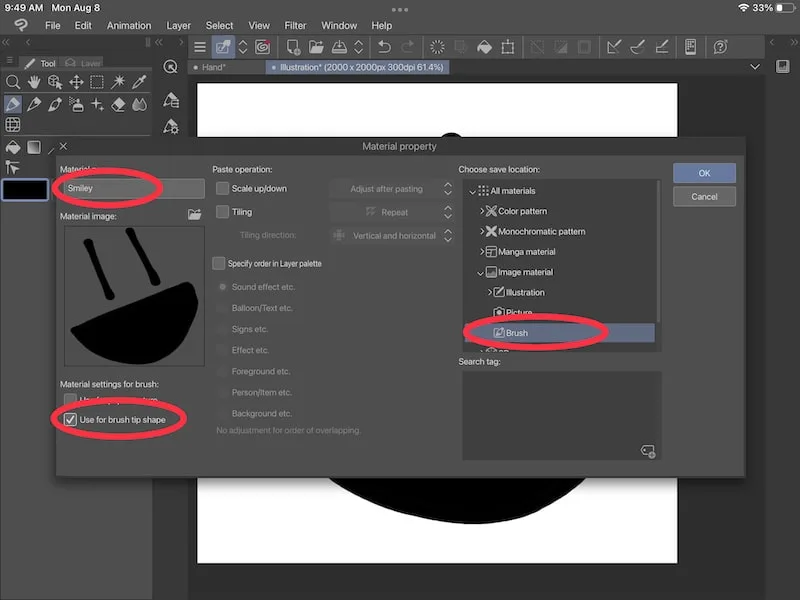
4. Rename your brush shape, enable it as a brush tip, and save it as a brush within your image materials. Add any tags, if needed.
Before you can finish saving your brush shape, there are a few options you’ll need to select. Firstly, rename your brush shape. This is the name it’ll be listed with in your brush shape materials folder.
Since there are a LOT of brush shapes to choose from, you’ll want to give it a name that’s easy to find.
If you want to make it even easier to find your brush shape, add some tags to it within the “Search tags” category.
Next, check the box next to the “Use for brush tip shape” label.
Lastly, open the “All materials” folder and then the “Image material” folder within that. Click on the “Brush” option within that folder.
When you’re done, click the “Ok” button to finalize your brush shape.

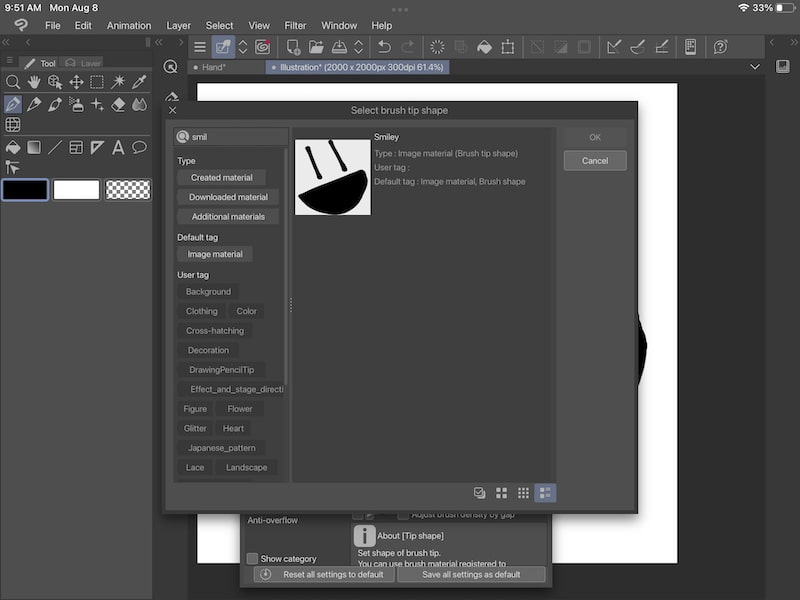
5. Find your brush shape in your materials
Your new brush shape will now be added to your brush shape materials. To enable it, follow the steps we outlined in the beginning of this article to customize your brush shape.

There you have it! Clip Studio Paint gives you so many options for customizing your brush shape, whether by choosing one of their established brush shapes, or designing your own. Whatever you choose, have fun creating!


Diana has been an artist for over 27 years and has training in drawing, painting, digital drawing and graphic design. Diana’s latest obsession is digitally drawing with Procreate and Procreate Dreams. Diana has experience selling her art across a number of platforms and loves helping other artists learn how to make money from their art as well.