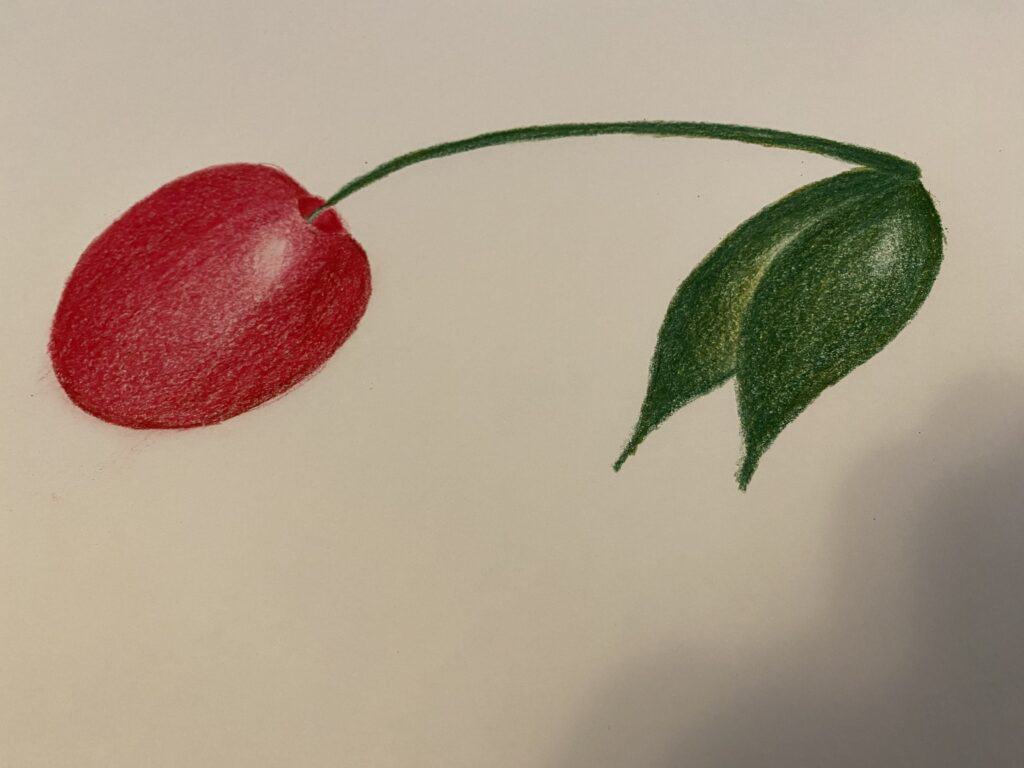
There’s a huge difference between light and grainy colored pencil drawings, and dark and vibrant colored pencil drawings. We all want the dark and vibrant option, but it can seem really hard to do. Is there some secret trick to achieving this professional-grade colored pencil technique?
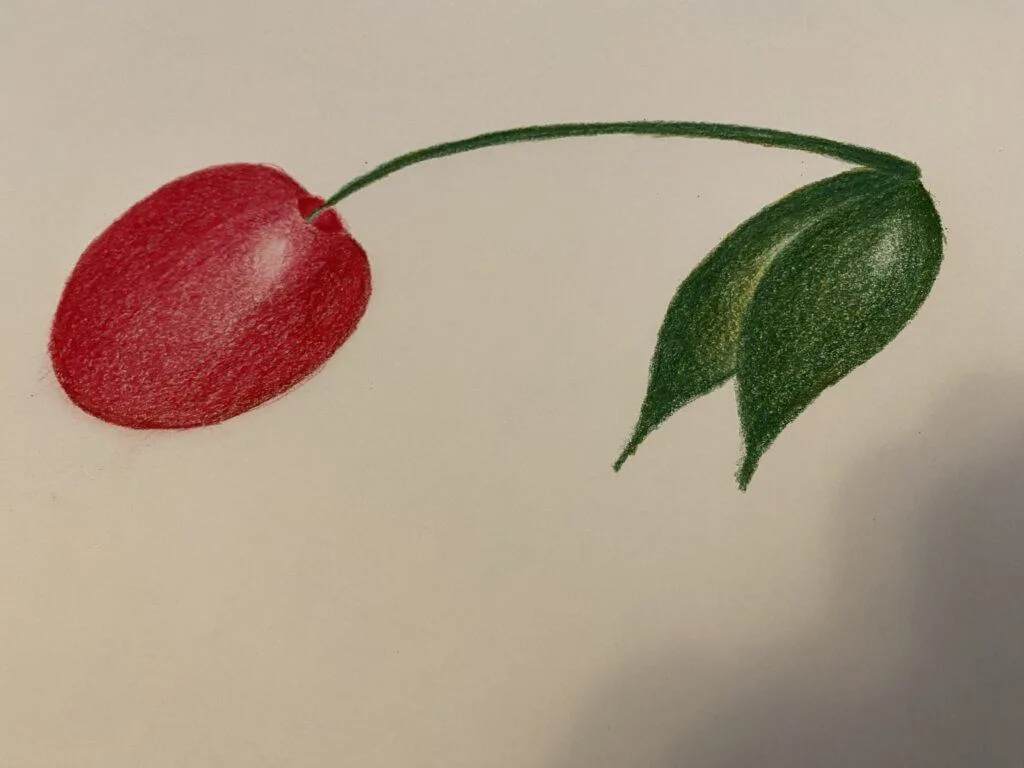
To darken colored pencils, focus on putting down multiple layers of color to fill the paper’s tooth and build the vibrancy of the color. Next, use a colorless blender to blend the layers of colored pencils together to create smooth, vibrant, and dark tones.
Creating dark and vibrant colored pencils isn’t tricky once you get the hang of it. There are some important tips, tricks, and techniques to keep in mind to make sure that you end up with beautiful artwork every single time. Let’s dive in!
This post may contain affiliate links, which means I may earn a commission if you decide to purchase through my links.
Get Better Pencils and Paper
Don’t worry; by following the tips in this article, you can get dark and vibrant colors with any type of materials. There’s no need to lay down the big bucks for fancy colored pencils and paper.
But, you WILL have an easier time achieving the results you want if you have higher quality supplies than you would with cheap ones. You get what you pay for!
If you have an old set of cheap colored pencils, it can be helpful to splurge on some new ones. I personally like an excuse to splurge on art supplies! I’m a fan of Faber-Castell Polychromos colored pencils.
If Faber-Castell is too much of a splurge, Prismacolor is another choice I like. Even cheaper than that, Arteza makes a great Expert line of colored pencils that are a nice quality.

Keep in mind that Prismacolors tend to be a little more creamy than Arteza’s. Both are great, but it depends on the texture and style you prefer.
Once you get your fancy colored pencils, take care of them! Avoid using an electric sharpener with them, avoid breaking them, and be careful with them overall.
Now, let’s talk about paper. The type of paper you choose will have an impact on what your final piece of artwork will look like.
For example, if you choose paper with a strong tooth, it will be harder to blend really smoothly. On the other hand, if you choose paper with less tooth, it will be easier to blend your colored pencils and get a creamy look.
There’s a balance here though. You need SOME tooth so that your pigments have some nooks and crannies to sink into, but not so much that blending becomes challenging.
Strathmore’s 400 series of paper is a great choice for colored pencils. In fact, they even have a line of it that’s specifically called “Colored Pencil.” As you work with colored pencils more and more, you’ll get a feel for the types of papers that you specifically like.
To begin with, the Strathmore 400 series will give you a great foundation with a paper that has just the right amount of tooth for colored pencil work.
Again, new materials aren’t required, but they WILL make things easier as you’re working with your colored pencils.
Layer Up Your Colored Pencils
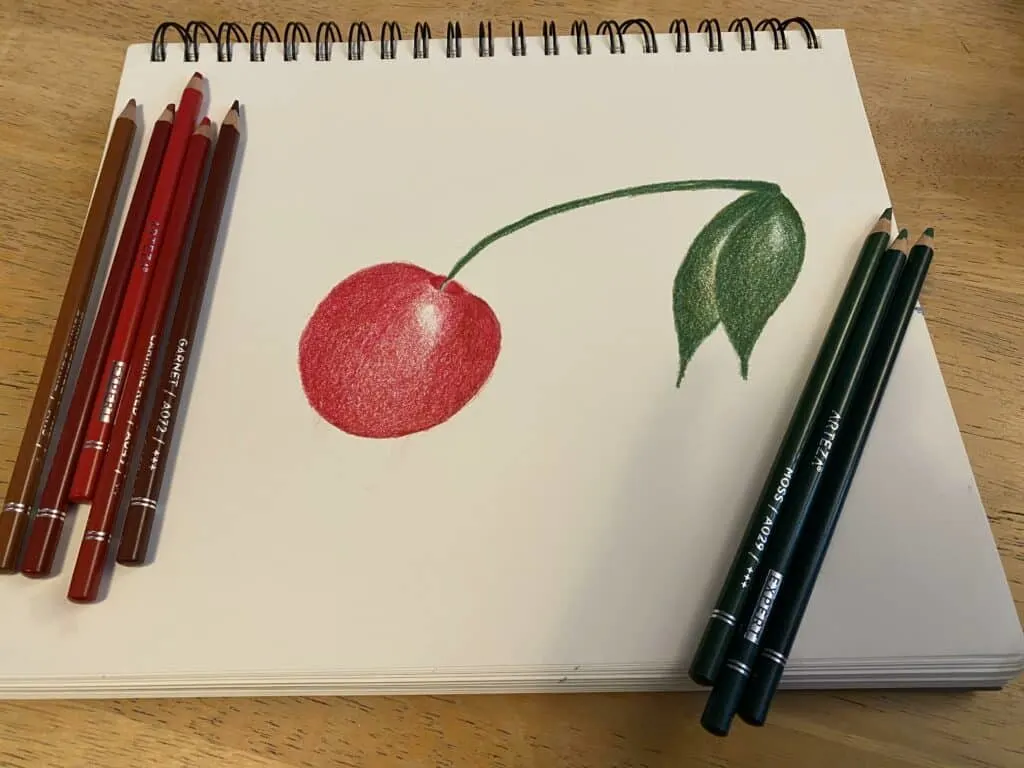
Most of the time, one layer of colored pencil just won’t cut it. You need to apply multiple layers of your colored pencils in order to get the smooth and bright colors you’re looking for. In fact, you may end up with as many as 40 layers (source).
Layering is not only important for building vibrant colors, it’s also really important for shading and color mixing. Depending on the colors you’re trying to achieve, it could be helpful to lay one color on top of another. A yellow on top of a red, for example.
Also, as you’re building your shadows, you’ll end up with a much more natural result if you put one layer on top of the other as opposed to trying to lay down a large, dark swath in one go around.
The light touch of colored pencils can give you more control, which can be an advantage over crayons, markers, and other mediums.
The great thing about layering is that it forces you to keep a light and even touch. If you were to try to lay down all of your color all at once, you would end up pushing too hard on your pencil, which would lead to uneven pencil strokes and strange indents in your paper.
Keep a light grip on your pencil and understand that you’re only putting down one layer of many.
With each layer that you put down, you’ll fill more of the paper’s tooth and add to the vibrancy and complexity of your colors.

Layering with colored pencils DOES require a good understanding of color and the ways that colored pencils interact with each other. It’ll take some practice.
But, if you want to speed up the learning process, I HIGHLY suggest that you take a class from Skillshare. They have some great colored pencil classes that will give you the foundational skills you need to be successful with this medium.
Focus on Blending and Covering White Spaces
As we mentioned in the last section, every time you put down another layer of colored pencil, you fill up more of the paper’s tooth. So, if you only put down one layer, you end up with quite a bit of white space. This is why layering is SO important. It’s also why blending is so important.
When you focus on blending your colored pencils, you eliminate some of that graininess that you see when you first put down a layer of colored pencils in favor of a smoother layer of color. As you blend, you’ll also fill in more of the white spots that are left from the paper’s tooth.
When you add multiple layers of colored pencil, you’re blending. But, I wanted to put blending in a different section because there are multiple ways to blend colored pencils aside from layering. Actually, layering isn’t even my favorite method for blending colored pencils. It works, but the result is a bit more grainy than the other options.
My favorite way to blend colored pencils is with a colorless blender in a process called “burnishing.”
Burnishing is when you apply heavy pressure to your layers of color so that you blend them together and push them into the tooth of the paper.
A colorless blender is, well, colorless. The point of the blender is to merge and blend your layers together so that you have smooth and beautiful art. In my opinion, colorless blenders are the best way to achieve silky smooth colored pencil art. It can make the difference between grainy pencil work and something that almost looks like it has been painted.
Be Careful with Your Black Pencil
Layering and blending are your best bets for achieving dark, vibrant, and smooth colored pencil works. Yellow, green, purple, blue; whichever color you’re working with, you can layer and blend your way to vibrant perfection.
Don’t be tempted to pull out your black colored pencil for the sake of vibrancy! In fact, it will do the opposite.
When we put down a layer of black colored pencil, we won’t be darkening it, we’ll be dulling it. Not what we’re looking for. When we talk about “darkening” a color, we’re usually talking about saturating it.
For example, if we want to darken a shade of yellow, we want a deeper shade of yellow that’s more saturated and vibrant. Adding black to the party will only mute the yellow tones, which will have the opposite effect. What we really should have done is added more layers of yellow until we achieved the vibrant saturation level we were looking for.
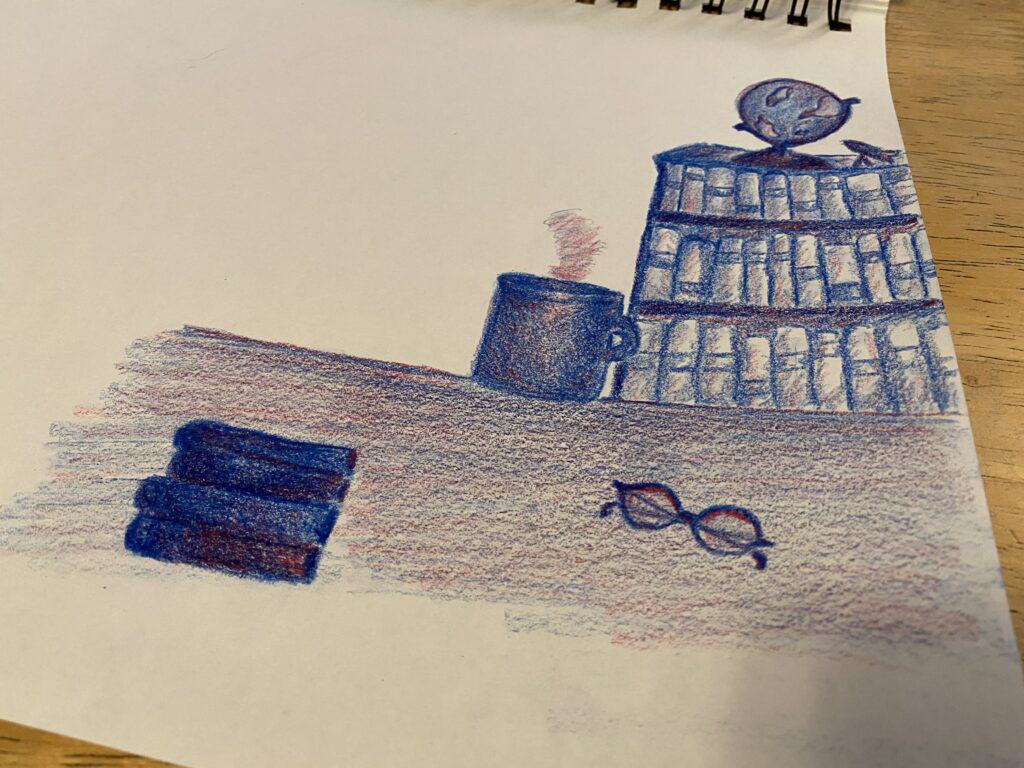
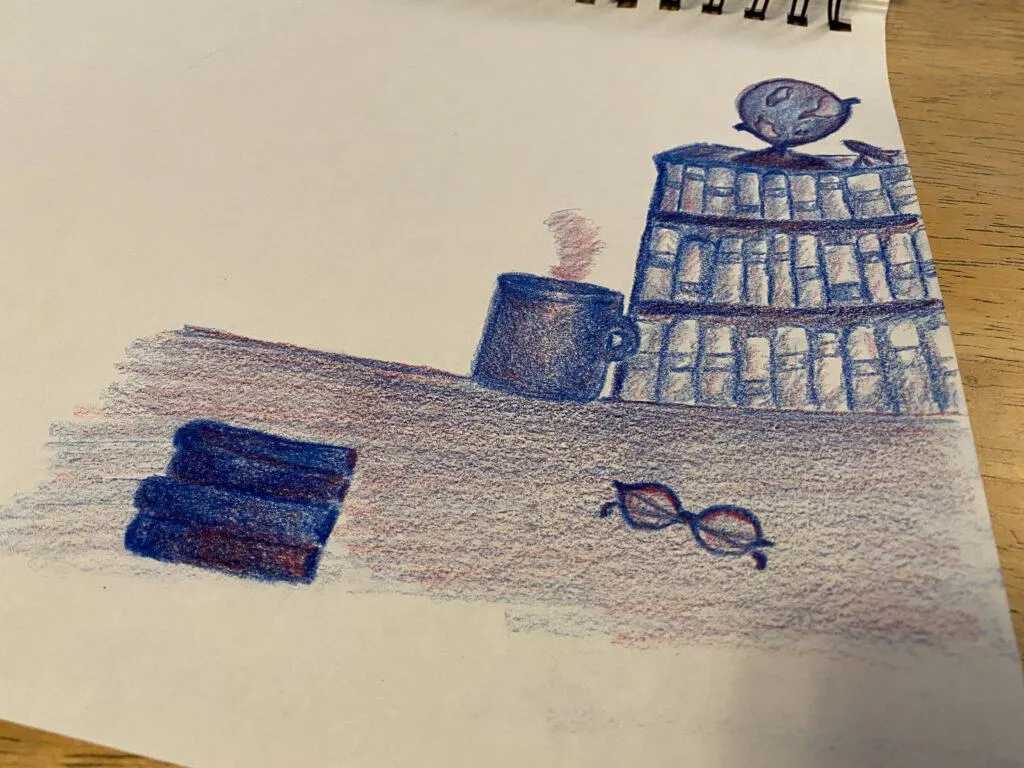
An even bigger issue with black colored pencils shows up when we’re working on shading. Shadows aren’t black. Yes, some are, but a lot of them aren’t. Especially as they creep towards the light.
Look closely at a shadow and you’ll start to see all of the beautiful colors that come together to form it. There’s a lot more than pure black going on there.
When you’re working with shadows, resist the urge to turn straight towards your black pencil. What deep hues of brown, blue, green, and red do you see in there? If you build your shadows with multiple layers of color, you’ll end up with much more rich and saturated shadows than if you used a sweeping layer of black.
Follow these tips, keep your colored pencils in good condition, and you’ll be able to have vibrant colored pencil art in no time!


Diana has been an artist for over 27 years and has training in drawing, painting, digital drawing and graphic design. Diana’s latest obsession is digitally drawing with Procreate and Procreate Dreams. Diana has experience selling her art across a number of platforms and loves helping other artists learn how to make money from their art as well.