Grids are so valuable for creating art. They help us keep our shapes in proportion, increase the accuracy of our lines, and create cleaner art overall. This is not only true for traditional art, but for digital art as well. Luckily, grids can be created quickly and easily in Procreate.
To make and use a grid in Procreate, turn on the Drawing Guide using the toggle within the Actions menu. Next, tap the button to edit your drawing guid. Adjust the opacity, thickness, color, size, and orientation of your grid to suit your needs.
If you do traditional art as well as digital art, you’re probably familiar with the hassle of grids. Trying to draw light lines that seem to be impossible to erase; somehow having crooked lines despite using a ruler; the annoyance of setting up the grid in the first place.
Well, I cackled with joy the first time I discovered grids in Procreate and, to this day, I still smile every time I turn them on.
It’s like digital art magic. So, how can you tap into this magic?
We’re going to walk through all of the steps to turn on grids in Procreate and customize them to your art.
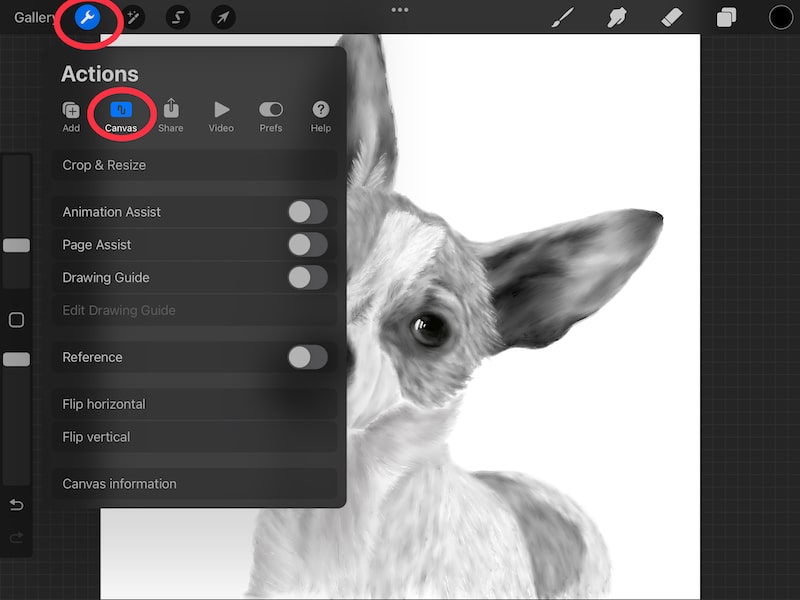
1. Open the Actions menu and tap on the Canvas menu
Your Actions menu is the one that can be accessed by tapping on the wrench icon in the top left side of your Procreate toolbar.
Once you’ve opened your Actions menu, tap on the Canvas button.

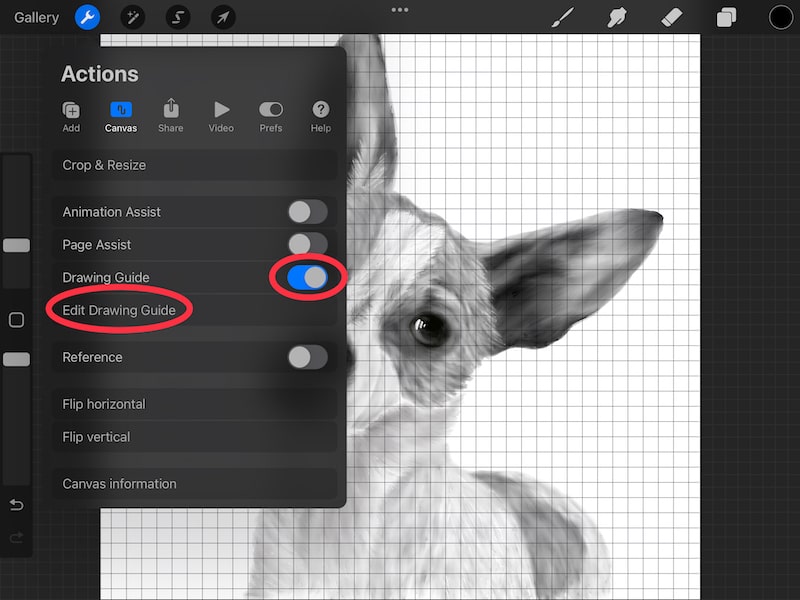
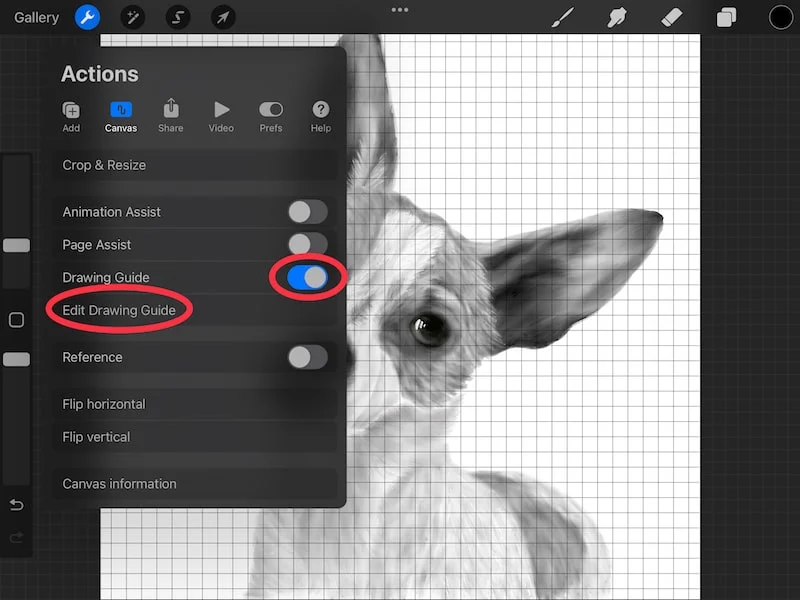
2. Toggle on your Drawing Guide and tap the button to edit it
Your Drawing Guide needs to be toggled on before you can edit it. Once you toggle it on, you’ll see the button below it become available. Tap this button to begin editing your drawing guide.
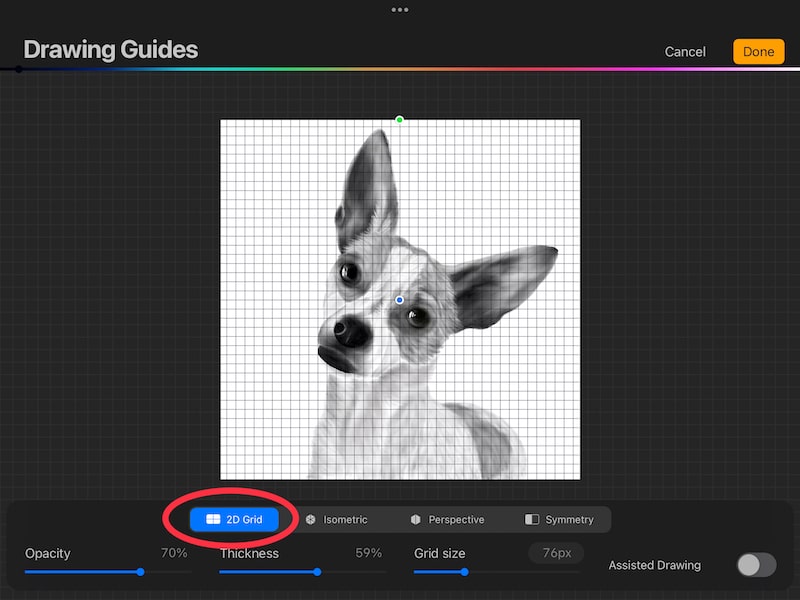
3. Choose the 2D Grid option
The 2D grid is the standard grid option. You can also choose Isometric if you’re looking for an isometric grid.

The Perspective option lets you create lines coming out of a vanishing point so that you can draw more easily in perspective. I have a full guide on using the perspective guide that’s worth checking out if you want to learn more.
Lastly, the Symmetry option lets you do various types of mirror drawing. I have a full guide about using the symmetry tool that’s worth checking out if you want to learn more.
Since we’re interested in making grids in this tutorial, we’ll focus on the 2D grid option.
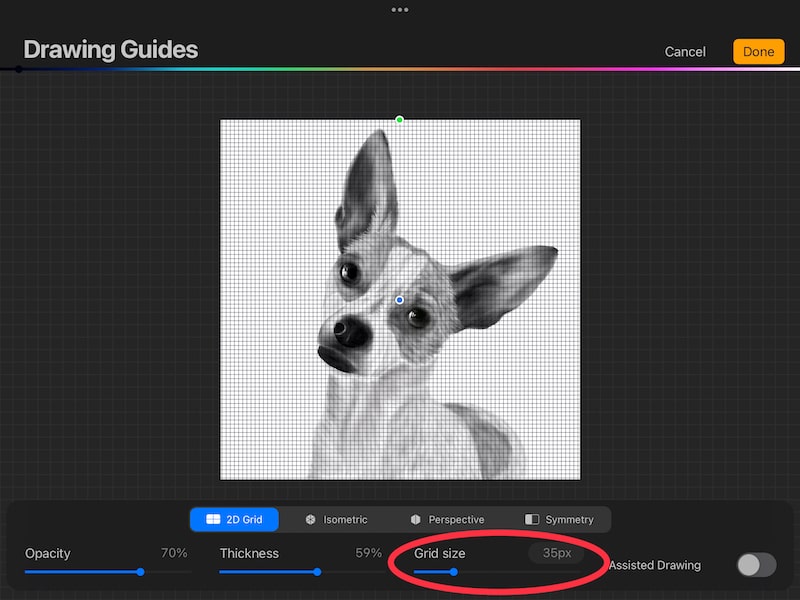
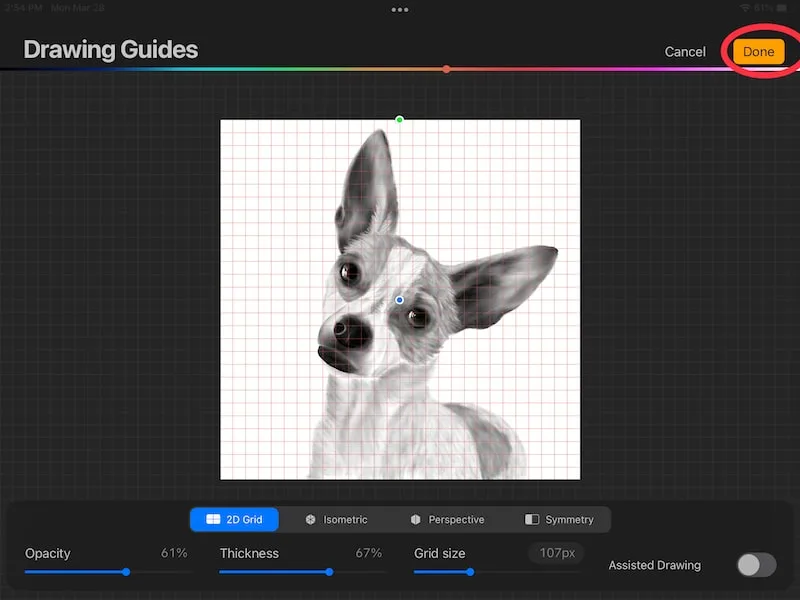
4. Adjust the size of the grid
Changing the size of the grid to accommodate your drawing is usually the most important part of getting your Procreate grid ready to use.
Find the Grid Size slider and move it to the left to make your grid smaller and move it to the right to make your grid larger. When I say smaller and larger, I’m referring to the size of each box in your grid.
When you move the slider to the right and make your grid smaller, you’re making each of your grid boxes smaller, which increases the number of boxes in your grid.
When you move the slider to the left and make the grid bigger, you’re making each of your grid boxes bigger, which decreases the number of boxes in your grid.
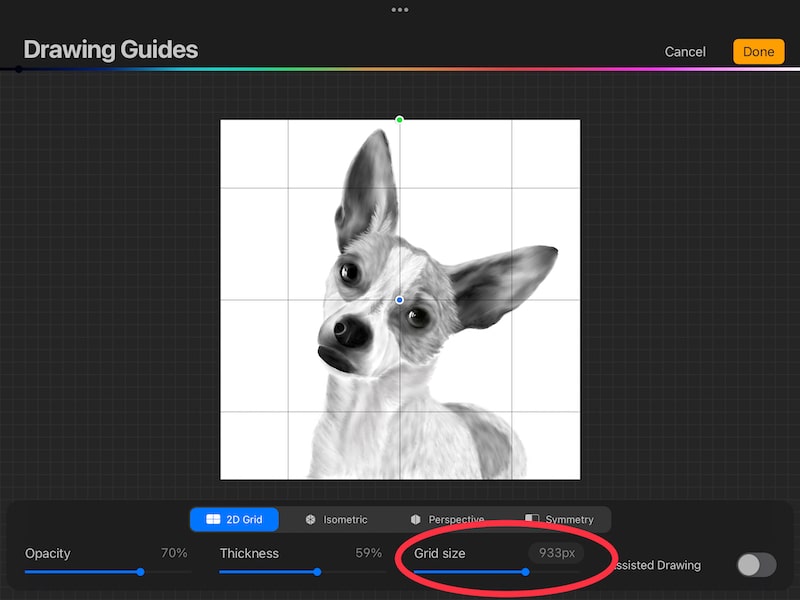
Technically, your grid stays the same size overall – the same size as your canvas. When you’re adjusting grid size, what you’re actually doing is adjusting the number and size of the boxes within your grid.
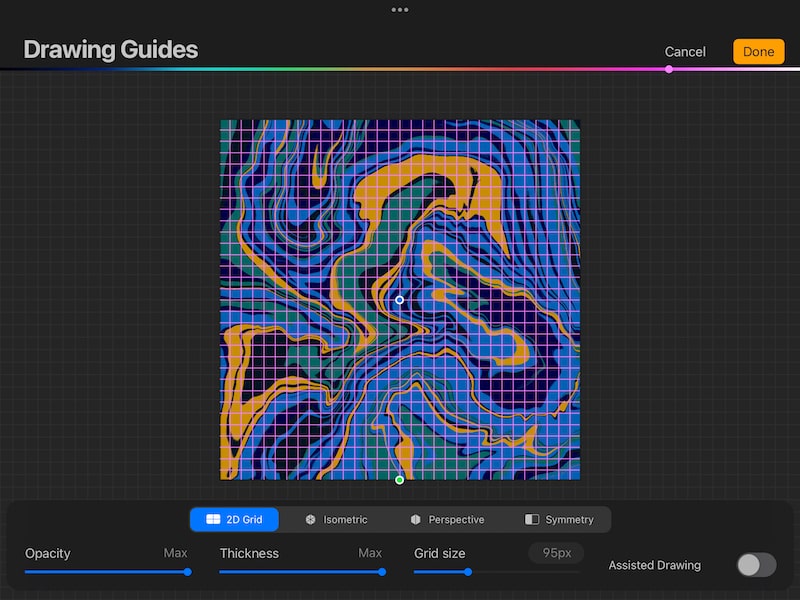
5. Adjust the thickness of your grid
Use the Thickness slider to determine how thick you want the lines of your grid to be.
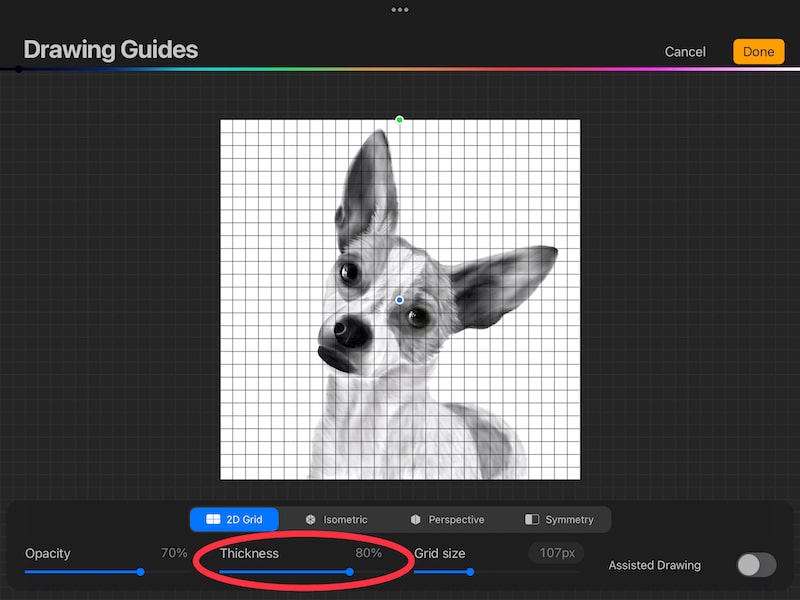
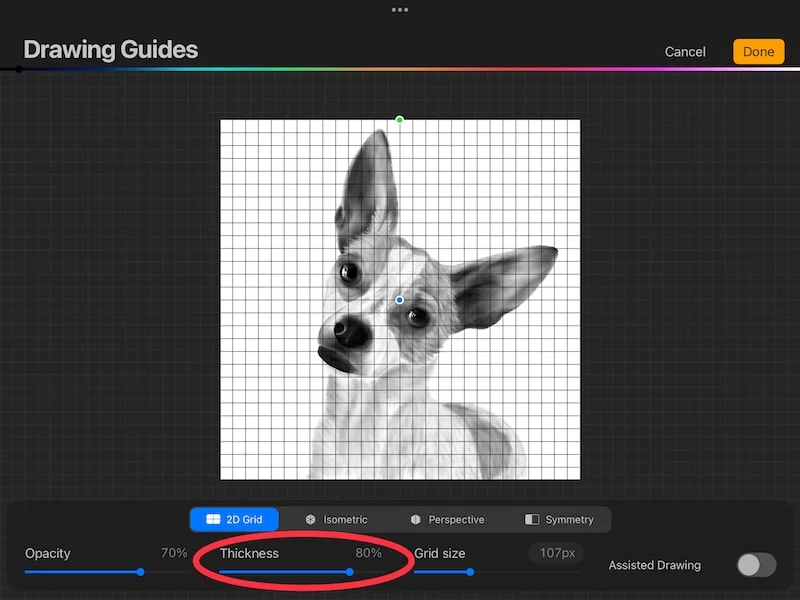
A thick guide can be useful if you’re using a lot of dark colors in your work and you’re worried about seeing your grid through it all.
A thin grid can be useful if you’re doing an initial sketch, or have a lighter piece of artwork that you don’t want encumbered by a thick grid.
6. Adjust the opacity of your grid
Use the Opacity slider to determine how light or dark you want your grid to be. The higher your opacity, the darker your grid lines will be. The lower your opacity, the lighter they’ll be.
I like using the opacity slider in conjunction with the thickness slider. For example, maybe I want thick lines that take up more space on my canvas, but I don’t want them to stand out. In this case, I would turn the thickness up and the opacity down. This gives me thicker, but lighter grid lines.

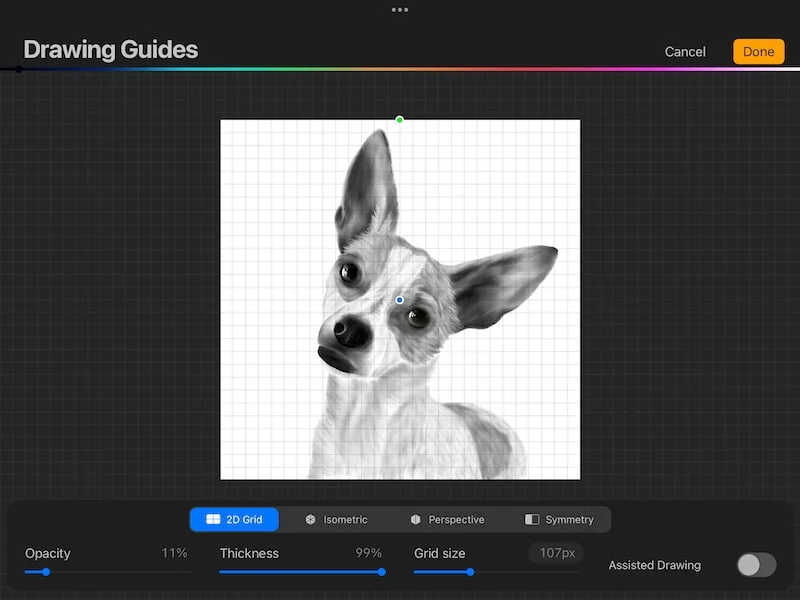
The reverse works as well. If you want thin grid lines that you can see well, it can be helpful to turn the thickness down and the opacity up.
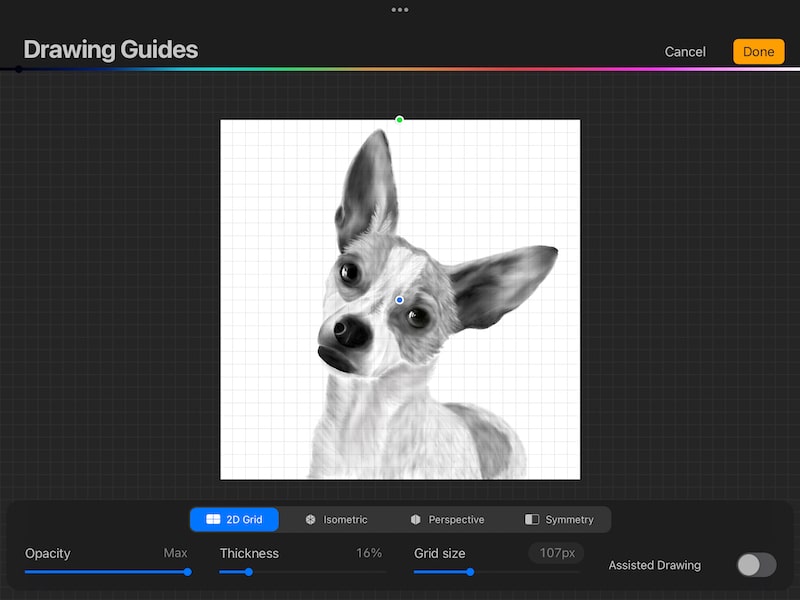

Play around with your sliders at the same time to find the balance that works for you.
7. Adjust the color of your grid
Your grid can be any color you want it to be! Near the top of your screen, you’ll see a color bar. Slide your finger along this color bar to choose any color you’d like to use for your grid.

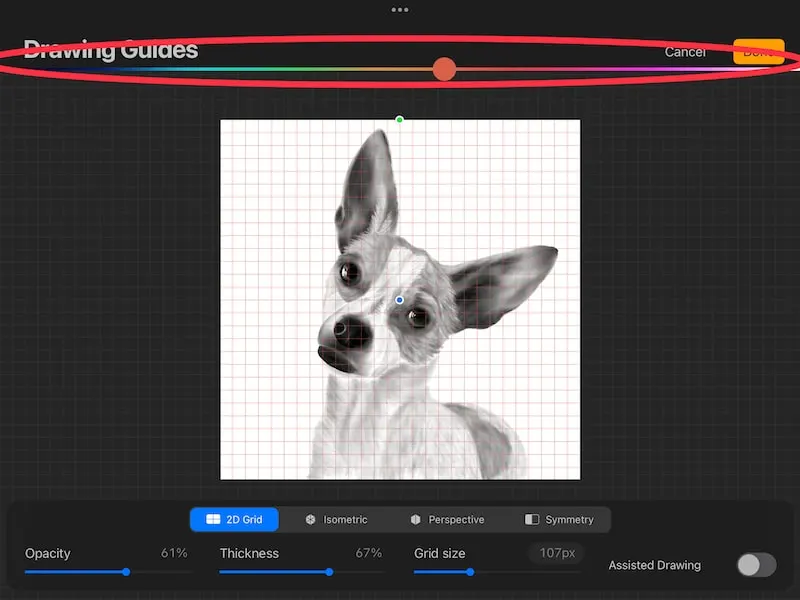
This can be really helpful if you’re using a background for your art. For example, a black grid won’t work well for a piece of art with a darker background. You can change your grid to a lighter color that’s easier to see and use.

If you’re clumsy like me, you’ll probably change your grid to white every time you try to tap the done button. It happens way more often than it should…
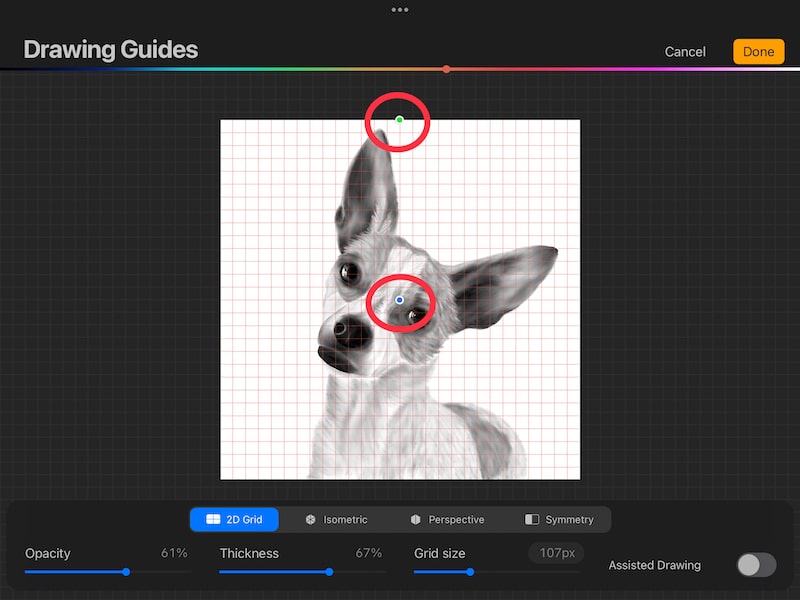
8. Adjust the rotation and position of your grid
If needed, you can rotate and reposition your grid. The green button at the top of your canvas will rotate your grid.
The blue button in the middle of your canvas will move your grid.

9. When you’re done with your grid, tap the Done button
After you’ve finished your grid, simply tap the Done button to finalize it.
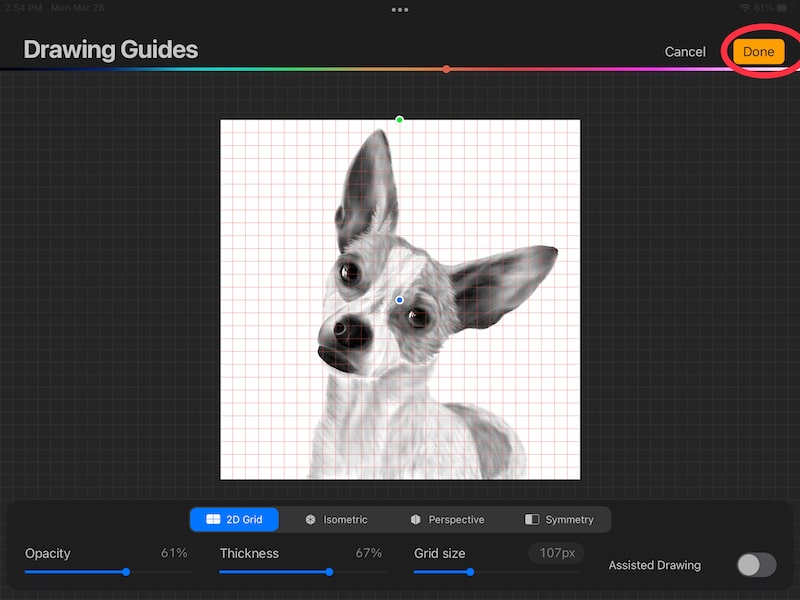
Again, if you’re clumsy like me, make sure to tap the button instead of the color slider.
While those are all the steps you need to know to set up a grid in Procreate, there are still some important things you need to keep in mind.

The Undo Gesture Works with your Drawing Guide
Whenever you adjust any of the settings within your Drawing Guide, they can be undone with a two-finger tap on your screen. The undo gesture works within your Drawing Guide in the same way it does throughout the rest of Procreate.
As you’re making your adjustments to your grid, use two fingers to tap your screen to undo any settings you’ve just changed. The undo feature within the Drawing Guide settings works the same way as it does throughout the rest of the Procreate app.
Important note: as soon as you’ve exited out of your Drawing Guide, whether by tapping the Done button or Cancel button, you can’t undo any of the changes you’ve made.
In the same way that Procreate doesn’t save your undo history whenever you close the app or return to the Gallery, your Drawing Guide doesn’t save your undo history if you close the Drawing Guide settings.
Make sure that you’re certain of your Drawing Guide settings before closing it out.
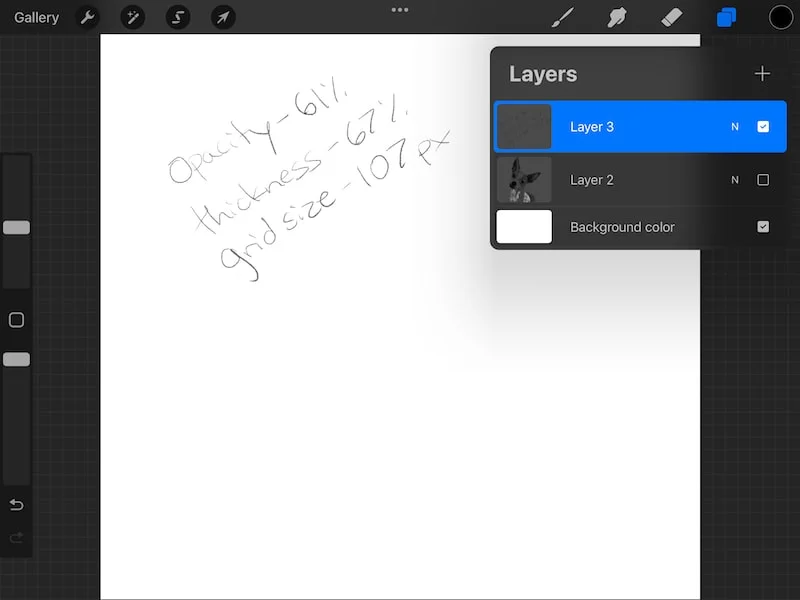
Make Note of Your Drawing Guide Settings, if Needed
When you change your drawing guide, you can’t revert back to previous versions of your drawing guide if you need to. If you’ll need access to a specific grid in the future, take notes about all of its settings so that you can quickly and easily recreate the grid when needed.
Unfortunately, you can’t save different versions of grids. Whenever you need to change your grid, you’ll need to change the settings of your one and only grid.
This means, if you have a specific grid you want to revert back to, you’ll need to recreate it. To make your life easier when doing this, keep notes of your grid settings.
One way I do this is create a layer that I keep notes in. I leave this layer unchecked and invisible so that it doesn’t interfere with my work, but I can turn it on when I need to reference it.

Your Drawing Guide Settings will be Saved for Each Piece of Artwork
When you adjust your Drawing Guide grid, its settings will be saved for each of your pieces of Procreate art. Any changes you make to your grid will only change the grid for that particular piece of art. If you leave that piece of art and come back to it, your grid settings will be as you left them.
Your grid will be unique for each piece of Procreate art. For example, if you adjust the settings of your grid while in one piece of art, when you navigate to another piece of art and open your grid, those settings won’t transfer over with you.
This is nice because it allows you to create a unique grid that’s specific for each piece of art you create.
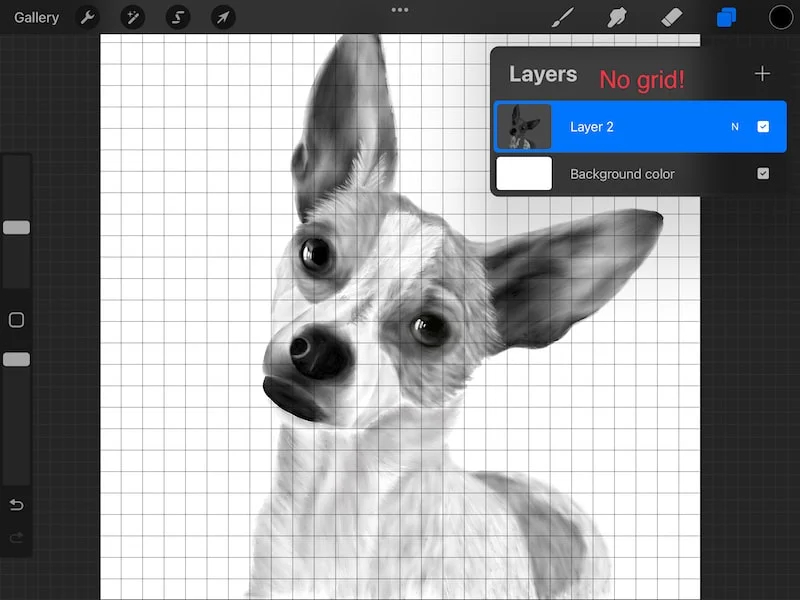
Your Grid is Not a Layer
Once your grid is enabled, it sits on top of your entire Procreate canvas. It is not a layer that will show up in your layers panel and will not function as other layers do. If you need a grid that functions as a layer, you’ll want to import an image of a transparent grid.
The grid you create within your Drawing Guide settings is not a layer. It’s a separate feature that sits on top of your entire Procreate canvas and can only be turned on or off with the Drawing Guide toggle.
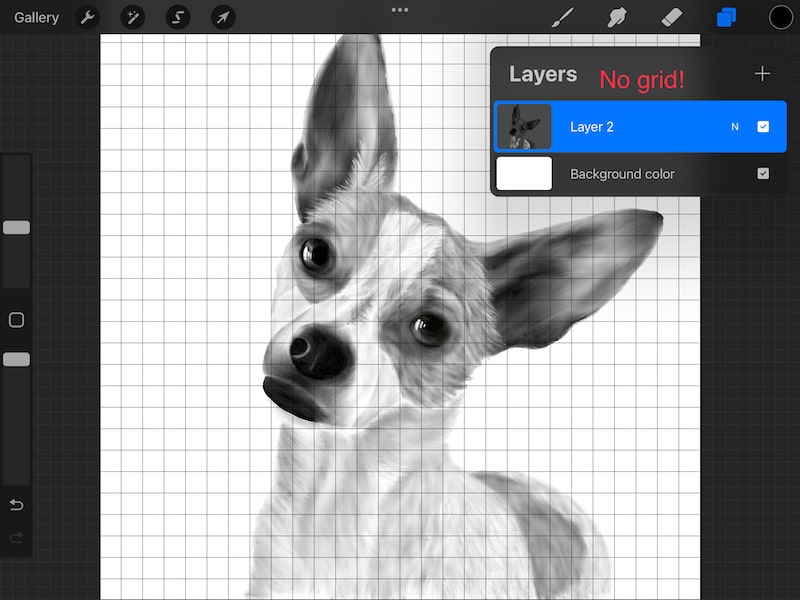
If you need your grid to be a layer for some reason, you’ll want to import a transparent grid image into Procreate instead of using the Drawing Guide.
Procreate’s grids are arguably one of the most helpful tools within the app, especially if you’re a traditional artist who’s discovering the digital art world. Get familiar with the grid settings to learn everything they can do!


Diana has been an artist for over 27 years and has training in drawing, painting, digital drawing and graphic design. Diana’s latest obsession is digitally drawing with Procreate and Procreate Dreams. Diana has experience selling her art across a number of platforms and loves helping other artists learn how to make money from their art as well.