One of the benefits of digital art over traditional art is being able to create shapes quickly and easily. Circles, squares, rectangles, blobs, many digital art programs give you a lot of options for creating shapes, including Clip Studio Paint.
To make shapes in Clip Studio Paint, select the Figure tool and choose the type of shape you’d like to create. Customize the brush shape, size, color, and opacity to your needs. After you’ve drawn your shape, you can adjust it with the Transform tool. Or, for vectors, with the Object tool.
Clip Studio Paint’s shape features are vast and awesome. They may be a bit overwhelming when you first dive into them but, after some time and practice, you’ll start getting used to them.
If you’re coming to Clip Studio Paint from Procreate, there’s one huge question we need to clear up before we do anything else.
Does Clip Studio Paint have a Quick Shape Feature?
Clip Studio Paint does not have a quick shape feature. Clip Studio Paint allows artists to create shapes through the Figure tool, but there isn’t currently a way to create perfect shapes automatically while drawing regularly with a brush outside of the Figure tool.
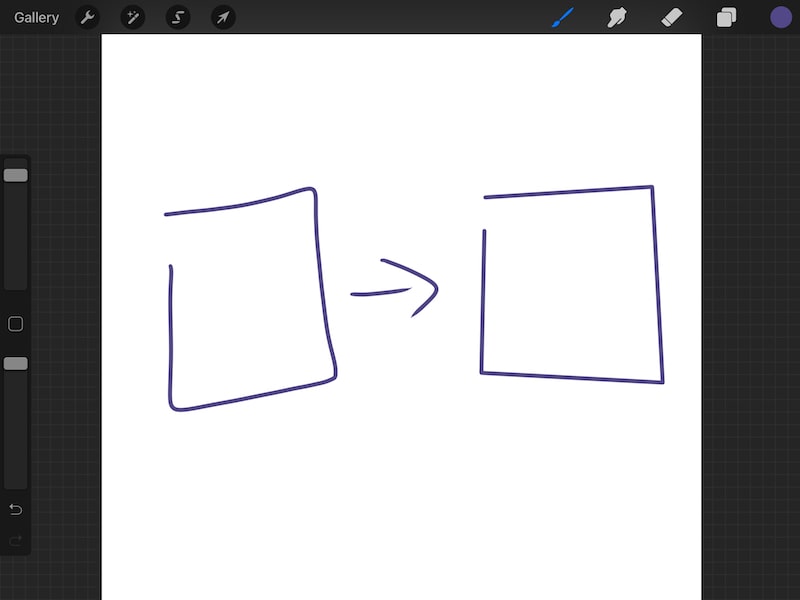
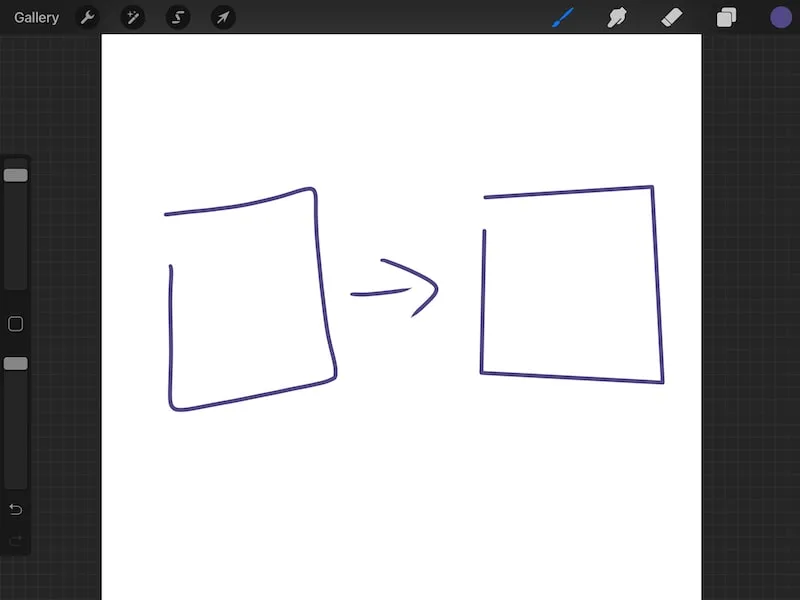
When I first started using Procreate, I was in awe of their QuickShape feature. Having spent years as a traditional artist, struggling to draw circles and squares on papers, I was gobsmacked when I drew a wobbly blob and Procreate’s QuickShape feature snapped it into a beautiful circle.
Like, what?! Digital art magic.
If you’ve been holding down your stylus or computer mouse in Clip Studio Paint, waiting for your shape to snap into a perfect shape, it’s not going to happen. Clip Studio Paint doesn’t have a quick shape feature.
But, that’s ok!
Clip Studio Paint has great shape tools. They work really well and have a lot of neat features to explore. So, don’t be too sad that they don’t have a quick shape feature; get excited that we’re about to learn about a whole new set of shape features!
Let’s dive in.
How to Use Clip Studio Paint’s Figure Feature to Create Shapes
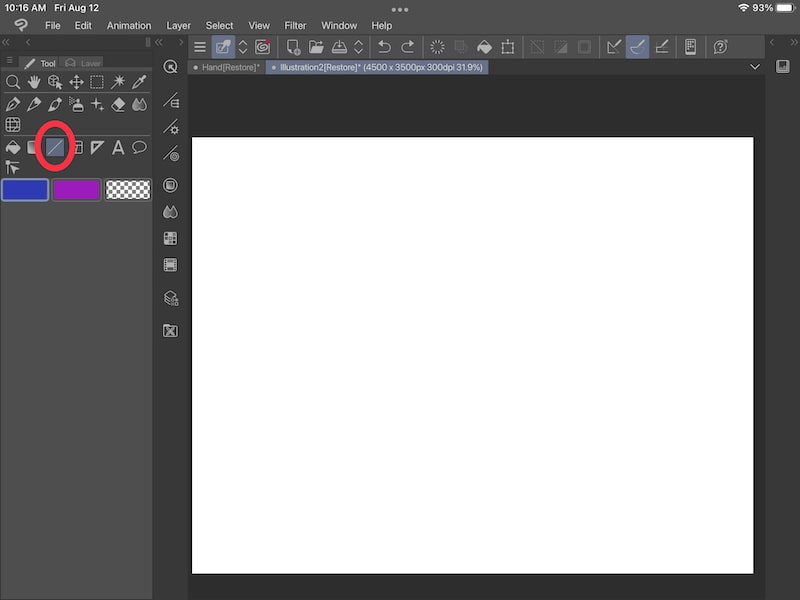
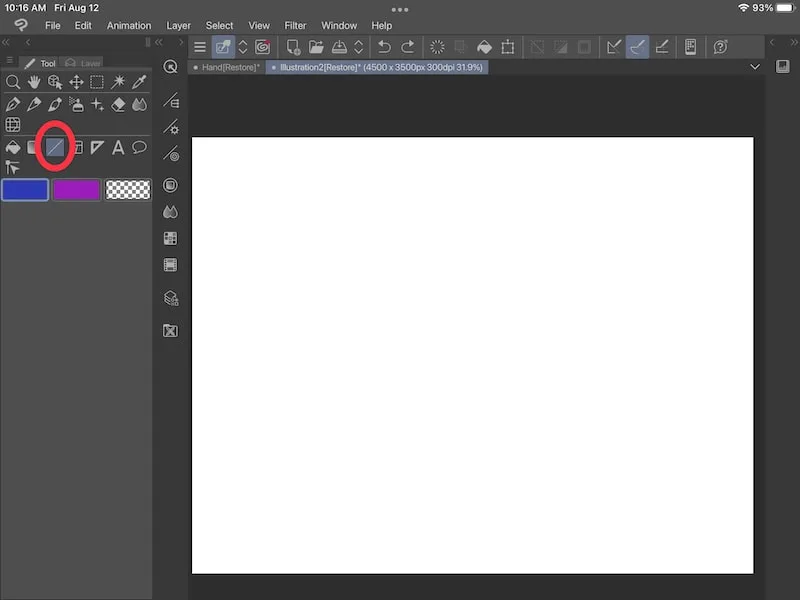
Clip Studio Paint’s Figure tool can be found in the Tools panel. At default, it will look like a diagonal line, but will represent whichever shape you’ve used it for most recently. Once you’ve selected the Figure tool, choose your desired shape and customize it to your needs.
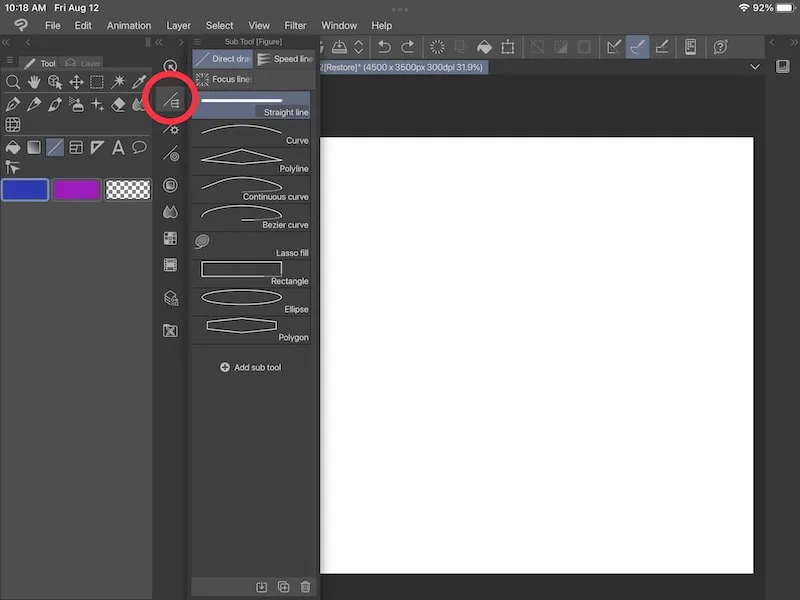
To begin with, find the Figure tool in your tools panel. You may have also heard this tool called the Direct Draw tool.
At default, it will be the one that has an icon of a diagonal line. That said, if you’ve used the tool for another shape recently, the icon might resemble that shape you recently used.
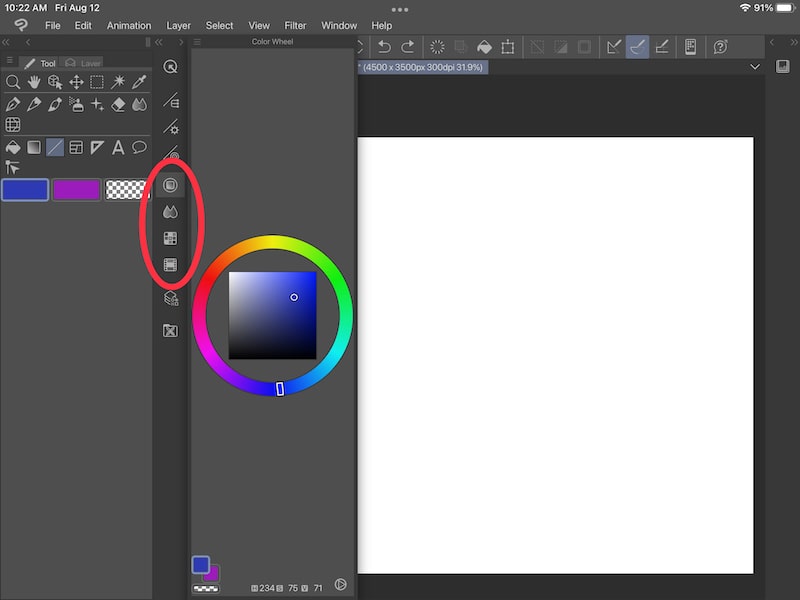
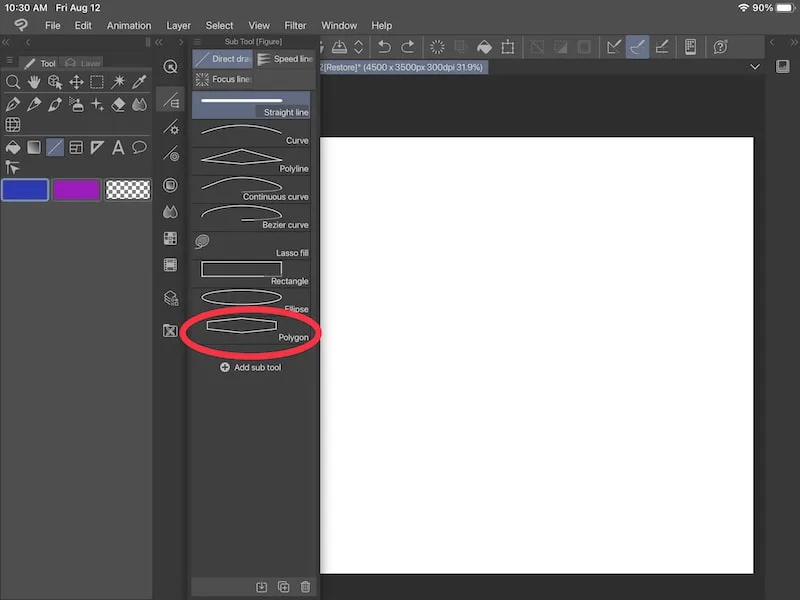
Once you select the Figure tool, use the Sub Tool menu to choose the shape you need. This is the first menu within your list of Figure menus, the one that has the 3 horizontal lines in its icon.

We’re going to dive into each of the shapes separately because they all work differently. But, there are some aspects that are consistent between the shapes that we’ll cover now.
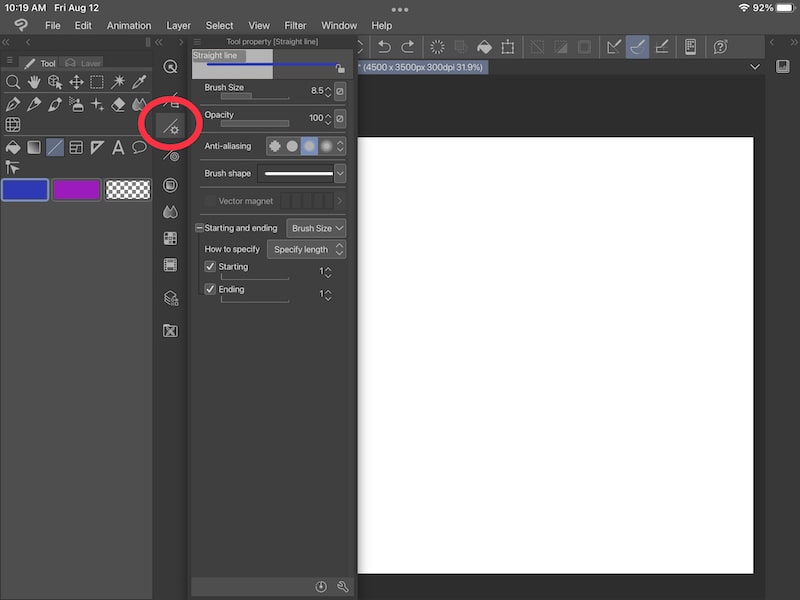
After you’ve chosen your shape, click on the Tool property menu, which is below the Sub Tool menu with the gear icon. Here you can customize your brush size, opacity, shape, and more.

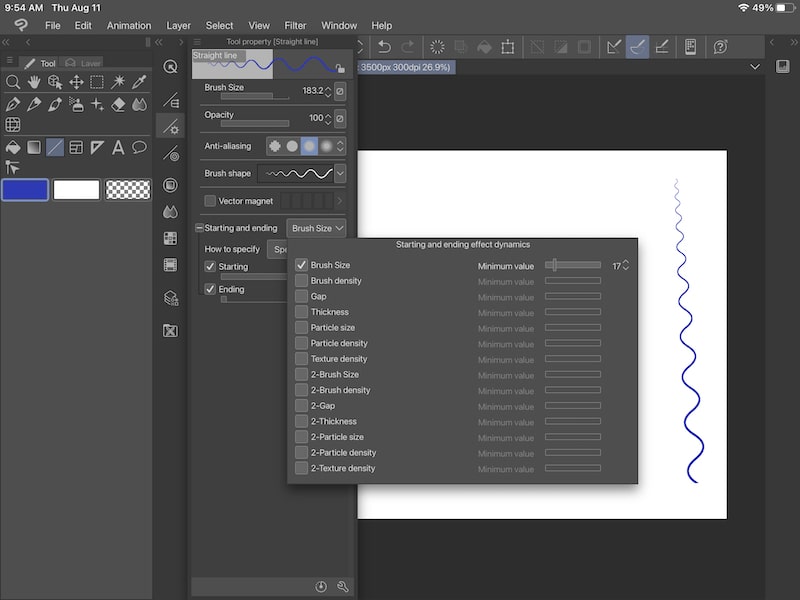
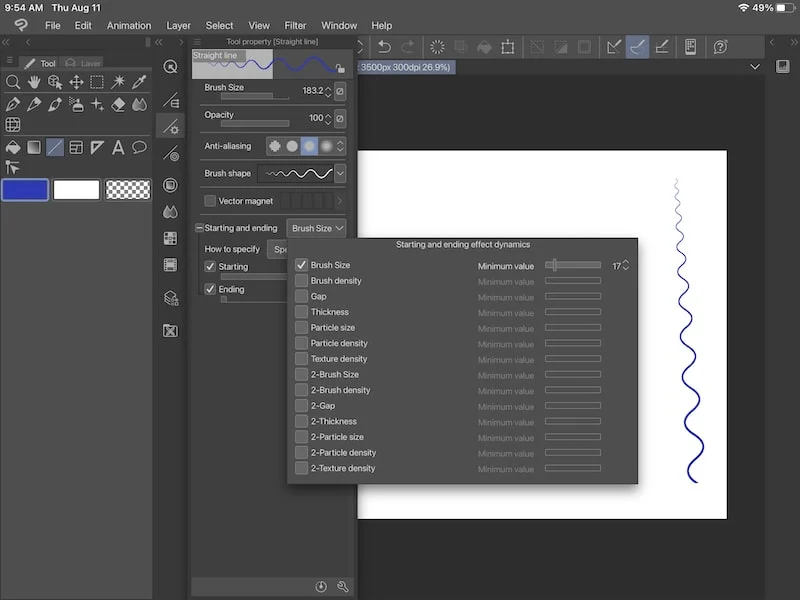
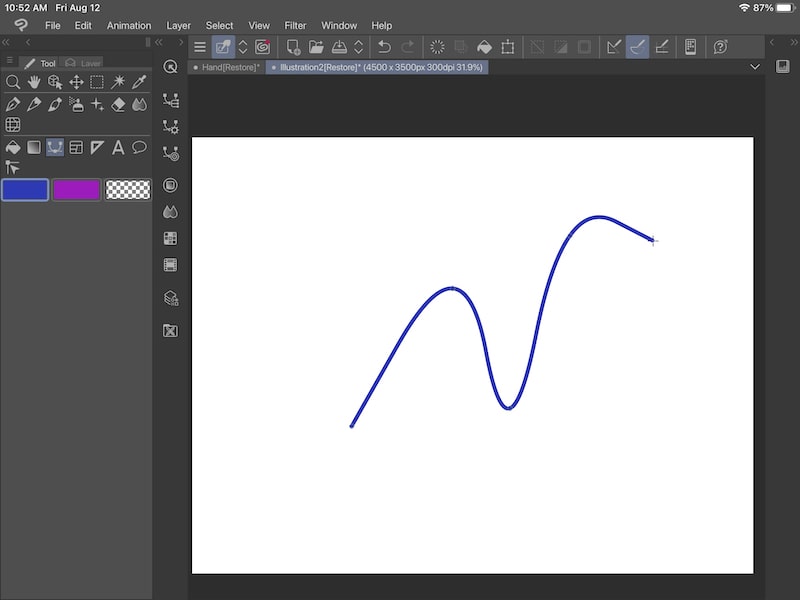
Also pay attention to the “Starting and ending” section. Here you can set certain parameters for how your shape begins and ends within a number of different categories. For example, see how these settings impacted my wavy line. What’s hidden by the drop down is that my starting value is all the way up and my ending value is almost all the way down.
Lastly, don’t forget about the color. Choose your color from your color wheel or one of your color palettes prior to drawing your shape.

Alright, those are some of the basics that apply to all of your shapes. Now, let’s talk about how each of the different shapes work.

How to Create Lines with the Figure Tool
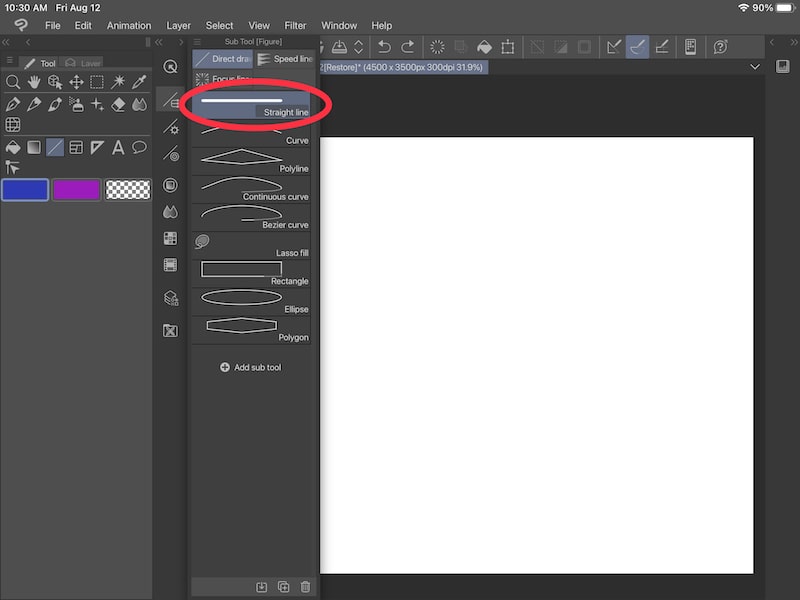
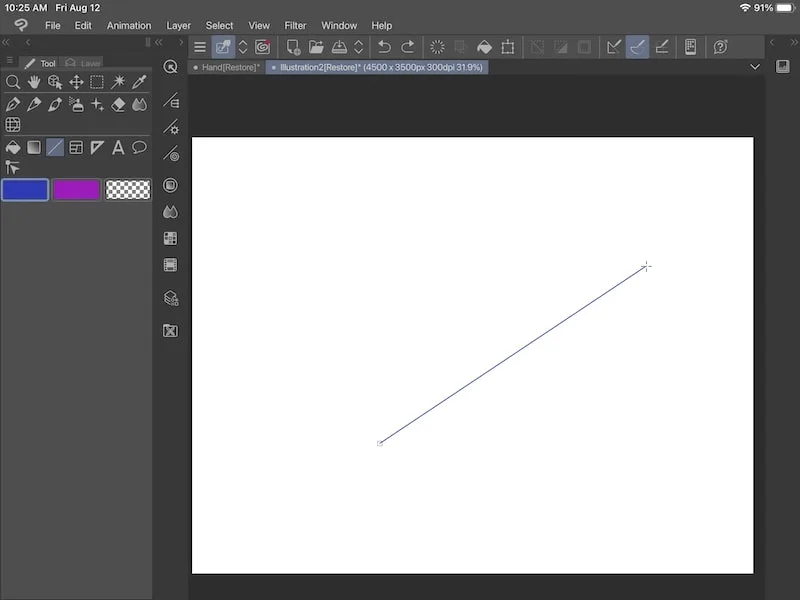
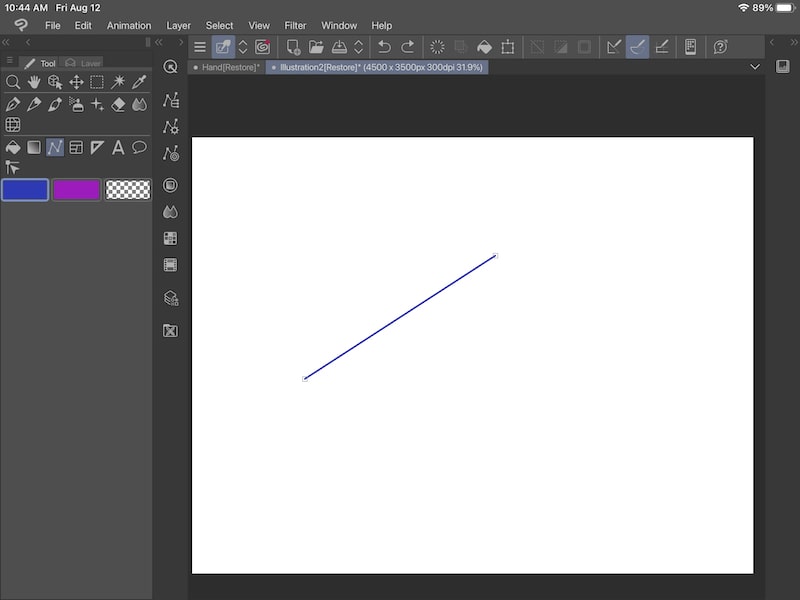
To create a line with the Figure tool in Clip Studio Paint, select the “Straight line” option in the Sub Tool menu and then customize it in the Tool property menu.

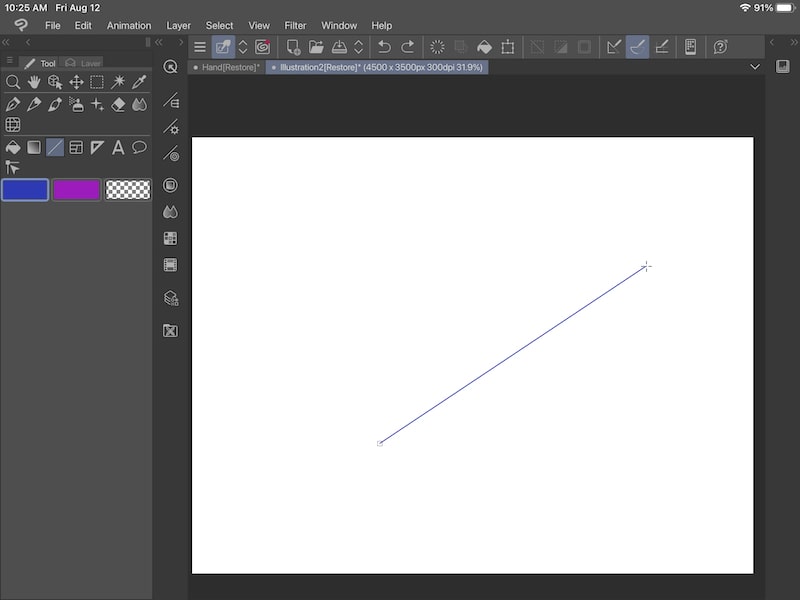
Then, click on your canvas where you’d like your line to start and drag it to where you’d like it to end. As you’re dragging it, you can rotate it and swivel it as you need to.
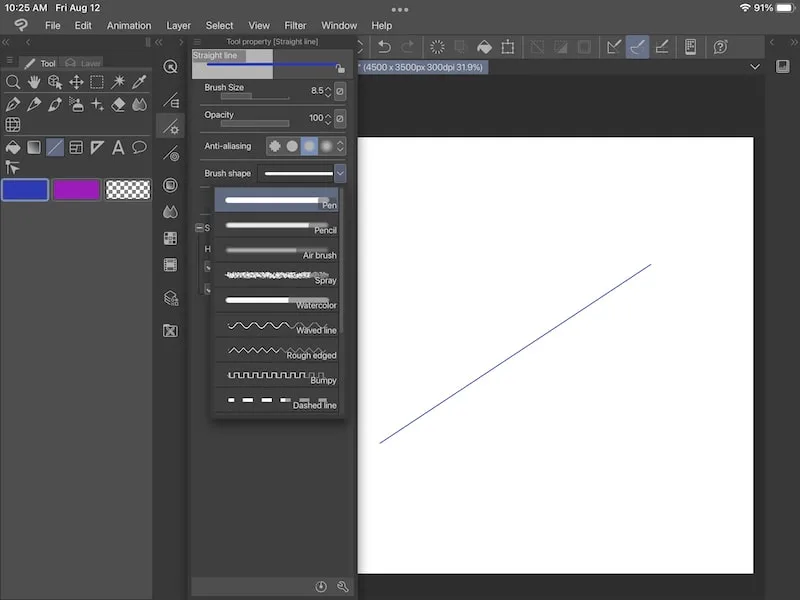
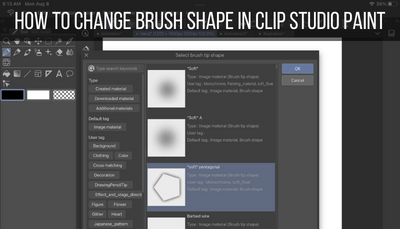
Don’t forget to go to the Tool property menu and explore all of the brush shapes. You can do this for all of the shapes we’ll be talking about aside from the “Lasso fill” and “Polygon” tools. These can give you some really fun options to play with!

You can also have fun with different types of lines. Clip Studio Paint has separate menus for “Speed lines” and “Focus lines”, which are really awesome for comics, action scenes, and any other type of art you’re creating.
How to Create Curves with the Figure Tool
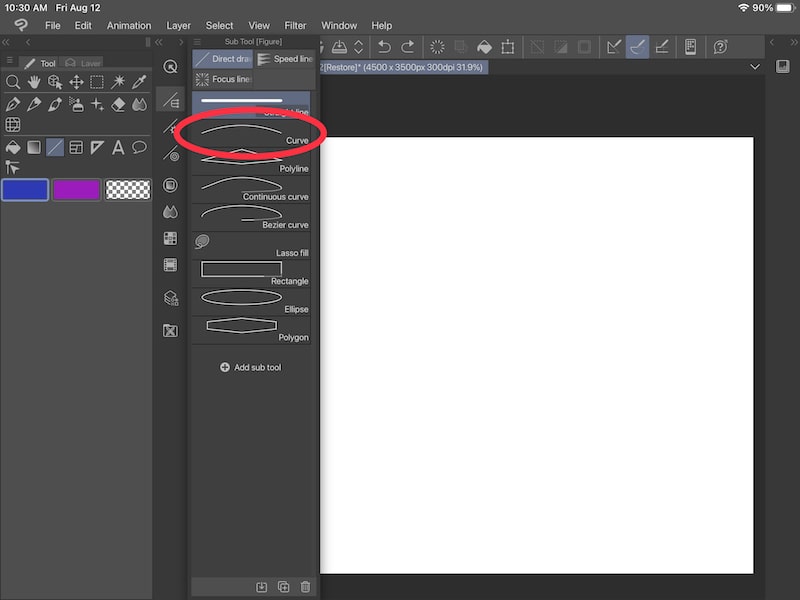
To create curves with the Figure tool in Clip Studio Paint, select the “Curve” option in the Sub Tool menu and customize it in the Tool property menu.

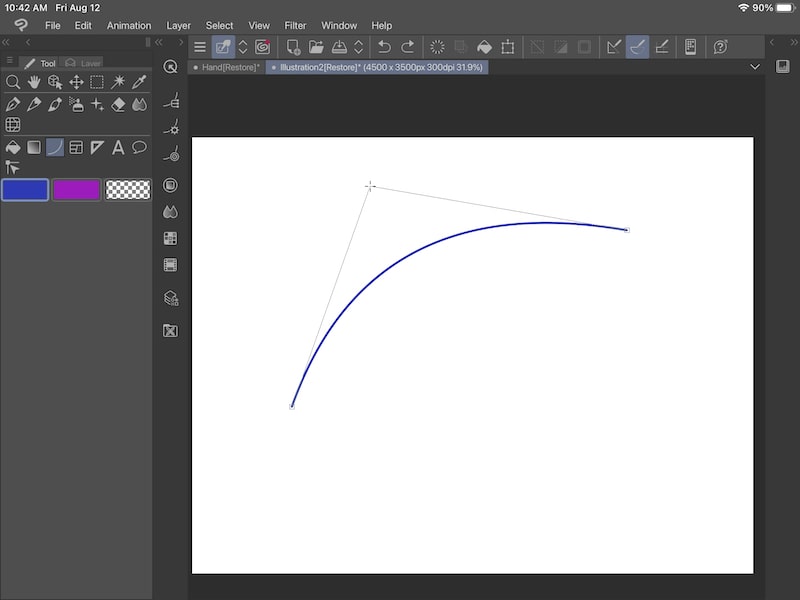
Then, click on your canvas where you’d like your curve to start and drag it to where you’d like it to end.
Don’t be alarmed that your curve will start out as a line. Once you’ve drawn your “curve” line, click on your line where you’d like for it to curve and drag it into the curve you need.

I LOVE that Clip Studio Paint’s curve feature works this way because it gives you a lot of freedom to customize your curves to your needs.
How to Create Polylines with the Figure Tool
To create polylines with the Figure tool in Clip Studio Paint, select the “Polyline” option in the Sub Tool menu and customize it in the Tool property menu.


Then, click on your canvas where you’d like your shape to start. You can either drag out your first line in the same way you would with a regular line, or simply click the spot on your canvas where you’d like your line to end.

Next, click where you’d line your next line to end. If you hold down on your canvas, you can adjust the length and placement of your line before placing it down.
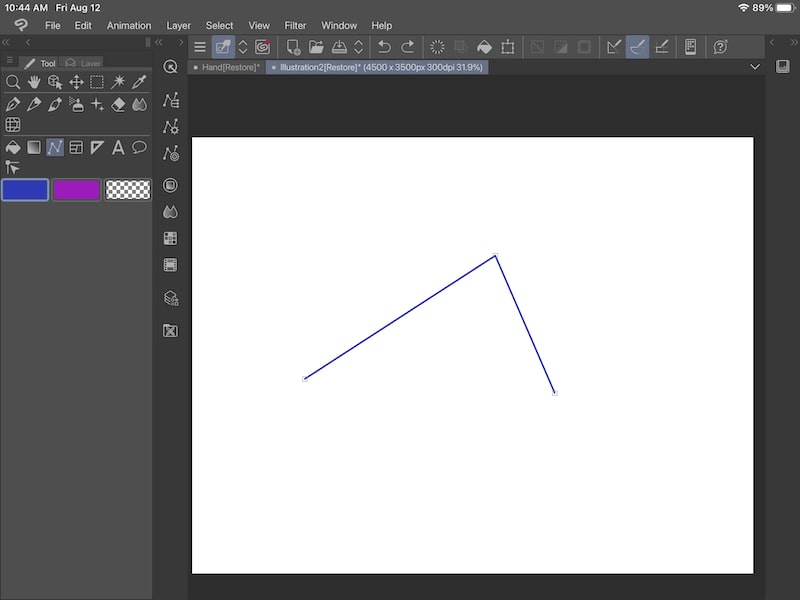
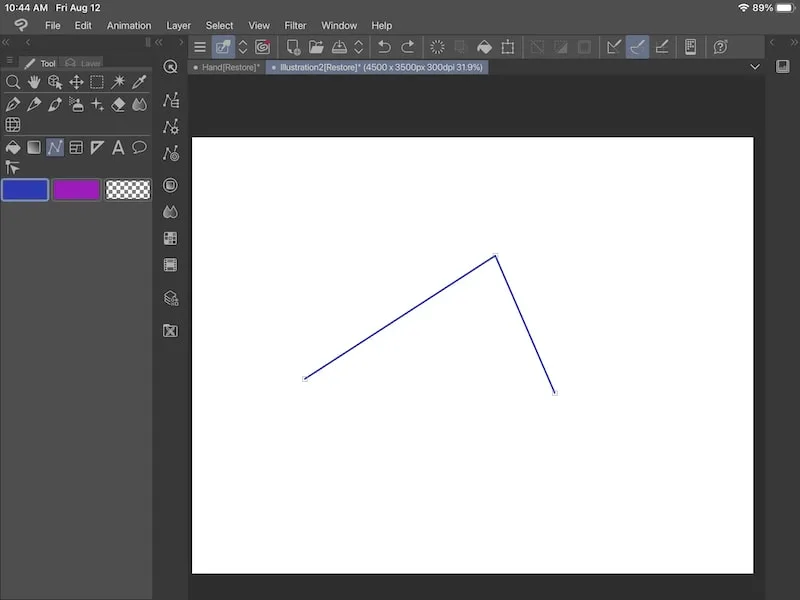
Continue to click on the spots on your canvas where you’d like your next line to end until you finish your shape.

The polyline shape has some unique options we need to talk about.
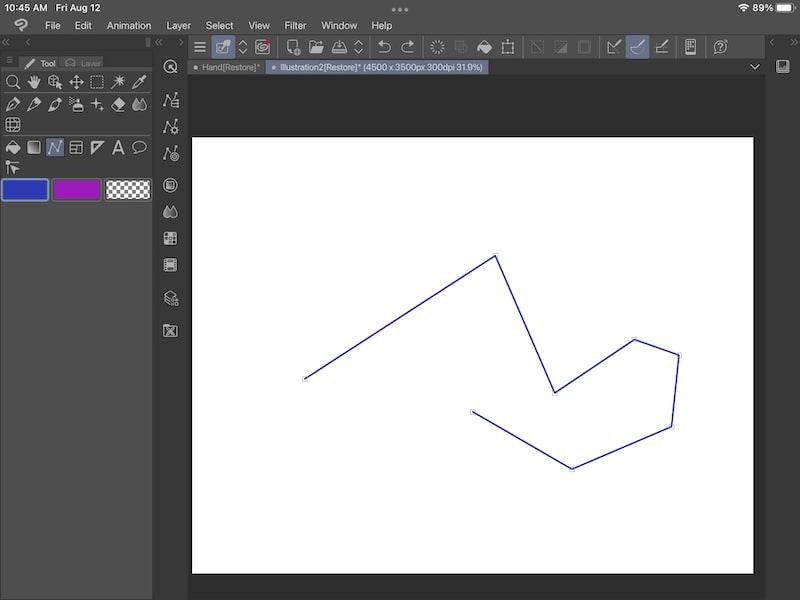
Within your Tool property menu, there’s a “Close line” option. Turn this on if you want your shapes to close automatically. This means that Clip Studio Paint will connect the starting and end points of your shape for you.
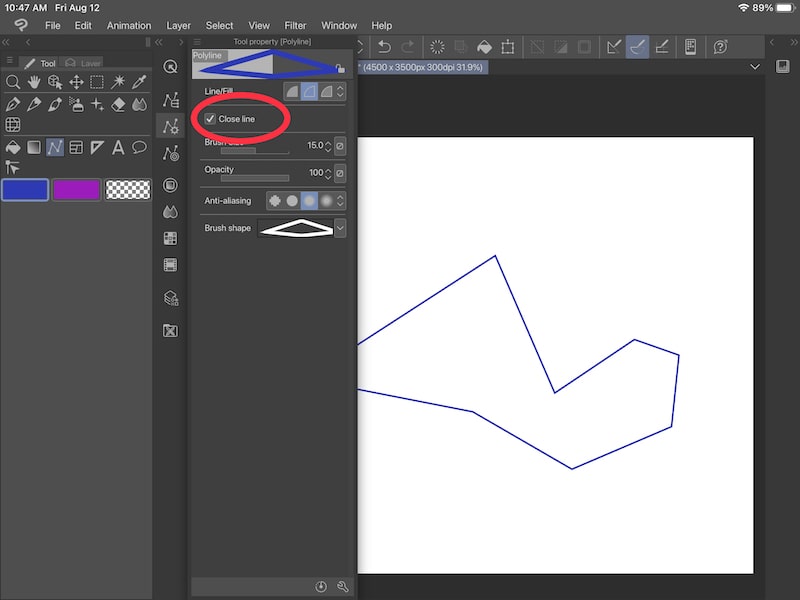
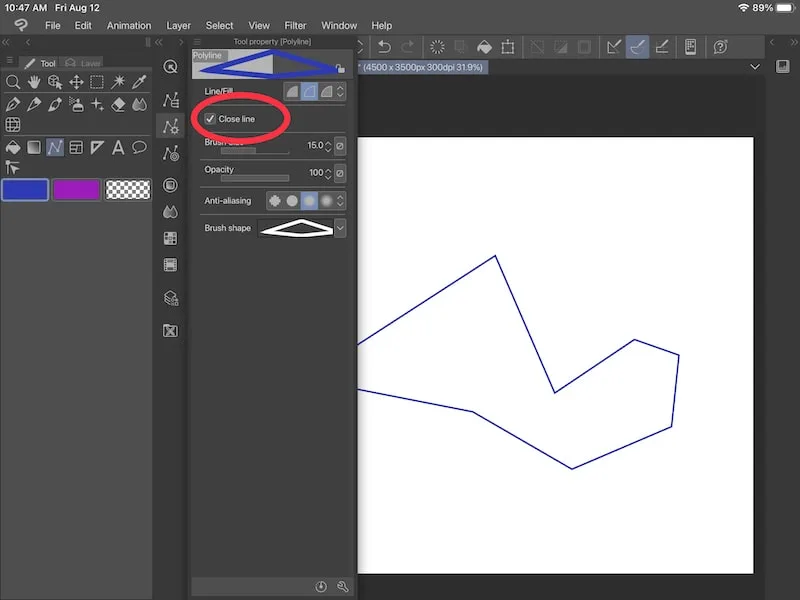
If you want to create open shapes, do not enable this feature.
This feature only works with empty shapes. It does not work with filled shapes, which we’ll talk about next.
Above the “Close line” option, you’ll see a series of quarter circles labeled “Line/Fill”. These allow you to fill your shapes with color.
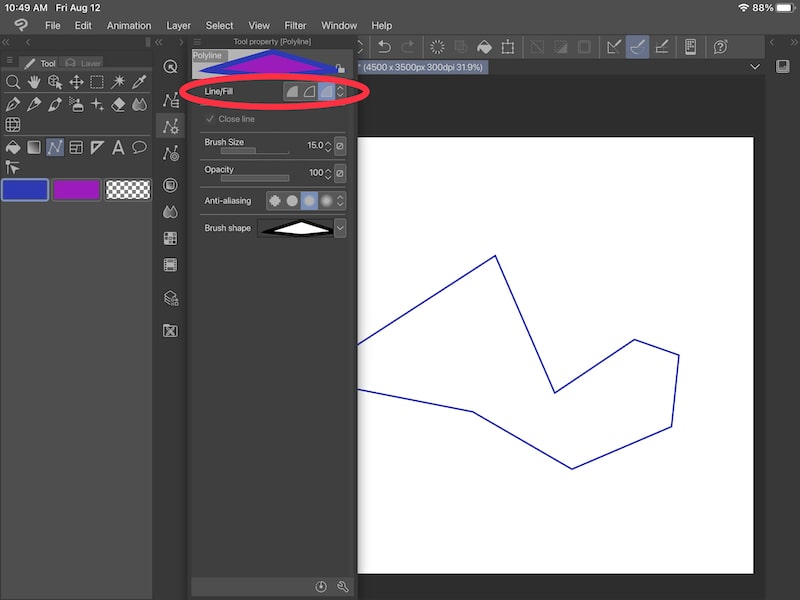
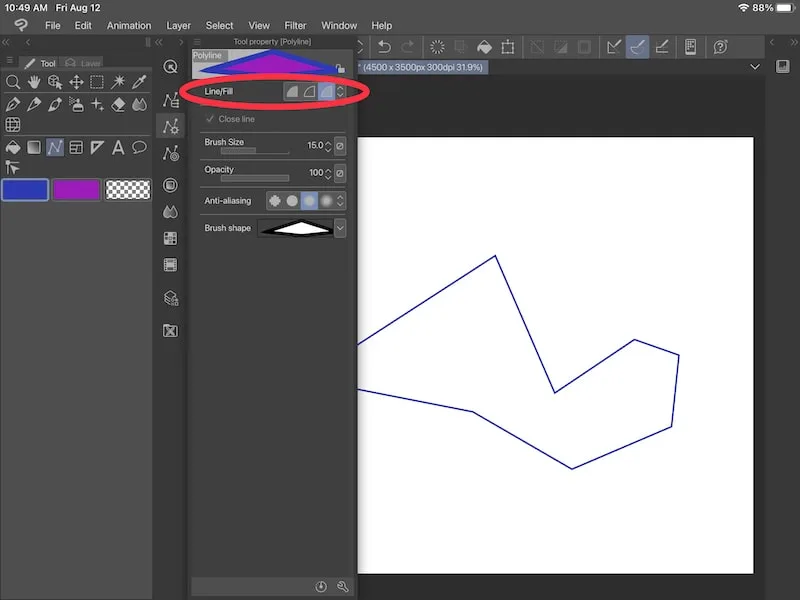
Important note: if you’re creating a shape on a vector layer, these options won’t be available to you because Clip Studio Paint’s vectors don’t support color.
The “Line/Fill” options allow you to create a colored shape, an empty shape, or a colored shape that’s outlined in another color.

Within your color selections, whichever color is actively selected is the one that will create your filled shape, empty shape, and the outline of your outlined shape. Your secondary color is what will fill your outlined shape.
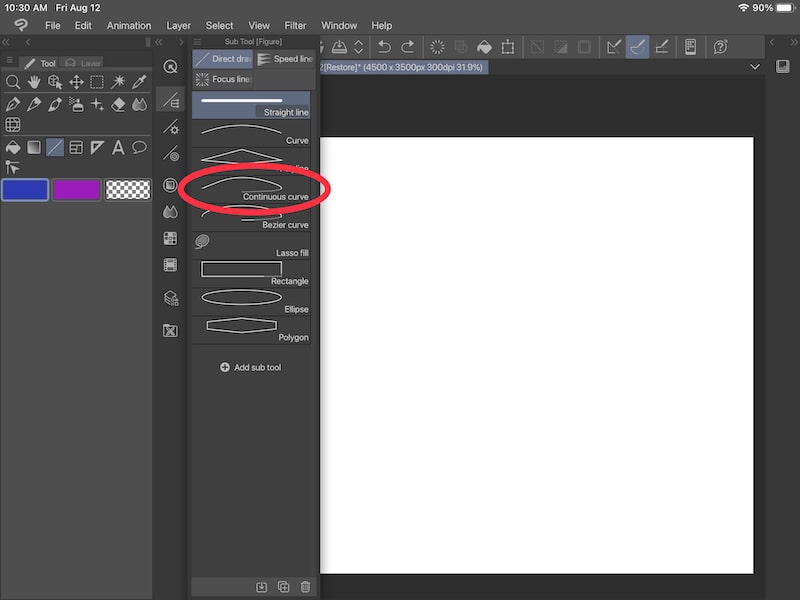
How to Create Continuous Curves with the Figure Tool
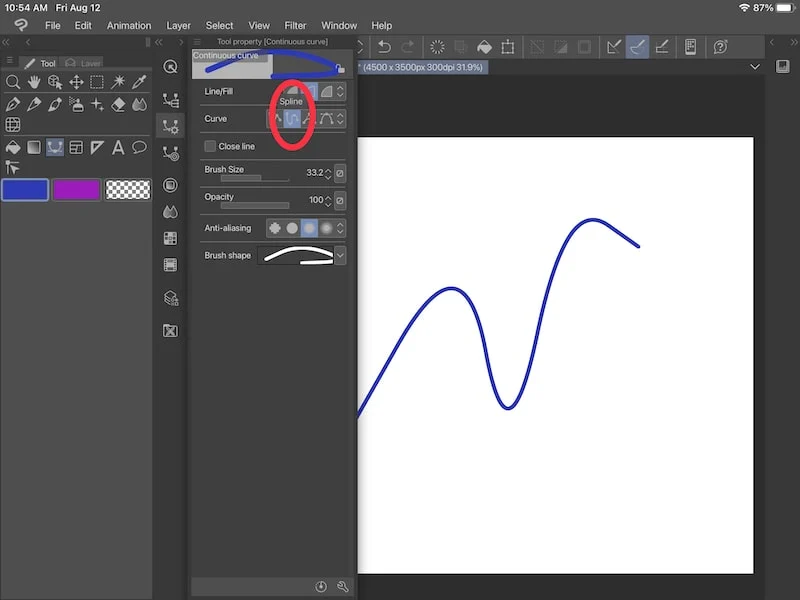
To create continuous curves with the Figure tool in Clip Studio Paint, select the “Continuous curve” option in the Sub Tool menu and customize it in the Tool property menu.

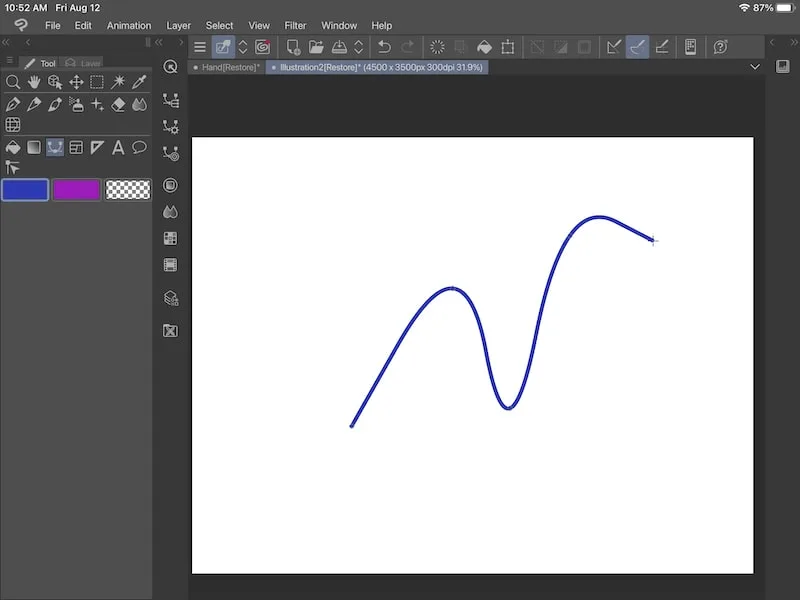
Then, click on your canvas where you’d like your continuous curve to start and drag it to where you’d like your first line to end. Keep drawing lines until you’ve drawn all of the lines of your curve that you need.
The spline option will create what we think of as a continuous curve. We’ll talk about the bezier curves in the next section.
The spline curve will adapt to each line you add – similar to a snake effect. Continue to add lines and place them so you get the curve you’re looking for.

If you tap on your most recent point at the end of the current line you just drew, you’ll see a box appear around it. This basically starts the curve over. The curve you’ve already created will no longer be impacted by the rest of the curve you’re about to create.

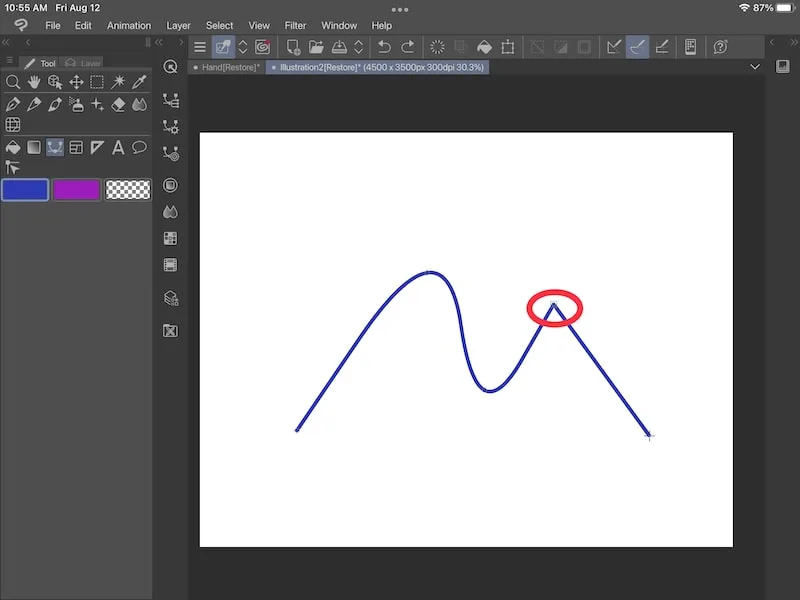
If you tap on any past points in your curve, they will disappear. Any effect that these points had on your curve will disappear too.
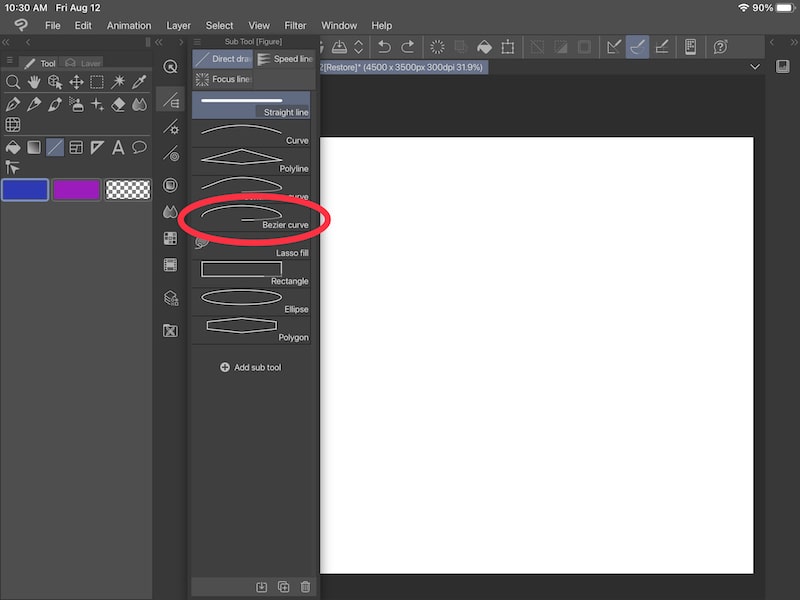
How to Create Bezier Curves with the Figure Tool
To create bezier curves with the Figure tool in Clip Studio Paint, select the “Bezier curve” option in the Sub Tool menu and customize it in the Tool property menu. You can also access bezier curves within the Tool property menu for the continuous curve.

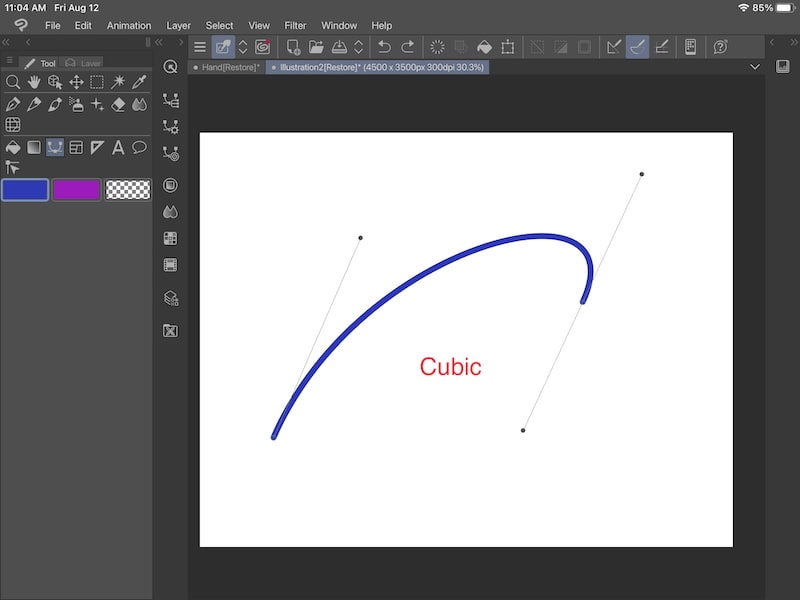
Then, choose if you want a cubic bezier curve or a quadratic bezier curve.

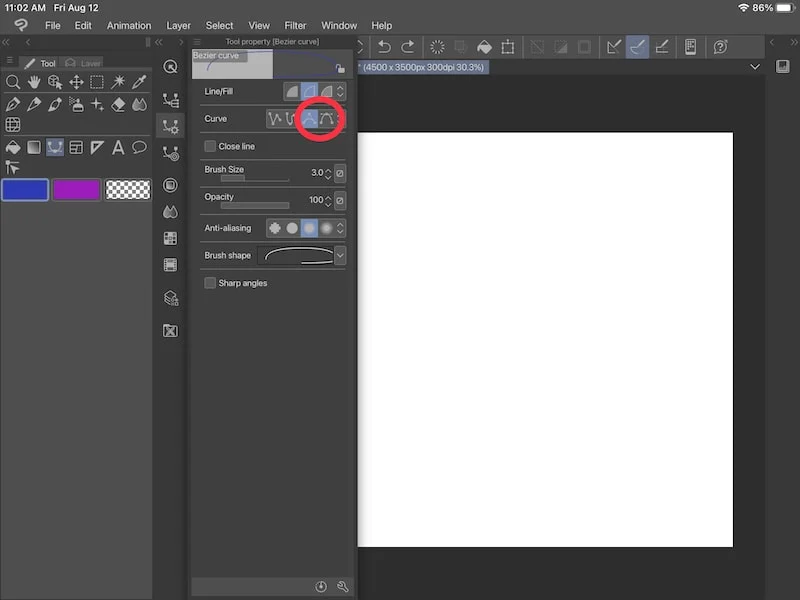
If you’re not familiar with bezier curves, they work differently than regular curves. Instead of laying down the curve itself, we’re going to be laying down “control lines” that the curve will sit between.
The difference between cubic bezier and quadratic bezier is how many control points and lines you get. While it’s mainly a matter of preference, cubic bezier gives you more control points and lines to work with when creating your curve.

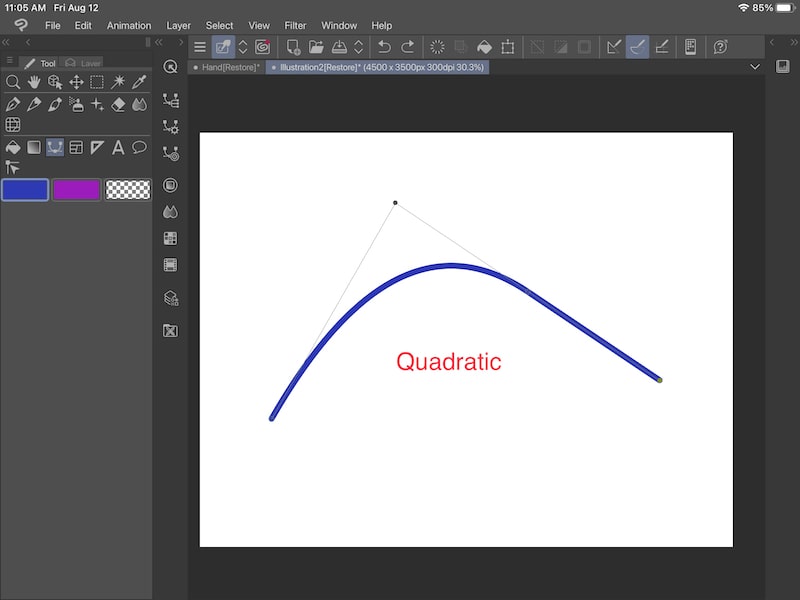

Play around with cubic bezier curves and quadratic bezier curves to get a feel for how each of them work.
Once you’ve chosen an option, click on your canvas where you’d like your first control line to start and drag it to where you’d like your control line to end. Continue clicking to build your curve.
On a computer, if you hold down the alt or control key and click on one of your points, you can adjust your points and handles. Doing this to one of your handles will allow you to move it around and adjust it.
On an iPad, swipe horizontally from left to right on your iPad screen to show the keyboard to access the control key.
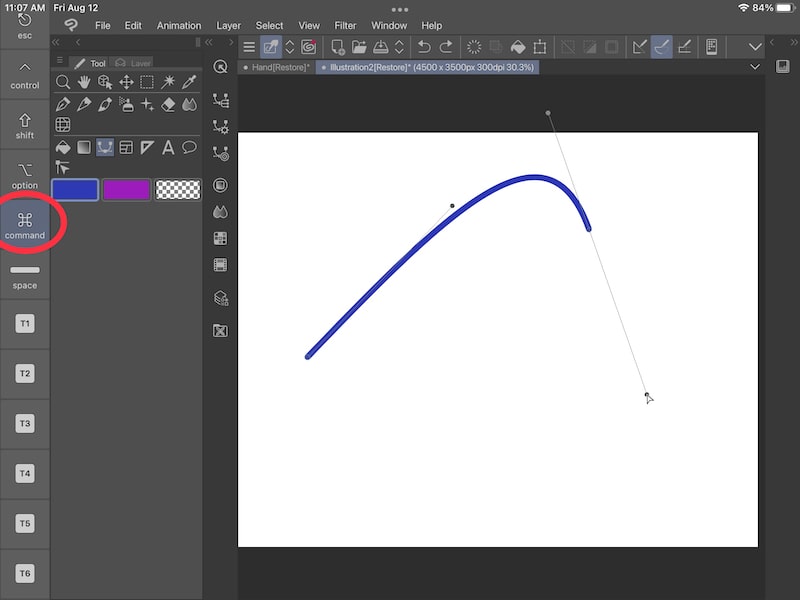

This gives you a lot of flexibility and control over your shapes, which is why choosing the bezier option when making your curves and shapes can be a good option.
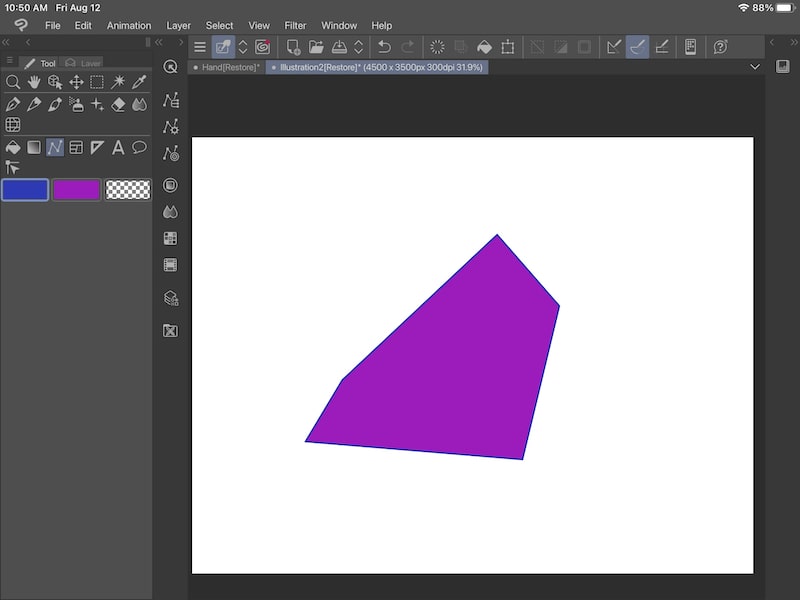
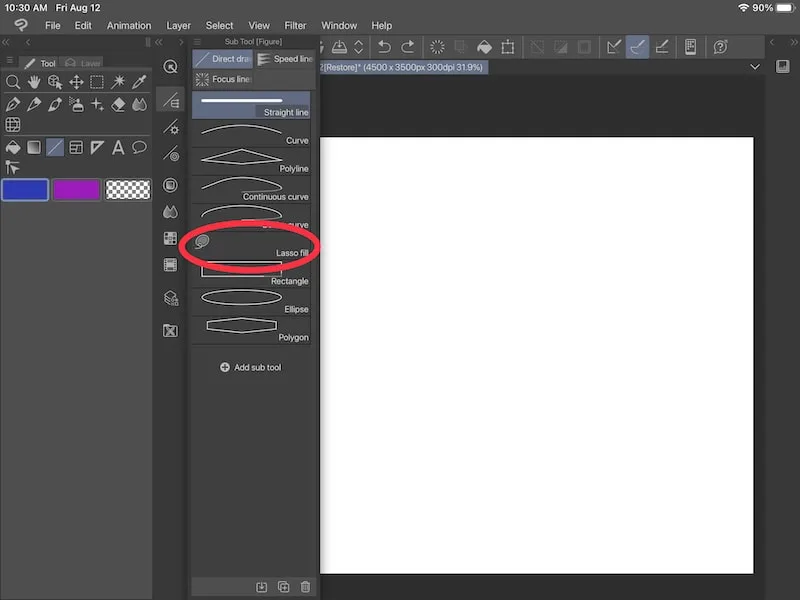
How to Use the Lasso Fill Option with the Figure Tool
To create shapes with the lasso fill option in the Figure tool in Clip Studio Paint, select the “Lasso fill” option in the Sub Tool menu and customize it in the Tool property menu.

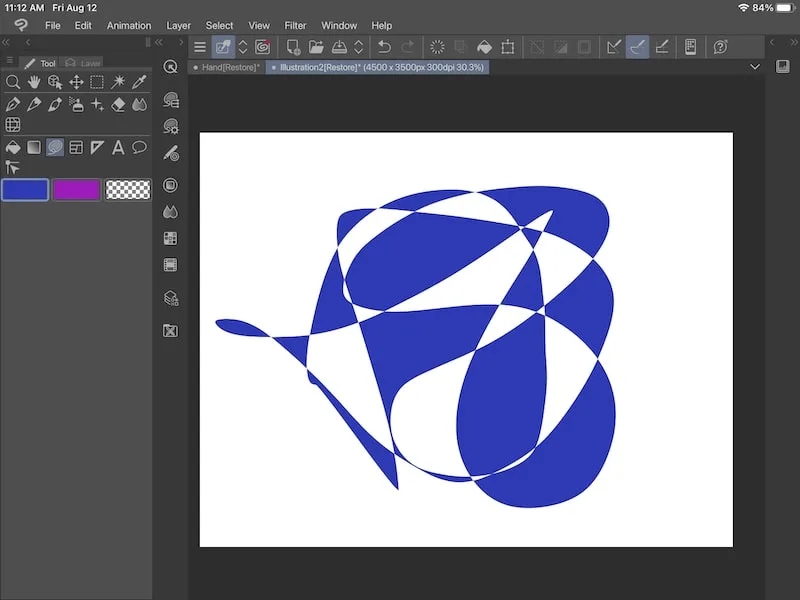
Then, draw your shape on your canvas. Any closed areas of your shape will be filled with color.
Important note: you can’t use the lasso fill tool with a vector layer because Clip Studio Paint doesn’t support color fill with their vector layers.
I love using the lasso fill tool to create fun patterns and abstract shapes. It’s relaxing to just draw some squiggles and see the results you get!

How to Create Rectangles and Ellipses with the Figure Tool
We’re going to talk about the rectangle and ellipse options together because they’re really similar.
To create shapes with the rectangle or ellipse options in the Figure tool in Clip Studio Paint, select the “Rectangle” option or “Ellipse” option in the Sub Tool menu and customize it in the Tool property menu.


When it comes to customization of your rectangles or ellipses, there are a few things you’ll want to consider.
Firstly, decide if you want your shape filled or not. These options are similar to what we talked about in the polyline section. You can decide to fill your shape with your selected color, have it empty, or fill it and outline it.

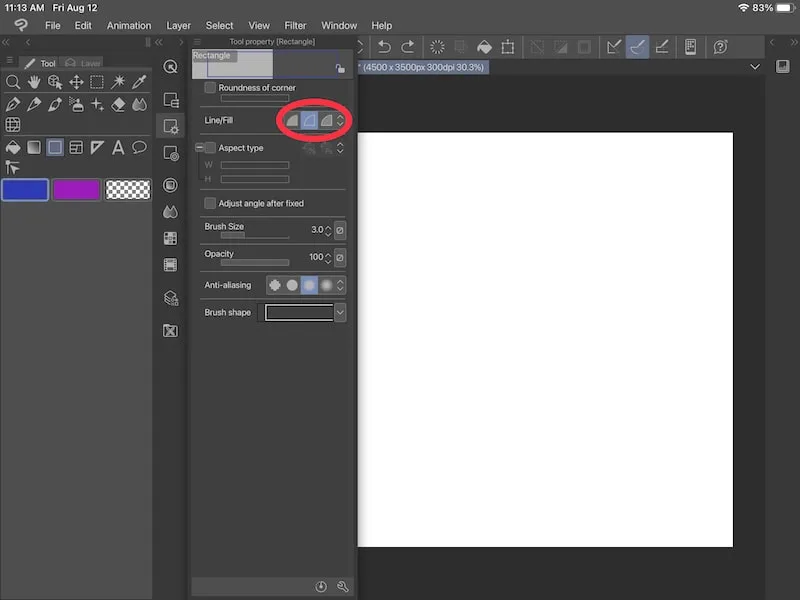
Secondly, decide if you want your shape to stay within a certain aspect ratio. When you check the box next to the “Aspect type” label, you can establish width and height values that will constrain your rectangle or ellipse within that aspect ratio.

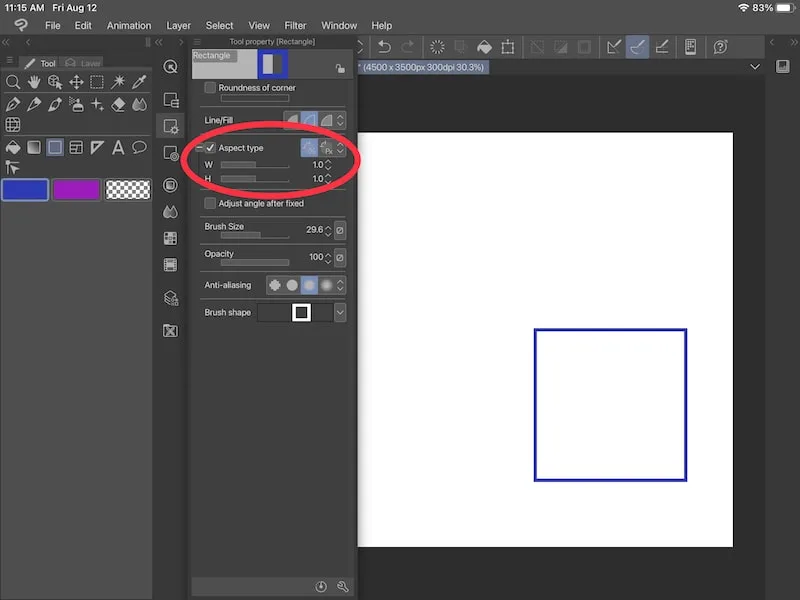
If you don’t establish an aspect ratio, you can drag your shape into any stretched or squashed shape you like. Being able to determine a preset aspect ratio can be really helpful if you have specific needs for the look of your resulting shape.

How to Create Polygons with the Figure Tool
To create polygons with the Figure tool in Clip Studio Paint, select the “Polygon” option in the Sub Tool menu and customize it in the Tool property menu.

To begin with, look at the “Figure” area. Here, you can create a polygon, or you can choose to create a rectangle or ellipse. This is an alternative to navigating to the rectangle or ellipse specific tools, but be aware that there are no fill options within the polygon tool. So, if you want to fill your rectangle or ellipse, choose that specific option within the figure tool and not through the polygon tool.
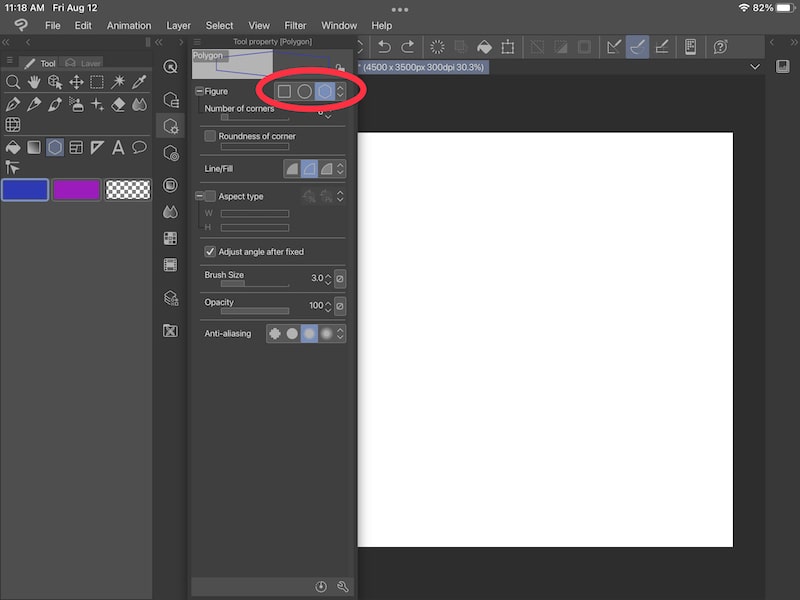

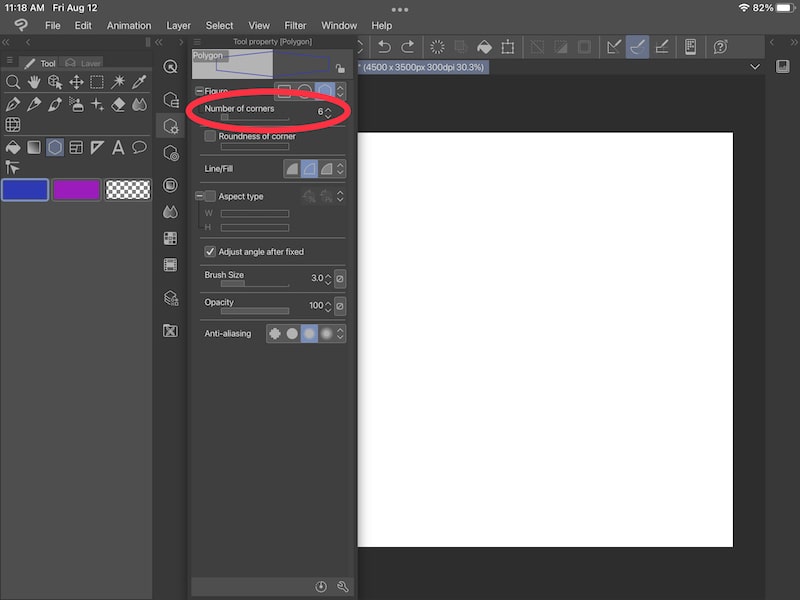
Within the polygon option, click on the “+” symbol next to the “Figure” label. Here you’ll see a slider that will let you determine the number of corners you want in your polygon.

Below that, see the “Roundness of corner” label. If you check that box, use the slider below it to decide how round you want your polygon’s corners to be.
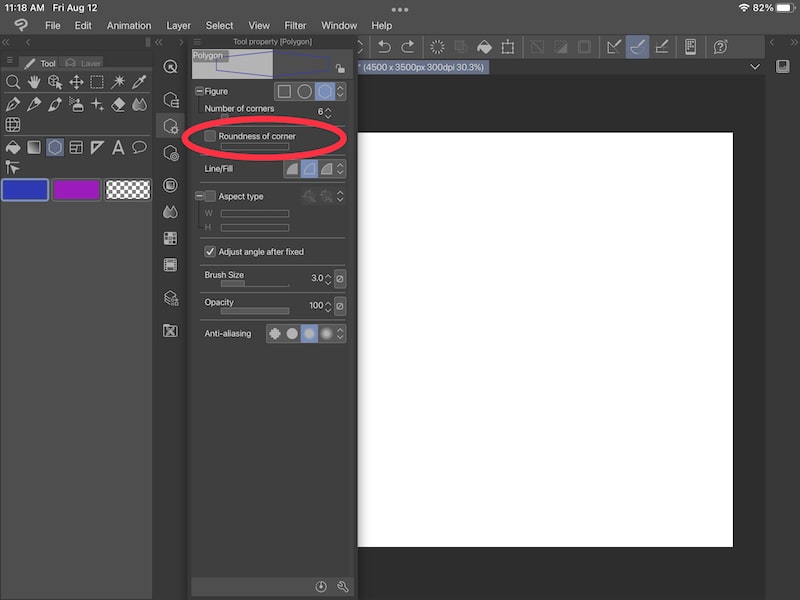

This gives you a lot of options when customizing your polygon.
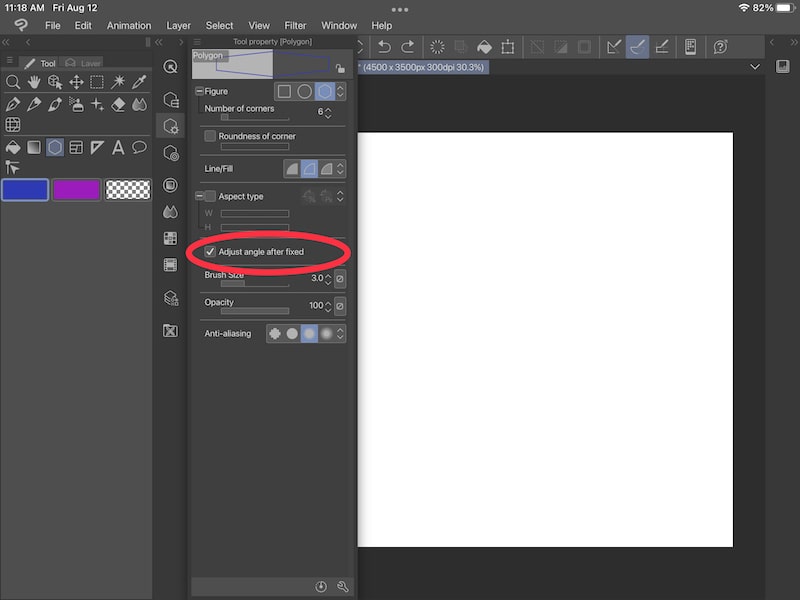
There’s also a “Adjust angle after fixed” label. When this is checked, it will let you rotate your polygon after you’ve drawn it on your canvas.

From there, you’ll see similar customization options that you saw with some of the other tools, including fill and aspect ratio.
There’s a LOT to explore with Clip Studio Paint’s Figure tool. You can create a wide variety of shapes that you can customize in a number of different ways. Take time to experiment and have fun with everything this tool has to offer so that you can build your confidence with drawing shapes in Clip Studio Paint.


Diana has been an artist for over 27 years and has training in drawing, painting, digital drawing and graphic design. Diana’s latest obsession is digitally drawing with Procreate and Procreate Dreams. Diana has experience selling her art across a number of platforms and loves helping other artists learn how to make money from their art as well.