Being able to move objects, lines, and even entire layers is a huge perk of making digital art with Procreate. These are things we only ever dream of doing with our traditional art. So, how can you make the most out of this moving magic?
To move objects and lines in Procreate, tap the mouse icon to open the Transform tool. This will select any objects or lines that are on the layer you currently have selected. Simply drag your finger around your canvas to move your objects and lines around to your desired position.
While that’s the bare bones of moving objects and lines around your Procreate canvas, there’s a LOT more that goes into it…if you choose to accept the challenge! And you should, because it’s fun 🙂
Let’s dive into the fun complexities of moving things around in Procreate.
Understanding Layers When Moving Objects and Lines in Procreate
When you tap the mouse icon to activate the Transform tool, it will select whatever is on your active layer. This is why it’s important to check your active layer before engaging the Transform tool, and to split your objects and lines up into different layers, whenever possible.
If you haven’t split things up into different layers, don’t worry, we’ll talk about how to deal with that in the next section.
If the thing you want to move is in on a single layer, things are much simpler. This is one of the many reasons why it’s good to use a lot of different layers within your work, granted you don’t hit your layer limit.
In this case, here’s what you would need to do to move it:
1. Open your Layers panel and select the layer with your object or line on it
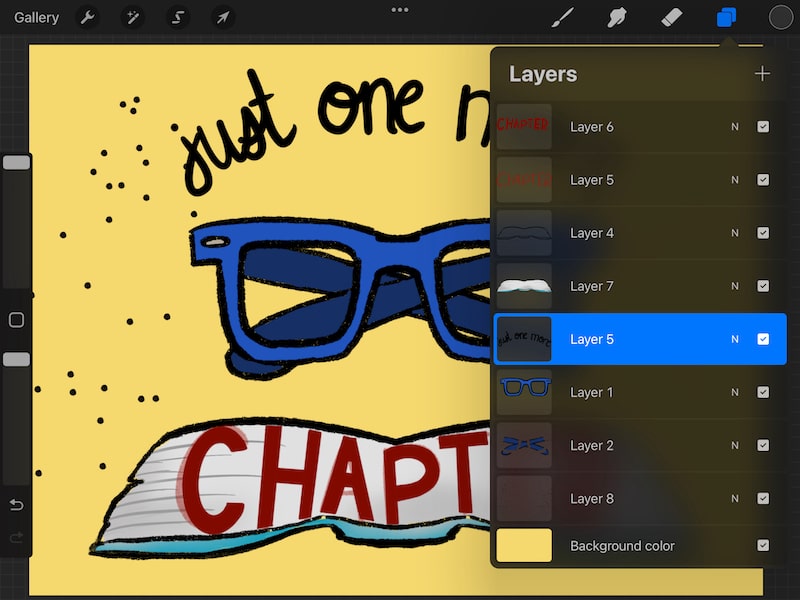
The first thing we need to do is verify we’ll be moving the right thing. Important, right? To do that, open your Layers panel. This can be found by tapping on the square icon in the top right corner of your screen.
Next, make sure the layer that contains the object or line you want to move is selected. You can tell if it’s selected because it’ll be highlighted in blue.
If it’s not selected, tap on your layer to select it and turn it blue.

2. Tap the mouse icon to activate the Transform tool
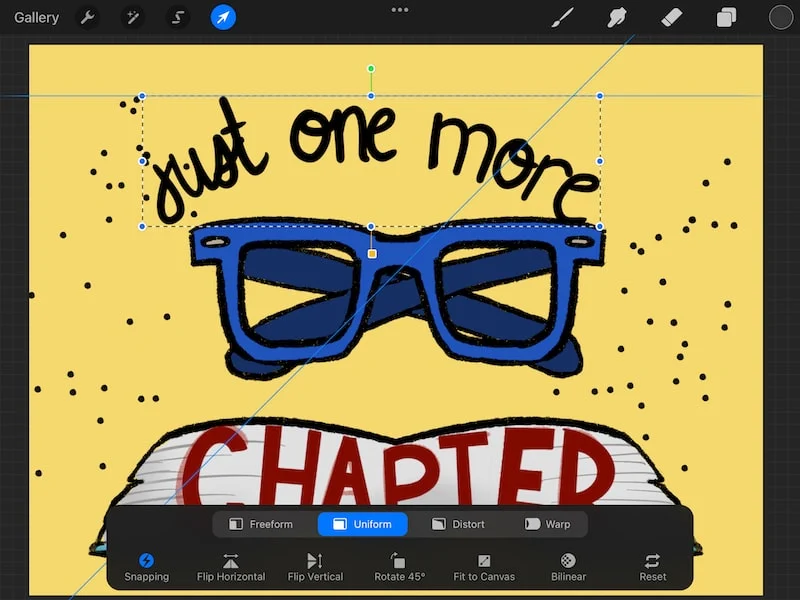
Once your desired layer is selected, tap on the mouse icon at the top of your screen. This is the glorious Transform tool, which is Procreate’s wonderful feature for moving things around.
We won’t be going into all of the nitty gritty details of the Transform tool in this post. Luckily though, I have a full guide on the Transform tool that goes into all of the fun details you didn’t even realize you needed to know.


3. Start moving your objects and lines around your Procreate canvas
As soon as you tap on the Transform tool, you’re ready to move things around your Procreate canvas.

Again, the easiest thing to do is to isolate your objects on different layers. That way, you can simply select the layer, tap the Transform tool, and start moving your objects.
Things aren’t always that simple though. There will be times (probably a lot of times) when you’ll need to move a line or an object that’s on a layer with other lines or objects you don’t want to move.
Let’s talk about how to deal with that.
Using the Selection Tool and the Transform Tool to Move Objects and Lines in Procreate
To isolate a line or object you want to move in Procreate, make sure you have the layer it’s on selected. Next, tap on the Selection tool. Choose one of the selection options to surround your entire line or object. Lastly, tap the Transform tool to move your line or object around.
If the thing you want to move is on a layer with other things, there’s just a few additional steps you’ll want to take. Here’s what you’ll need to do:
1. Open your Layers panel and select the layer with your object or line on it
Open your Layers panel by tapping on the square icon in the top right corner of your screen.
Next, make sure the layer that contains the object or line that you want to move is selected. You can tell if it’s selected because it’ll be highlighted in blue.
2. Tap the S icon to activate the Selection tool
Once your desired layer is selected, tap on the S icon at the top of your screen. This is the Selection tool.

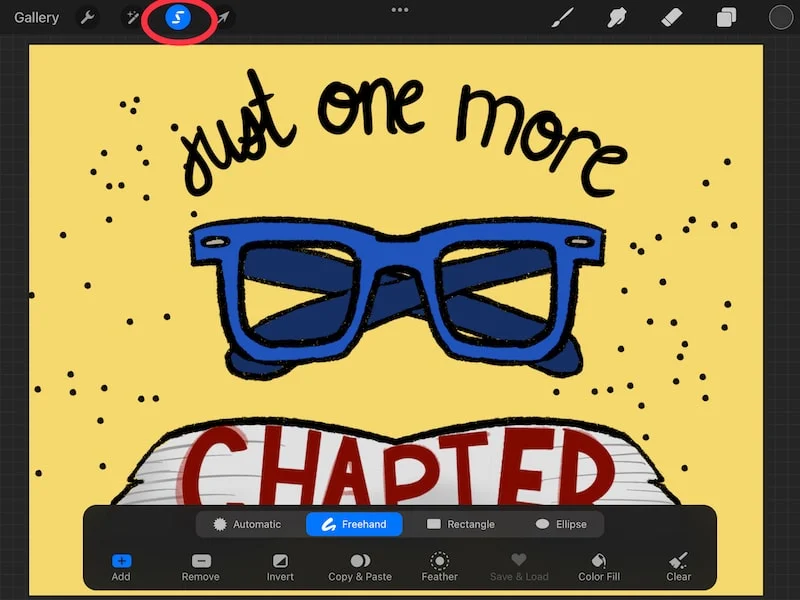
3. Choose a selection method
Within the Selection tool settings, you’ll see a handful of ways for making your selection. This panel also has copy and paste, invert, color fill, and other fun things you can use with your art.
To make your selection, you’ll want to pay attention just to the 4 options in the top row: Automatic, Freehand, Rectangle, and Ellipse.
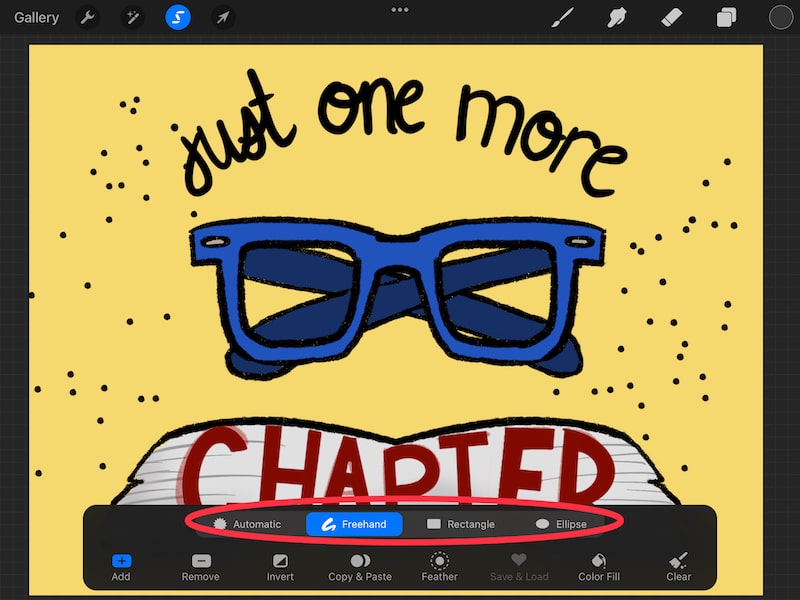

Automatic will try to guess your selection criteria when you tap your screen. You can slide your finger back and forth to manipulate the selection area.
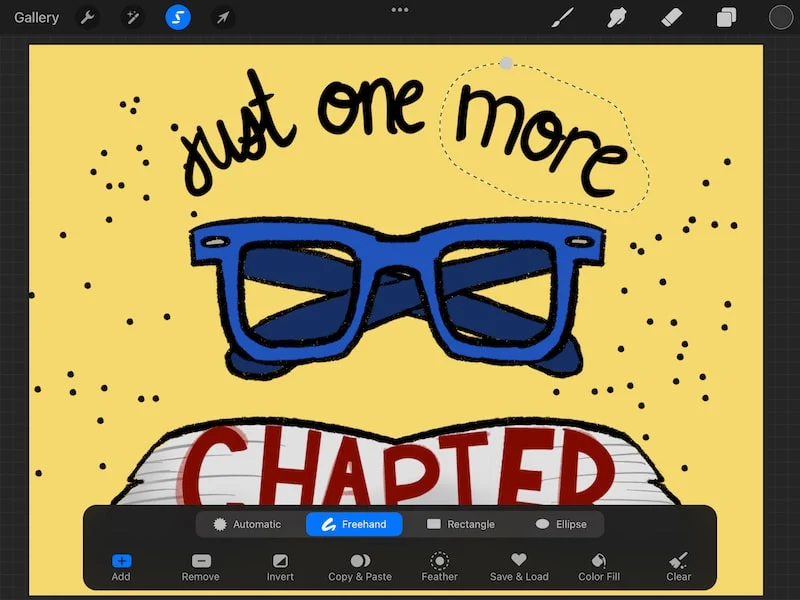
Freehand lets you draw your own selection area. This is my favorite setting to use because it gives me the most control. Just make sure to close your selection area by touching the ends of your lines together.
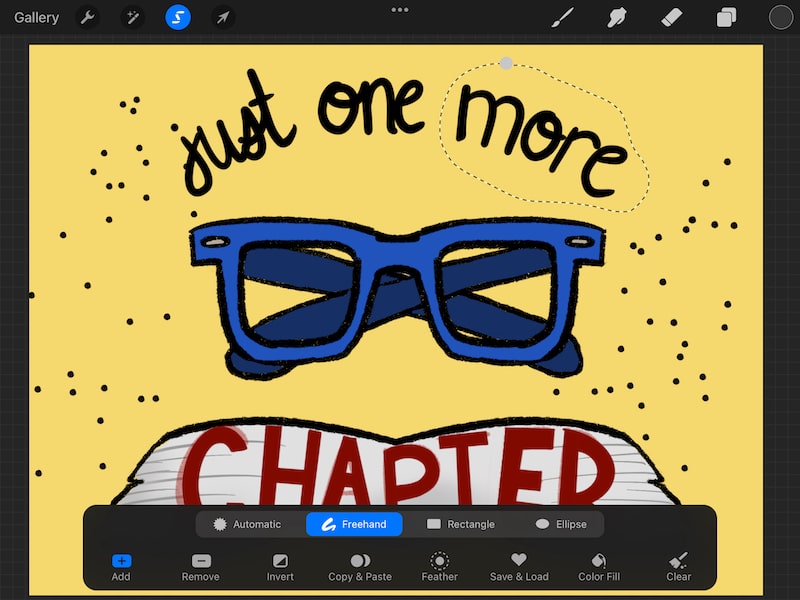
Rectangle will give you a rectangle shape you can stretch across your desired line or object.
Ellipse will give you an ellipse shape you can stretch across your desired line or object.
Whichever selection method you choose, just make sure that you surround the entirety of your line or object without including anything else.
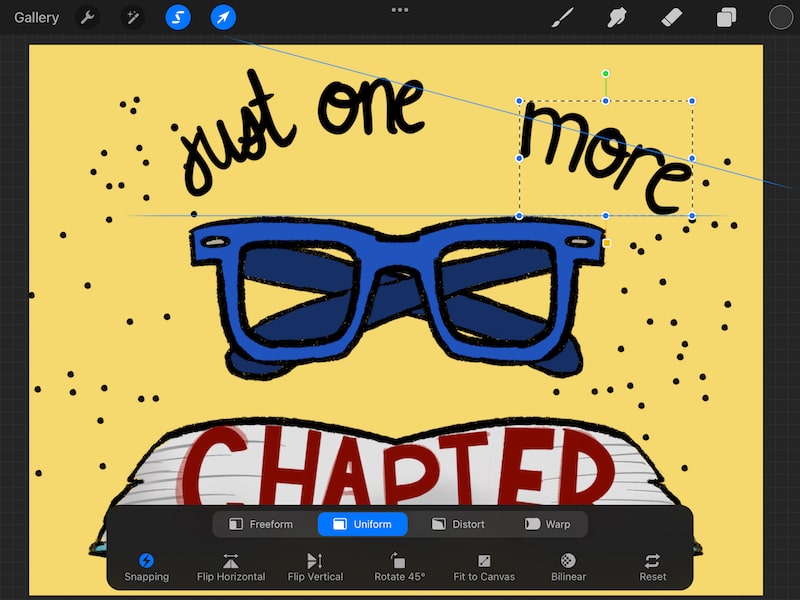
4. Tap the mouse icon to activate the Transform tool
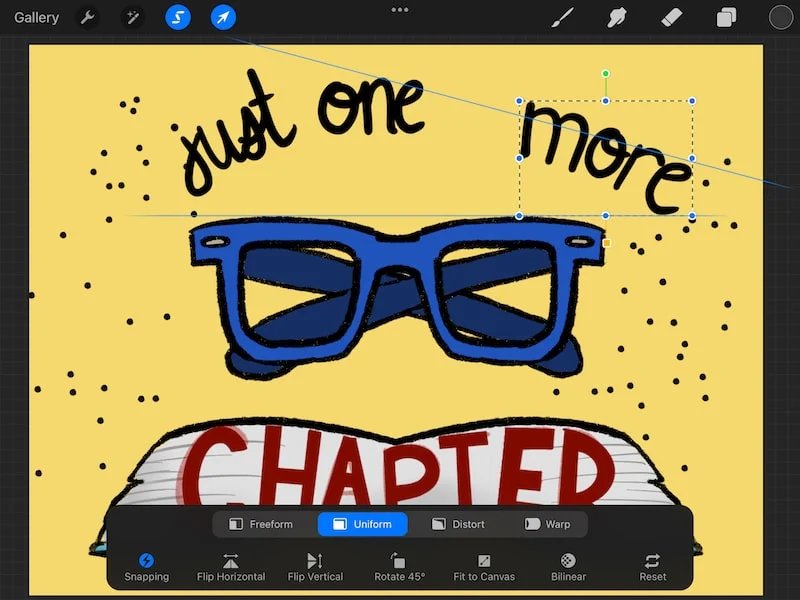
Once you’ve made your selection around your line or object, it’s time to move it! Tap the mouse icon to activate the Transform tool.
With your selection made, you’ll realize that only the things within your selection will move when you use the Transform tool. Success!
Moving lines and objects around your Procreate canvas is like a magic trick! I mean, everything in Procreate is like a magic trick. Now that you know how to move things around, I hope you have fun rearranging your art!


Diana has been an artist for over 27 years and has training in drawing, painting, digital drawing and graphic design. Diana’s latest obsession is digitally drawing with Procreate and Procreate Dreams. Diana has experience selling her art across a number of platforms and loves helping other artists learn how to make money from their art as well.