It happens to all of us. We’re working on art in Clip Studio Paint and realize it’s the wrong size. Whomp whomp. That’s why this tutorial is all about resizing images, objects, and canvases in Clip Studio Paint.
To resize an object or image in Clip Studio Paint, use the transformation tool. To resize a canvas, use the change image resolution tool or change canvas size tool. With raster-based work, there’s a risk of quality loss when resizing, so it’s best to limit your resizing as much as possible.
Before we dive into the details of resizing in Clip Studio Paint, there’s an important note we need to cover.
Limit Resizing in Clip Studio Paint to Preserve Quality
Resizing raster-based work can result in quality loss because the pixels are stretching or shrinking to accommodate the new size. To limit quality loss, it’s important to carefully choose an interpolation setting and to limit the number of times you resize your work.
I have a full article on limiting quality loss when resizing your work in Clip Studio Paint that I highly suggest reading for further details on this.
In short, every time you resize, free transform, or adjust something, you risk quality loss to some degree. This is whether you resize a single object, larger parts of your art, or your entire canvas.
This is why I suggest resizing as infrequently as possible. Have a plan for each time you resize your work so that you’re cutting out any times you’re resizing for unnecessary reasons.
In general, it’s usually best to scale things down instead of up to avoid noticeable issues with quality. Not always, but usually.
Also, pay attention to your interpolation settings and consider using vectors, when possible. Again, read my post on limiting quality loss in CSP for more details!
Alright, so now that we’ve covered that, let’s dive into the details of resizing in CSP.
How to Resize Objects or Images in Clip Studio Paint
To resize objects or images in Clip Studio Paint, use the transformation tool. This can be found in the top toolbar with the square icon. Scale your object or image to your desired size and adjust any needed settings before confirming the change.
Here’s what you need to do, step-by-step:
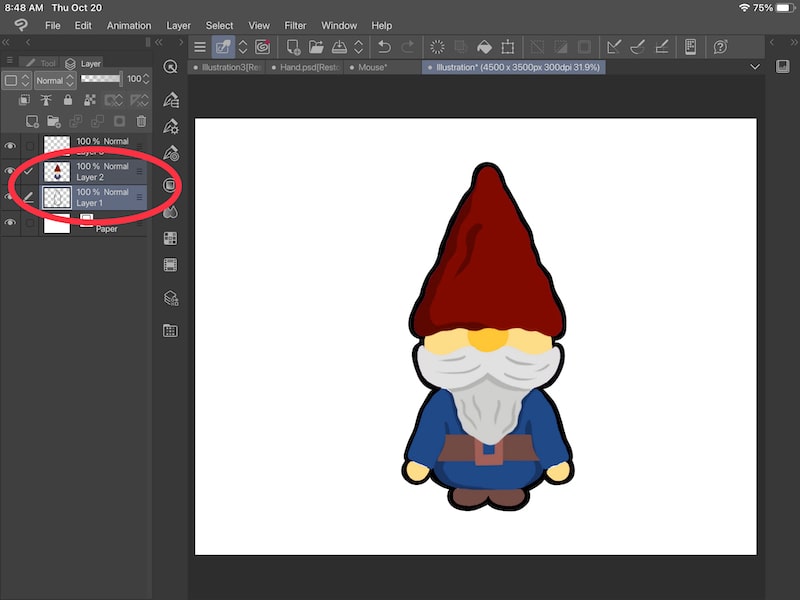
1. Make sure your image or object is selected
If the image or object you need to resize is on the same layer, and there isn’t anything on the layer that you don’t want to resize, simply select that layer.
You can also select multiple layers and resize everything on them at the same time. You can do this by clicking on the checkmark next to each layer you want to select.
Or, hold down on the command button and click on each layer you want to select.
If you’re using an iPad, drag your finger out from the left side of your screen to access the keyboard.

If the image or object you need to resize is on the same layer, but there are other things on the layer that you don’t want to resize, use the selection tool to isolate the thing you want to resize.

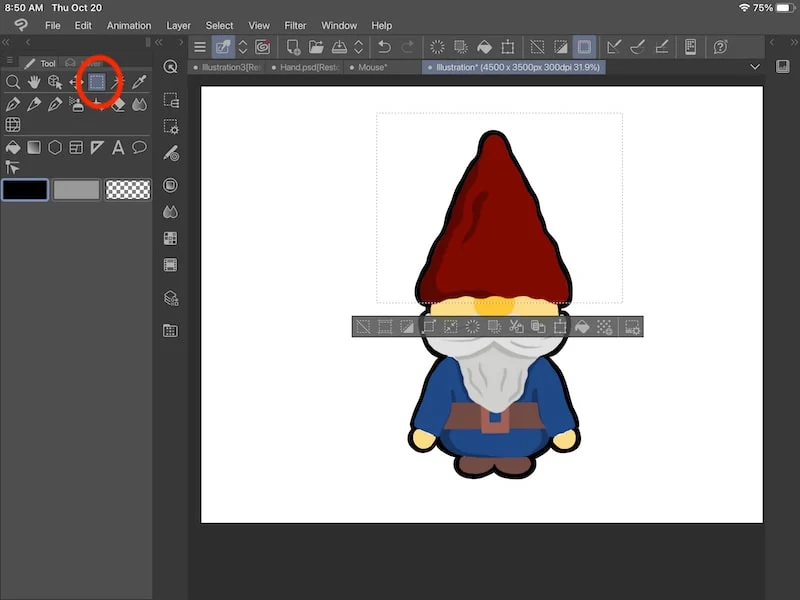
2. Click on the “Scale/Rotate” button in your top toolbar
The “Scale/Rotate” button can be found in the top toolbar with the square icon. You can also access it by going to the “Edit” menu, clicking on “Transform”, and choosing the “Scale/Rotate” button.

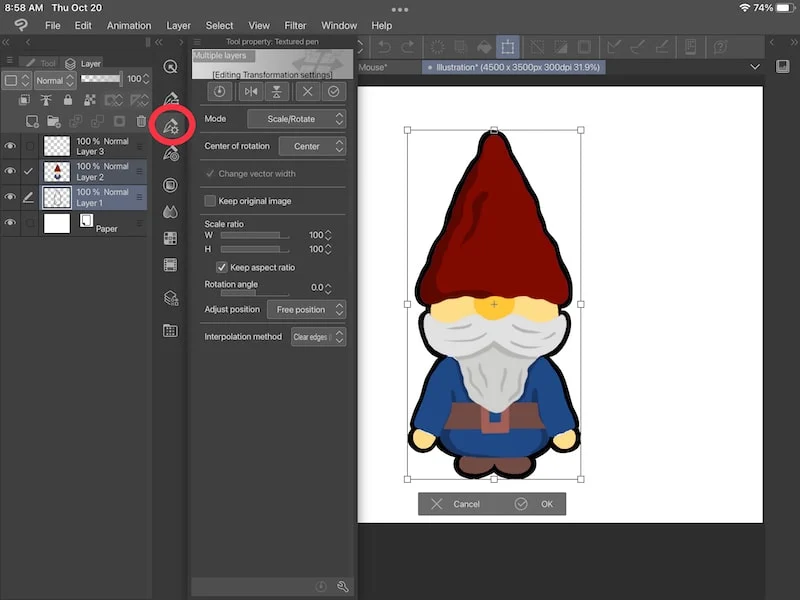
3. Adjust the transformation tool settings
Once you activate the transformation tool, the tool property menu will house your transformation tool settings.
You can find the tool property menu by clicking on the tool icon with the gear.
Within the transformation settings in the tool property menu, you can adjust things like the scale ratio, rotation angle, positioning, interpolation method, and more.

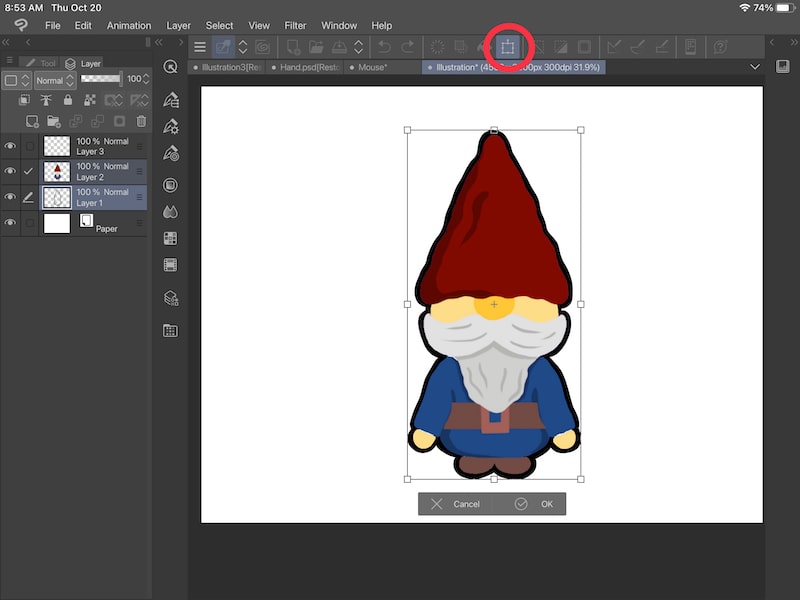
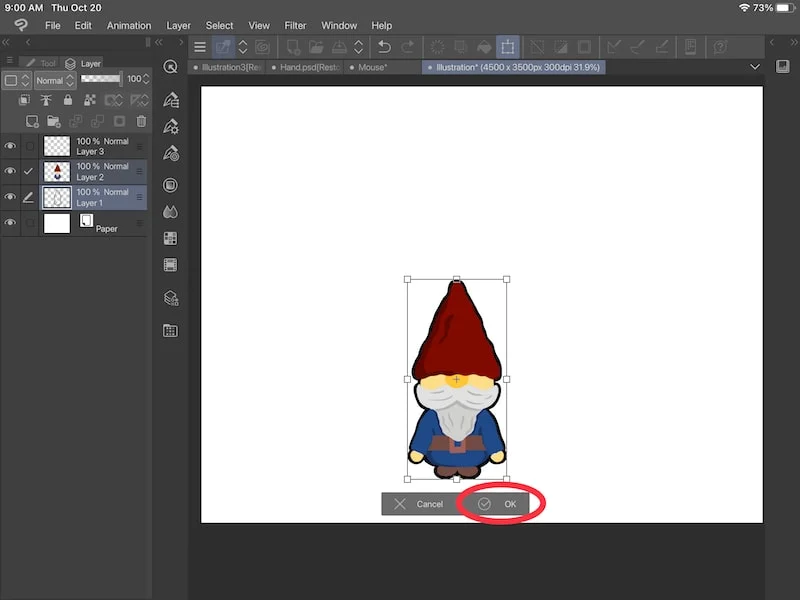
4. Resize your object or image, as needed
Once you’ve adjusted your transformation settings, go ahead and resize your object or image. Remember that we want to limit the amount of times we resize something, so be sure you have the right size before you confirm your change and click the “OK” button.

Now, let’s talk about how to resize your canvas in CSP.
How to Resize a Canvas in Clip Studio Paint
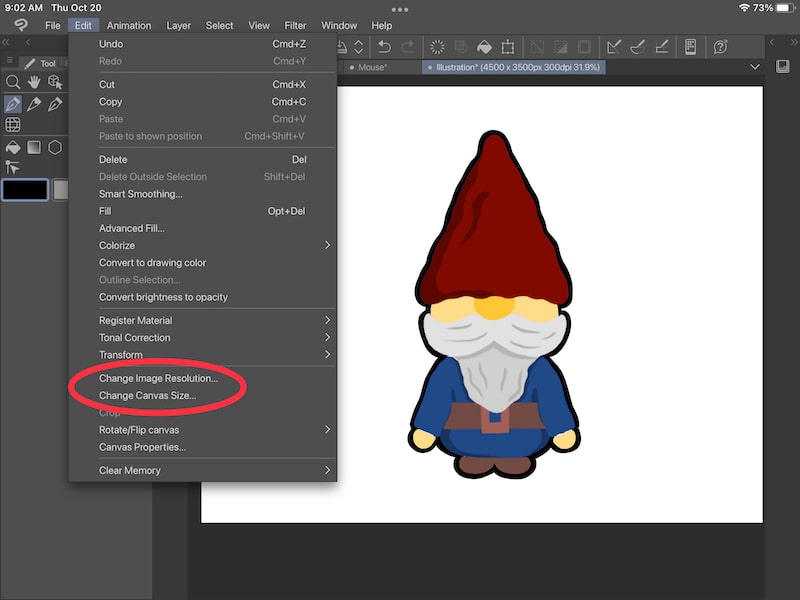
To resize a canvas in Clip Studio Paint, use the change image resolution option or change canvas size option. This can be found in the edit menu. Adjust the size of your canvas, plus any additional settings, as needed.
Here’s what you need to do, step-by step:
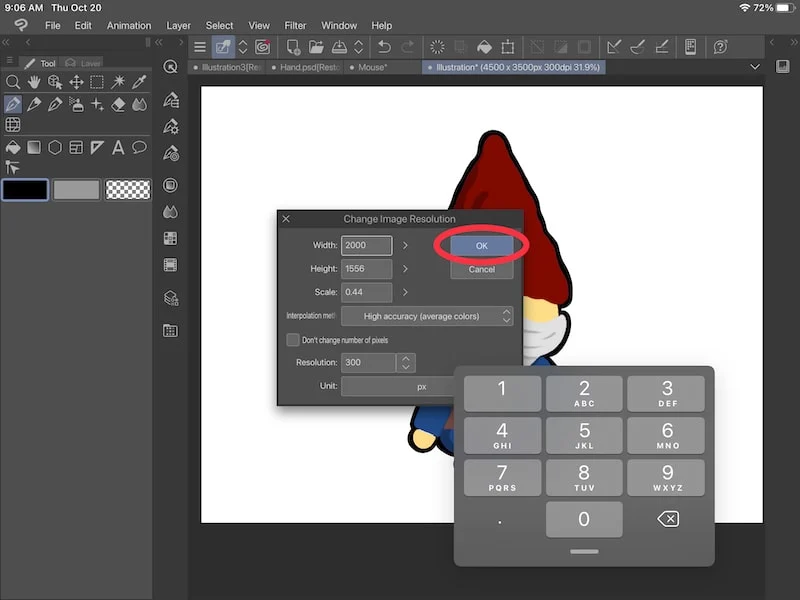
1. Choose the change image resolution option or the change canvas size option within the edit menu.
There are two ways to resize your canvas in CSP – the change image resolution option or the change canvas size option. Both of these can be found in the edit menu.

Personally, I prefer the change image resolution option. This is because there are more settings that I can change and adjust that will impact how my canvas is resized.
For example, within the change image resolution menu of options, I can verify my DPI and choose an interpolation method.
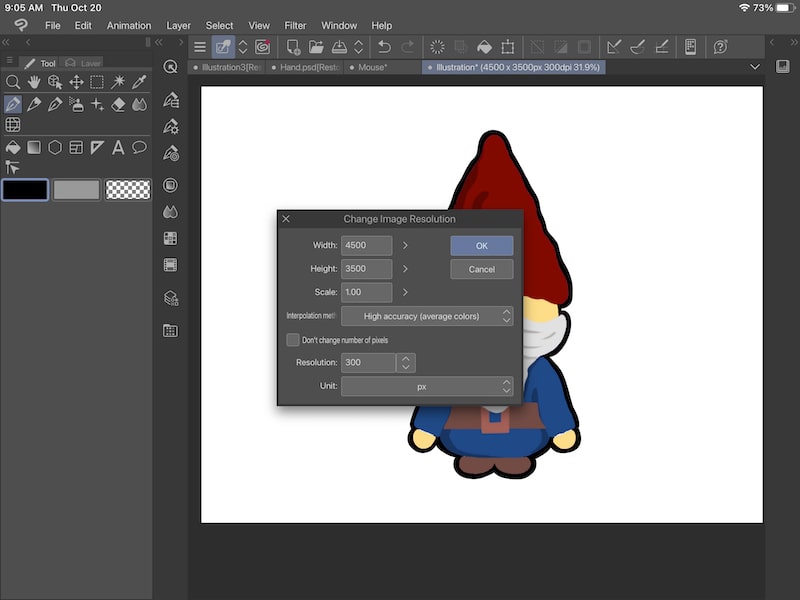

Given that we want to limit the number of times we resize our work, it’s great to verify these details and make sure everything is the way you want it to be.
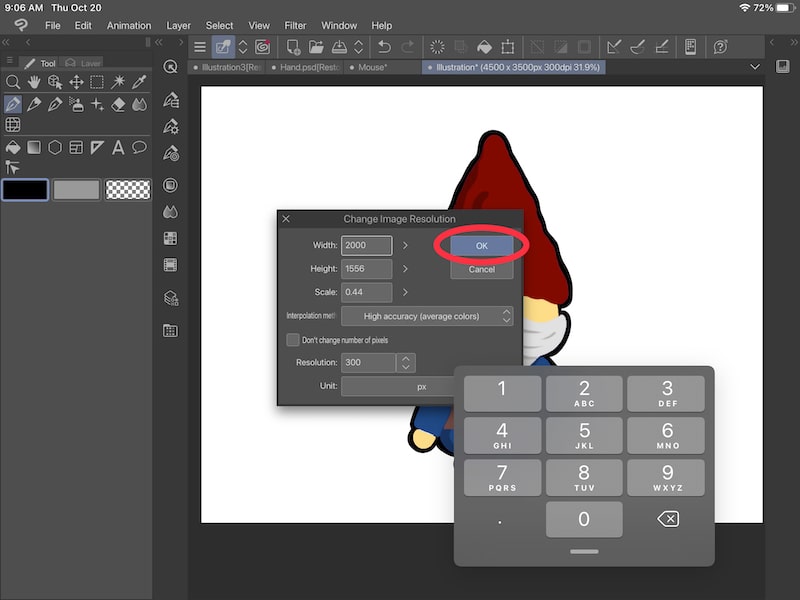
2. Confirm your canvas changes
After you’ve adjusted all of your settings and you’re sure your canvas settings are what you want them to be, go ahead and click the “OK” button to adjust your canvas.
I know I’ve said it a lot, but it’s worth repeating over and over again. Limit the number of times you resize your canvas. That way, you’ll preserve as much of the quality of your art as possible.
With this amazing world of digital art, resizing your objects, images, or whole canvas only takes a few clicks. This is unbelievable to someone like me who used to stare at my piece of paper and wish it could magically become a different size.
While we want to resize sparingly, it’s a neat and powerful tool in the digital art world!


Diana has been an artist for over 27 years and has training in drawing, painting, digital drawing and graphic design. Diana’s latest obsession is digitally drawing with Procreate and Procreate Dreams. Diana has experience selling her art across a number of platforms and loves helping other artists learn how to make money from their art as well.