Gone are the days of painstakingly drawing each section of a kaleidoscope or mandala by hand, continually erasing as you try to get perfect symmetry and spacing. Drawing kaleidoscopes and mandalas in Procreate is SO quick, easy, and even relaxing.
To draw a kaleidoscope or mandala with Procreate, turn on the Drawing Guide and set it to Radial Symmetry, which will split your canvas into 8 slices. Anything you draw will be automatically mirrored in all of the slices, giving you a perfectly symmetrical kaleidoscope or mandala.
With Procreate, you can create kaleidoscopes and mandalas that look like they took hours of painstaking work. In reality, you can end up with an incredible piece of art in just a few minutes. Let’s dig into the details. If you’re like me, you’ll end up with an obsession for drawing kaleidoscopes and mandalas!
This post may contain affiliate links, which means I may earn a commission if you decide to purchase through my links.
Using the Symmetry Drawing Guide for Perfect Kaleidoscopes and Mandalas
Within Procreate, click on the wrench to open the Actions menu. Click on the Canvas tab and toggle the Drawing Guide on. Click the button to edit the Drawing Guide and choose the Radial Symmetry option in order to draw your perfectly symmetrical kaleidoscope or mandala.
Let’s walk through that step-by-step.
1. Click on the wrench to open the Actions menu within Procreate.
2. Click on the Canvas tab.
3. Toggle on the Drawing Guide.
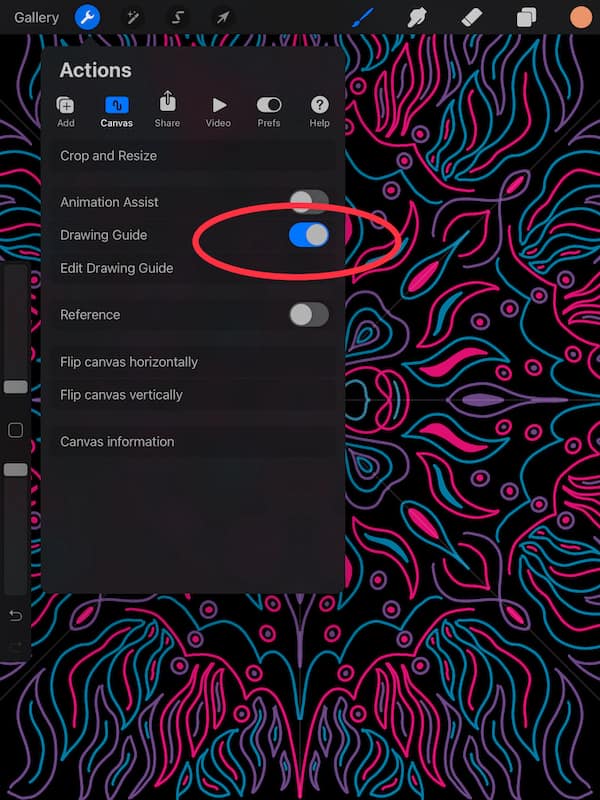
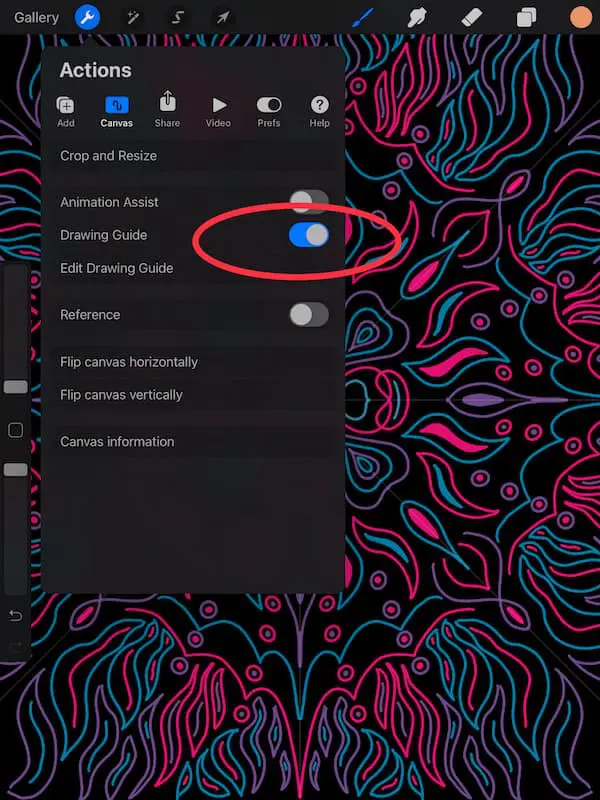
4. Click the button to edit your Drawing Guide.
5. Choose the Symmetry setting on the far right.
6. Click on the Options button and click on Radial.
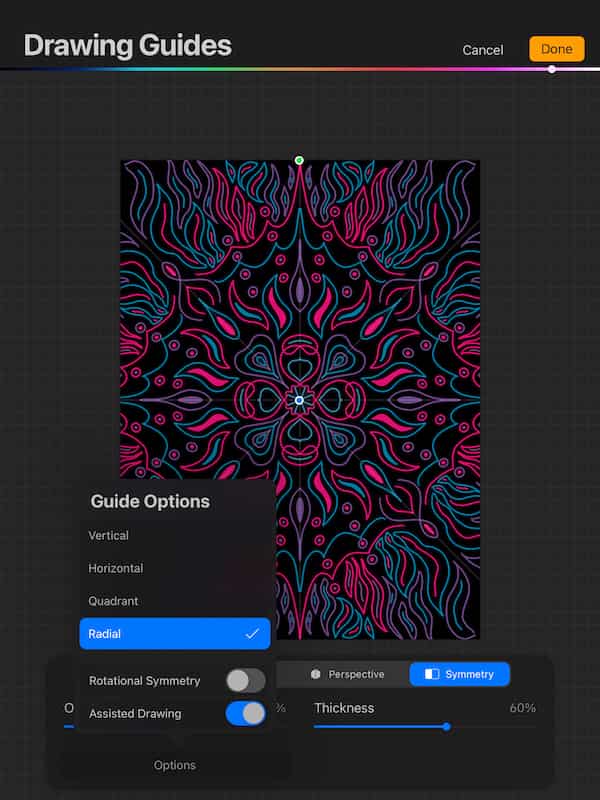
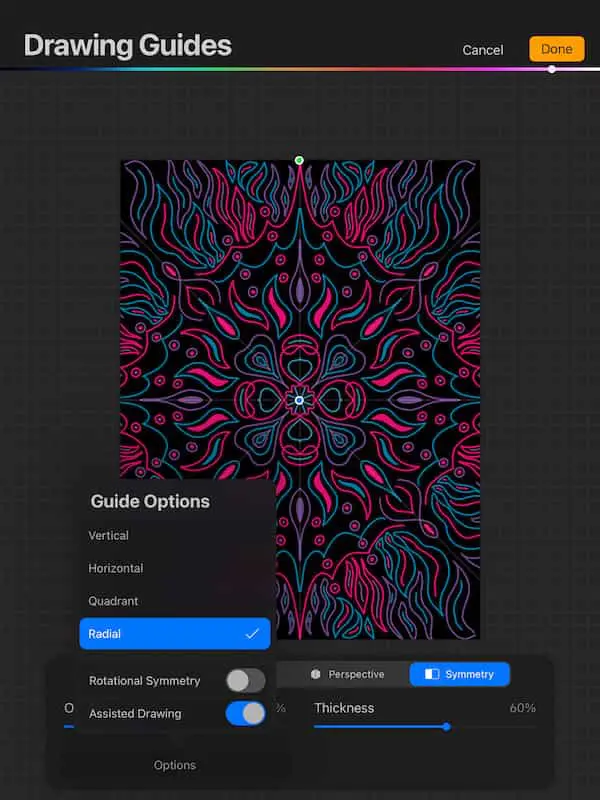
7. Make sure that Assisted Drawing is toggled on.
8. Click done and you’ll be ready to go!
Procreate’s Radial Symmetry setting will cut your canvas into 8 equal slices. Whatever you draw in 1 slice will be automatically and perfectly mirrored in the remaining 7 slices.
This is why Radial Symmetry is GOLD for creating kaleidoscopes and mandalas that require everything to perfectly match and be evenly spaced. No more wasting time trying to make all of your circles the same size, or getting to the end of your drawing just to realize that everything is weirdly spaced on one side.
Note: if you don’t want your kaleidoscope or mandala to be super intricate, choose the Quadrant option instead of the Radial option. This will cut your canvas into 4 pieces instead of 8.
Procreate’s symmetry options give you the freedom to draw with as many details and flourishes as you’d like. There’s no need to stress about drawing something intricate and then recreating it over and over again as you move around the circle of your kaleidoscope or mandala. Ah, it’s liberating! It’s also extremely efficient.
Using the Symmetry Drawing Guide to Color Your Kaleidoscopes and Mandalas
Another huge perk of using Procreate’s symmetry tools to draw your kaleidoscopes and mandalas is that coloring your work is quick and easy. Let’s say that you drew a circle in 1 of your slices that was automatically reproduced in the rest of your 7 slices. When you drag and drop a color into it, it not only will color that 1 circle, but the remaining 7 of them as well.
There’s no need to drag and drop your colors into all of your elements individually. This only applies to shapes and elements that are mirrors of each other. So, if I drag and drop a color into the circle I drew, it will only automatically color the 7 other circles that were created as mirror images of that circle. It won’t color the square next to it, for example.
If you don’t want all of your mirrored shapes and elements to be the same color, click on the Layers panel and click on the layer that has your desired shapes and elements on it. Turn off Assisted Drawing. This will stop the symmetry feature and let you color everything individually.
Choosing Colors for Your Kaleidoscopes and Mandalas
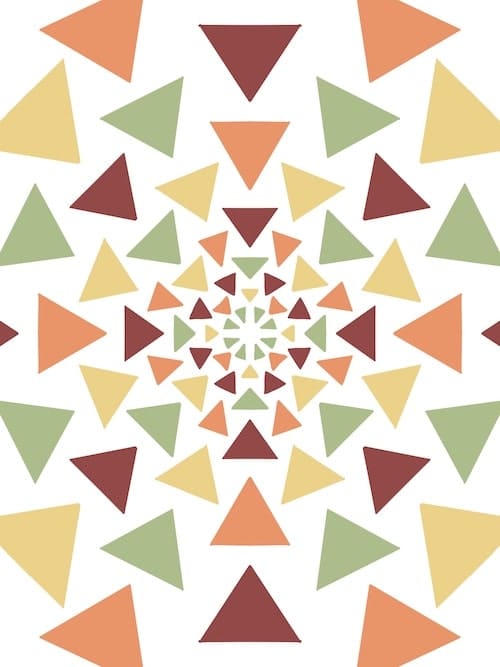
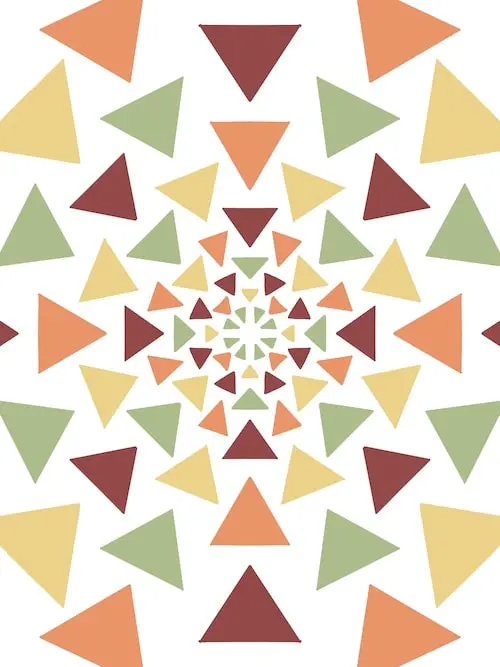
Given how detailed and intricate kaleidoscopes and mandalas can become, it’s important that they don’t get overwhelmed by too many colors. Choose a background color and then choose about 3 or 4 more colors that you will use for your design. This will make sure that everything stays cohesive and clam, instead of chaotic.
Personally, I like to make my background a non-factor from a color standpoint. Black or white is what I usually prefer. The benefit of white backgrounds, or even cream, is that they create nice canvases that compliment softer pastel colors.
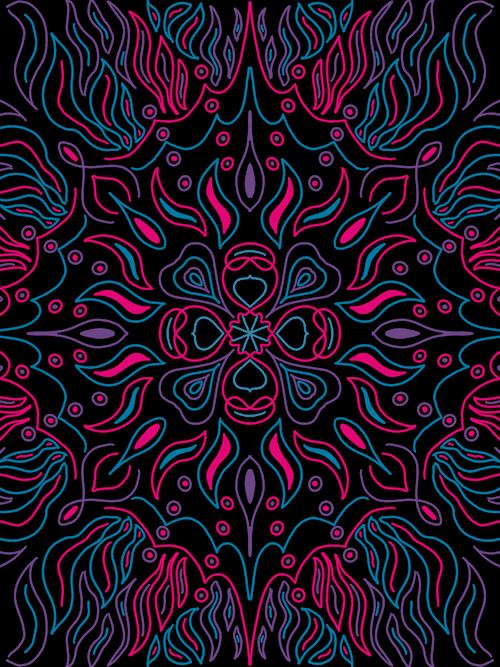

On the other hand, black backgrounds can give you an AMAZING playground for your neon and bright colors.
You can also play around with backgrounds of many different colors. Just make sure you don’t go overboard.
If you struggle with picking Procreate color palettes, there’s a FANTASTIC Skillshare class that will get your color picking skills up to par VERY quickly. It’s called Color Palettes in Procreate: Find Your Unique Color Style and it’s a treasure trove of information.
What’s even better is that you can take this class for free! Absolutely free! In fact, you can take all of the amazing Procreate classes that Procreate has to offer Just grab a free trial to Skillshare and see how many amazing classes you can squeeze in. I’m a proud Skillshare subscriber and the knowledge I’ve learned from all of their classes has been invaluable.
Trust me, you’ll want to take advantage of everything their free trial has to offer.
Alright, once you have your symmetry feature set up properly and you’ve picked your colors, it’s time to draw to your heart’s content. You’ll be surprised to find how incredibly relaxing and fun it is to weave together a beautiful kaleidoscope or mandala.
Before we finish up, it’s important to know how to turn off the symmetry feature. Maybe you need to make some adjustments to your design without it being mirrored throughout your entire canvas; maybe you have some non-symmetrical elements you want to add to your design; maybe you’re finished with your piece of art and you want to simply clear the symmetry settings.
Well, let’s talk about how to do that. Turning the symmetry feature off isn’t the same process as turning it on, so it can be confusing at first.
How to Turn Off the Symmetry Feature in Procreate
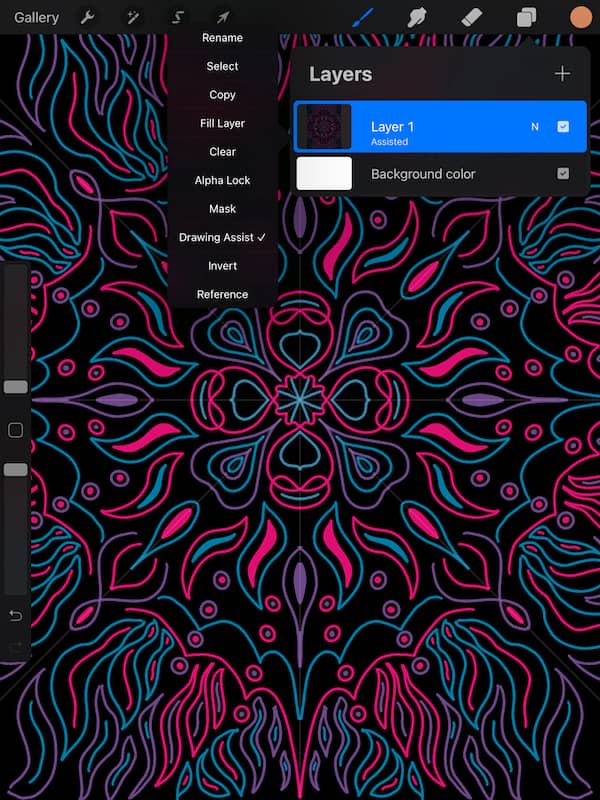
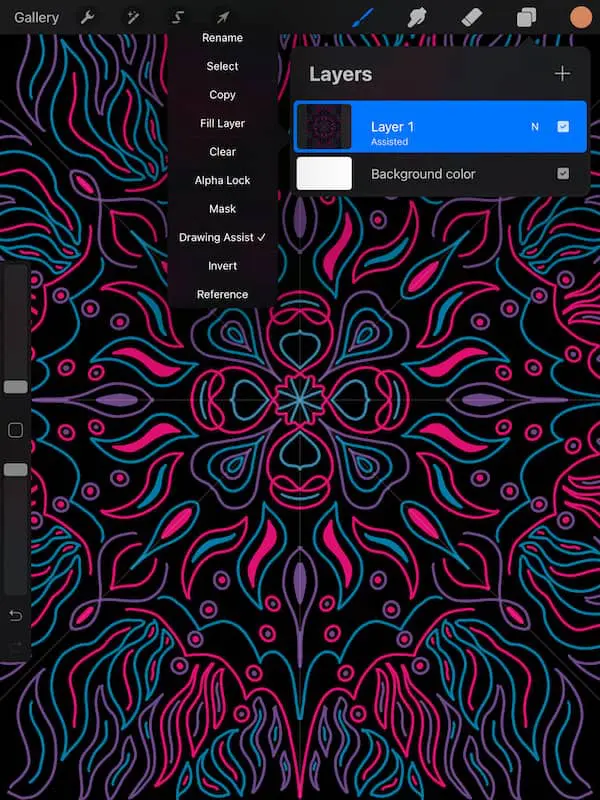
To turn off the symmetry feature in Procreate, navigate to your layers panel and click on any layers that say “Assisted” on them. Click on each of these layers to open the layer settings and click on the Assisted Drawing button to turn it off.
In order to turn the symmetry feature ON, all we had to do was activate the Symmetry Drawing Guide. But, in order to turn the symmetry OFF, we can’t just toggle the Drawing Guide back off again. So, the process for turning the symmetry feature ON isn’t the same as turning it OFF. This can leave people in a symmetry spiral, wondering why the darned symmetry won’t turn off.
When you activate the Drawing Guide, you also activate Assisted Drawing. When you deactivate the Drawing Guide, the symmetry lines will disappear, but the Assisted Drawing will still be on, which means that you’ll still be drawing in symmetry.
In order to fully turn off the symmetry feature, you need to toggle off the Drawing Guide as well as turn off the Assisted Drawing. In order to do this, open your layers panel and scan for any layers that say “Assisted” on them. Click on each of these layers to open up the settings. Click on Assisted Drawing to turn it off.
Drawing kaleidoscopes and mandalas is really fun! Turn on the symmetry feature in Procreate and have a great time creating beautiful designs.


Diana has been an artist for over 27 years and has training in drawing, painting, digital drawing and graphic design. Diana’s latest obsession is digitally drawing with Procreate and Procreate Dreams. Diana has experience selling her art across a number of platforms and loves helping other artists learn how to make money from their art as well.