There are so many great Procreate brushes you can use with this great digital drawing app, but it’s really easy for them to get disorganized and chaotic.
Import a few new favorite brushes and it’s long before you can’t find the brushes you’re looking for. So, how do you organize your brushes in Procreate?
Here are some tips to turn your cluttered Procreate brushes menu into an organized, Procreate brush, wonderland.
1. Have a Plan for Organizing Your Brushes
Every great organizational project starts with a plan. How do you want your brushes grouped? What will work for you? As an artist, what will make your life easier? Before you actually start organizing your brushes, you need a vision of what you want the end product to be.
Later in this post, we’ll talk about best practices for brush organization that work for EVERY organizational style and vision.
To get started though, we need to build that organizational style and vision.
Let’s dive into some different ways to organize your brushes. The option you choose will depend on how your brain works and how it makes the most sense for you to find the brushes you need as quickly as possible.
Here are some possible ways for you to organize your brushes.
-Organize your brushes by style. Put all of your markers in one folder; your lettering brushes in one folder; your watercolors in one folder; your pencils in one folder. You get the picture.
If your brain thinks in “mediums,” this will be the option for you. I personally use this option because it reminds me of the old-fashioned process of pulling out my pencil box, or setting up my watercolors. Clicking on a watercolor brush in Procreate is MUCH different than dragging out my watercolor set, but I like to pretend.
Of course, Procreate already labels their default brushes this way, but make different ones if these don’t work for you.

This option is also great if you’re not really sure how you want to organize your brushes. It’s the most intuitive organizational structure and will keep you from losing track of your brushes. No need to search for a watercolor brush in a folder that you named for some reason, in some way, that you can’t even remember anymore. Just look in the watercolor folder.
If none of the other organizational options resonate with you, organizing your Procreate brushes by style is what I suggest as a default. You can always change it later if your needs change.
–Organize your brushes by how much you use them. If there are certain brushes that you use a LOT, it can be annoying to navigate to different folders whenever you need to switch between them.
It can be helpful to have a folder of brushes that you always turn to.
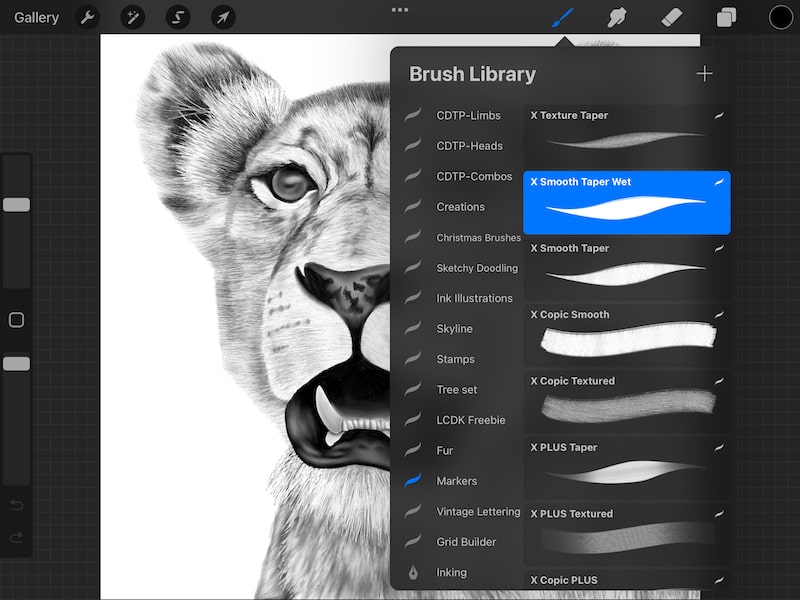
Luckily, Procreate has had this a lot easier by adding a “Recent” folder at the top of the brush library that will automatically store any brushes you’ve used recently.


-Organize your brushes according to your projects. The reasoning for this organizational system is similar to the one above. If you’re using the same brushes again and again for the same project, it’s annoying to navigate between different folders whenever you need to switch between them.
This also eliminates any confusion about which brushes you used for which projects.
-Organize your brushes by all of these methods! This might sound like a lot of work, but hear me out. First, organize your brushes by style and medium. That way, you’ll always know where your paint, pencil, ink, and stamp brushes are.
Next, make duplicates of the brushes you use most frequently and put them into one folder at the top of your brushes list. That way, you still have a copy of them in their “medium” specific folders, but also have easy access to them in one simple folder at the very top of your brushes panel.
Lastly, as you work on new projects, make duplicates of your brushes and put them in folders according to your projects. Once you’re done with a project and no longer need the folder of brushes for it, you can delete it. This folder was created from duplicates anyways, so these brushes exist elsewhere (in their medium specific folder and/or frequently used folder).

Using a mixture of these 3 organizational strategies can make you feel like a Procreate rockstar and really optimize how you use your brushes.
Ok, so now that you have a potential vision for how you want to organize your Procreate brushes, let’s talk about some best practices to make sure that your brushes panel always stays clean, organized, and as useful as possible.
2. When You Import New Procreate Brushes, Reorganize Them Immediately
When you import new brushes into Procreate, by default, they’ll create their own folder. This can be confusing to keep track of. Whenever you import new brushes, get in the habit of reorganizing them immediately.
If you import new brushes into Procreate, and simply leave them there, you’ll get overwhelmed really quickly.
There are times when we import brushes in nice, in-depth packs (a full set of lettering brushes, for example, that make sense in 1 folder). But, there are also times when we import one brush at a time and suddenly have separate folders for individual brushes. Not good.
Don’t import brushes and let them sit there. Reorganize them.
Whenever you import new brushes, make sure you follow the organizational structure that you thought about at the beginning of this post. And don’t wait and say you’ll get to it later. Just get in the habit of organizing your new brushes as soon as you drop them into Procreate.
It will make your life easier and so much more organized.

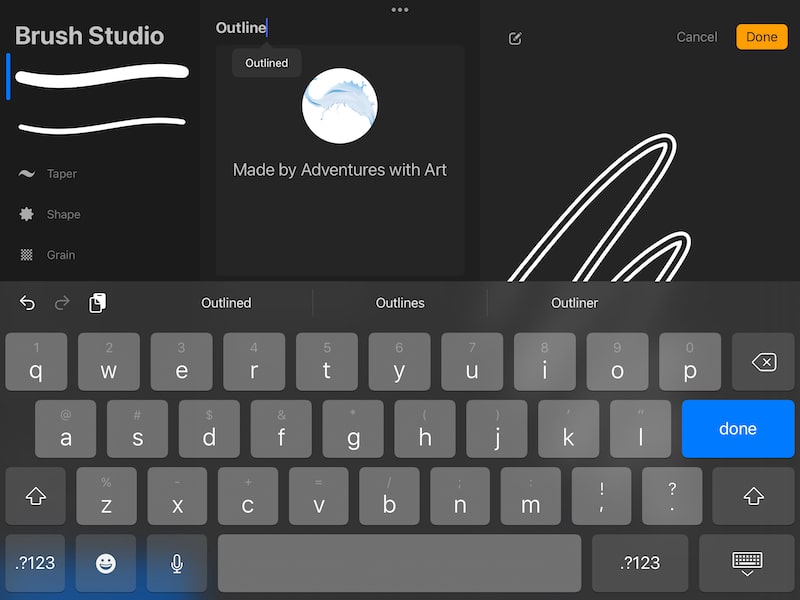
3. Rename Your Brushes However Makes Sense to You
Make sure that all of your brushes are named in a way that makes sense to you. Name your brushes based on their style, medium, project, use, or vibe. Whatever names you choose, make sure that they accurately describe what that brush means to you.
We’ve talked about brush folders, but that’s not where your organizational fun stops. Don’t be afraid to rename your brushes so that they work as best as possible for you.
Just because Procreate, or the brush creator, named a brush in a certain way doesn’t mean that it’s written in stone. It also doesn’t mean that you’ll have the same vision for the brush as the original creator did.
Be intentional about renaming your brushes according to your needs.
I have a full guide on renaming Procreate brushes and brush sets that can help.
You can either name your brushes once and never change them again, or you can rename them according to your projects.
Brush folders are designed to be versatile and ever changing depending on your needs. So too should your brush names.

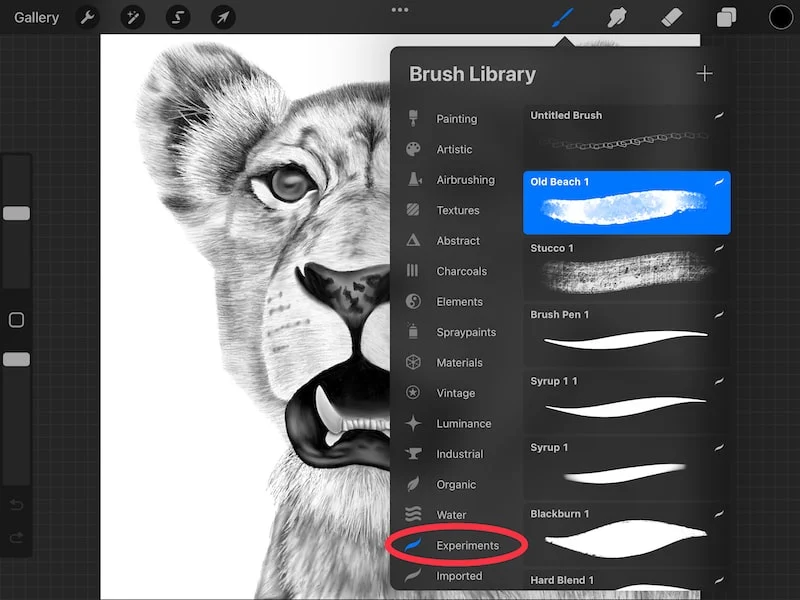
4. Have a Special Folder for Brush Experiments
Make duplicates of brushes you want to mess around with and put them in a special folder that is solely intended for experiments. You can adjust all of the settings without worrying about ruining the original.
These brushes will be removed from your regular folders so that you don’t get confused about which brushes you can mess around with, and which brushes you can’t.
Once you have an experimental brush that you want to keep, simply move it out of the experimentation folder into its new home.

That way, you always have a way to experiment with new brushes without ruining the originals you already have, You also have an organizational strategy to use once you’ve struck gold with an experimental brush and want to put it into your permanent collection.
However you decide to organize your Procreate brushes, make sure that you build a system that works for you. This will make sure that you can spend more time on your art, and less time sifting through brushes.


Diana has been an artist for over 27 years and has training in drawing, painting, digital drawing and graphic design. Diana’s latest obsession is digitally drawing with Procreate and Procreate Dreams. Diana has experience selling her art across a number of platforms and loves helping other artists learn how to make money from their art as well.