Split screen is something that usually makes us think of TVs or computers. But, as it turns out, split screen is one of my favorite iPad features to use with Procreate.
The iPad’s split screen feature can be used with Procreate for importing files or accessing reference photos. Drag up from the bottom of your screen and click on the arrow that appears. Drag your needed app onto your Procreate canvas.
You can use the split view feature to import brushes and color palettes into your app. Simply use the steps below with your Files app and you’ll be all set.
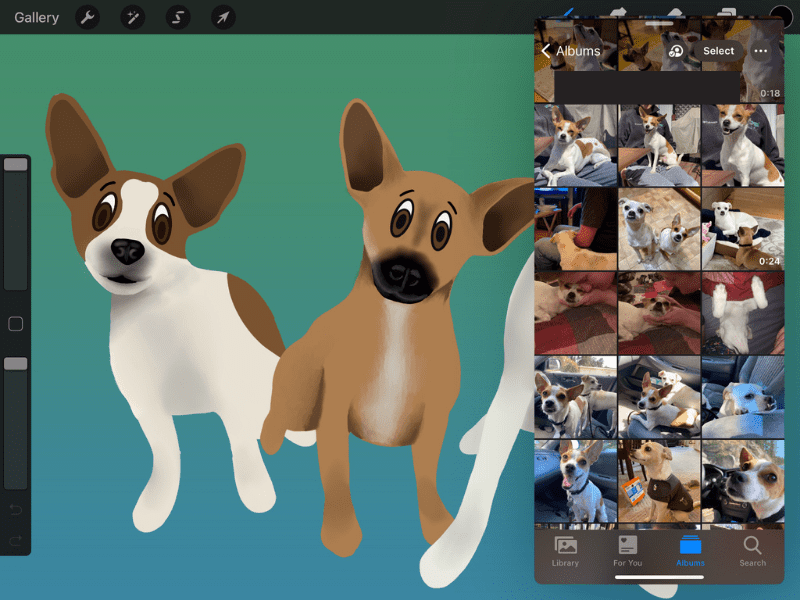
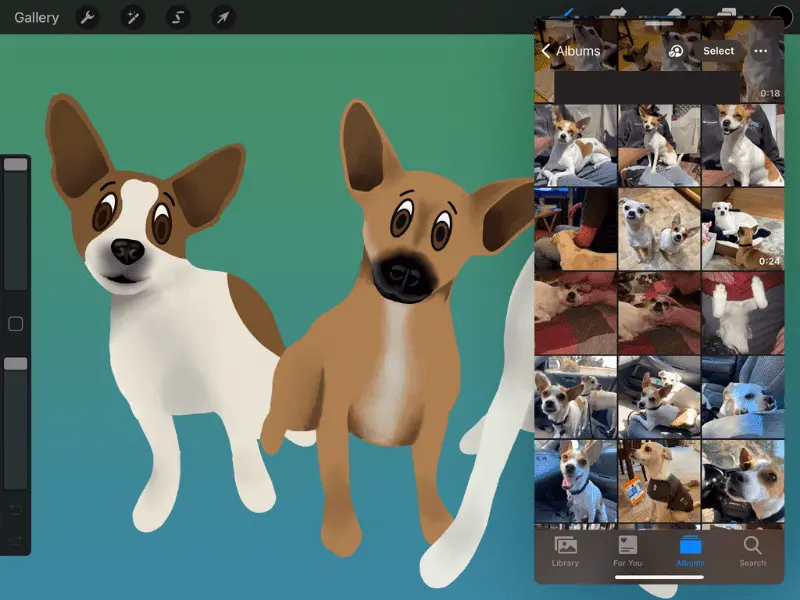
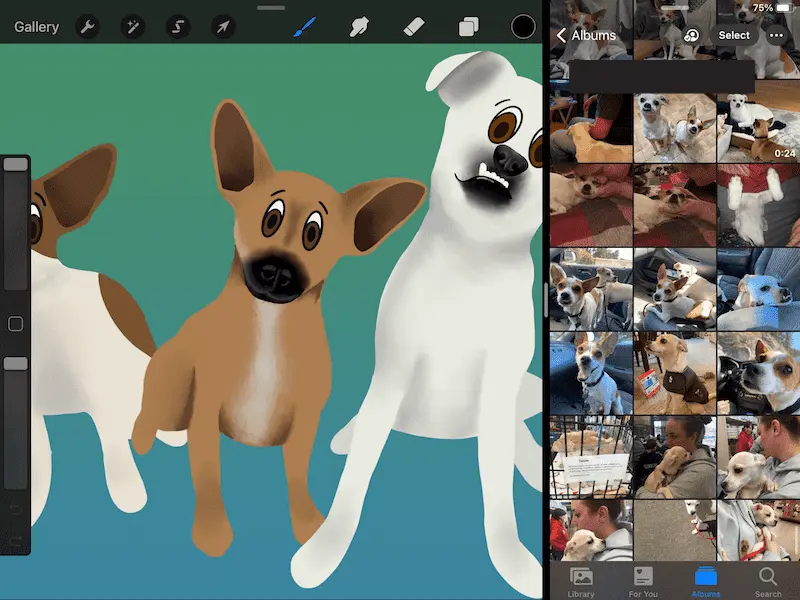
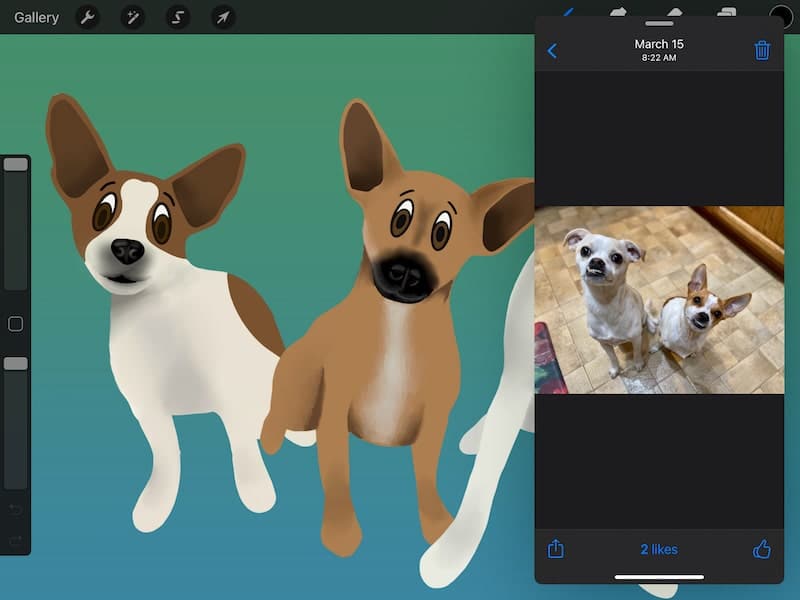
That said, my favorite use of the split screen feature is with the Photos app. This gives you a very versatile way to access any reference photos in Procreate you may need for your art.
I know, I can already hear you start to argue that the WHOLE point of Procreate’s reference image feature is to…well…display reference images.
Yes, you’re right, but there are some neat benefits to using the split screen feature instead of the reference feature when accessing images that you are using as inspiration for your art.
We’ll be talking about those benefits in later sections, so make sure to keep reading.

Side note: if you don’t know what Procreate’s reference image feature is, check out my quick video about it below.
First, let’s talk about how to access the split screen feature in the first place. There are two ways to do it that you can choose between depending on your preferences.
Important note: I’m using the terms “split screen” and “split view” interchangeably, as many people refer to this feature with both.
How to Use Procreate’s Split Screen Feature
Using the split screen/split view feature in Procreate is similar to how you would use it with other apps in your iPad. So, once you know this method, try it out in other ways!
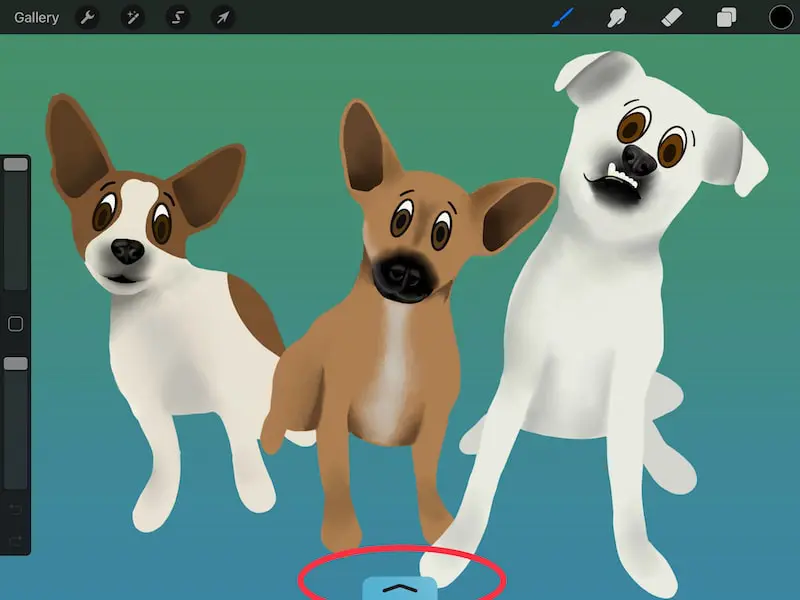
1. Slide up from the bottom of your iPad screen onto your canvas
Use your finger to slide up on your canvas, starting at the very bottom. To make it easier, I usually start sliding at the very bottom rim of my iPad. By starting with the inactive part of my screen, it makes sure that I don’t accidentally start too high up.
If you accidentally swipe too high on your screen, you’ll just end up drawing a line on your canvas. You need to make sure that your swipe is hitting the very bottom of your active canvas, which is why getting a running start from the rim of your iPad helps.
The goal is to have a little arrow appear. It might be that your apps appear without seeing an arrow first. That’s great! Skip to the third step.

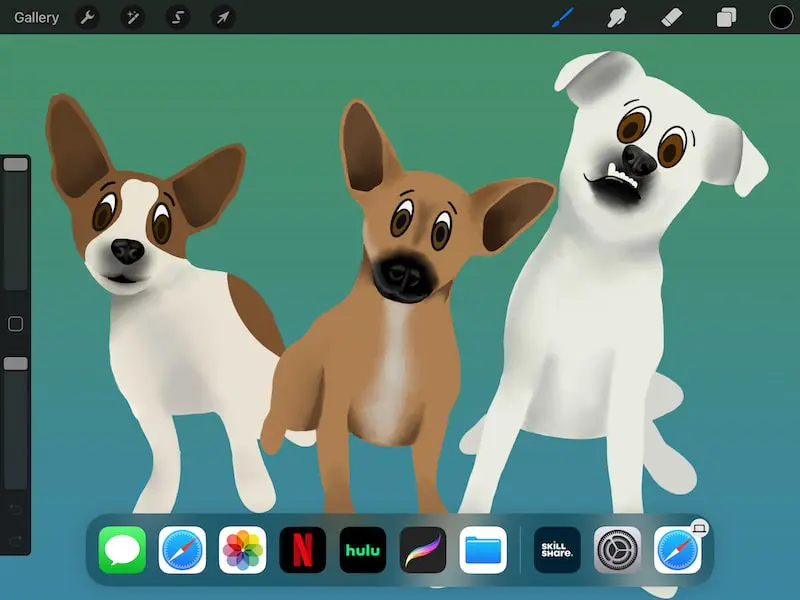
2. Drag the arrow upwards until your apps appear
If you did your swipe correctly, you’ll see a little arrow appear at the bottom of your screen.
If you don’t see an arrow appear, try your swipe again until you’re able to get that arrow to appear.
It might be that your apps appear without seeing an arrow first. That’s great! Skip to the next step.
Once you see the arrow, drag it upwards. Don’t drag too much though. If you overdo it, you’ll end up closing out your Procreate app.
Only drag the arrow upwards until a toolbar of your apps is visible. Then, stop. It may take some practice, so don’t worry if you accidentally close Procreate a few times.

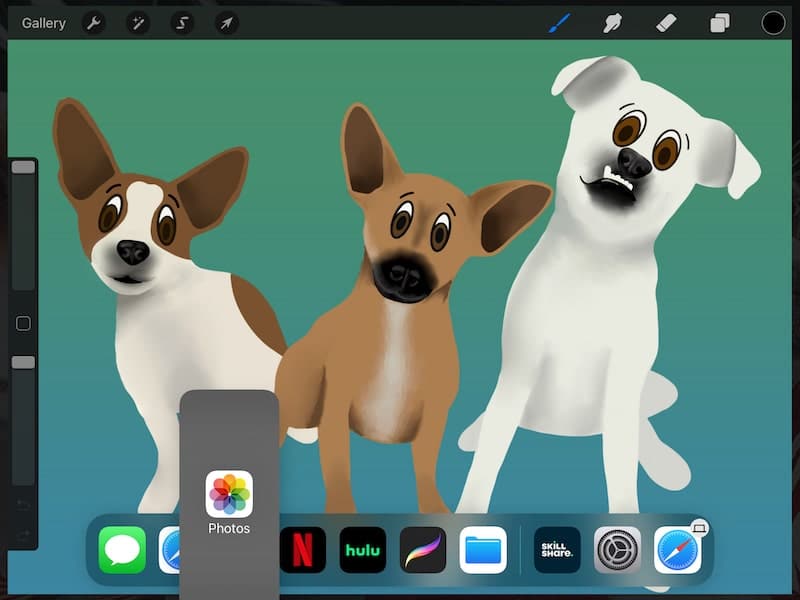
3. Hold down on your needed app until it floats
Whichever app that you need to split screen with Procreate, grab it from your toolbar and hold down on it. For the rest of this example, we’ll be talking about the Photos app, but it can be whichever app you plan to use.
It’s important to note here that you’ll need to have your desired app in your iPad app toolbar that lives at the bottom of your screen. This is what you’ll be able to see and choose from.

4. Drag your app and let go of it either on top of your Procreate canvas, or to the side of it
When you drag your app out of the toolbar and onto your Procreate canvas, you have two options.
The first option is to drop it onto your Procreate canvas directly. This will keep your Procreate canvas the same size, but it will put your app on top of it for you to use.
The second option is to drag it to the far side of your Procreate canvas. You’ll notice that this will trigger Procreate to become smaller in size while your app takes up a portion of your screen.

If you use this second option, you can use the line dividing Procreate and your app to adjust the sizes of both of them.
5. Use your app as needed alongside Procreate
Now that you have your second app opened on top of, or alongside of, Procreate, you’re ready to use it.
For example, if you’ve opened the Photos app, you can use it in the same exact way you normally would. Tapping between different albums, scrolling through photos, etc.

There’s another way to access the split screen feature as well.
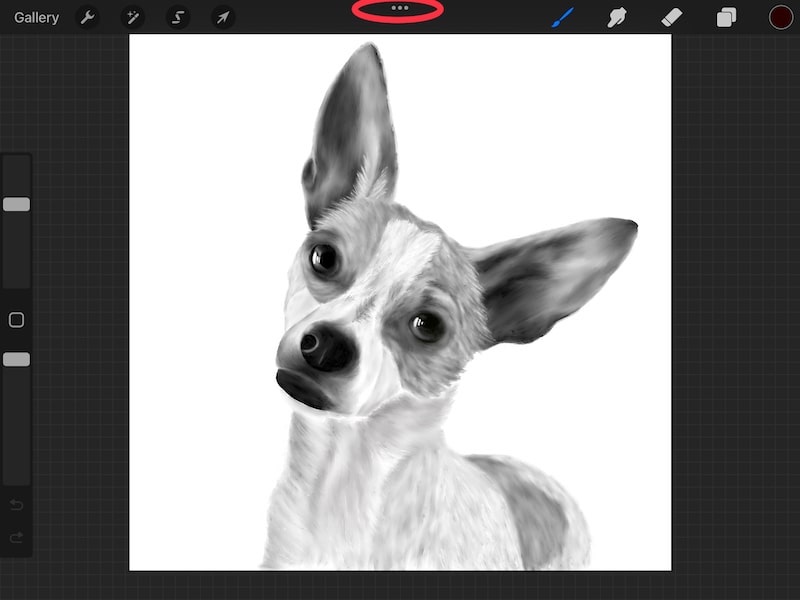
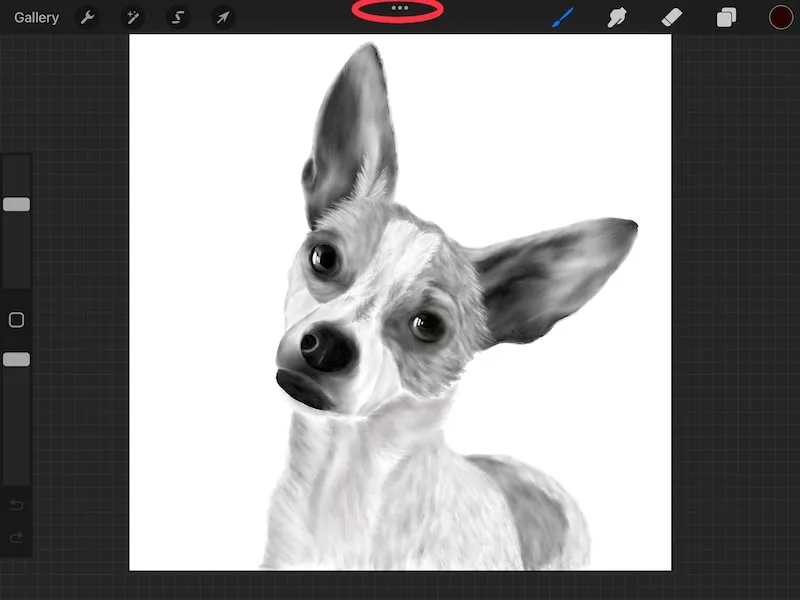
1. Click on the 3 dots at the top of your iPad screen.
In the top middle of your iPad screen, you should see 3 horizontal dots.
If you’re using a light screen interface, they might be hard to see. If that’s the case, change your screen to a dark interface to see them better. You may also need to tap around up there for them to appear.
2. Choose the Split View option
With the options that pop up, choose the Split View option.
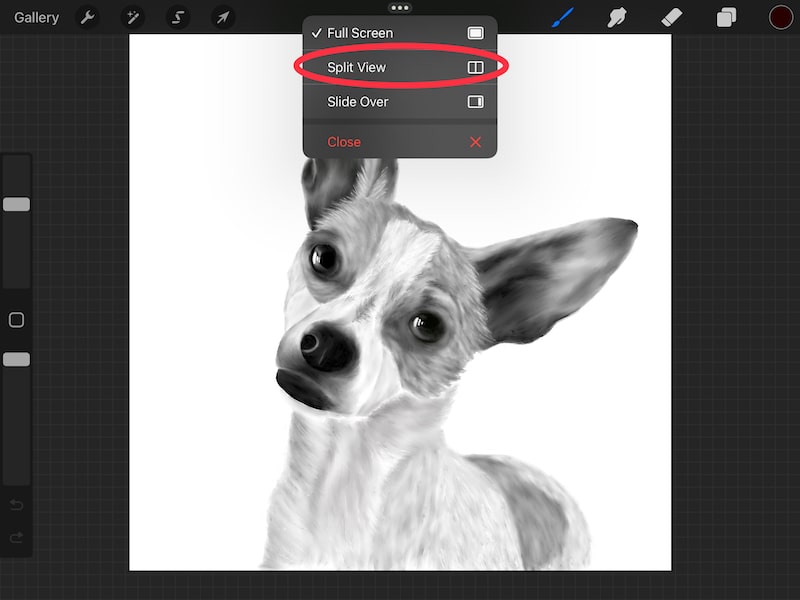
3. Choose the app you need.
At this point, you’ll see your iPad’s home screen. Choose your Photos app and it will open in split view next to Procreate.
Now that we’ve talked about enabling Procreate’s split screen, let’s talk about some pros and cons of using it, especially in relating to Procreate’s reference photo feature.
The Benefits of Split Screen with Procreate
There are two main benefits that I find for using the split screen feature with Procreate. This is going to apply specifically for photos, since we’re talking about using it instead of Procreate’s reference image feature.
Here they are:
1. You can quickly scroll through your photos
When you use Procreate’s reference image feature, you have to re-import a new image every time you need to change it. This can get time consuming if you have a string of images that you’re using for reference.
When using the Photos app in split screen view, you can have your whole gallery open displaying all of the photos you need at once. Or, you can quickly scroll between the photos you need. It’s just a quick tap to access the next photo in your gallery.

2. You have the option to put your photos next to Procreate instead of inside of it
When you use Procreate’s reference image feature, you have no choice but to have it sit on top of your Procreate canvas. If you’d like to have it tucked away next to your Procreate canvas, you’ll need to use the split screen feature.
Ok, so now for the downsides.
The Downsides of Procreate’s Split Screen
The only real downside of the split screen feature has to do with the Photos app and pulling colors from your images.
When you use Procreate’s reference image feature, you can use the eyedropper tool within your reference image. This makes it easy to pull colors from your image as needed.
You can’t do this with the split view feature. When you put an app next to Procreate, it’s not actually functioning within Procreate. It’s still a separate app. In fact, it’s not communicating with Procreate at all.
Procreate’s reference image feature works within Procreate. That’s why you can use things like the eyedropper tool with it.
The split screen function is a general iPad capability; it’s not specific to Procreate. Procreate and whichever app is splitting the screen with it aren’t talking to each other.
So, if it matters to you to be able to use the eyedropper tool with your images, you’ll want to use Procreate’s reference image feature instead of the split screen feature.
Being able to use split screen with Procreate can have a lot of amazing uses and benefits. Play around with it for yourself to see everything it can do and what you can use it for!


Diana has been an artist for over 27 years and has training in drawing, painting, digital drawing and graphic design. Diana’s latest obsession is digitally drawing with Procreate and Procreate Dreams. Diana has experience selling her art across a number of platforms and loves helping other artists learn how to make money from their art as well.