Choosing your Procreate color palette from an image is a great way to end up with cohesive colors that look great together. No more worrying about which colors go together and what shades you need to pick.
To select colors from an image in Procreate, open the image in Procreate’s Reference tool, or import it as a new layer. Hold a finger on top of the image to activate the eyedropper and release it on a color. Click an empty spot in your color palette to save it. Repeat for all colors in your image.
There are a couple of ways to select colors from an image in Procreate, and a couple of things you’ll want to keep in mind as you build your palette.
Not only can you pick individual colors from an image, you can also create entire color palettes. In fact, Procreate can create color palettes for you automatically, which is super cool.
Let’s dive into what you need to know.
How to Automatically Create Color Palettes From Images in Procreate
Procreate can automatically create color palettes based on images. Click the plus button within the color panel to create a palette. Pick the option to make a palette via an image and select your desired image from your library. Procreate will populate a color palette with colors from that image.
The ability for Procreate to automatically pull colors from images is extremely efficient and amazing. Yes, you can finally have a beautiful color selection inspired by your favorite landscapes, scenes, and family photos (finally a perk to those wild sweaters we all wore in the 90’s).
And, automatic?! Heck, yes! I mean, the less things we have to do by hand, the better.
Here’s how to have Procreate build color palettes from your photos automatically, step-by-step:
1. Open the color panel and click on the plus button to create a new palette
2. Choose the option to create a palette from an image
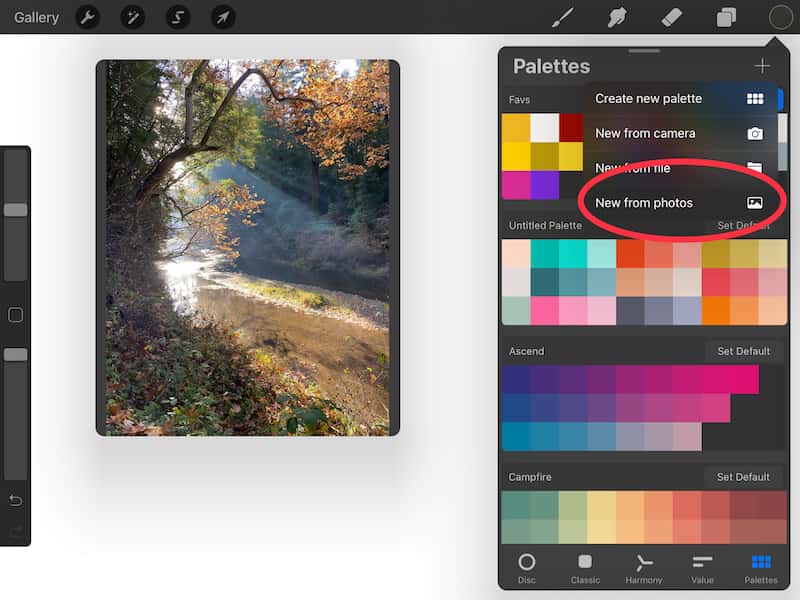

3. Select the photo you would like to use and watch as Procreate creates a color palette from it

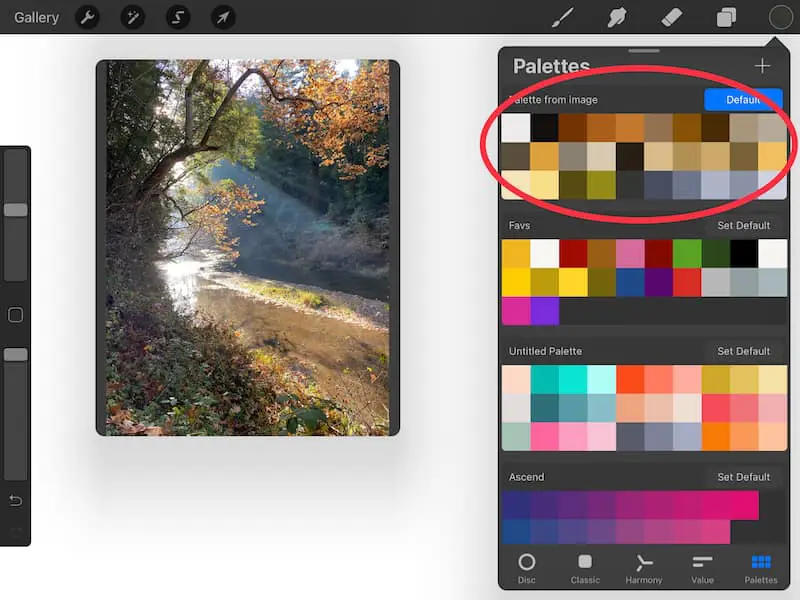
Even though this is an awesome way to create a palette, Procreate won’t give you the perfect palette every single time. Depending on the image you choose, you might end up with too many shades of a certain color, while less obvious colors are skipped altogether.
Having Procreate automatically generate a color palette is a great jumping off point though.
Once it’s created, you’ll likely need to do some work to add additional colors, delete unnecessary colors, and clean up your palette overall.
There’s also another way to do this.
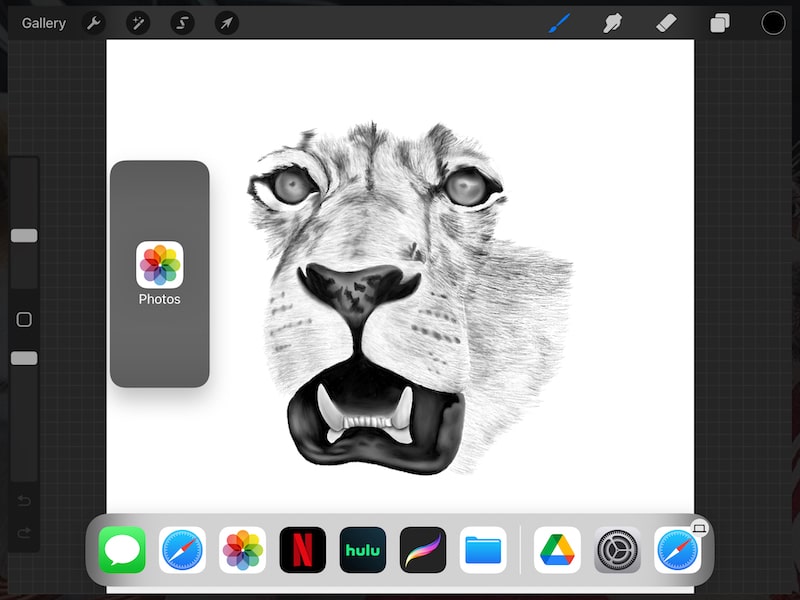
1. Drag up on your screen until you see your toolbar appear.
You may see a small arrow first. Keep dragging that up.
It’s also important that you have your Photos app in your toolbar for this to work.
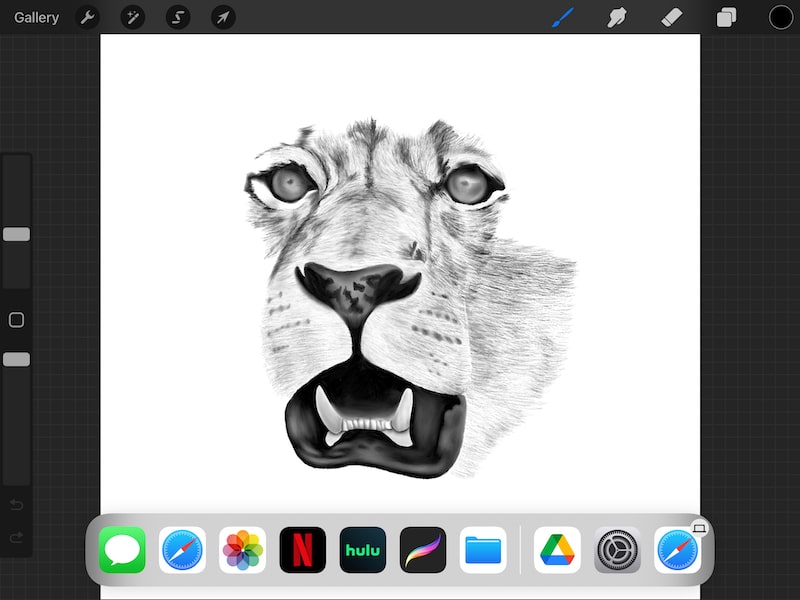
2. Drag your Photos app out of your toolbar and place it on the side of your screen.
Hold down on your Photos app until it’s hovering. At that point, drag it out of your toolbar and let go. This will open your photos app on the side of your iPad screen.
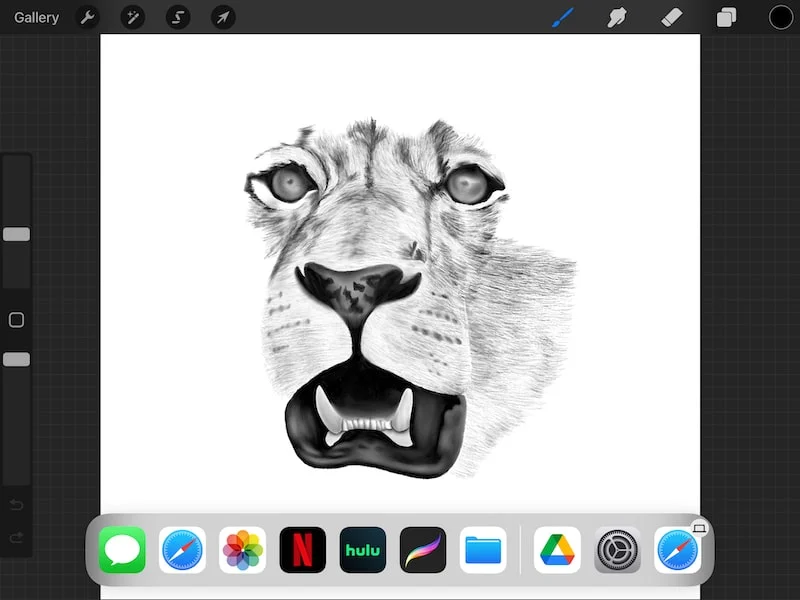
The iPad’s split screen function is awesome and really fun to use with Procreate.

4. Find the photo you need in your Photos app and open your Procreate color palettes.
At this point, you need to locate the photo you want to make a color palette from. Also, open your color palettes panel in Procreate.

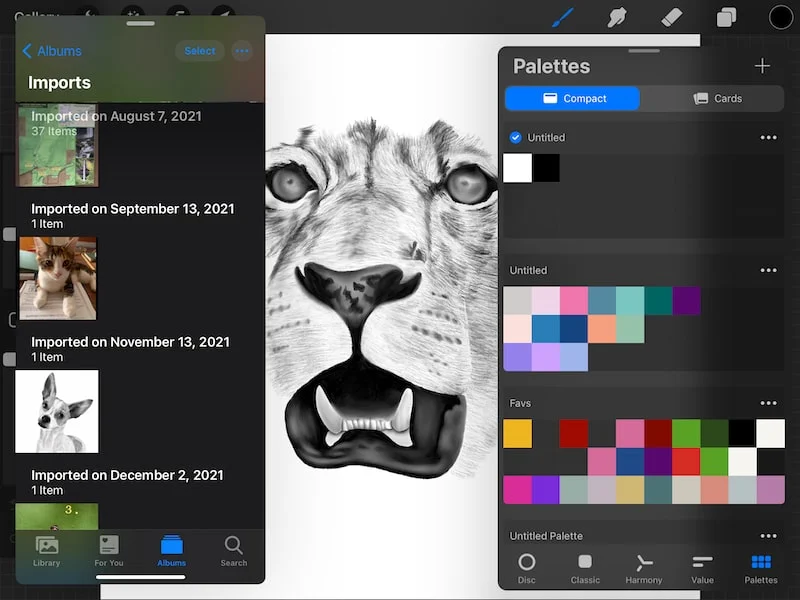
5. Drag your photo into your color palette panel.
Hold down on your photo until it pop out and hovers. Drag it to your color palettes panel and you’ll see a + sign appear on the photo, as well as a space open up within your color palettes panel.


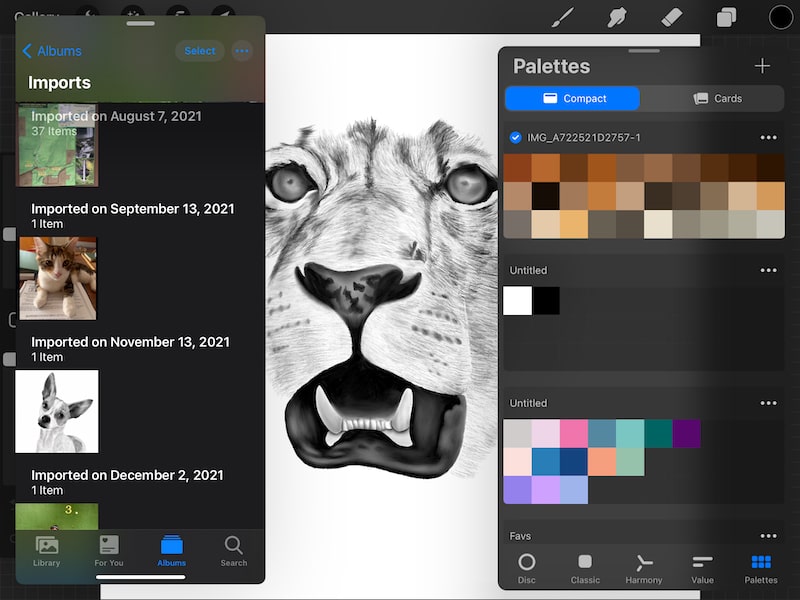
6. Use your new color palette created from your photo.
Now you’ll see that a color palette has appeared from the photo you dragged into it! Make sure to edit your palette as needed and keep it organized.

If you don’t want to build a full color palette from a photo, you can also select individual colors from your photos. Let’s talk about that next.
How to Use Procreate’s Reference Feature to Choose Colors From an Image
Enable Procreate’s Reference feature and choose the photo you’d like to build a palette from. Hold your finger down on the image to enable the eyedropper tool. Hover over the image, and release your finger once you’ve chosen your desired color.
Procreate’s ability to create color palettes automatically is fantastic, but there are times when you want more control over the colors you pick. That’s where the Reference tool comes in.
If you want the best of both worlds, let Procreate automatically create a color palette, and then use this manual color picking method to fill in any colors that the automatic process may have missed.

You can also use the Reference tool to create a color palette completely from scratch, using your image to pull colors from.
Here’s how to build color palettes with the Reference tool, step-by-step:
1. Click on the wrench to open the Actions menu and tap on the Canvas option
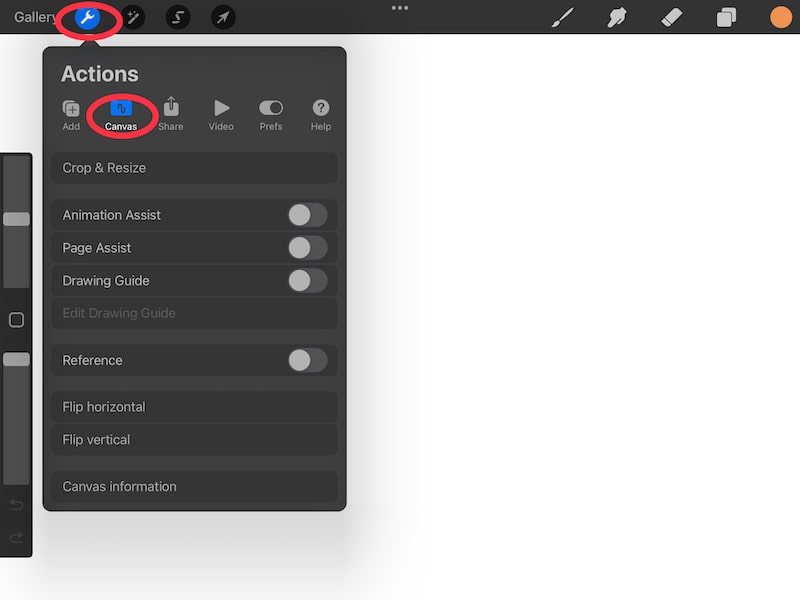

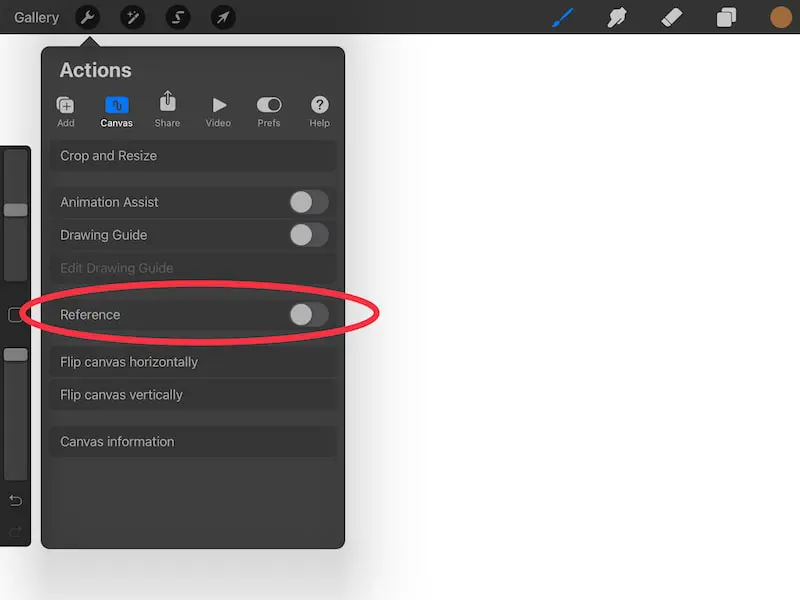
2. Toggle on the Reference tool

3. Choose the Image option
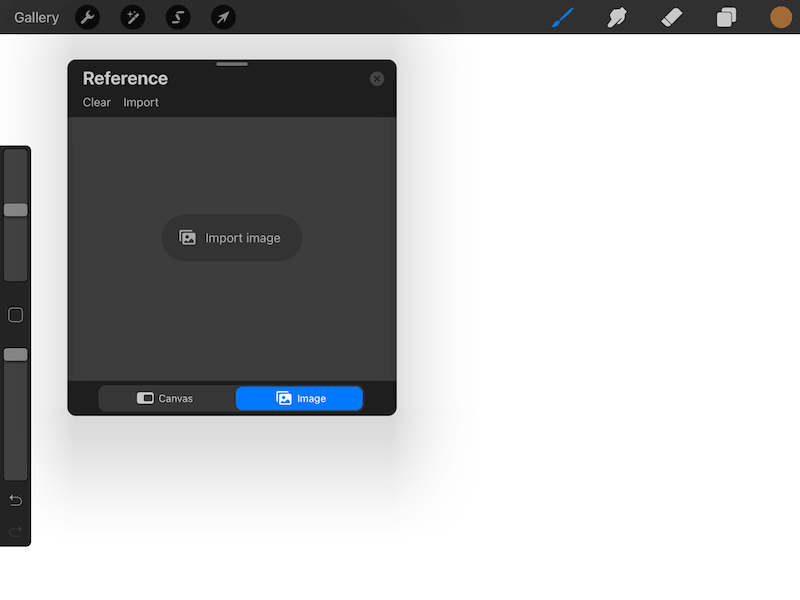
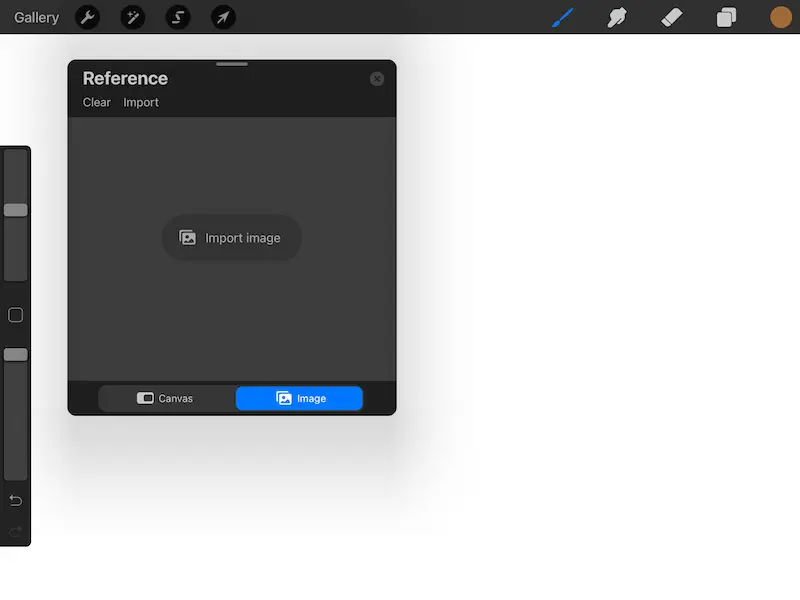
4. Click on the Import button and scroll through your pictures until you find the one you’d like to use
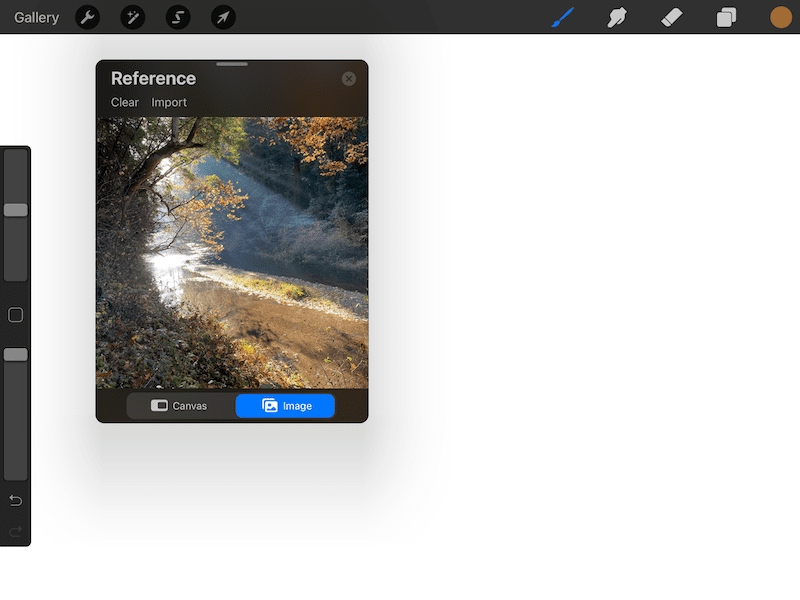
5. Once your image has populated in the Reference window, activate the Eyedropper tool
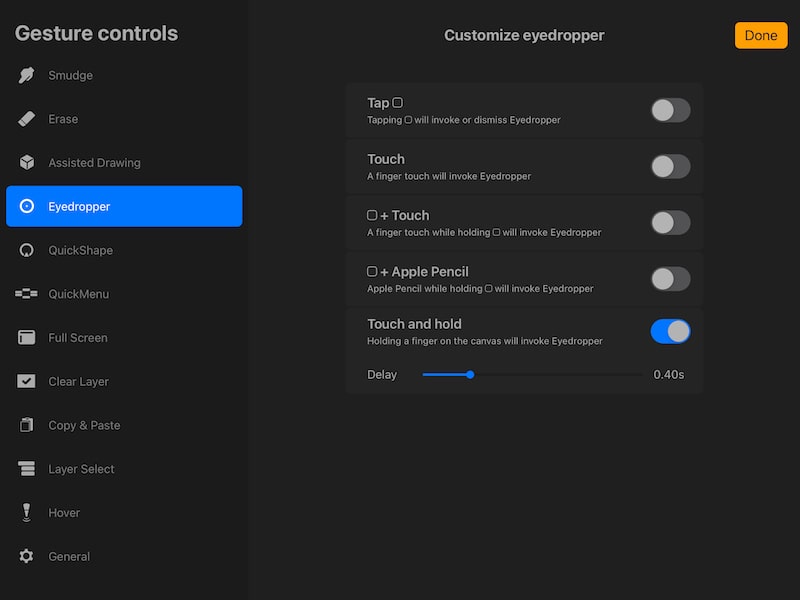
What you do to activate the Eyedropper tool will depend on what gesture you have assigned for the Eyedropper tool in your Gesture controls menu. Personally, I use the touch and hold gesture, which means that I just need to hold my finger down on my canvas to activate the Eyedropper tool.
Open your Gesture controls menu if you’re not sure what’s assigned to your Eyedropper tool.

6. Using the eyedropper tool, drag your finger across your image until you find a color that you want. Then, release your finger.
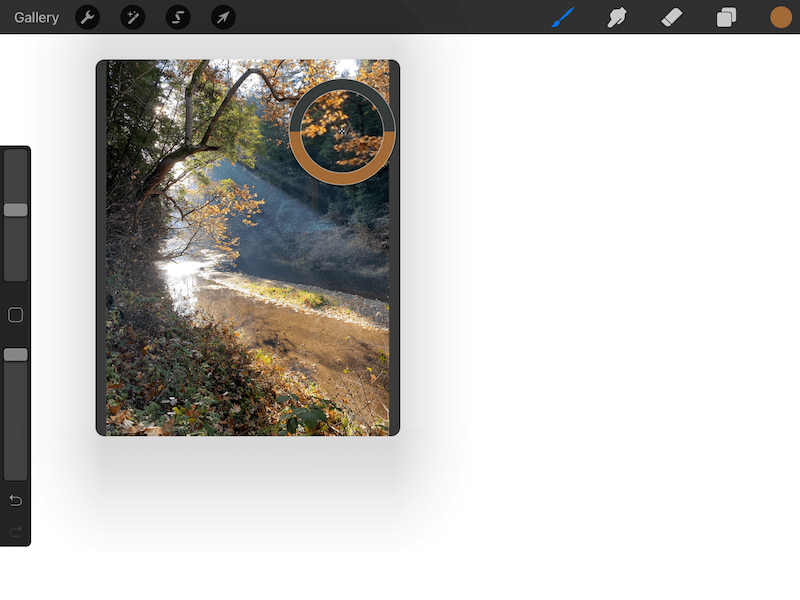

7. Open the Colors panel and navigate to the Palettes. Click the plus button to create a new palette, or find the one that you already created automatically from your photo.
8. tap any empty spot in the color palette to save the color you just selected from your image.
9. Repeat the process until you have all of the colors you need.
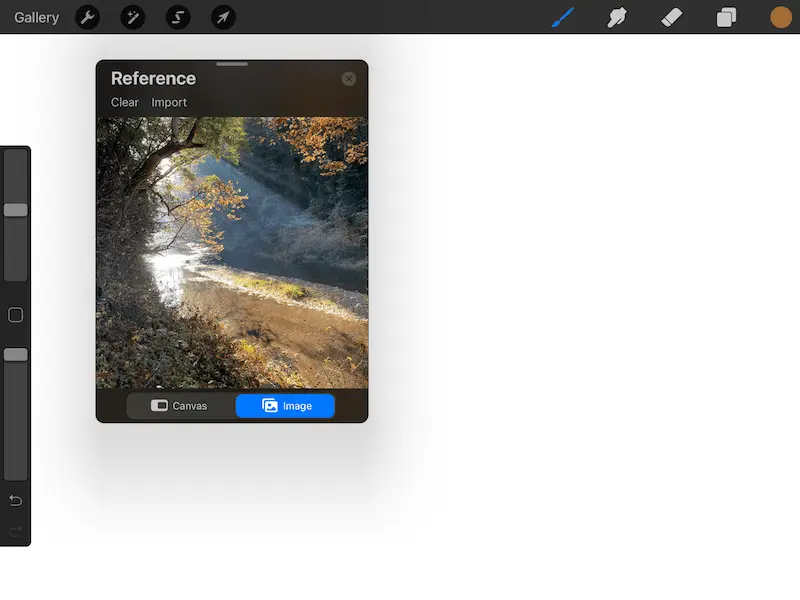
Important note: drag the corner of the Reference box to enlarge it. That way, you can isolate colors that may have been too small had you kept the Reference box at its default size. You can also pinch the photo to enlarge it within the Reference box.
Zooming in on your image can help you focus your color picking efforts to a certain area. It can also reveal additional colors you didn’t know were there.
That said, the Reference box can’t be enlarged to the full size of your canvas. You can drag it to be fairly large, but it may not be big enough for your preferences. Or, you might find the Reference box to be awkward to work with for some reason. Is there an alternative?
Luckily, yes there is!
How to Use Layers in Order to Pick Procreate Colors From an Image
Click on the wrench to open the Actions menu. Click on the Add button, and choose the Insert photo option. Choose the photo that you would like to pull colors from. It will be inserted as a layer. Hold your finger down on the photo to activate the Eyedropper tool and choose your needed colors.
The benefit of importing your image into Procreate is that you can stretch it to cover your entire canvas. That way, you can use the maximum amount of space when choosing your colors.
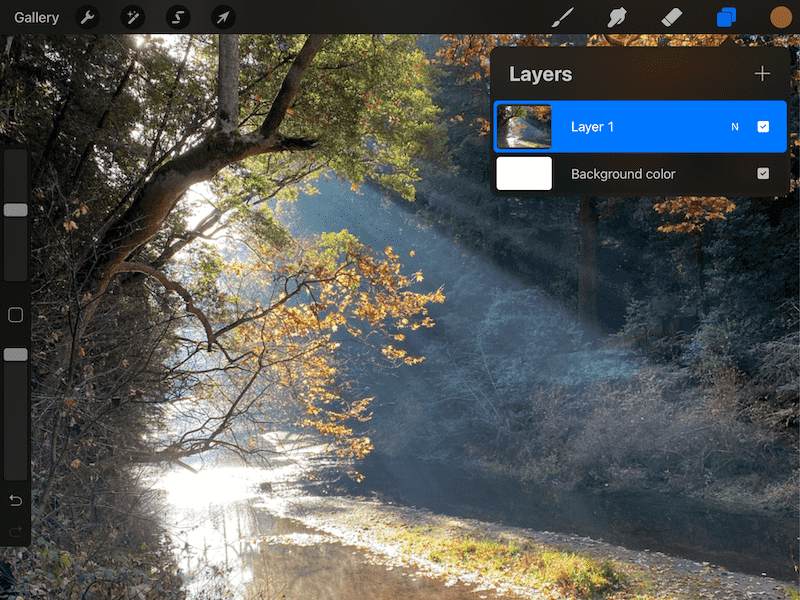
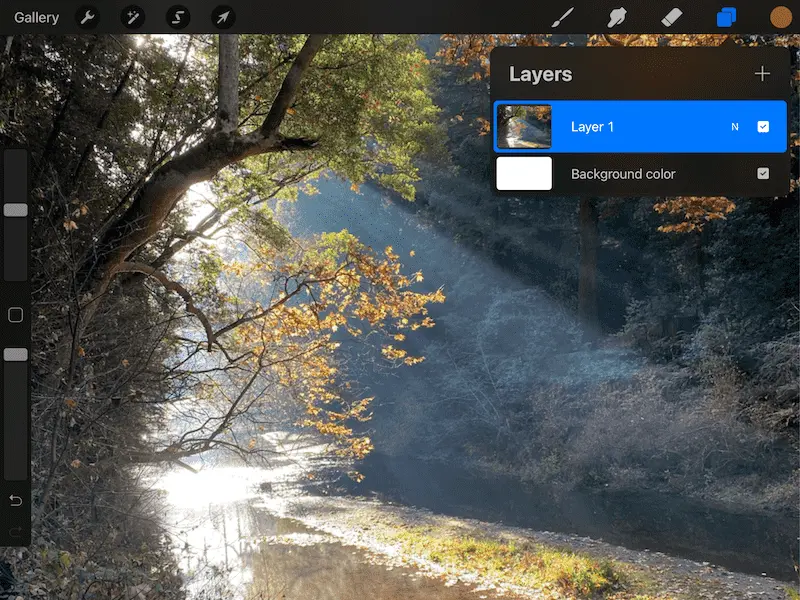
The other benefit to this method of choosing colors from your photo is that you don’t have to deal with an extra element floating around on your screen. Even though the Reference feature is extremely helpful, there are times when it feels like it gets in the way.
Having your image on its own layer allows it to be just another part of your art. You can simply check it on or off within the Layers panel as needed without having to fuss around with the Reference box.
At the end of the day, it comes down to your preferences for using Procreate. Personally, I tend to prefer the Reference feature when building a color palette from an image. But, that’s just me. Choose whichever method is best for you when deciding how to color select in Procreate.
Even though Procreate has a never ending list of amazing capabilities, I would argue that being able to build color palettes off of photos is near the top. It opens so many creative doors to be able to pull colors directly from images of the world around us.
The next time you’re out on a hike, think about all of the amazing photos you can take and how they can inspire your new favorite color palette!


Diana has been an artist for over 27 years and has training in drawing, painting, digital drawing and graphic design. Diana’s latest obsession is digitally drawing with Procreate and Procreate Dreams. Diana has experience selling her art across a number of platforms and loves helping other artists learn how to make money from their art as well.