Something I love about Clip Studio Paint is that you can customize your cursor in a number of different ways. It can reflect your brush size, brush type, and more. You can even set different cursors for different brushes. So, how does this work? How do you change the cursor in Clip Studio Paint?
To change the cursor in Clip Studio Paint, navigate to the “Preferences” menu and choose the “Cursor” option. Choose a cursor shape for each of your tools and adjust how your brush is displayed according to brush size and stabilization. Open the “Cursor details” option to further customize how your cursor is displayed.
There are a lot of options when changing your cursor in Clip Studio Paint. We’re going to run through all of the cursor settings so that you can have fun adjusting your cursor to your needs.
To begin with, let’s talk about accessing the cursor settings.
How to Access the Cursor Settings in Clip Studio Paint
Here’s how to access the cursor settings, step-by-step:
1. Click on the main menu and choose the “Preferences” button
The main menu is what I call the menu that has the icon of the Clip Studio Paint logo.


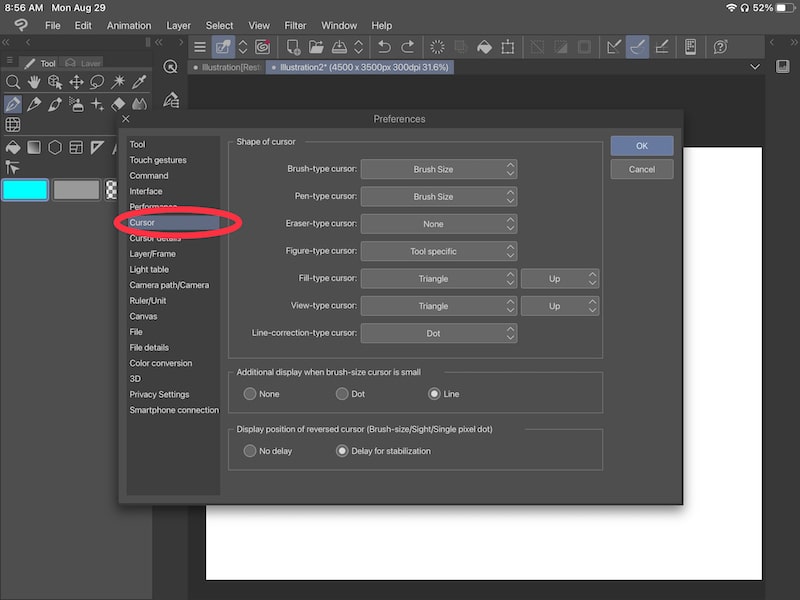
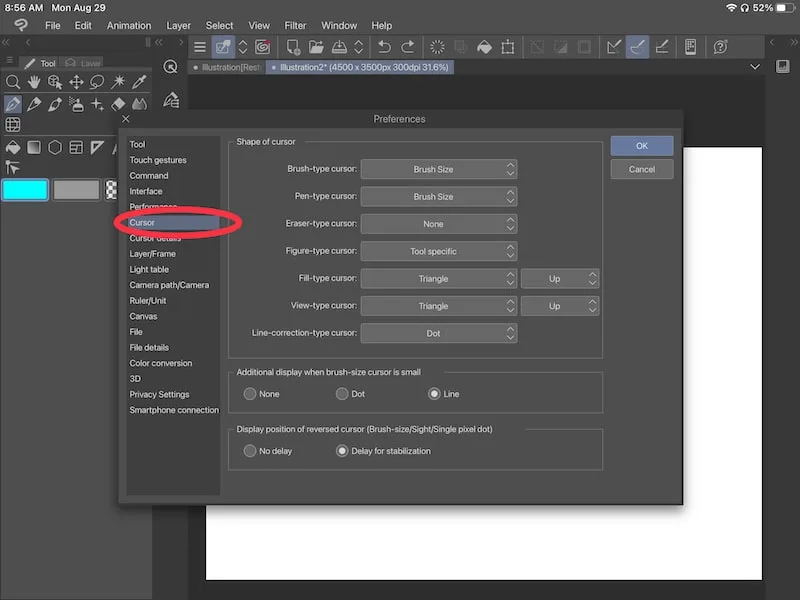
2. Open the “Cursor” menu
Within the “Preferences” menu, click on the “Cursor” button. This will open the settings you need to change your cursor.
Once you open the “Cursor” menu, you might be overwhelmed by all of the options available to you. Let’s walk through them so they’re less confusing.
To be clear, your brush cursor is different from your brush shape. Your cursor is what you see on your screen as your draw. Your brush shape is what impacts what your brush looks like. I have a guide on changing your brush shape!
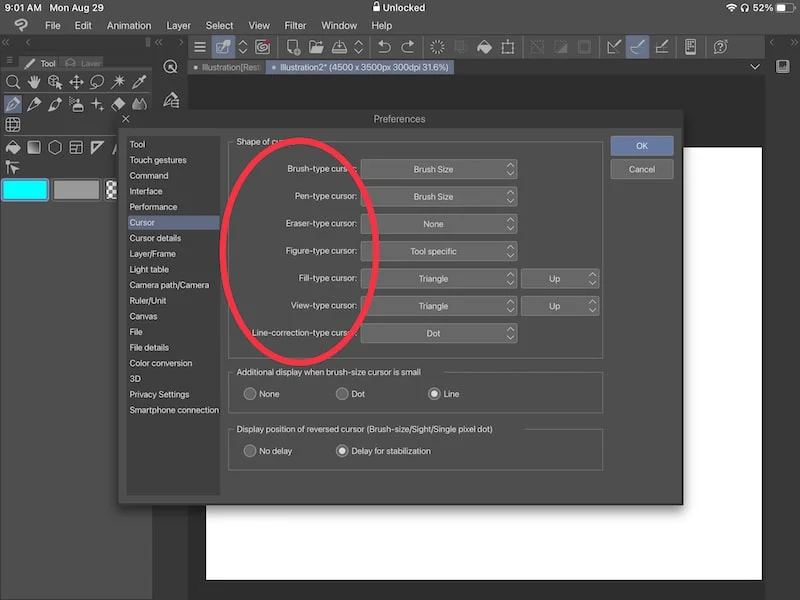
Clip Studio Paint’s Shape of Cursor Settings
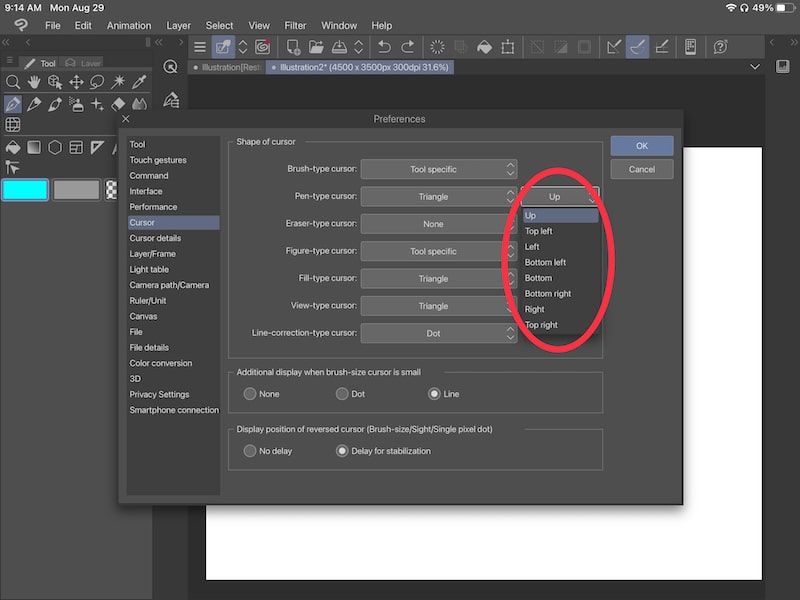
The first set of settings you’ll see within the cursor menu relates to the shape of your cursor. Naturally, it’s labeled, “Shape of cursor” and contains a number of different drop downs.
These settings will determine what your cursor looks like for each of your Clip Studio Paint tools. What’s neat is that you can choose different shapes for each of your tools, giving you a lot of options for customization.
Before we explore all of the options in the drop downs, let’s talk about each of the tools you can change your cursor for. Clip Studio Paint lumps them into the following categories:

- Brush-type cursor: naturally, this refers to your brush tools and more. Basically, if it’s a brush-type tool, it would apply here.
- Pen-type cursor: this refers to your pen and pencil tools.
- Eraser-type cursor: this refers to your eraser.
- Figure-type cursor: this refers to your figure and shape tool, impacting any of the brushes you use within there.
- Fill-type cursor: this refers to your fill tool and selection tool.
- View-type cursor: this refers to your zoom, eyedropper, and move tools.
- Line-correction-type cursor: this refers to your line correction tool. Note though that there are some settings within this tool that have their own pre-determined look.
Next to each of these categories of tools, there are drop down menus. Here’s where you can actually go about changing your cursor.
Each drop down menu will have its own selection of options based on the tool category it applies to. We’ll run through the options you might or might not see, depending on the tool category you choose.
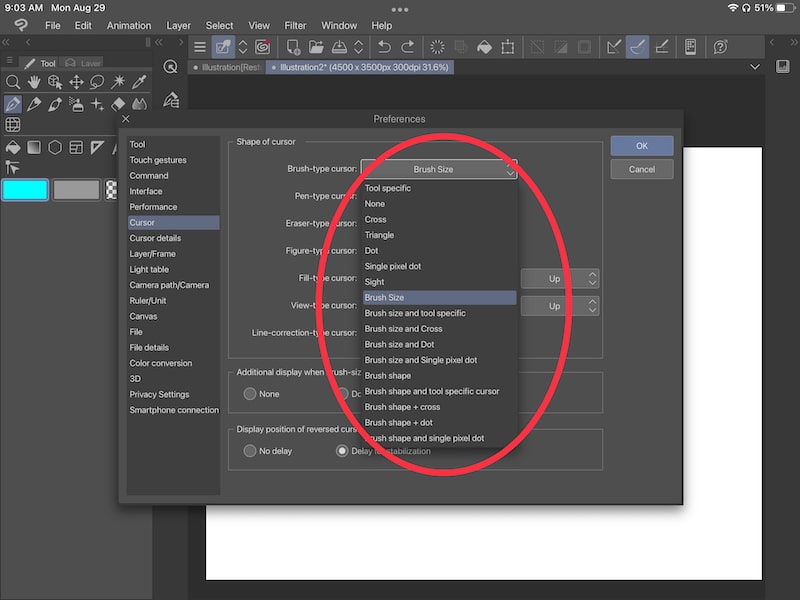

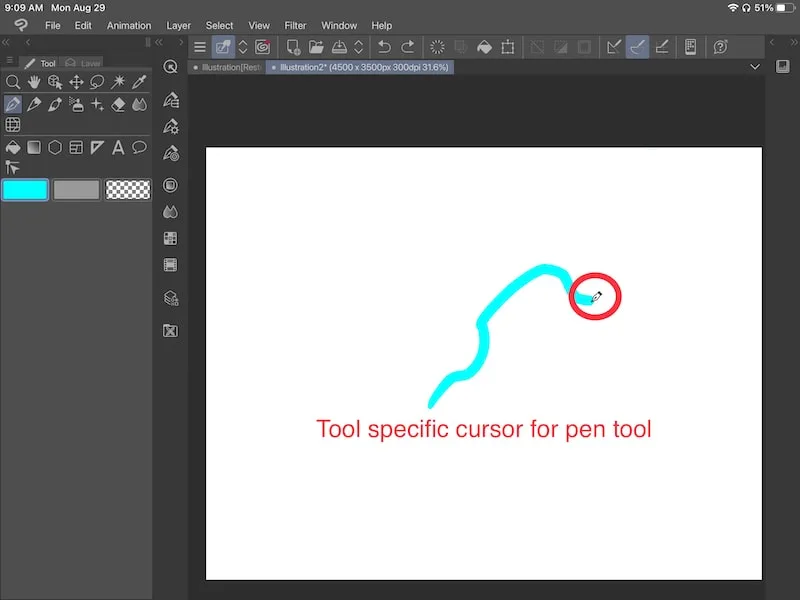
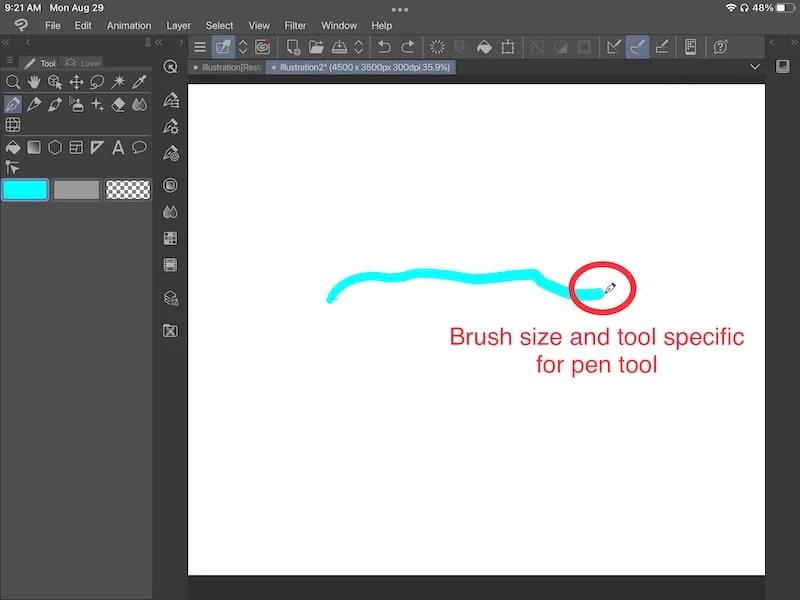
Tool specific: this will change your cursor to look like the tool you’re currently using.

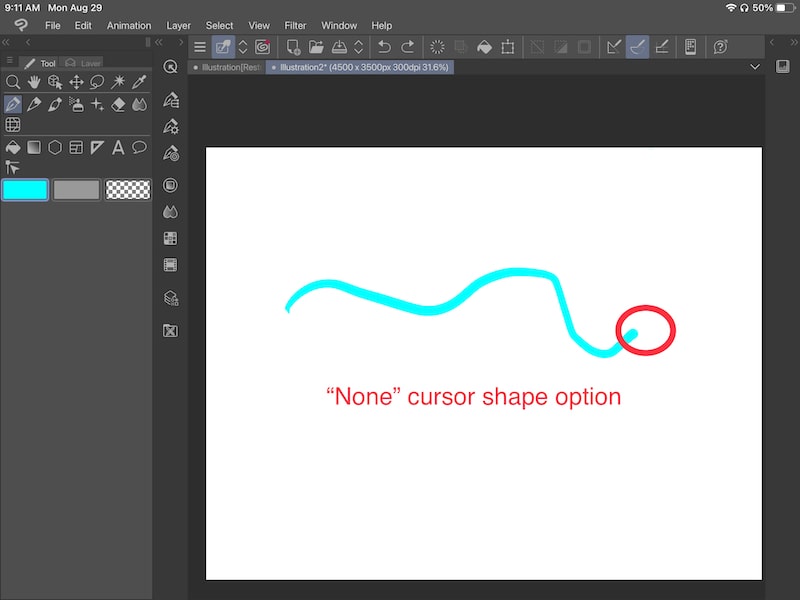
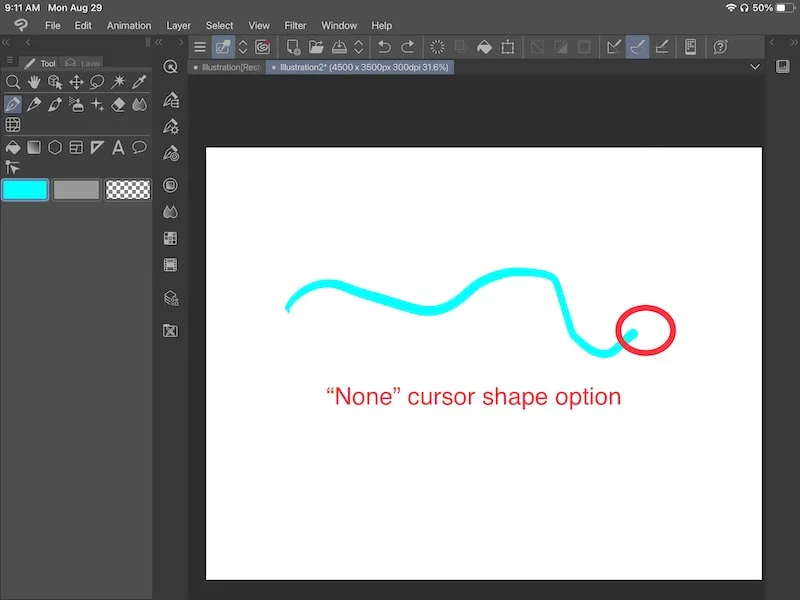
None: this will remove your cursor all together.
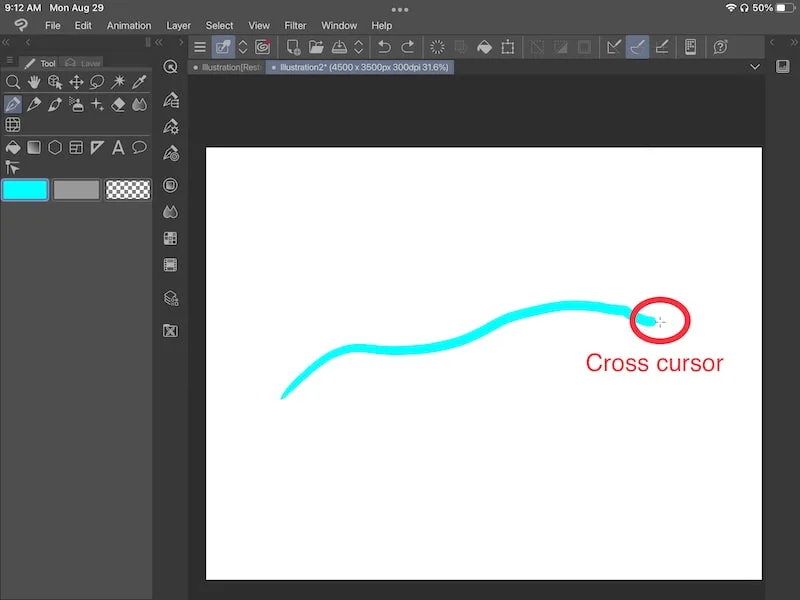
Cross: this will change your cursor into a cross.

Triangle: this will change your cursor into a triangle.
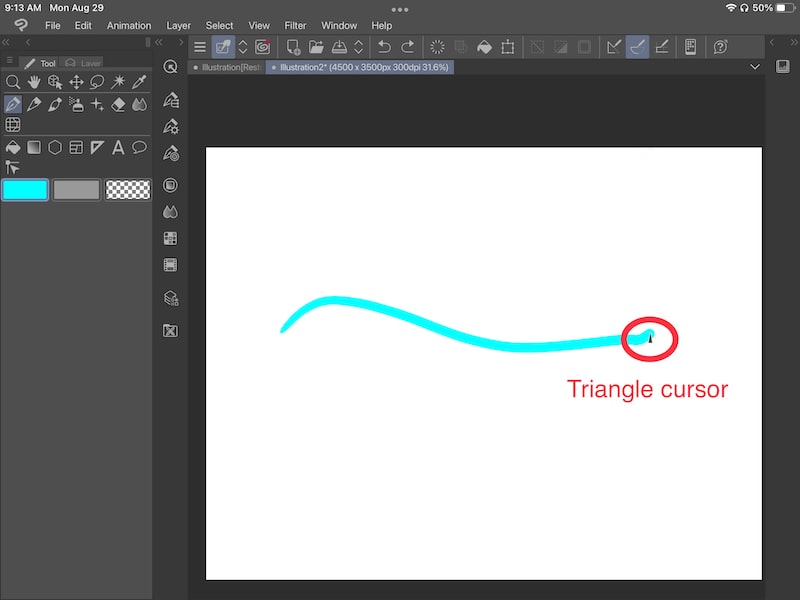
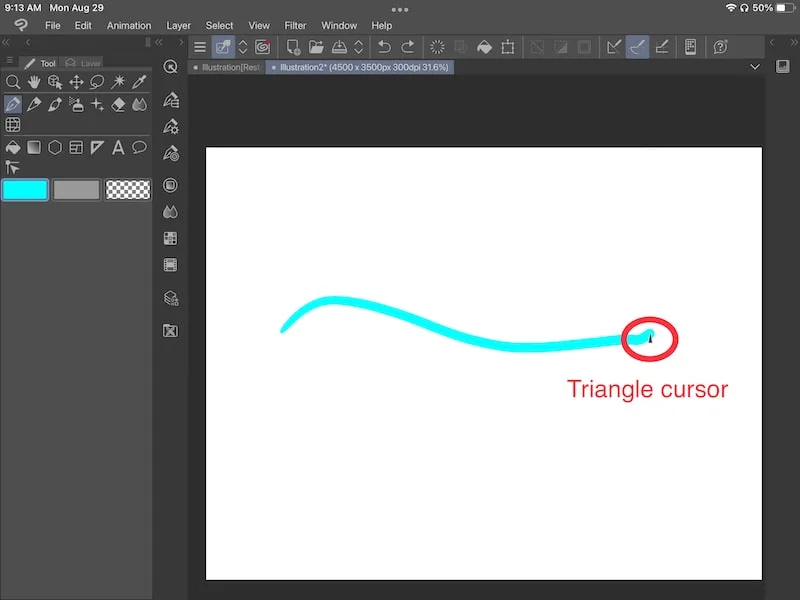
When you choose the triangle, another drop down will appear that lets you choose the direction of the triangle.

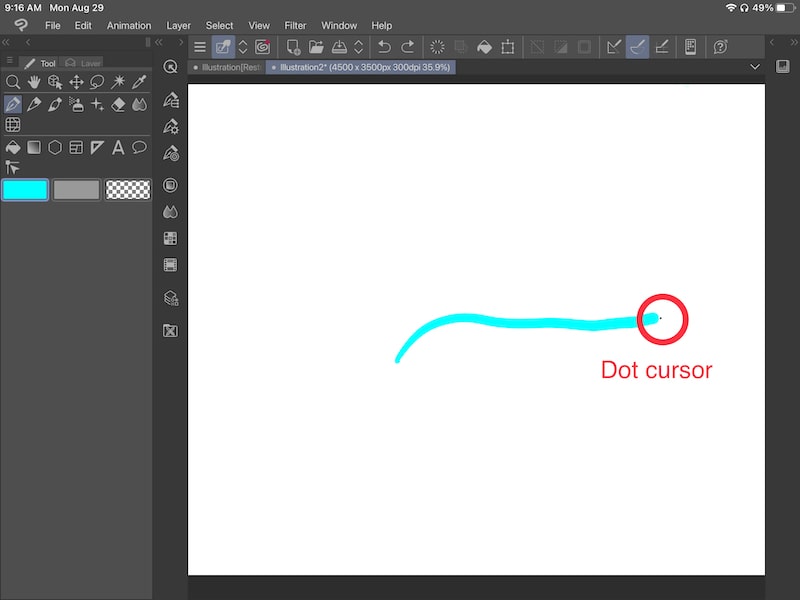
Dot: this will change your cursor into a dot.

Single pixel dot: this will change your cursor into a single pixel dot. This dot is smaller than the dot you get with the “Dot” setting.
Sight: this will change your cursor into a viewfinder of sorts. The icon has a dot in the middle with four lines pointing up, down, and side to side.


Brush size: this will change your cursor into a circle that grows larger or smaller in accordance with your brush size.
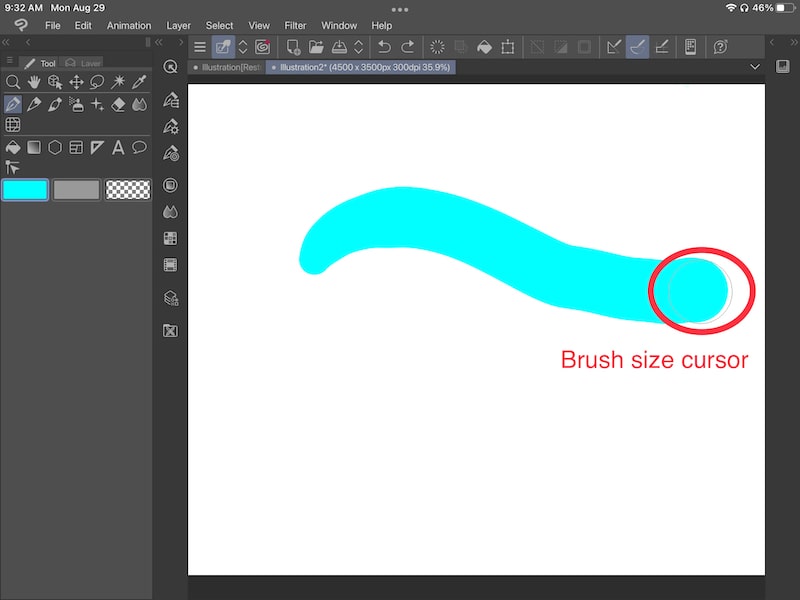

Brush size and…: the following settings combine the brush size cursor with different shapes. This means that whichever shape you choose for your cursor will grow larger or smaller in accordance with your brush size.

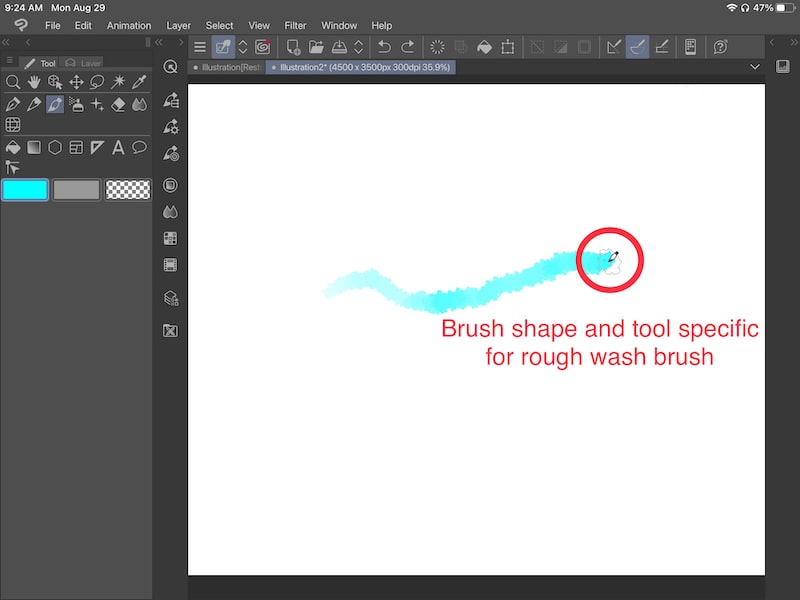
Brush shape: this will change your cursor to resemble your brush.
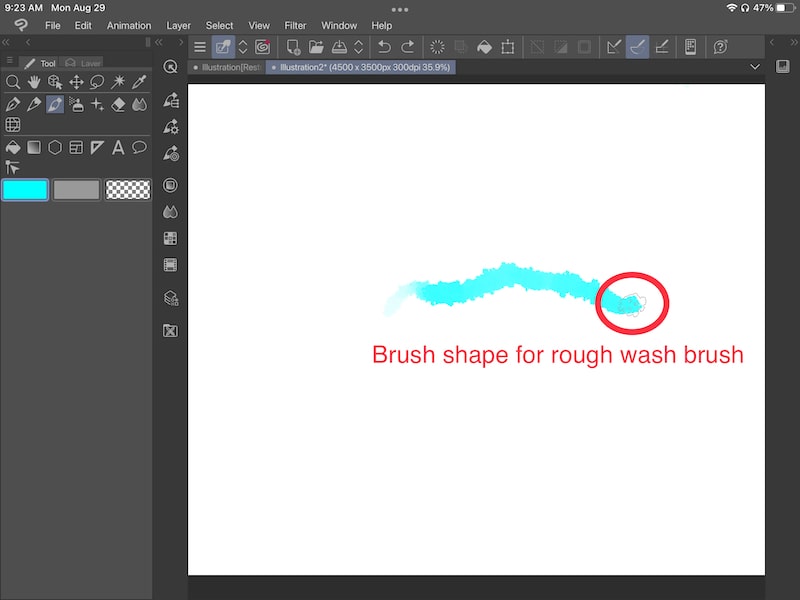
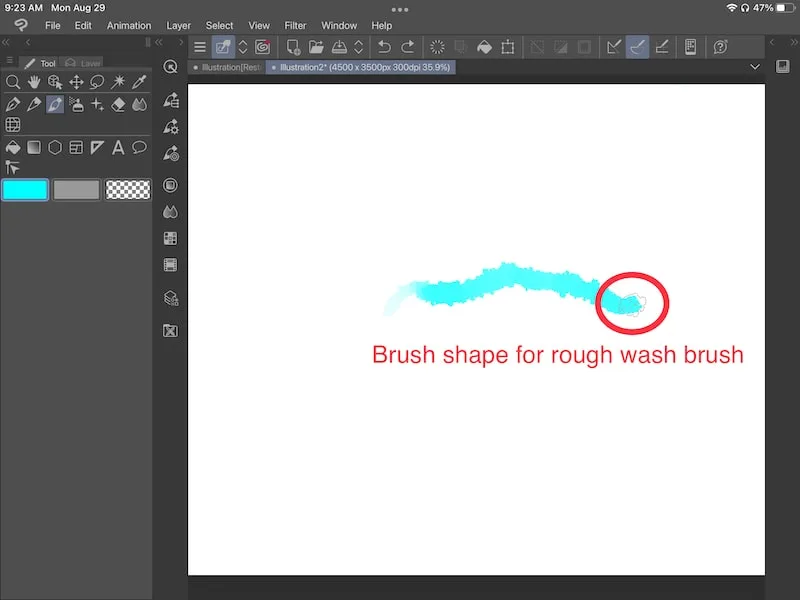
Brush shape and…: the following settings combine the brush shape cursor with the other cursor shapes. Whichever cursor shape you choose will be placed inside of your brush shape.

These cursor settings take some time to get used to. My suggestion is to set aside some time to play around with them.
See how all of the different cursors work and get a feel for the ones you prefer.
Once you’ve explored the cursor shapes, take a look at the other cursor options available to you.

Clip Studio Paint’s Additional Cursor Settings
Once you’ve chosen the shape of your cursor, there are a few more settings you’ll want to think about.
Additional display when brush-size cursor is small: this setting applies if you’re using the “Brush Size” cursor option for your tool.
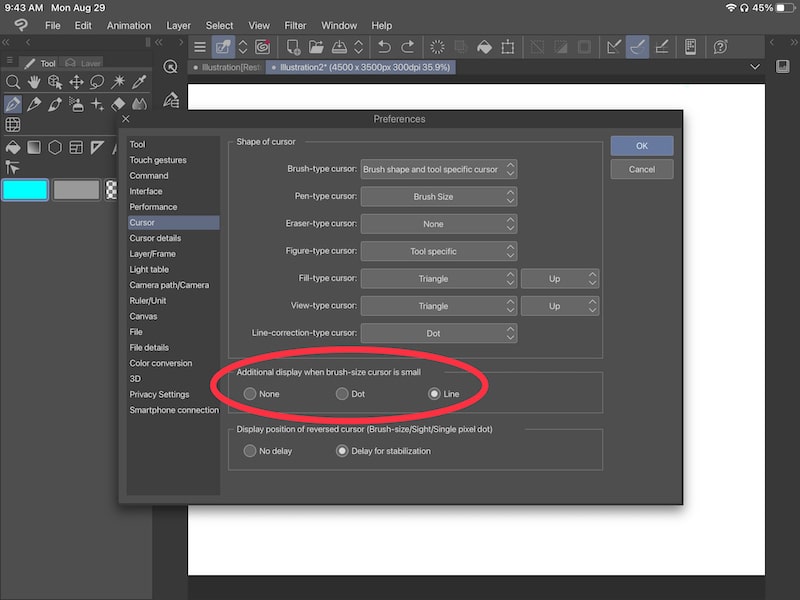

With the “Brush Size” option enabled, there will be times when your brush is so small that you won’t be able to see it. To account for that, Clip Studio Paint gives you the option to change your cursor at the point that it becomes too small to see.
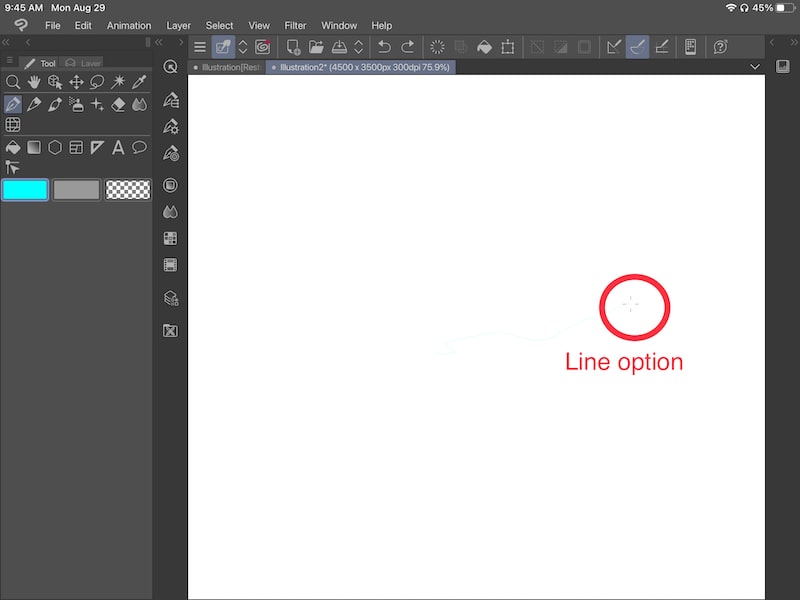
You can decide to replace your small brush size cursor with a dot, line, or nothing. If you choose the “None” option, your cursor will disappear if your brush size is too small.

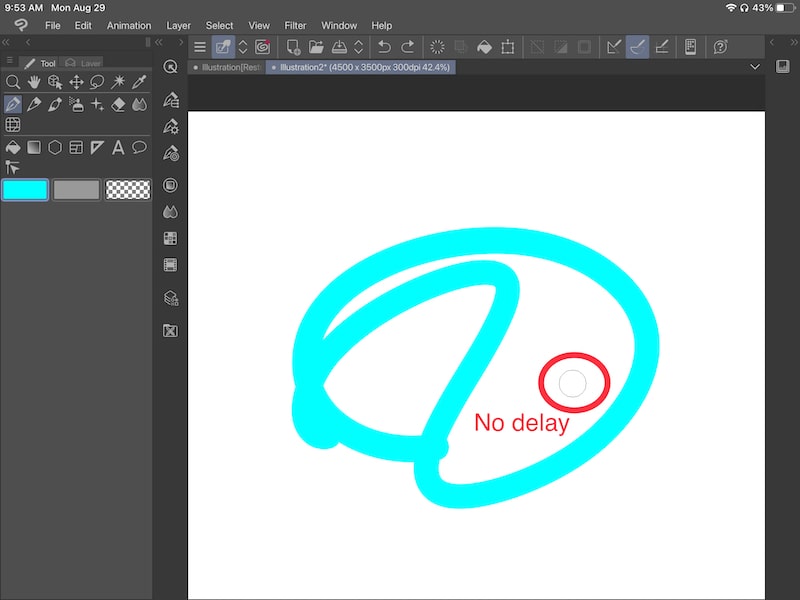
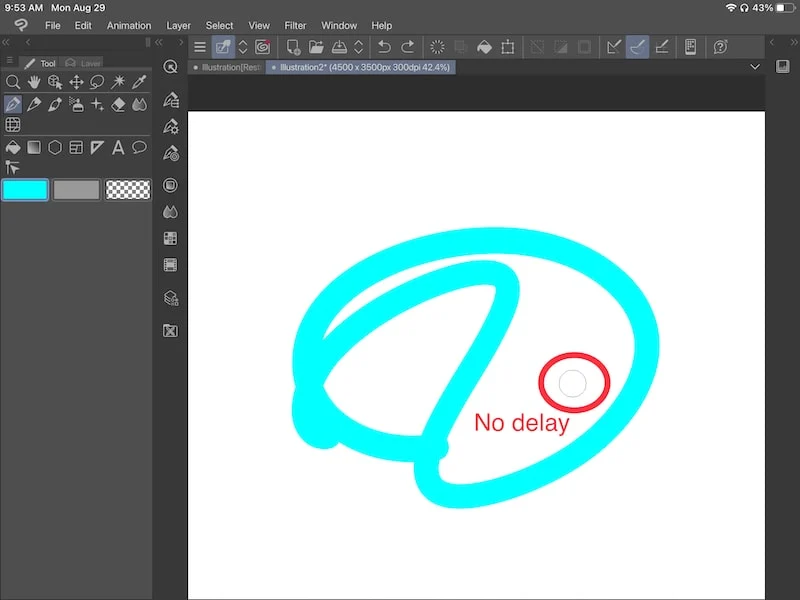
Display position of reversed cursor (Brush-size/Sight/Single pixel dot): this setting applies if you’re using the “Brush Size” option, “Sight” option, or “Single pixel dot” option. It also applies for any combinations of those options. For example, the “Brush size and Single pixel dot” option.
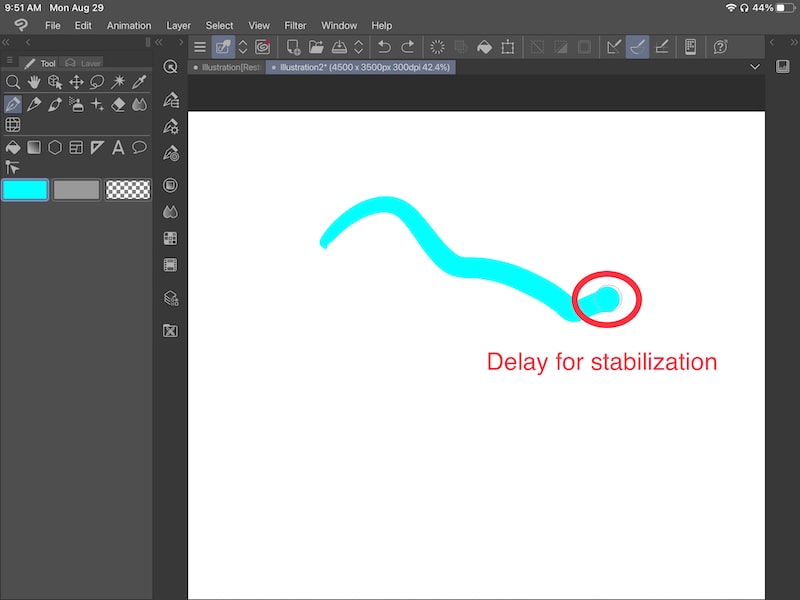
Within this setting, you can choose to have “No delay” or “Delay for stabilization”. This will impact how your cursor moves in relation to the line you’re drawing.
For example, if your stabilization is high, you’ll notice that your line lags a bit and is slower to create.
If you choose the “Delay for stabilization” option, your cursor will move almost as slowly as your line. Even if you try to move it faster, it will only go a tad bit faster than your line.

If you change the “No delay” option, you can move your cursor as fast as you’d like to. Your line will still be created slowly, but your cursor won’t wait for it to catch up. Depending on how much your line is lagging and how fast you move your cursor, you could end up with a pretty big gap between the end of your line and your cursor.
Clip Studio Paint Cursor Details
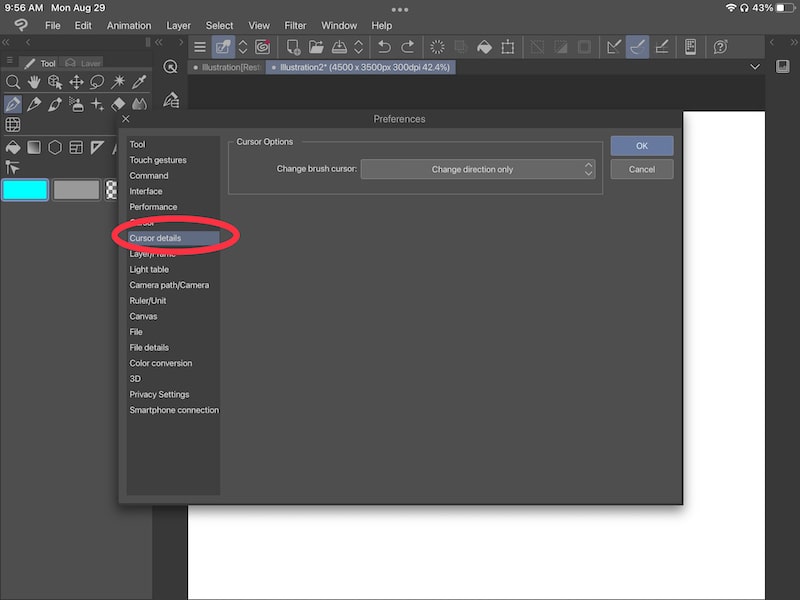
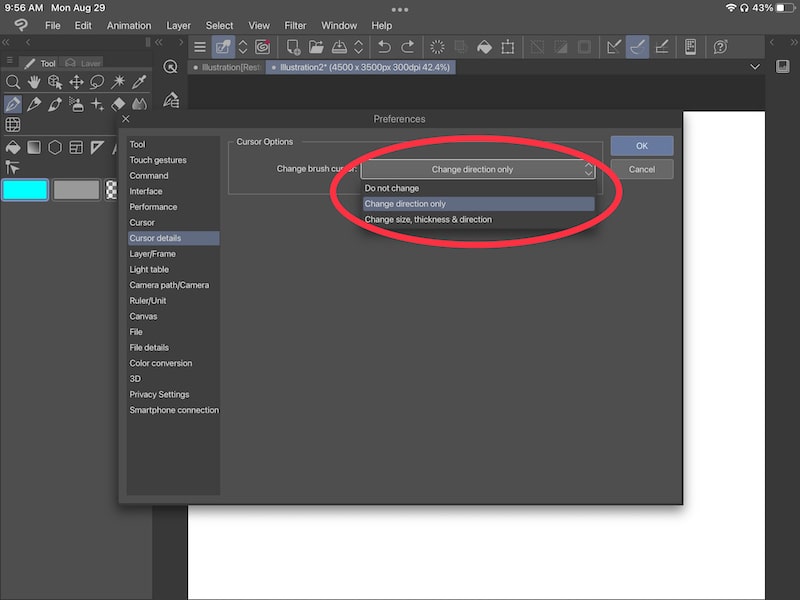
To finish out our cursor adjustments, we’re going to go to a different sub-menu within the “Preferences” menu, the “Cursor details” menu.
Once you’re clicked into the “Cursor details” menu, you’ll see a “Change brush cursor” label with a drop down next to it.

This will impact how your cursor changes according to the line you’re drawing.
For example, if you choose the “Change direction only” option, it will change the direction as you’re drawing. The “Change size, thickness & direction” option will, as it states, will change the size, thickness, and direction as you’re drawing.

This gives you even more versatility while working with your cursor.
Clip Studio Paint’s cursor settings open up a world of possibilities for customizing your cursor to your needs. Experiment with the settings and see what type of cursor works best for you!


Diana has been an artist for over 27 years and has training in drawing, painting, digital drawing and graphic design. Diana’s latest obsession is digitally drawing with Procreate and Procreate Dreams. Diana has experience selling her art across a number of platforms and loves helping other artists learn how to make money from their art as well.