Procreate is an amazing drawing app, but you can use it for so much more than art. Procreate can also be a great note taking app too! Creating your own notebook paper in Procreate is easy and can turn your favorite drawing tool into your new favorite notes tool.
To create notebook paper with Procreate, find a free digital download of the type of notebook paper you’d like to use. Import it into Procreate as an image, stretch it across your screen, and lock it. Create a new layer and begin writing.
Creating Procreate notebook paper is easy, but there are some key tips you’ll want to keep in mind in order for it to work seamlessly for you every single time you sit down to write your notes. Let’s dive in.
1. Find Free Notebook Paper Online
Look on a website like printablepaper.net and find a piece of writing paper that you like. They have lined paper, graph paper, calligraphy paper, dot to dot paper, and more. They even have calendar pages and comic book layouts.
You can get graph paper in all different sizes, which can be great for drawing. They also have quilting, knitting, and cross-stitch paper that can help you plan out your next craft.
You can also get black or blue paper depending on your preferences.
Download as many pieces of paper as you like or need!
Printablepaper.net has more choices than you’ll ever need, but any type of online writing paper will work. Find some that you like!
2. Create a New Design in Procreate
Open Procreate and create a new design that’s the size of your iPad screen. This will maximize your screen space, giving you as much room to write as possible.
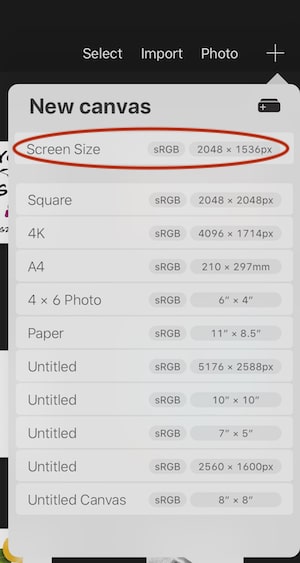
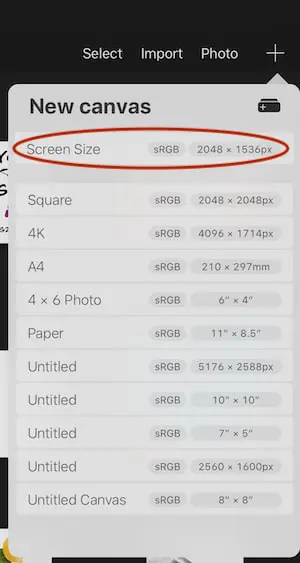
You can find this option by clicking the plus sign to create a new design and clicking “screen size.” The actual size will vary depending on the iPad that you have.
3. Import Your Online Notebook Paper into Procreate
You’ll need for your online notebook paper to be a jpg or png when you import it into Procreate. If you downloaded paper from printablepaper.net, for example, you’ll need to convert it from a PDF. You can either take a screenshot of it, or use a PDF converter.
Add the jpg or png of your notebook paper into your collection of photos on your iPad.
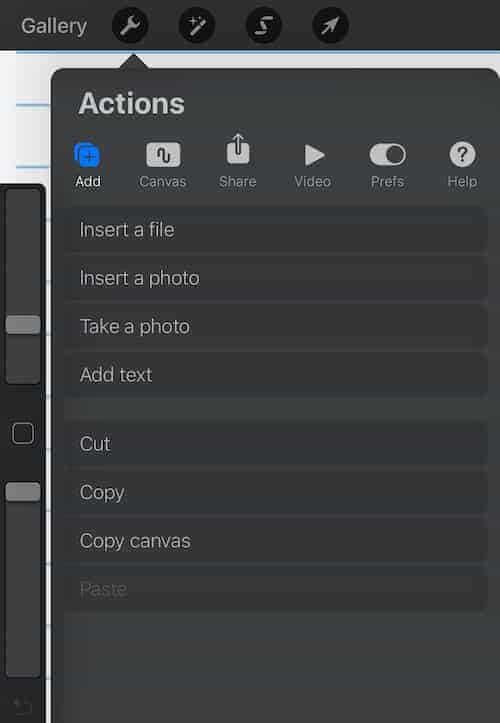
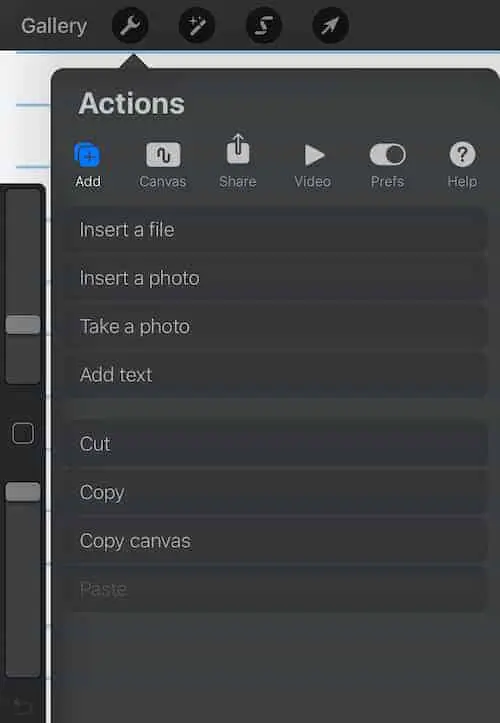
In your new Procreate design, click the wrench button in the top toolbar and click “Insert a photo” and choose your saved notebook paper.
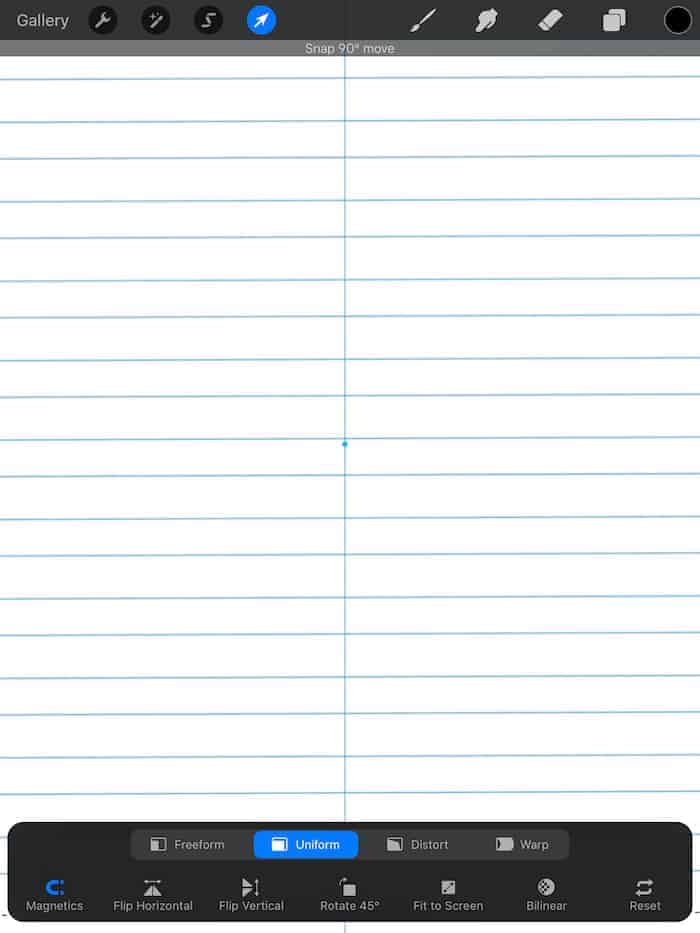
4. Stretch Your Paper Across Your Design
Enlarge your notebook paper image as needed until it stretches across your entire design.
Be careful to keep the proper orientation and that it doesn’t end up crooked. It’s easy for things to turn as you enlarge them. It can help to turn on the “Magnetics” setting as you readjust everything.

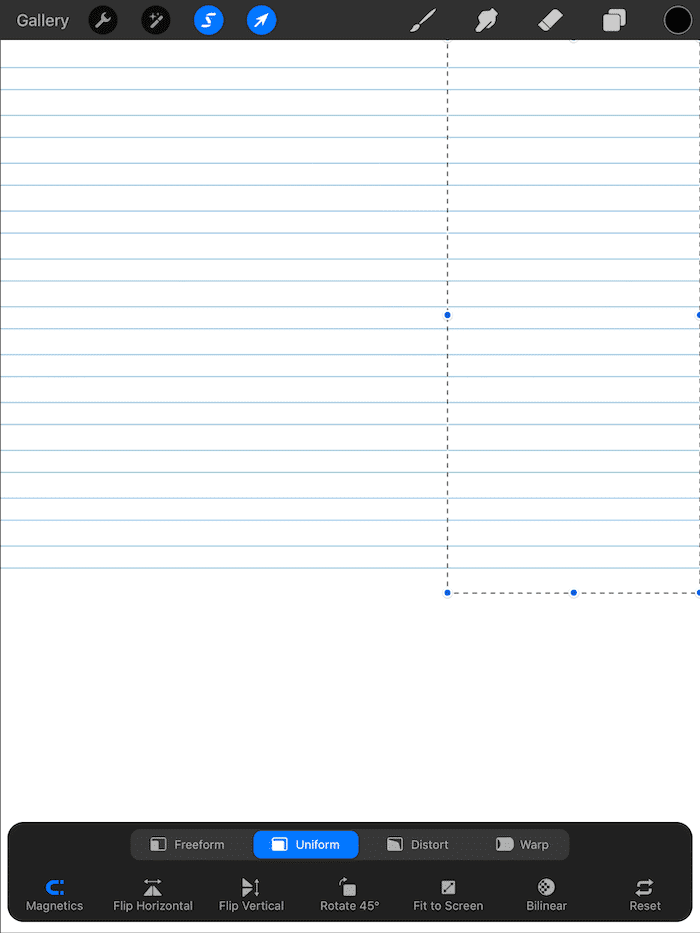
If you enlarge your writing paper and realize that the lines are now bigger than you wanted them to be, that’s ok. Here’s what you can do:
1. Enlarge your writing paper until the lines are the size you want them to be.
2. Position it in the top left corner of your design.
3. Copy and paste your writing paper image and align it on the right side of your design, making sure that the lines match up.

4. Copy and paste your image again and align it below your writing paper in the bottom left corner.
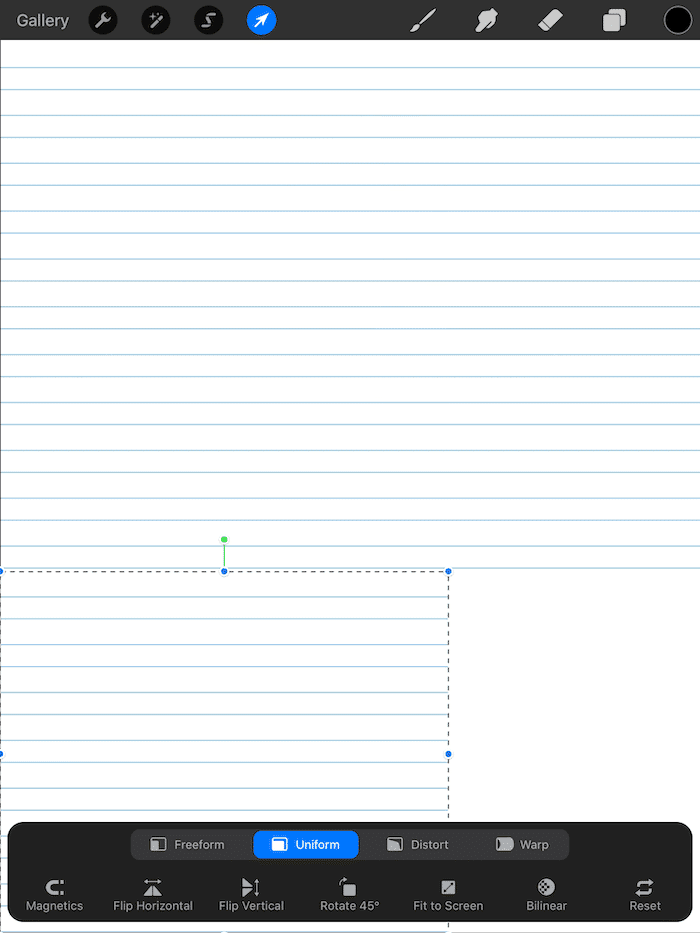
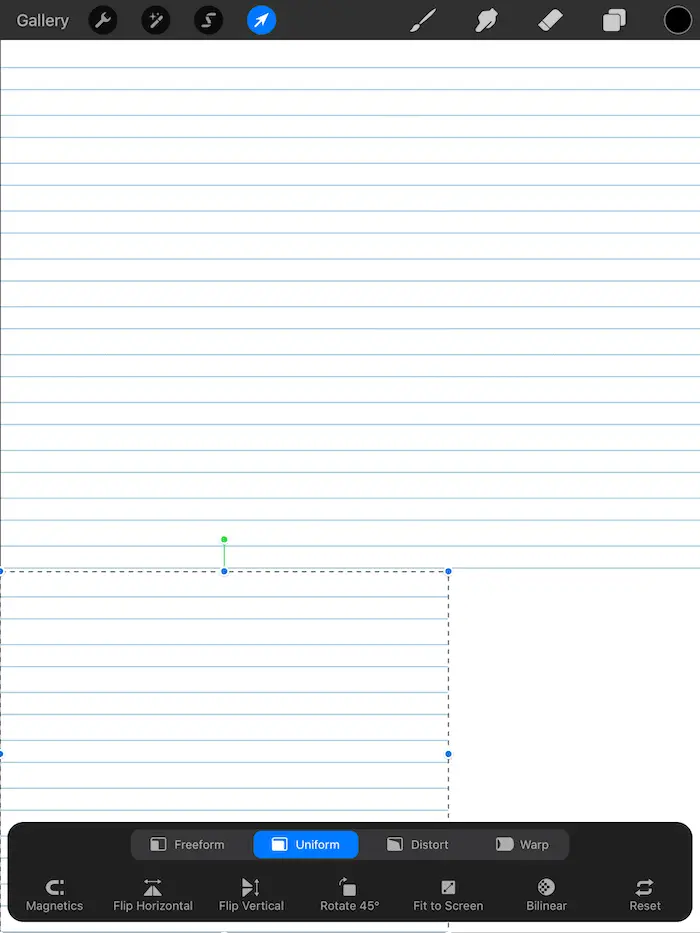
5. Copy and paste your image again and align it in the bottom right corner.


The number of duplicates you’ll need depends on how big your writing paper image is.
If you’re not sure how to copy and paste, check out my in depth guide about copying and pasting on Procreate.
5. Lock Your Layers
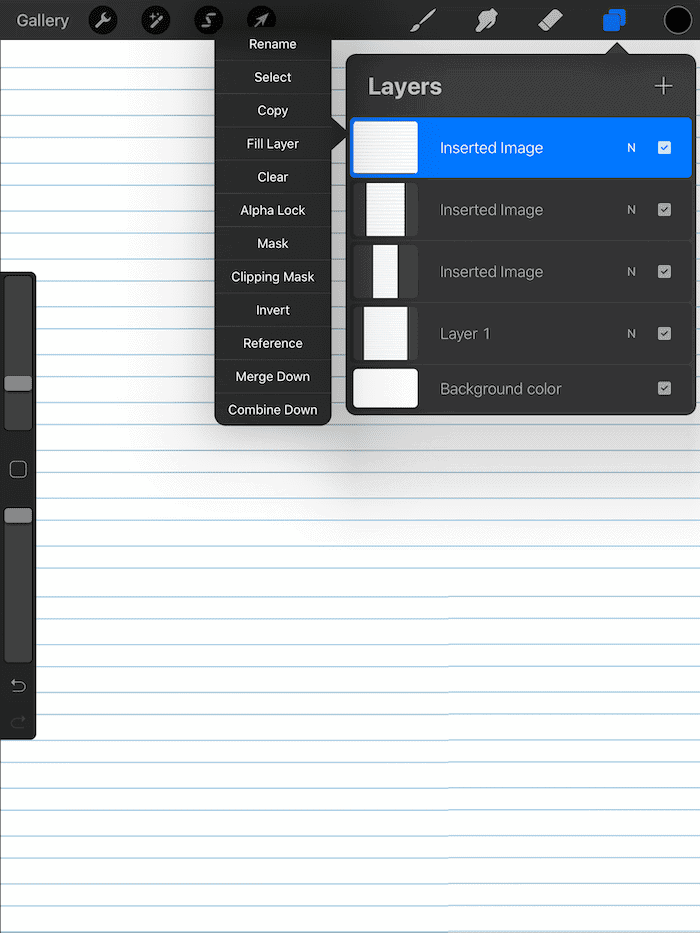
Once you’re done positioning your writing paper image, lock the layer. You can do this by opening the layers tab at the top right and swiping your layer to the left and hitting the “lock” button.
You want the lines of your writing paper to be permanent and almost fade into the background, like any normal piece of writing paper.
You don’t want to accidentally delete it or move it.
If you copied and pasted your writing paper a few times, lock each of the layers, or merge the layers and lock it. To merge layers down, tap the layer and then click the “Merge down” button until you only have one layer left.

6. Make Copies of Your Writing Paper
Head back to your gallery and make a few copies of your blank writing paper. Like regular paper, you always want a blank copy on hand.
Make sure to always have a blank copy of your writing paper stashed away that you can make copies of.
You can always make a copy of a piece of paper you’ve already written on and delete your writing, but this is a bit messier than simply always having a blank copy on hand.
7. Make a New Layer for Your Writing
Don’t write on the same layer as your notebook paper image. This will make it hard for you to delete your writing without messing with the writing paper itself.
Create a new layer that sits on top of your writing paper layer for you to write on. That way, you can manipulate it, clear it, and do whatever you want with it without anything happening to your writing lines.
There you have it! Notebook paper powered by Procreate.


Diana has been an artist for over 27 years and has training in drawing, painting, digital drawing and graphic design. Diana’s latest obsession is digitally drawing with Procreate and Procreate Dreams. Diana has experience selling her art across a number of platforms and loves helping other artists learn how to make money from their art as well.