Procreate is a powerhouse of a program, but that sometimes means that the most basic of functions can be hard to figure out. There’s no easy “⌘C and ⌘V” to help you out when you’re using a touchscreen without a keyboard. Luckily, Procreate makes it easy to copy and paste in other ways.
To copy and paste in Procreate, use three fingers to swipe down on your iPad screen to open the Copy & Paste menu and choose to duplicate, cut, copy, and paste your elements from there. To copy and paste an entire layer in Procreate, duplicate the layer within the Layers panel.
There are SO many uses for copying and pasting. I personally use it a lot to merge Procreate drawings together.
The Procreate Copy and Paste Shortcut
The quickest way to copy and paste in Procreate is to use three fingers to swipe down on your iPad screen to access the Copy & Paste menu. Within that menu, you can quickly copy, cut, paste, and duplicate your Procreate elements.
Let’s walk through this step-by-step.
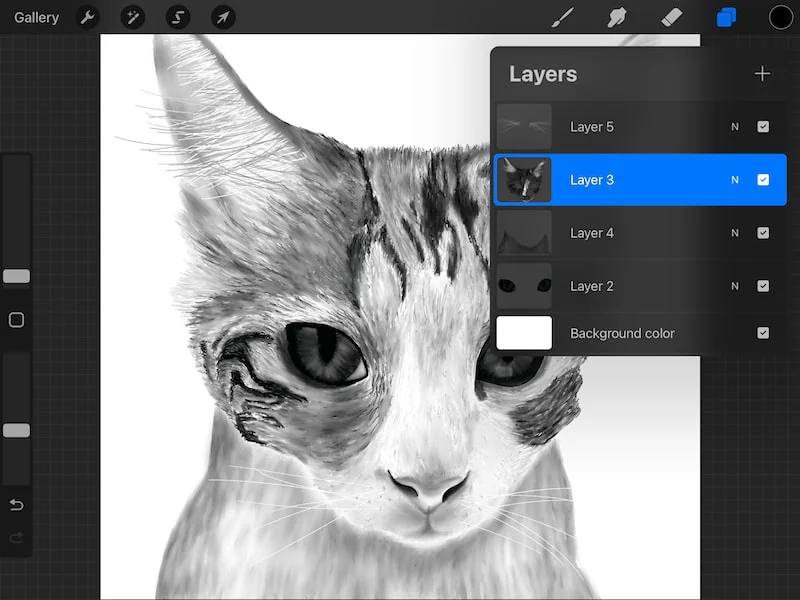
1. Make sure the layer that contains the elements you want to copy and paste is selected.
Open your Layers panel and find the layer that contains the elements you want to copy and paste on it. If it isn’t already selected, tap on it to select it.

2. Use three fingers and swipe down on your iPad screen
This will take some getting used to. Don’t worry; it will come more naturally once you’ve practiced.


3. Click “copy” to copy what is on your active layer and “copy all” to copy everything on your canvas.
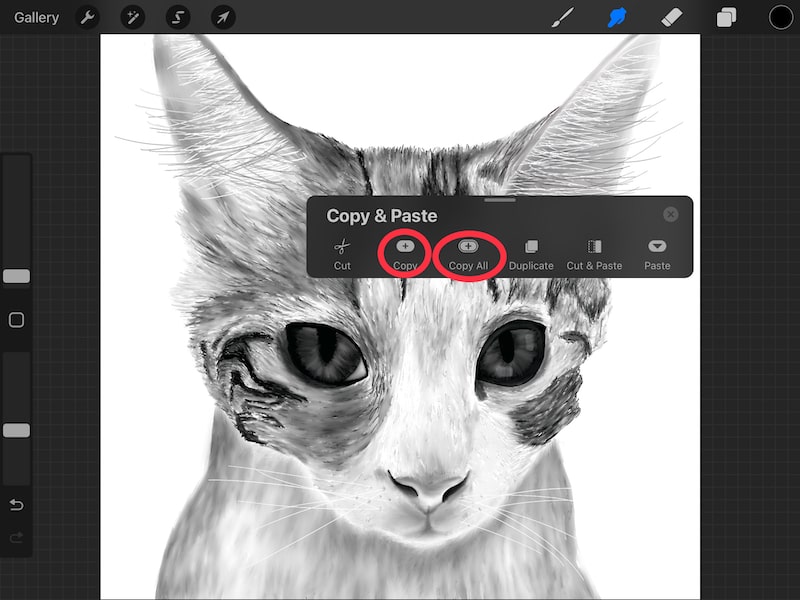
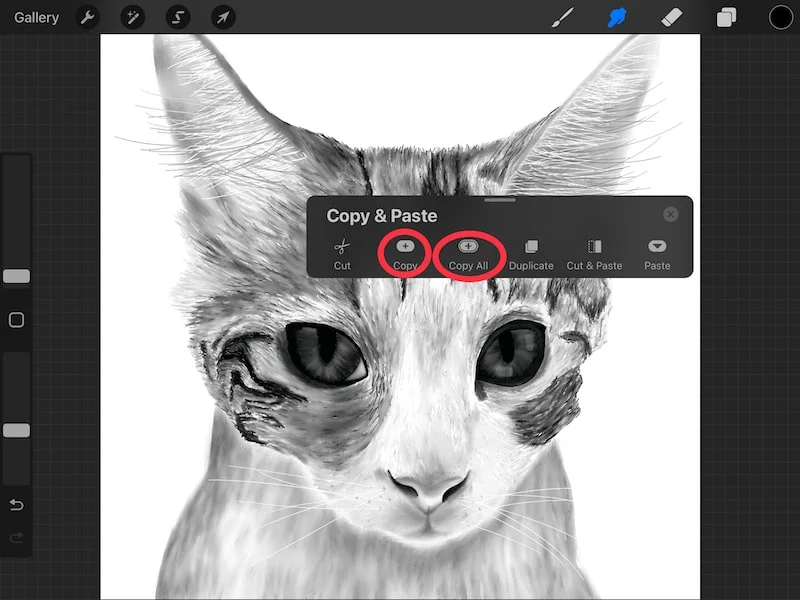
If you choose the “Copy” button, it will copy the contents of the layer you selected. If you choose “Copy All,” it will copy all visible layers in your canvas.
It’s important to note that when you choose the “Copy All” option and eventually paste it onto your canvas, everything will merge into one layer.
If you need your layers or elements separated, copy each layer or element separately so that you can keep them on different layers.
4. Activate the Copy & Paste menu again and click “paste”
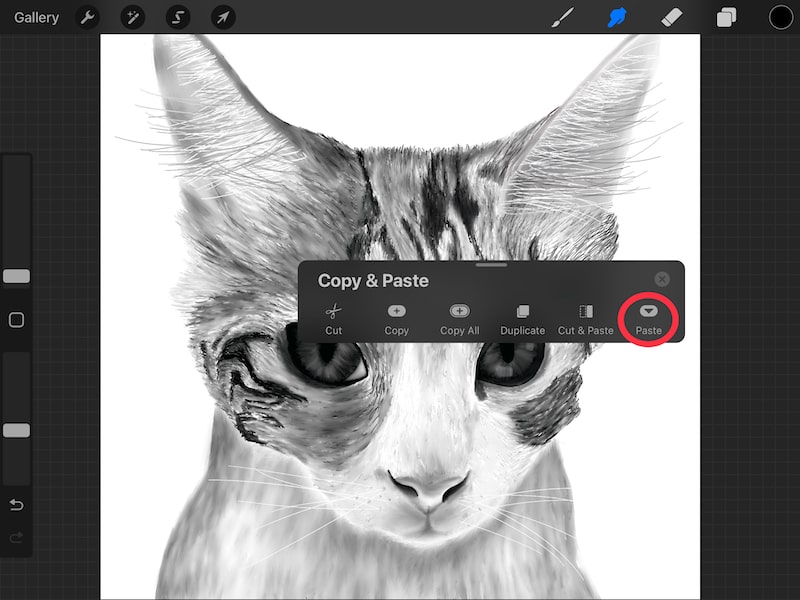
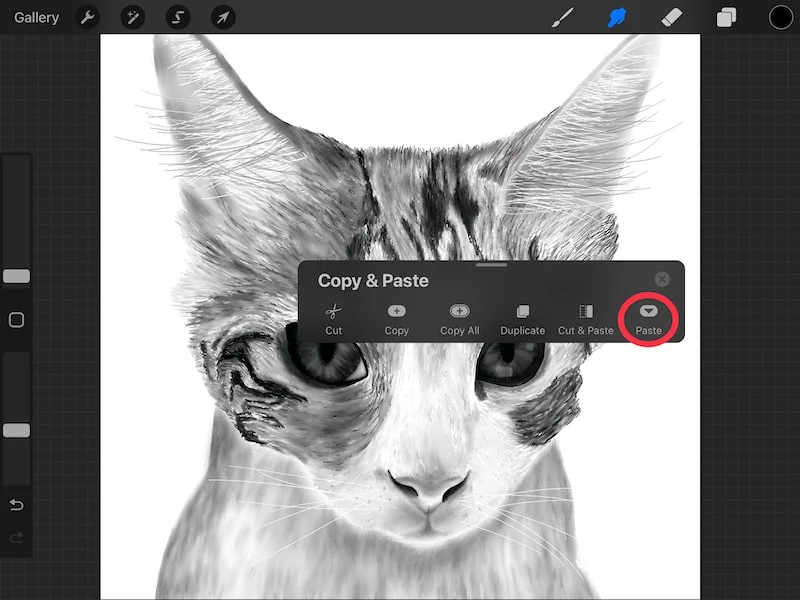
5. Use your pasted layer, as needed.


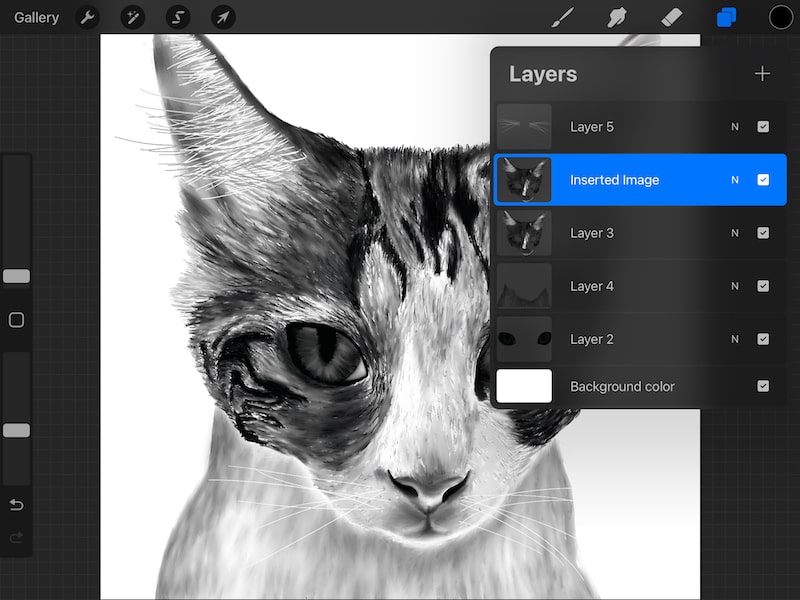
Your newly pasted layer will show up in your Layers panel and be called “Inserted Image.”
It’s worth repeating that the “copy” option will only copy what is on the layer you have currently selected, so make sure you have the right layer selected.
This is a really quick way to copy and paste, but it’s not the only way. You’ll want to learn additional options, especially if you want to copy specific elements from a layer and not the entire layer.
Copying and Pasting an Entire Layer in Procreate by Duplicating it
If you need to copy an entire layer within Procreate, the hack above works pretty well. There is another way to do it though, so it’s good to have another option in your back pocket in case you need it or in case you prefer it.
One of the quickest ways to copy and paste an entire layer is to duplicate it. Duplicating is also great if you need to make your lines thicker or make other adjustments. Here how to duplicate in Procreate:
1. Open your Layers panel.
2. Swipe left on the layer you want to copy and paste.
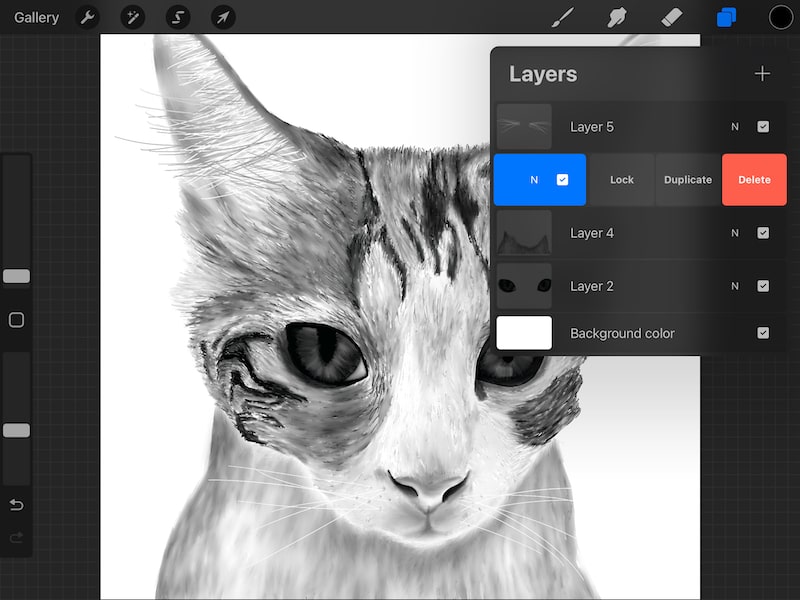

3. Hit the “Duplicate” button.
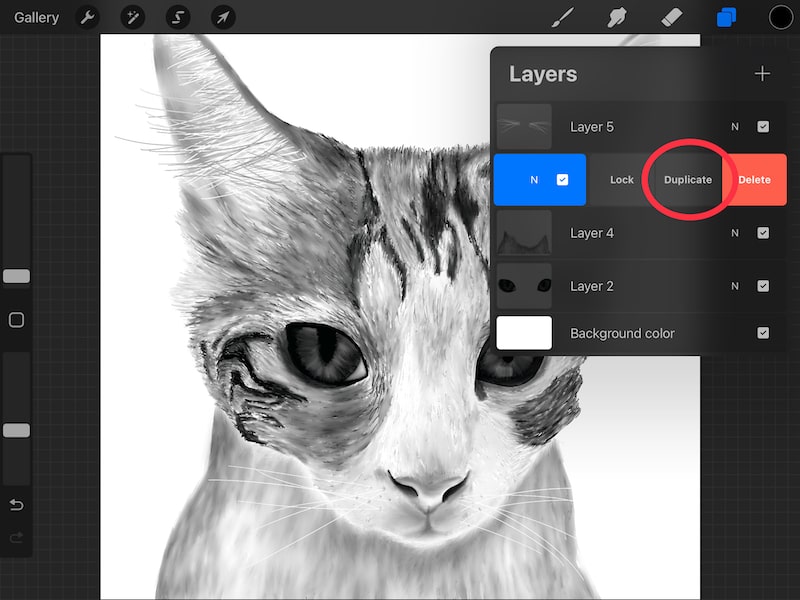

4. Use your duplicated layer as you need to!


Note: your new layer will often paste right on top of your old layer, which can make it look like nothing happened. Just move the layer and you’ll see the duplicate you created.
Now you know how to duplicate in Procreate!
There’s another way to copy and paste an entire layer. It’s not as quick as duplicating, but it’s worth knowing, in case you need it.
How to Copy and Paste a Layer in Settings
The settings within each layer also give you an option for copying and pasting. Here’s what you need to do:
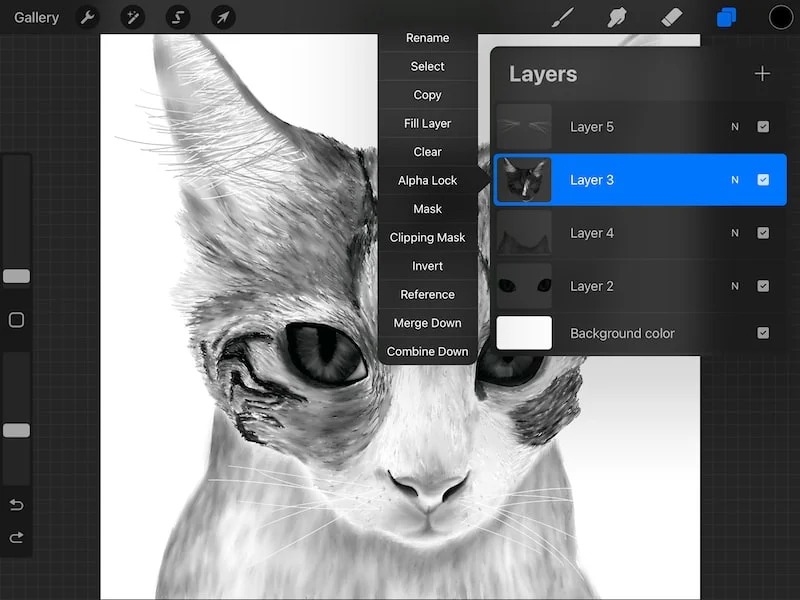
1. Select the layer you’re going to copy so that it’s highlighted
2. Open the layer settings so that they pop up to the left of your layer
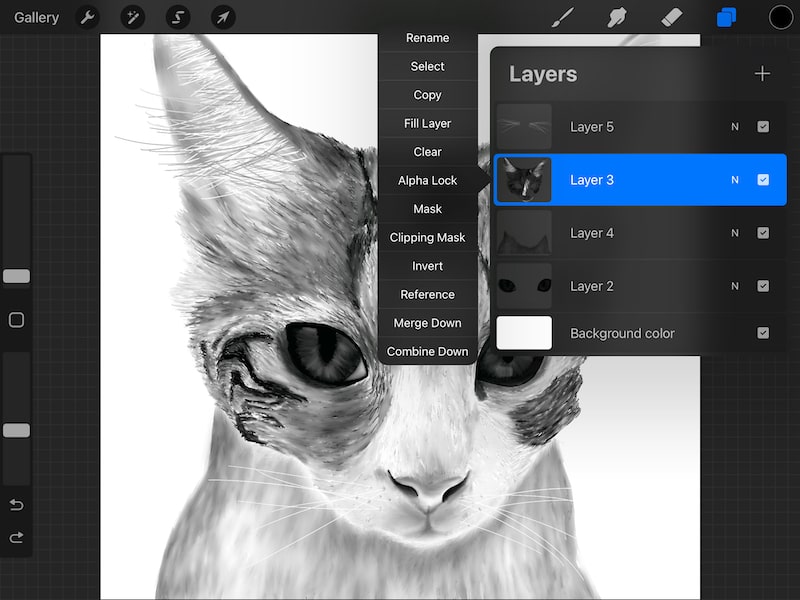
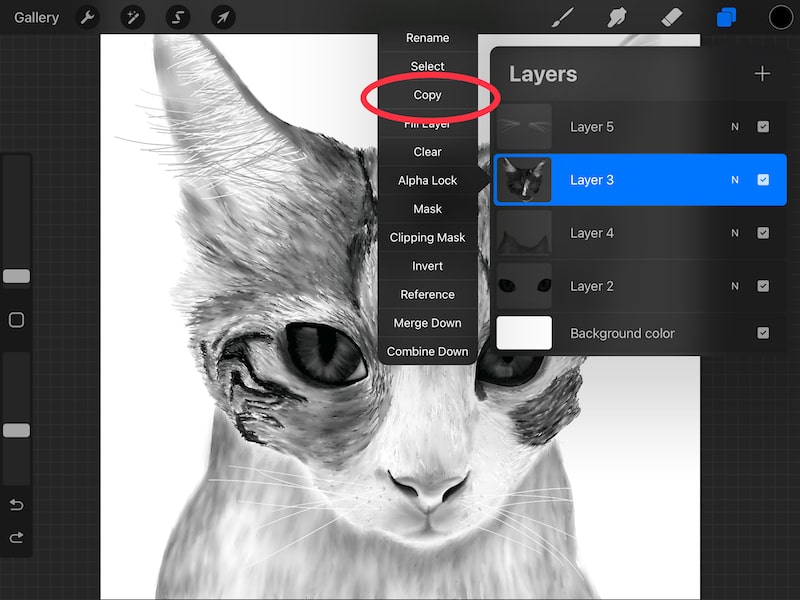
3. Click on the “copy” option

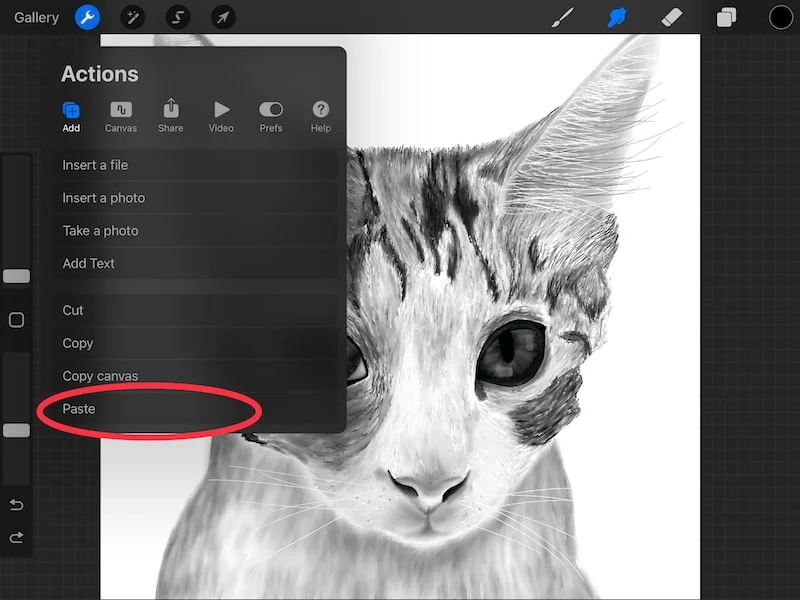
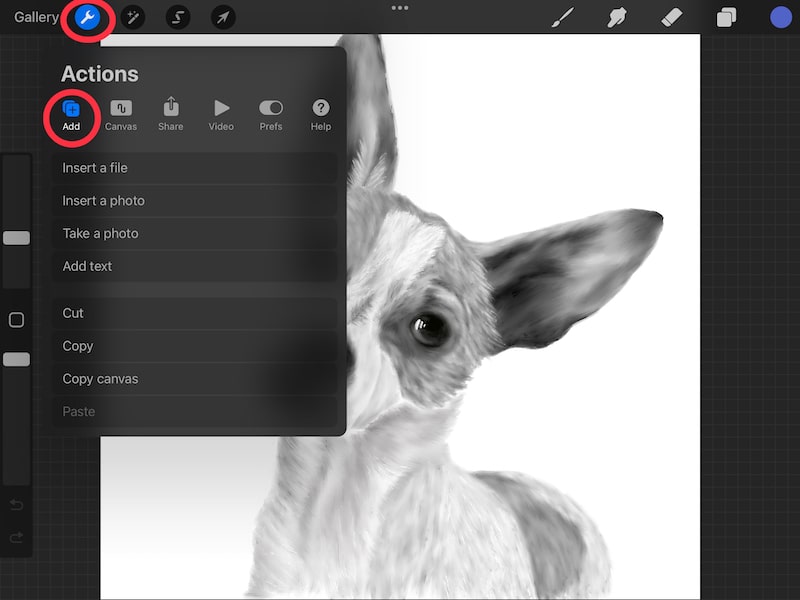
4. Close the layers tab and tap on the wrench to open the Actions menu
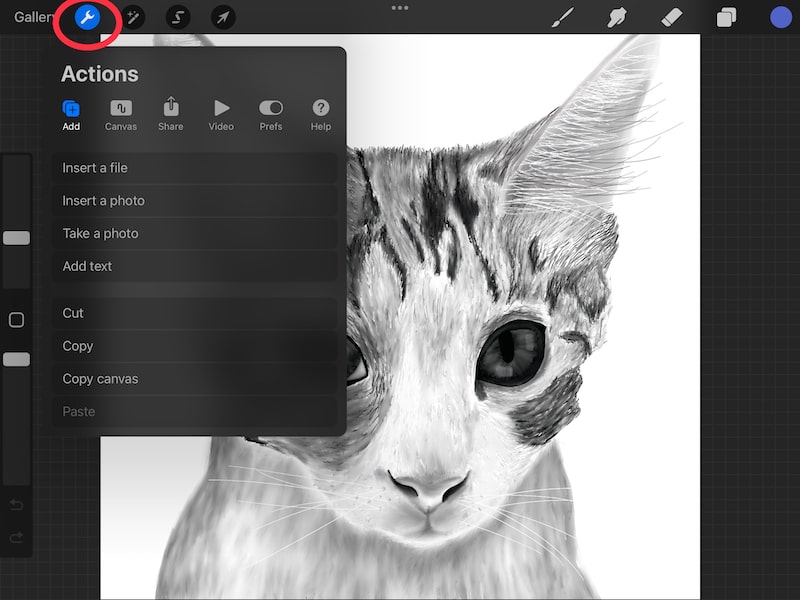

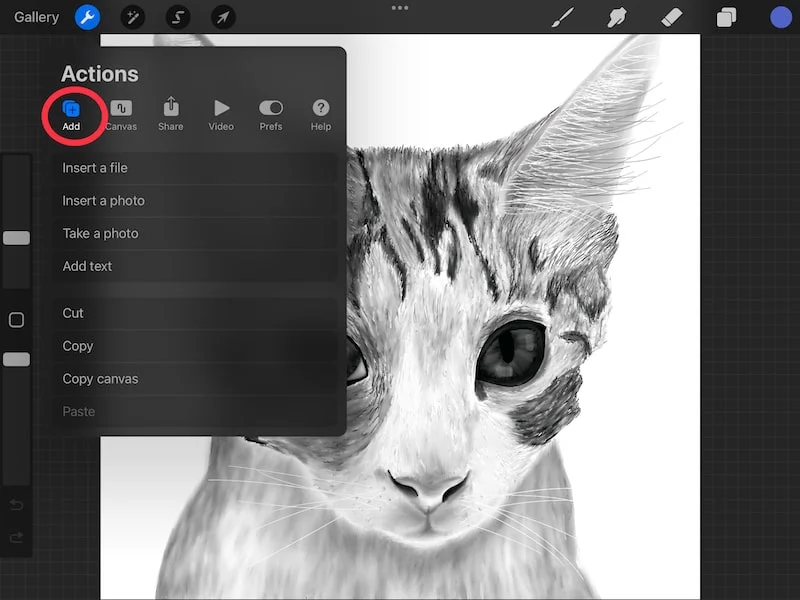
5. Tap on the “Add” tab, which is the first option on the far left

6. Tap on the “Paste” option and you’re done!

Note that when we duplicated a layer in the previous section, it was named as a “Layer.” However, when you copy and paste with this method, it will show up in your Layers panel as an “Inserted Image” in the same way that it did when we used the three finger swipe shortcut to access the copy & Paste menu.

Copying and Pasting a Single Element in Procreate
Sometimes you just want to make a copy of a single element. Maybe you want identical circles or flowers to create a landscape. Whatever your reason, copying and pasting can be a lot more efficient than hand drawing every single identical element. Here’s how to do it:
1. Click the selection tool in your dashboard. It’s the 3rd one that looks like an “S.”
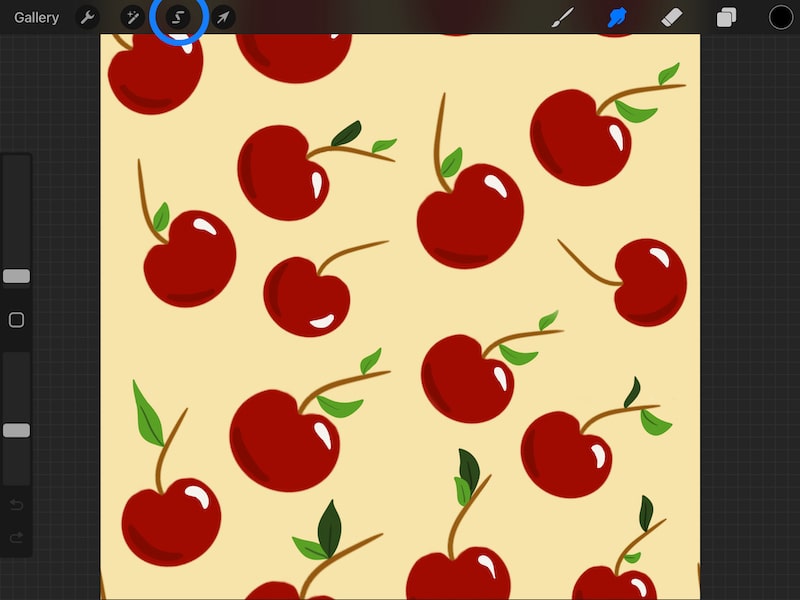

2. Choose the Freehand option and draw your selection around the element you want to copy and paste.
It’s important to move your element away from other elements. Anything that is captured by your selection tool will be copied and pasted, so make sure you don’t accidentally include elements you weren’t intending.


3. Choose the “Copy & Paste” button.


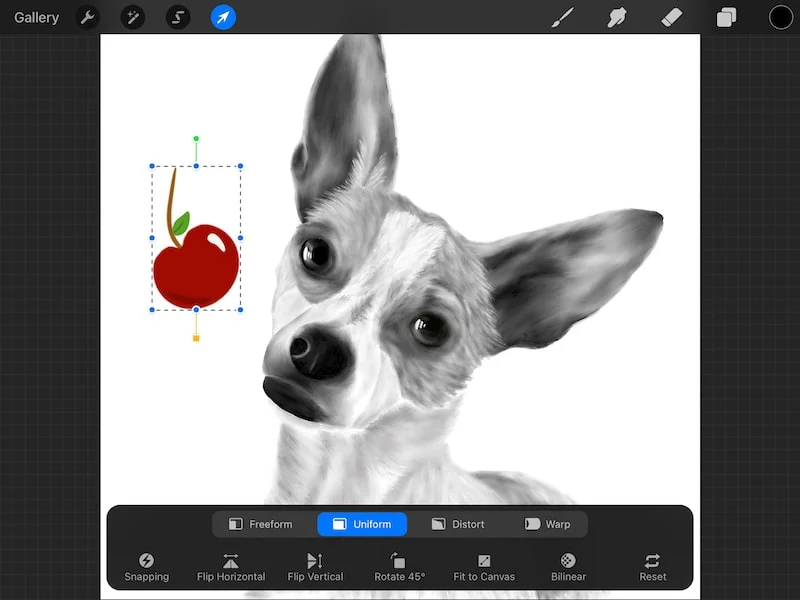
4. Move your copied and pasted element, as needed.

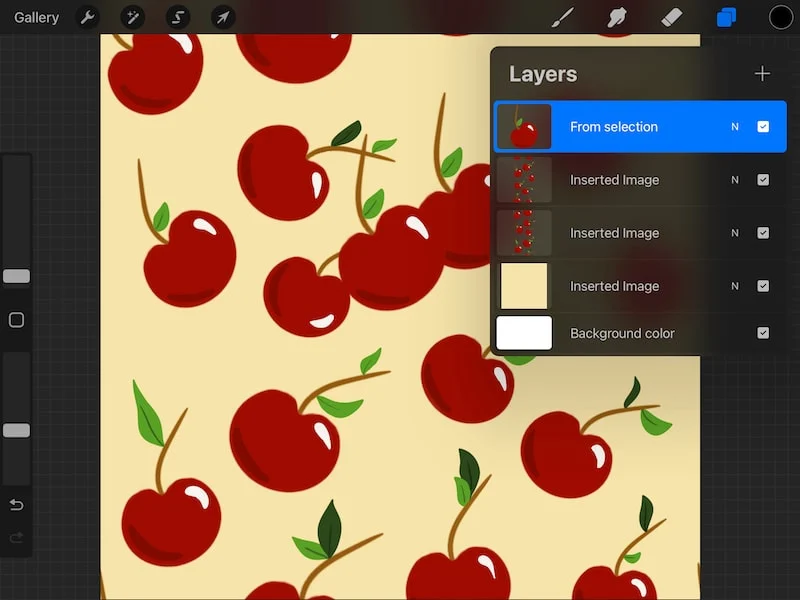
Your copied and pasted selection will show up in your Layers panel with the name “From selection.” Use the Transform Tool to move it around your canvas, as needed.
I have a full guide on using the Selection Tool that you can check out if you want to dig deeper into everything the Selection Tool can do.
Note: like the full layer option, your copied and pasted element will land directly on top of your original element, which can make it look like nothing happened. Simply move the layer and you’ll see whether the copying and pasting worked or not.
Copying and Pasting Layers and Elements to New Canvases in Procreate
The really cool thing about Procreate is that you can copy and paste elements between different canvases in your gallery.
I really like using this feature if I’m trying out different styles and I want them to be completely separate pieces of art as opposed to separate layers.
This can also work well if you are creating a series and have some layers that are going to be consistent throughout your pieces of art; the background for children’s book pictures, for example.
Luckily, the process for doing this is basically the same as what we’ve been doing. Here’s how:
1. Use a three finger swipe down on the screen to activate the Copy & Paste menu and choose “Copy” or “Copy All” depending on your needs.


2. Move over to your new canvas in your gallery, the one you want to copy and paste to
3. Tap on the wrench to open the Action settings and choose the “Add” menu.

4. Choose the “Paste” button.


5. Move your copied and pasted element around, as needed.

Can you Copy and Paste on the Same Layer in Procreate
Procreate can’t copy and paste within the same layer. The workaround is to copy and paste to a new layer and merge it with your desired layer. Always be careful when merging your layers and double check that you want all of the elements on your two layers to be merged together.
Unfortunately, you can’t tell Procreate to copy and paste on an existing layer. Procreate will always create a new layer for your copied and pasted elements.
The workaround is to copy and paste your elements on a new layer and then merge this layer with your desired layer – the layer you wanted to copy and paste your elements on to begin with.

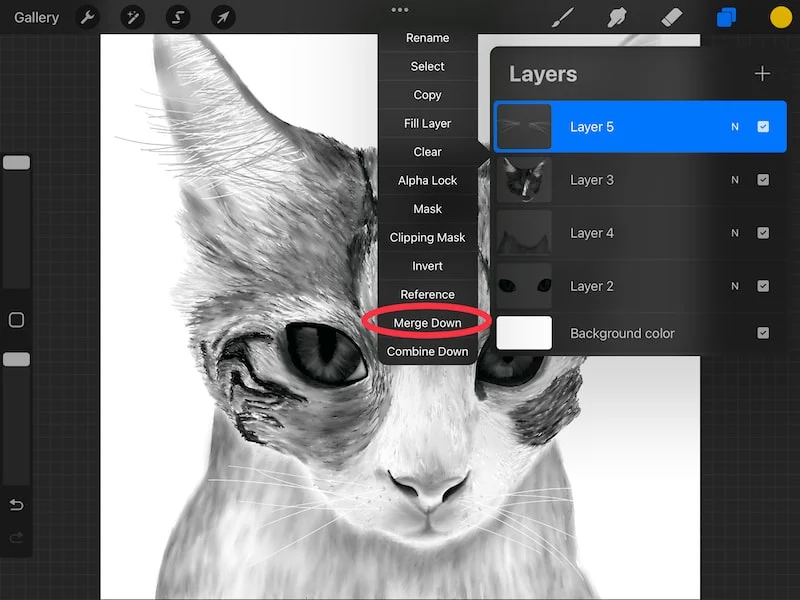
Always be careful when merging your layers!!
Cropping and resizing too! You can only undo your merge right after you complete it. If you return to your gallery, close Procreate, your undo history will be wiped and you won’t be able to undo it anymore.
Combine down isn’t the same as merge down either.
Combine down will simply turn your layer into a group. Merging is what you want to do if you want your elements on the same layer.
Given that Procreate doesn’t have a way to copy and paste on the same layer, merging your layers is a good, if not imperfect, workaround.
Things to Keep in Mind When Copying and Pasting with Procreate
1. Stay Authentic and Know Why You’re Using It. Once you know how to copy and paste with Procreate, it’s like learning that boxed cake mix exists. It’s amazing!
Yeah, you could go about things the hard way by pulling out the flour and baking powder and making sure you have enough sugar, or you can just crack a few eggs into the boxed cake mix.

Same way you could re-draw a lot of elements, or you can just copy and paste.
That said, in the same way that boxed cake mix can sometimes limit your creativity in the kitchen, making copies of your art may do the same thing depending on what you’re going for.
For me, I’ve definitely fallen into the laziness trap of copying and pasting characters from one scene to another.
Maybe I changed their arm positions, but you could tell that they were slightly altered carbon copies of each other. In that case, copying and pasting was working against me as an excuse to be lazy.
In other cases, I’ve copied basic shapes or backgrounds that are really ok to be carbon copies of each other.
At times, they NEED to be carbon copies of each other, like consistent backgrounds throughout a picture book scene. In those cases, copying and pasting has made my design time more efficient and added to the quality of my work.
2. Be Careful with Your Layers. When you copy and paste, your new elements or layers will be inserted as an image as one single layer. True confession: I’m awful at managing layers in Procreate. We’re all works in progress, right?
As you would (or should, in my case) when adding new elements, make sure that you’re pasting elements separately if you need them on separate layers. This will make your life a lot easier if you need to make changes down the line.
Copying and pasting is a great Procreate feature that’s one of the great perks of digital art versus traditional art. If you use it correctly, you’ll unlock a lot of ways to improve the efficiency of creating your art. As long as you don’t use it as a crutch or an excuse to be lazy, you’ll have acquired another Procreate superpower.


Diana has been an artist for over 27 years and has training in drawing, painting, digital drawing and graphic design. Diana’s latest obsession is digitally drawing with Procreate and Procreate Dreams. Diana has experience selling her art across a number of platforms and loves helping other artists learn how to make money from their art as well.