When you first start using Procreate’s selection tool, all of its features might seem overwhelming. Don’t worry, I felt the same exact way when I first used it myself. It’s a powerful tool that has a learning curve! Once you conquer the learning curve, you’ll open up a lot of awesome possibilities for your art.
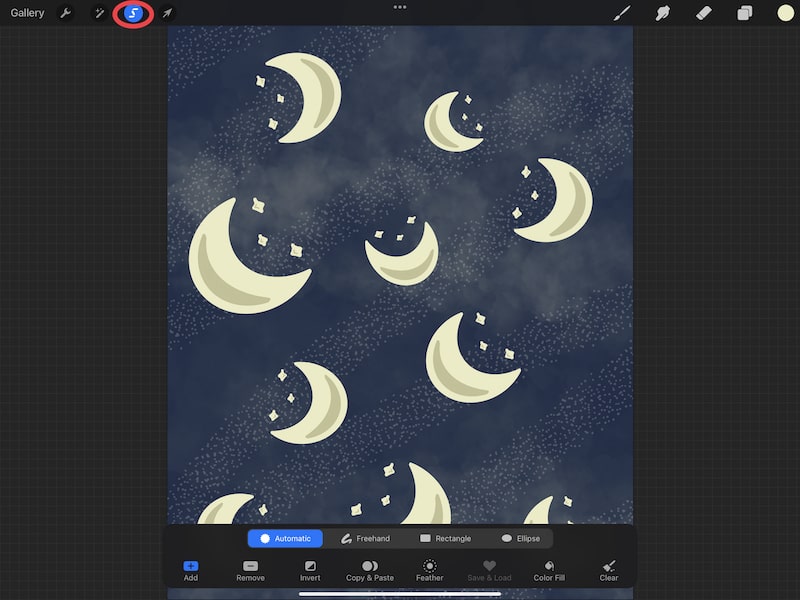
Activate Procreate’s selection tool by tapping on the icon that looks like an S in your top toolbar. The selection tool gives you the ability to isolate objects in your art, fill your objects with color, copy and paste, invert your objects, and so much more.
Like I said, there’s a LOT going on with the selection tool that can feel overwhelming at first. We’re going to walk through the selection settings so that you can feel more confident about jumping into this tool.
Before we do, let’s talk about where to find the selection tool in the first place.
To activate the selection tool, tap on the icon that looks like an S in your top toolbar.
Once you’ve done that, it’s time to dive into all of the selection tool features.
Selection Tool Shape Options
There are different “shapes” you can use with the selection tool. These will determine how big or small your selection is and what it looks like.
The most straightforward shapes are the rectangle selection shape and the ellipse selection shape. If you choose either of these, drag your stylus over your canvas to create a selection of that shape.
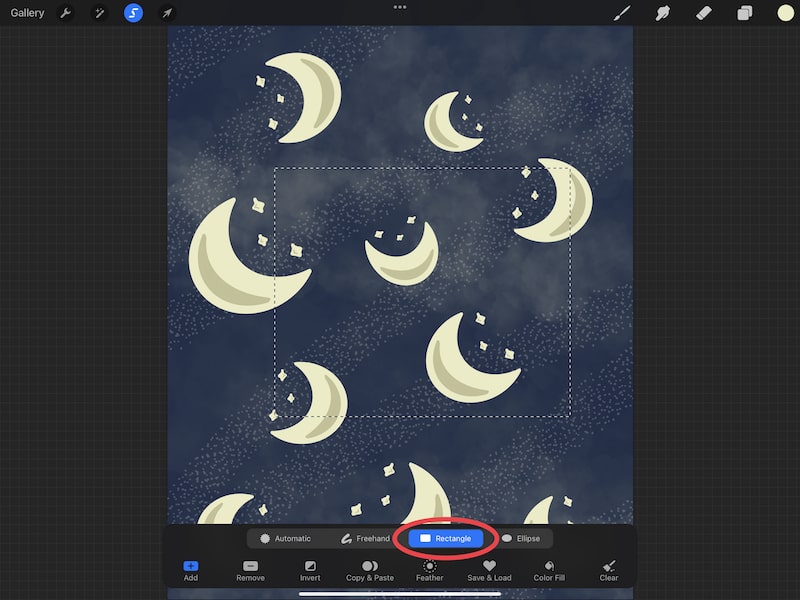
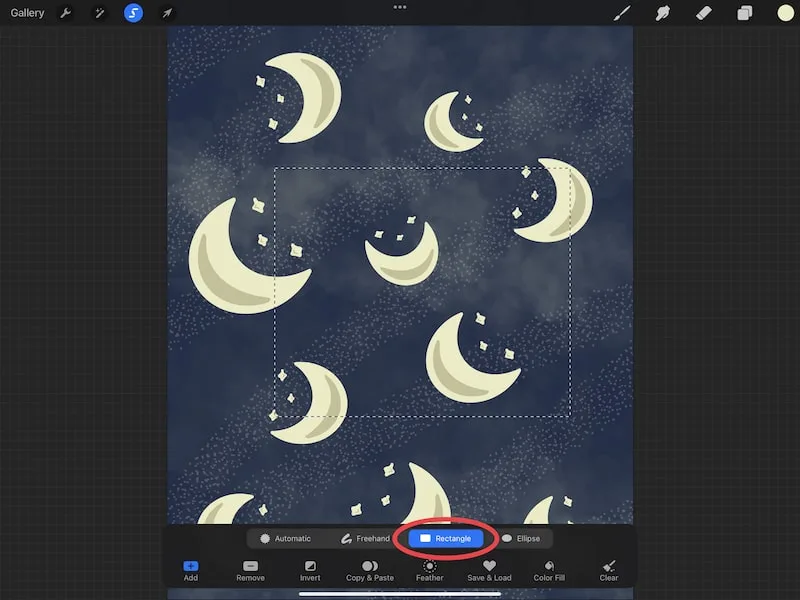
The goal in doing this is to include everything you want selected within your shape, while leaving out anything you don’t want selected.
Now, you may be wondering why we’re making selections in the first place. What do we do with them? Don’t worry, we’ll talk about the purpose of making selections as we dive into the settings later on.
The freehand and automatic shapes is where your creativity with making selections can show through.
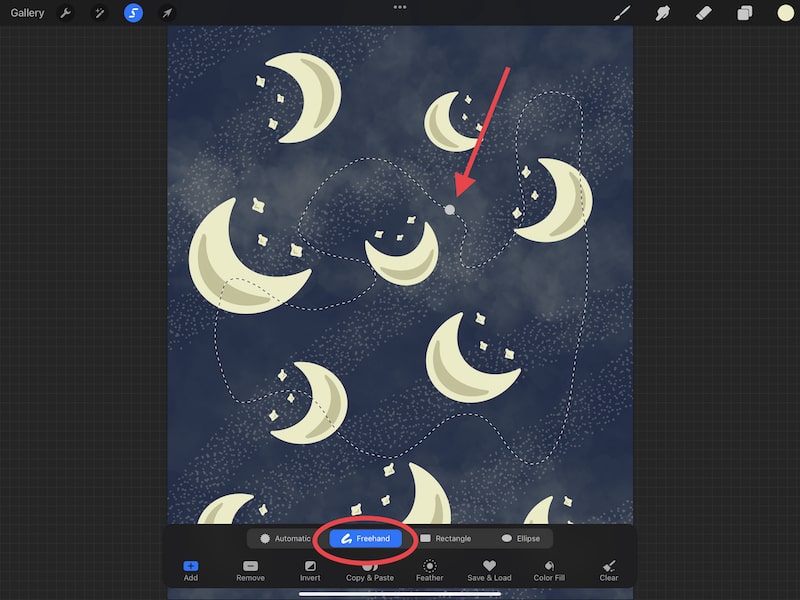
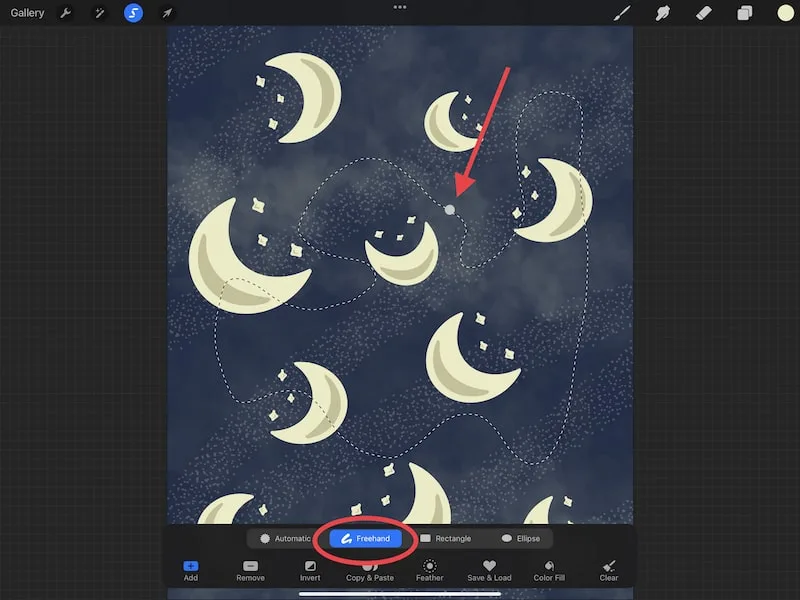
The freehand shape lets you draw your own selection shape. Here’s the deal, take the word “shape” to hear. When you use the freehand selection option, it’s really important that you draw an actual enclosed shape where the ends touch each other.
Your shape cannot be open and have a gap in it. The ends need to touch each other to create an enclosed shape.
The automatic selection tool will try to use information about your art to automatically choose a selection area.
I personally find the automatic setting the most useful when I have clearly defined shapes that aren’t crowded. This makes it easier to automatically isolate the selection you’re looking for.
To use the automatic selection setting, tap your stylus on your canvas within the area that you want selected. You’ll notice that a slider will appear at the top of your screen. With your stylus still held down on your canvas, slide it to the left to decrease your selection threshold, or to the right to increase your selection threshold.

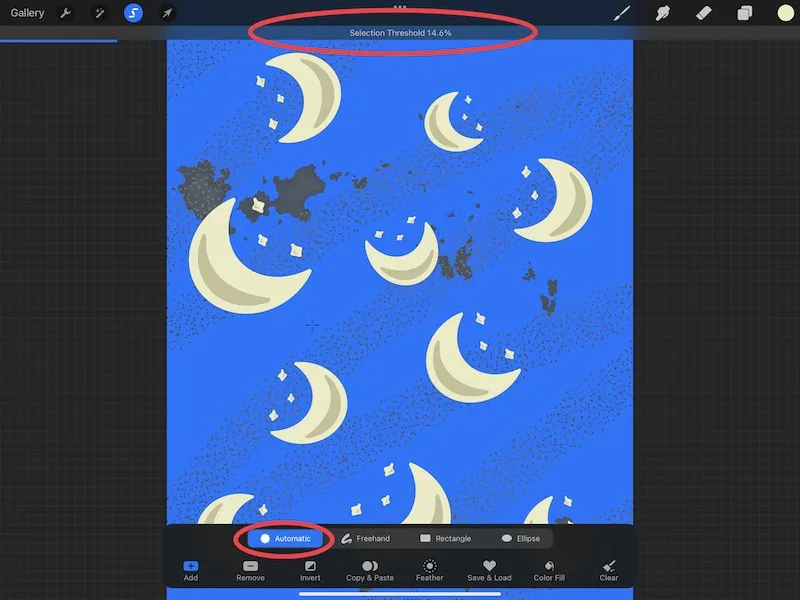
Play around with your selection threshold until you find the selection area you need. If you aren’t able to achieve the selection area you’re looking for, use one of the other selection shape options.
Personally, the automatic selection doesn’t always work for me, but I like to give it a try. It’s easy to undo it and make a new selection, if needed.
If you use the Automatic selection option, you will need to invert your selection (tap the Invert button) before you can draw on it. If you try to tap on the brush without inverting it first, your selection will disappear.
Now that we’ve talked about how to make selections by encapsulating our objects in different selection shapes, let’s talk about what to actually do with those selections once you’ve made them.
Move Your Selection with the Transform Tool
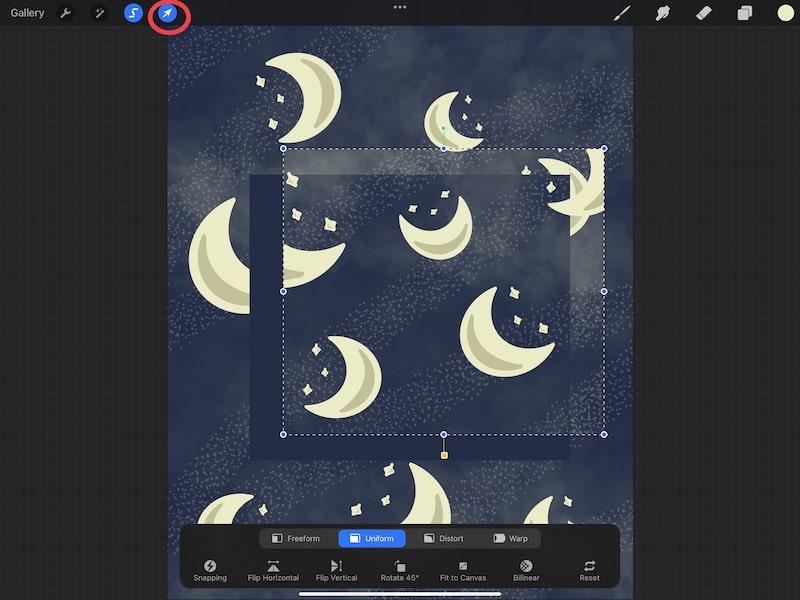
Once you make a selection in Procreate, one of the things you can do with it is move it. If you have any issues moving your Procreate selection, check out this post..
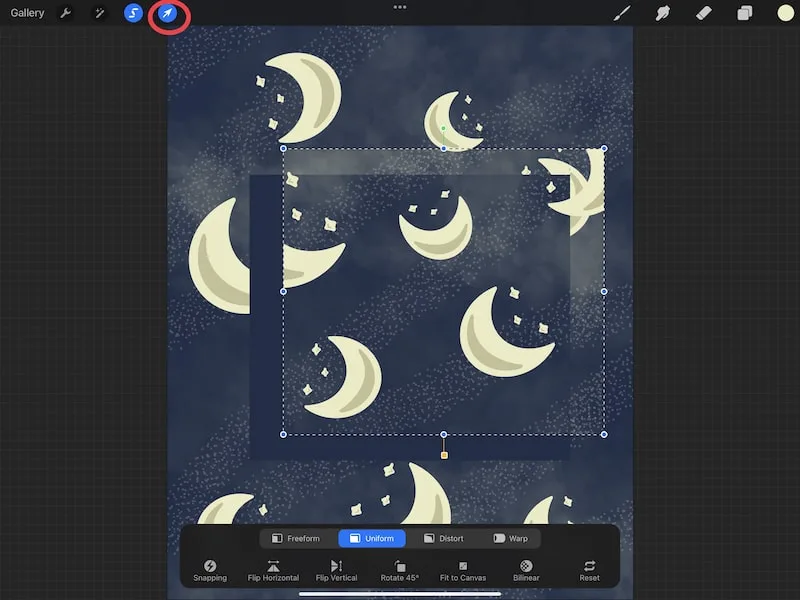
To do this, simply tap on the Transform tool when your selection is finalized and ready. The Transform tool is the one with the arrow icon.
From there, you can drag your selection around your canvas, resize it, and do anything else with it that the Transform tool allows.
I have a full guide on using the Transform tool that I suggest checking out if you want to learn more about this awesome tool!
How to Delete a Selection
Once you’ve created your selection, you can delete the contents of it. There is no delete button at the time of this writing, but there are multiple ways of essentially removing your selection from your canvas. Choose the one that works the best for you!
–Move the selection off of your screen. This is piggy backing off of the previous section on moving your selection with the Transform tool. Simply move your selection fully off our your canvas.
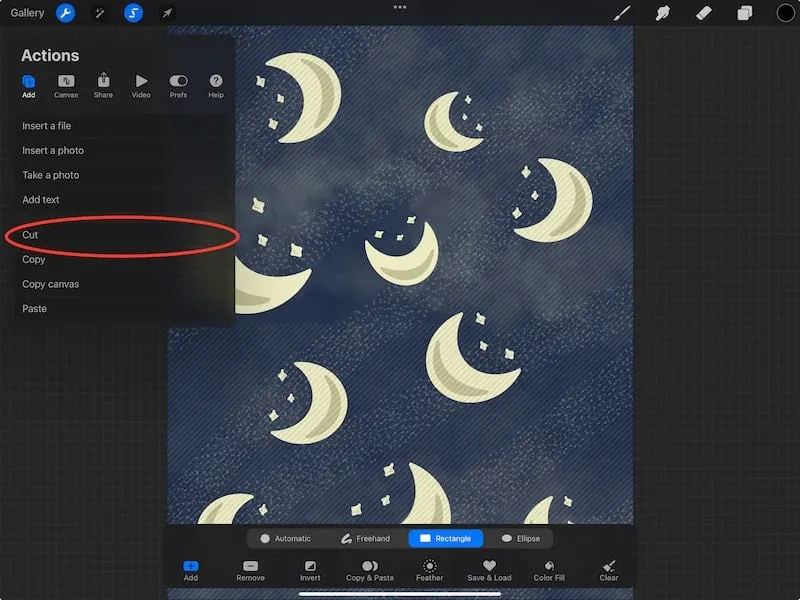
–Cut. Use the Cut button to remove your selection. You can access the Cut button in the Actions menu under the Add submenu. Or, you can swipe downwards with 3 fingers to access the Copy & Paste shortcut menu.

The rest of these options have to do with clearing your layer. If your selection is activated, it will clear your selection instead of your entire layer. Make sure your selection is properly activated so that you don’t accidentally clear your entire layer. Use a two finger tap to undo things if you make a mistake.
–Scrub. With your selection activated, use three fingers to scrub your fingers across your canvas. This is a gesture that is used to clear a layer.
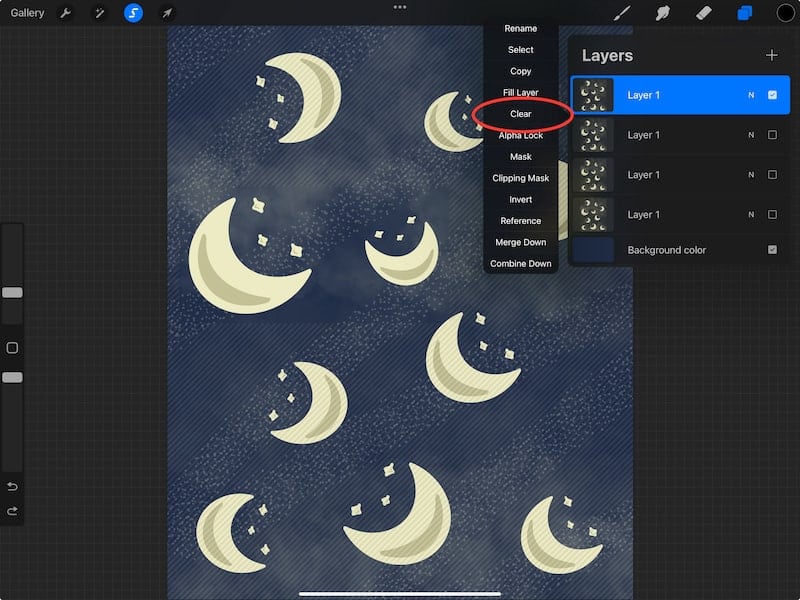
–Clear button. Open your layers panel and tap on the thumbnail for the layer your selection lives on. Tap again, if needed, to open the layer settings. Tap on the Clear button. You can also add the Clear button to your QuickMenu if this is a feature you like to use.

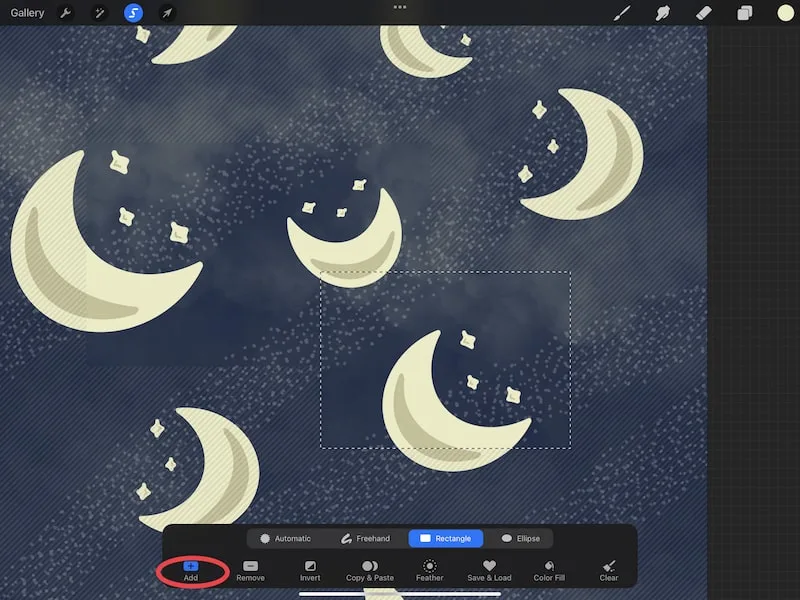
Procreate Selection Tool Add
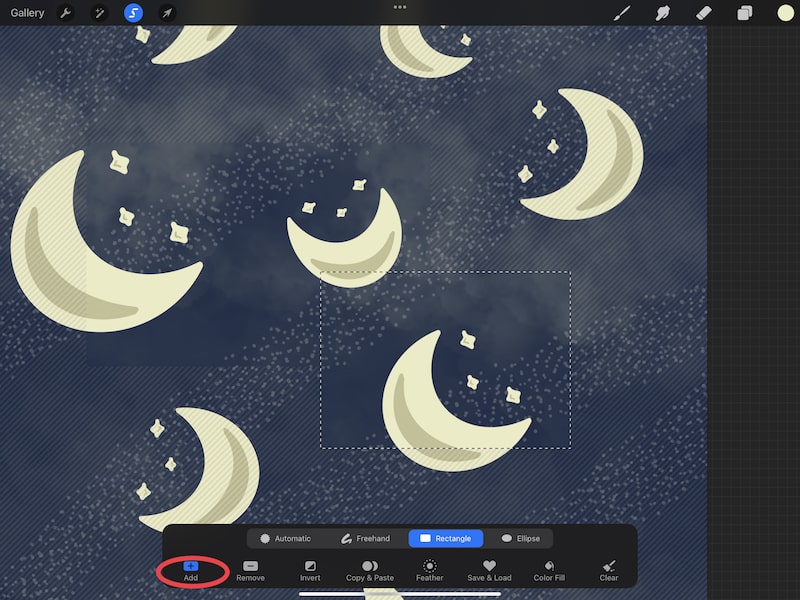
The Add option within the selection tool will let you add more selection areas to your canvas. With the Add button highlighted, simply create more selections as you normally would.
When you go to use these selections, they will all function together. For example, if you’ve created two selections, and then use the Transform tool to move them, both of your selections will move together.
Especially when we have busy canvases, there are times when the objects we want to select are scattered about in different places. Using the Add button to create multiple selections is a great way to manage this.
When you use the Add button, not only can you create separate, distinct selections, but you can also add onto existing selections. To do this, simply create a new selection, but make sure that part of it is within an existing selection. This will allow them to merge into a new, bigger selection.
Procreate Selection Tool Remove
Alright, so we’ve talked about adding to our selection, but what if we want to subtract from it?
That’s where the Remove button comes in! In the same way that the Add button allows you to add to your selections and make new selections, the Remove button lets you remove them.
To do this, make sure you have the Remove button selected. Then, draw selections as you normally would. This time though, the selections you draw will actually detract from your selection.

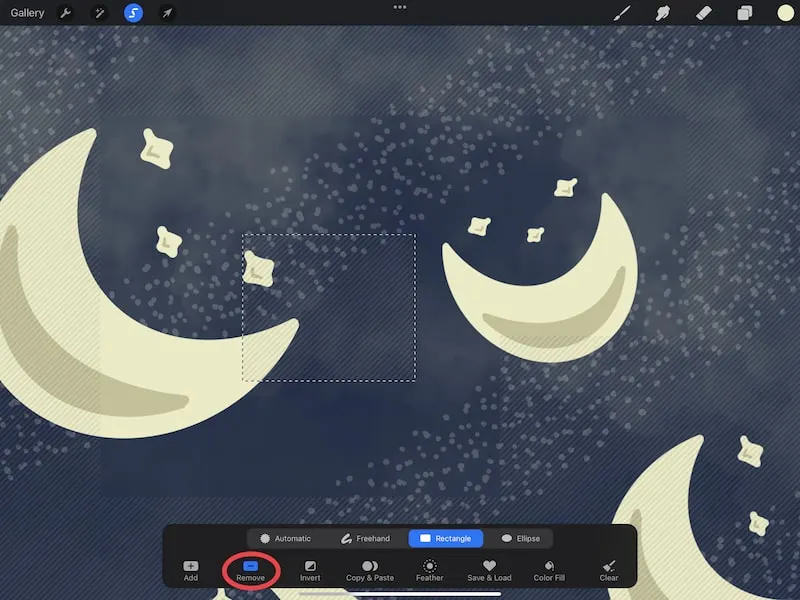
This can be really helpful if you accidentally made a selection too big or included objects that you didn’t mean to. Instead of starting over with your selection, simply use the Remove feature to make adjustments.
Procreate Selection Tool Invert
The Invert button will swap your selection. It literally inverts it.
For example, if you make a square selection, the inside of the square is what will be selected by default. If you invert it, the outside of the square will be selected instead.

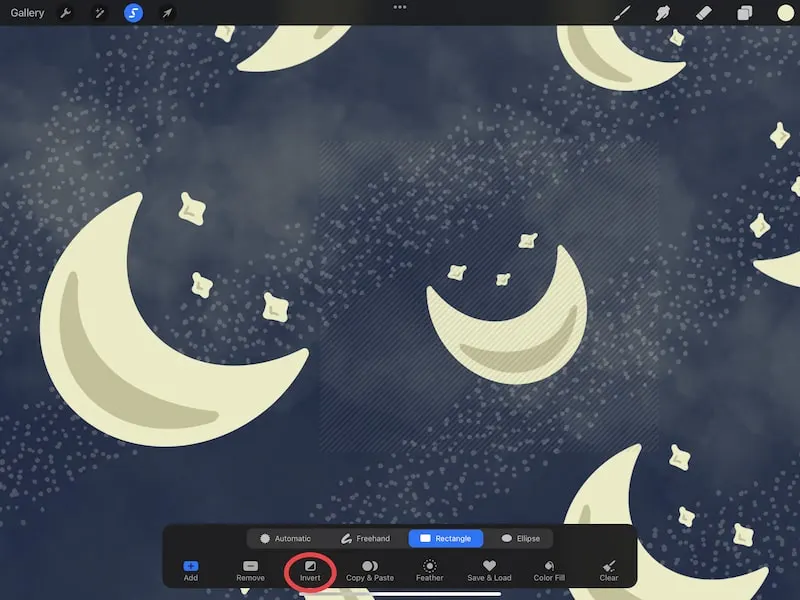
The Invert button only works after you’ve made your selection. So, draw your selection as needed, and then go ahead and tap the Invert button to invert it.
This can be an efficient option to use if you have a large sweeping selection you need to make. Simply select the area you don’t want selected, and then invert it!
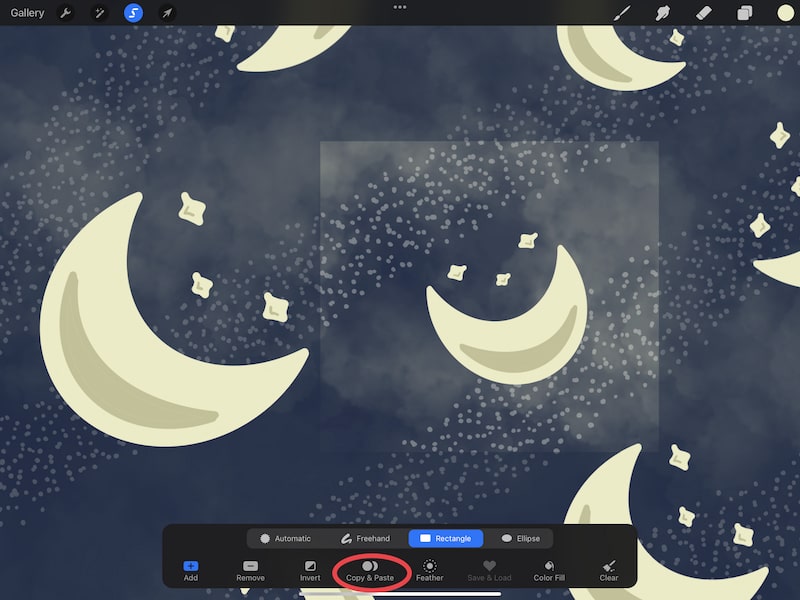
Procreate Selection Tool Copy and Paste
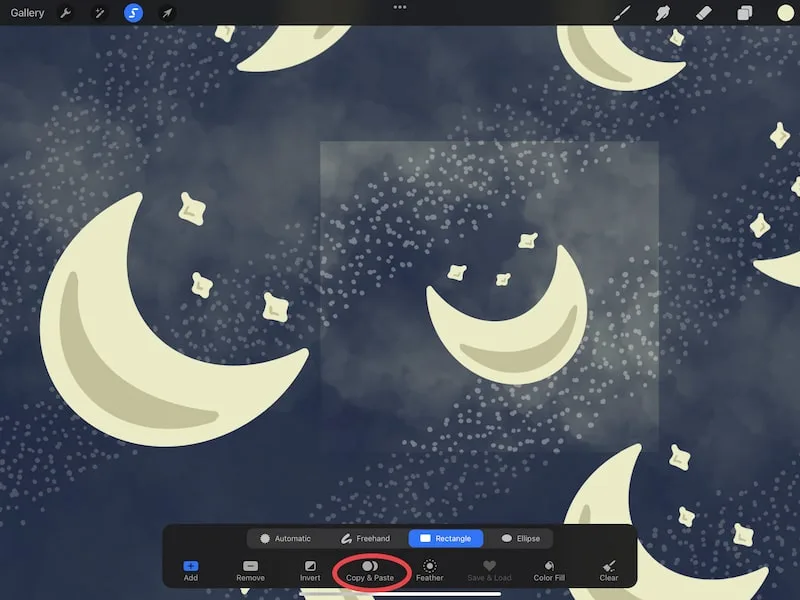
One of the things that I love to use the selection tool for is copying and pasting!
Simply drag your selection around the objects you want to duplicate. Then, tap the Copy & Paste button in your selection toolbar. This will copy and paste everything in your selection!
I have a full guide on copying and pasting in Procreate that not only dives deeper into copying and pasting selections, but other great ways to copy and paste in Procreate as well!
Procreate Selection Tool Feather
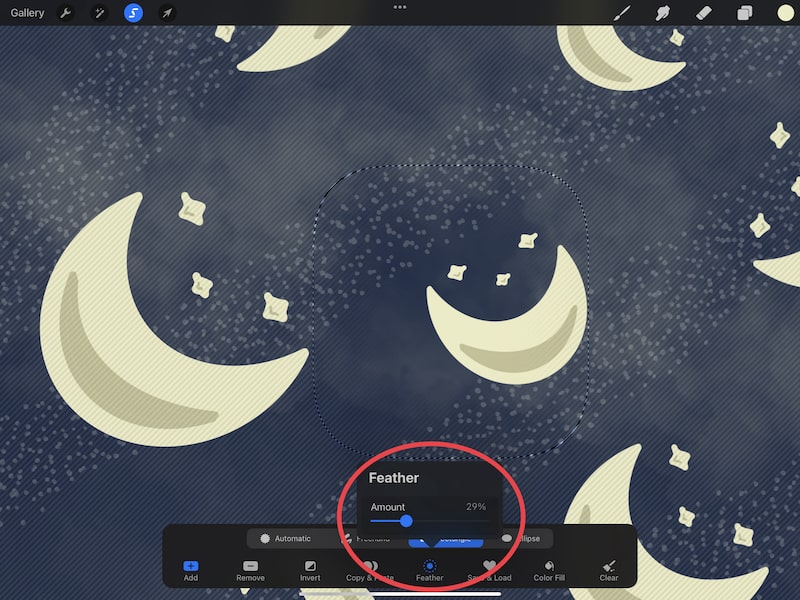
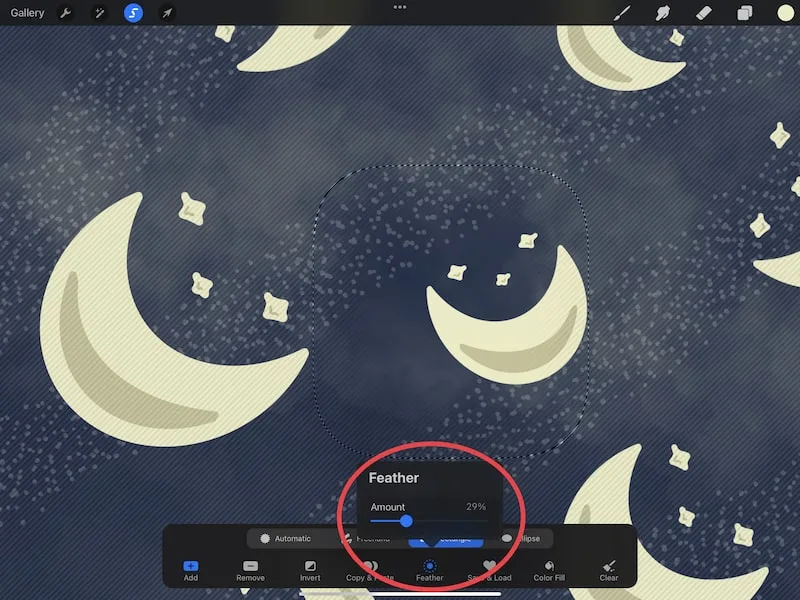
By default, selections have crisp edges. This is great if you want to be precise with your selections, but not so great if you want a softer look. Luckily, that’s where the Feather option comes in!
After you’ve drawn your selection, tap on the Feather button and use the slider to adjust the feathered look of your selection.
Procreate Selection Tool Color Fill
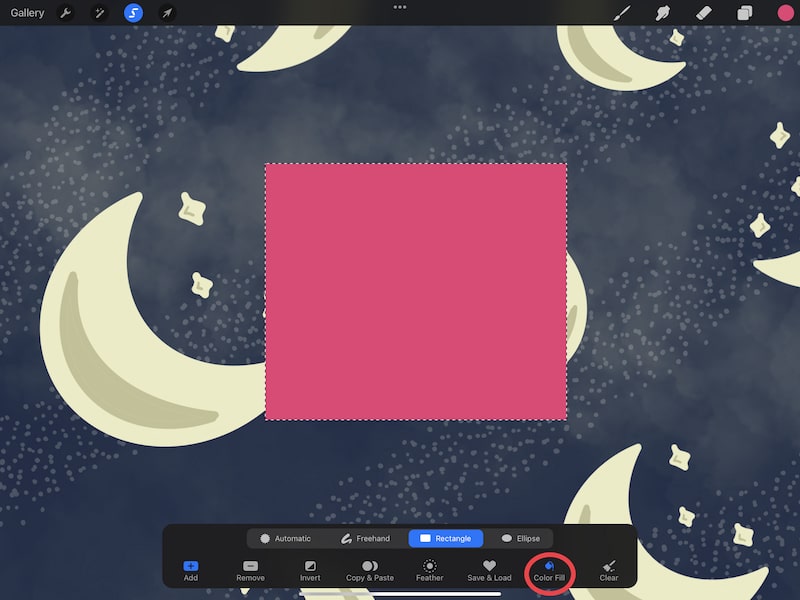
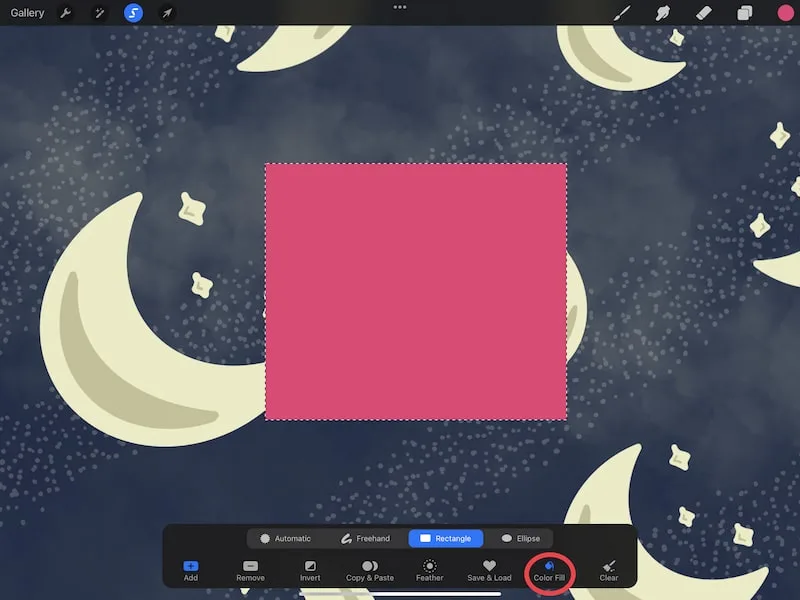
When I use the selection tool, I LOVE the Color Fill option! It’s just so cool and efficient!
If the Color Fill option is activated, any selection you draw will be automatically filled with the active color in your color wheel.
Something to be aware of is whether you have this option selected. There have been more times than I’d like to admit where I have accidentally had the Color Fill option activated and wondered why my selections were being filled with color.
So, be aware of when you’re using the Color Fill option so that you don’t accidentally end up with selections full of color.
Procreate Selection Tool Save and Load
Have you ever made a selection and been bummed when you lose it because you needed to do something else on your canvas? Yeah, me too. Well, there’s an awesome solution for that!
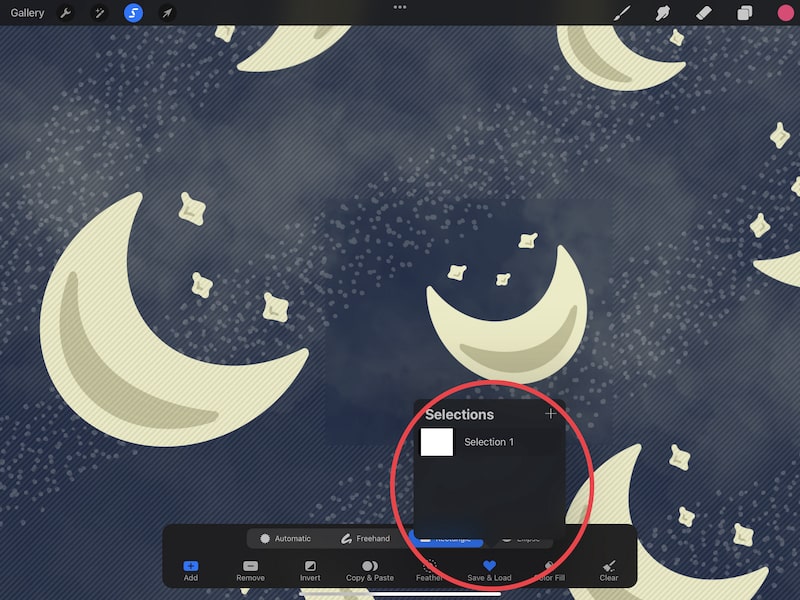
If you make a selection that you want to save for later, tap on the Save & Load button, and then the plus button. This will save your selection. If you want to return to it, simply open the Save & Load menu again and tap on the selection you saved.

Procreate Selection Tool Clear
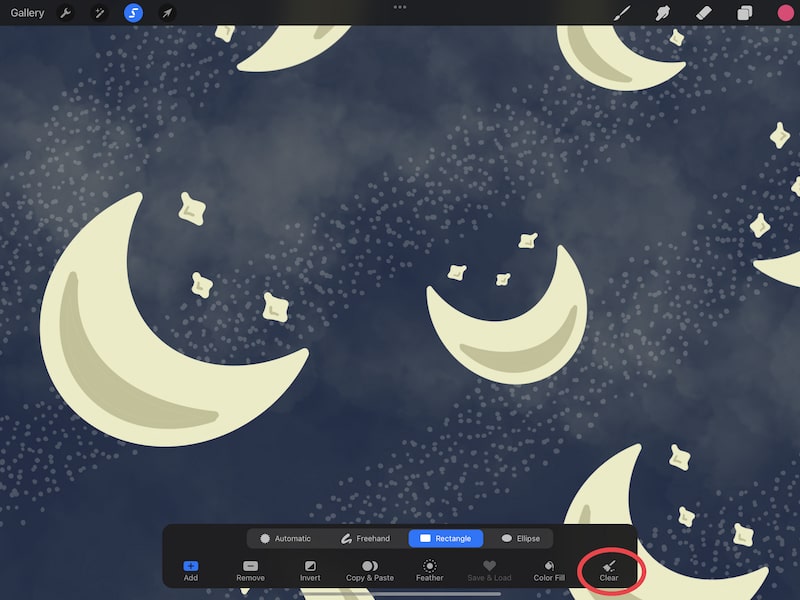
If you go wild with your selections and decide that you need to start from scratch, the Clear button has your back.
Simply tap the Clear button and all of your selections will be wiped. Naturally, be careful with this option as it removes all of your selections. If you only want to remove a few selections, use the Remove feature instead.
How to Reset Procreate’s Selection Tool
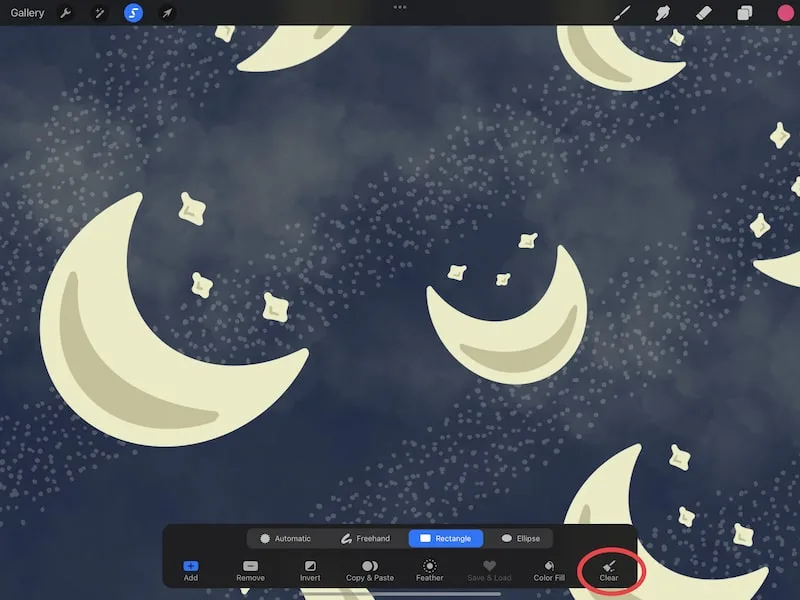
To reset the selection tool, one option is to use the Clear button that we talked about above. This will wipe all of your selections so that you can start clean with your selections.
Another option is to close the selection tool and reopen it again. This will essential reset it for you.
Reactivate Your Most Recent Selection
If you lose your selection, tap and hold on the Selection tool. This will reactivate the selection you created most recently.
Procreate’s selection tool can be incredibly useful once you get familiar with it and learn how to use it for your art! Take some time to experiment with it and have fun with its capabilities.


Diana has been an artist for over 27 years and has training in drawing, painting, digital drawing and graphic design. Diana’s latest obsession is digitally drawing with Procreate and Procreate Dreams. Diana has experience selling her art across a number of platforms and loves helping other artists learn how to make money from their art as well.