There are SO many amazing settings in Procreate and it can take a few clicks to get to each one of them. Well, not anymore. With the Procreate QuickMenu, you can get to all of your favorite settings with just a simple click.
Turn on the Procreate QuickMenu in the Preferences tab of the Actions menu. Once it’s enabled, the QuickMenu can be customized with your favorite Procreate settings and brushes. Create multiple menu profiles for your brushes, colors, layers, guides, and more.
Once you set up the Procreate QuickMenu in a way that works for you, it’s a game changer for your Procreate productivity. Your favorite settings and brushes are just a click away, instead of buried in different panels and tabs. Let’s dive into how you can set up your own QuickMenu and customize it to your needs.
How to Enable Procreate’s QuickMenu
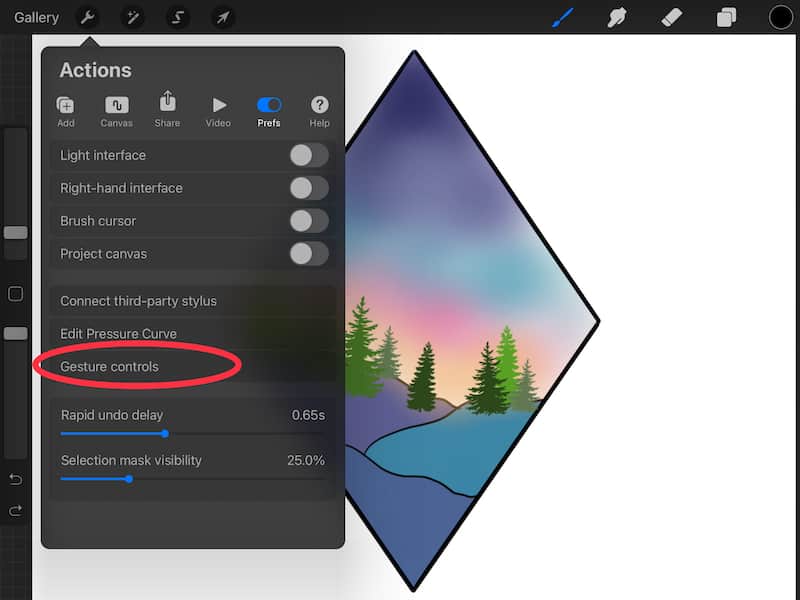
Procreate’s QuickMenu can be enabled through the Actions panel at the top of the toolbar. From there, click on the Prefs tab and then the Gestures Controls button. In the Gesture Controls menu, click on the QuickMenu tab and toggle on the option you’d prefer for accessing the QuickMenu.
Here’s those instructions in a step-by-step guide:
1. Click on the Actions menu (the wrench in the top toolbar)
2. Click on the Prefs tab within the Actions menu (at the far right before the Help button)
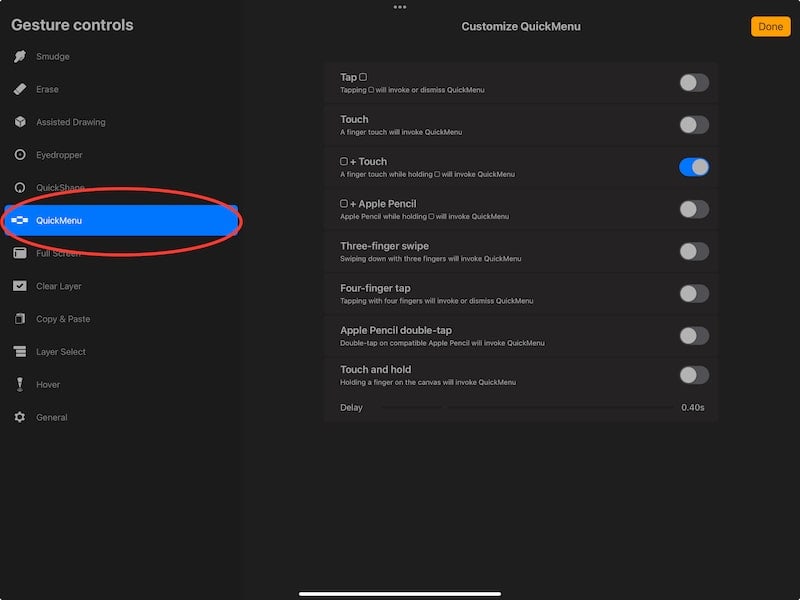
3. Click on Gesture Controls

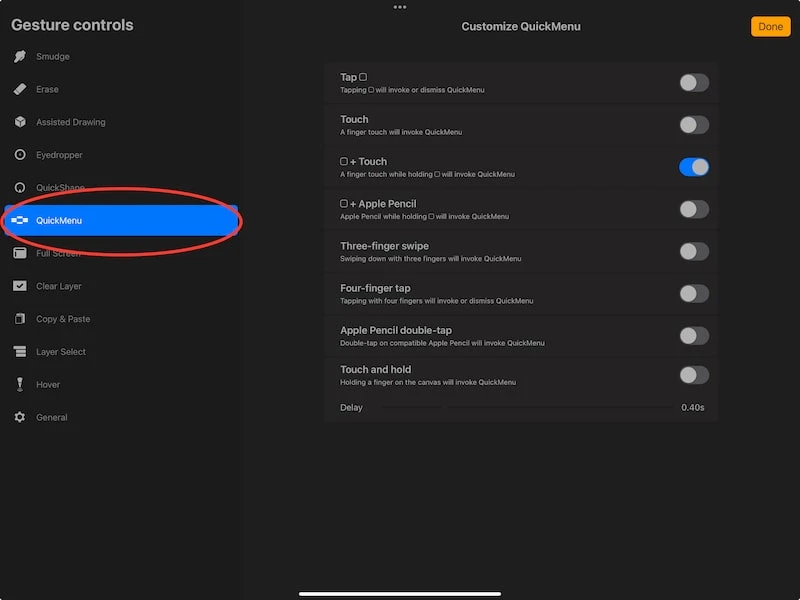
4. Click on QuickMenu
5. Within the QuickMenu panel, you’ll see a number of toggle switches. All of these toggles are different ways that you can access the QuickMenu.
How do you pick? Well, you can always change this later, so feel free to experiment. But, here’s what you should think about.
If you’re someone who is always making accidental marks on your iPad because you’re clumsy like me and seem to touch your screen at all of the wrong times when you’re drawing, you might want to go with the two-step Quick Menu option (for example, hold the square down while tapping with your finger).
On the other hand, if you’re pretty careful as you draw, you can simply open up the Quick Menu with one tap of the finger.
Try different things out and choose the one that feels best to you.
Personally, my favorite way to access the QuickMenu is holding the square icon and touching my finger to the canvas. For me, this is quick and easy to activate, but not something I would often do by accident.
How to Customize Procreate’s QuickMenu
To customize Procreate’s QuickMenu, open it and click on the middle button to open the list of menus. From there, click on existing menus to rename them, or click the plus button to add new menus. Then, click on each of the surrounding actions to add settings, brushes, guides, and more to them.
Let’s walk through that step-by-step:
1. From your main canvas, open the QuickMenu in the way you enabled in the Gesture Controls panel (a finger tap, a 3 finger swipe, etc).
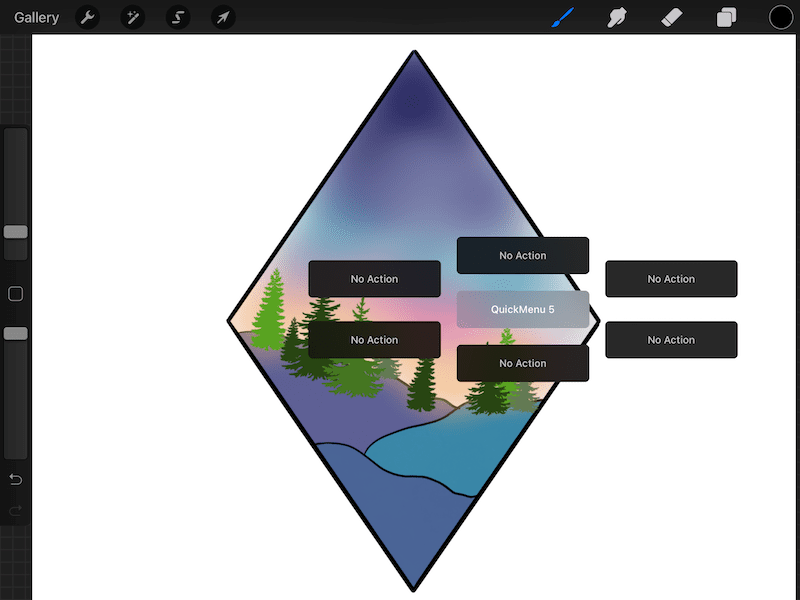

2. Take a look at the middle button. This serves as your “category” button that labels your menu. This button doesn’t do anything aside from telling you what the actions around it to do, so you’ll want to name it accordingly.
3. Click on the middle button and you’ll see a new menus panel open up. Click the + button to add additional menus, and then click on the name of each menu within the list to rename them. Remember that these serve as labels, so make sure that they make sense to you.
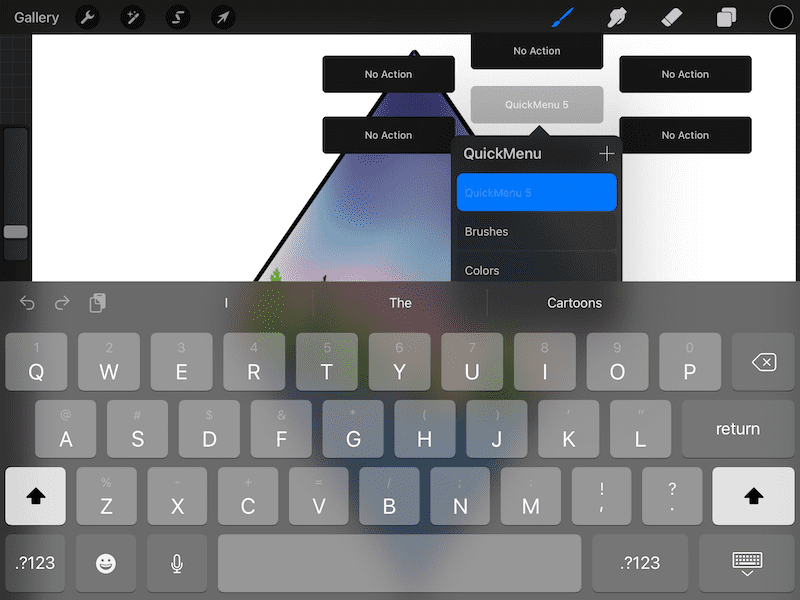
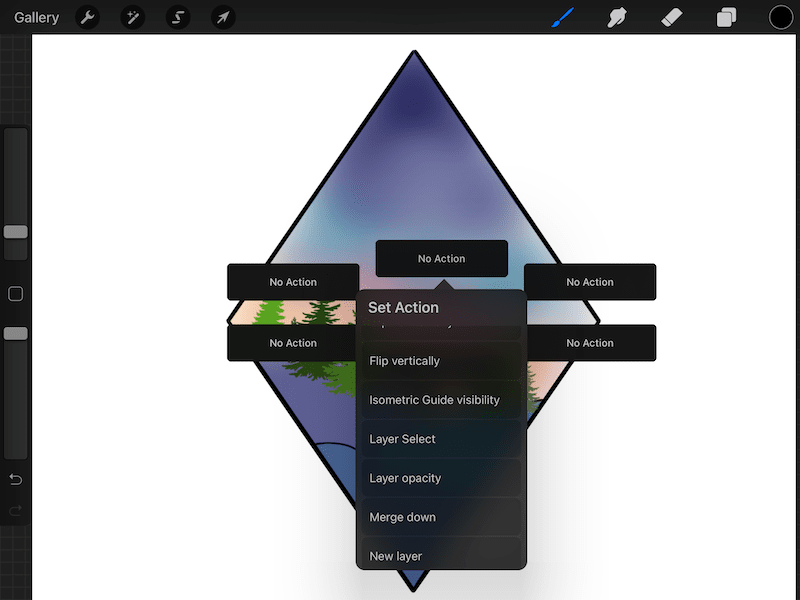
4. Once you’ve named your menus (middle buttons), click and hold on one of the surrounding buttons. If you’ve created a new menu, these surrounding buttons should say “No action.”
5. Scroll through the actions and click on the one you’d like to assign to that button (read the next section for how I suggest organizing this).

6. Repeat these steps for the rest of your menus and actions.
The Procreate QuickMenu is REALLY helpful for making your Procreate life more efficient, but only if you organize them in a way that makes sense. Here’s what I suggest.
The Best Way to Organize Your Procreate QuickMenu Profiles
It’s best to create multiple Procreate QuickMenu profiles that are categorized for different uses such as brushes, colors, layers, and guides. That way, you’ll know where all of your QuickMenu actions are located so that you can reach them as quickly as possible.
The QuickMenus are all about making your Procreate life more efficient, so have that mindset as you’re setting them up.
Anyone who has a junk drawer full of stuff, yet can find everything in it in a split second knows that we all have unique ways of organizing things that uniquely work for us. So, we’re going to talk about how I suggest organizing your Quick Menu profiles, but your brain might like something different.
Go with what works for you.
So, the categories we’ll talk about are for inspiration only. Use them if they work for you, or make your own.
First, I suggest having a go-to profile. This is where you can put all of the actions you use most often. The reason I suggest this is because, when you open the QuickMenu, it will open whichever profile you were just using. The less you can switch between profiles, the better.
So, put your top six actions within one profile so that you can limit how often you switch between profiles.
Next, my favorite Quick Menu profile is for brushes. Rename the middle button as “Brushes,” and reassign each of the actions to each of your favorite brushes. Within one QuickMenu profile, you’ll be able to assign six different actions, or six different brushes.


If you want quick access to more brushes than that. Simply create a second brushes profile, putting your top six brushes on the first profile and the rest of them on the second profile.
At the beginning, you’ll have to scan through your actions to remember which brush is where, but it won’t be long before it becomes second nature.
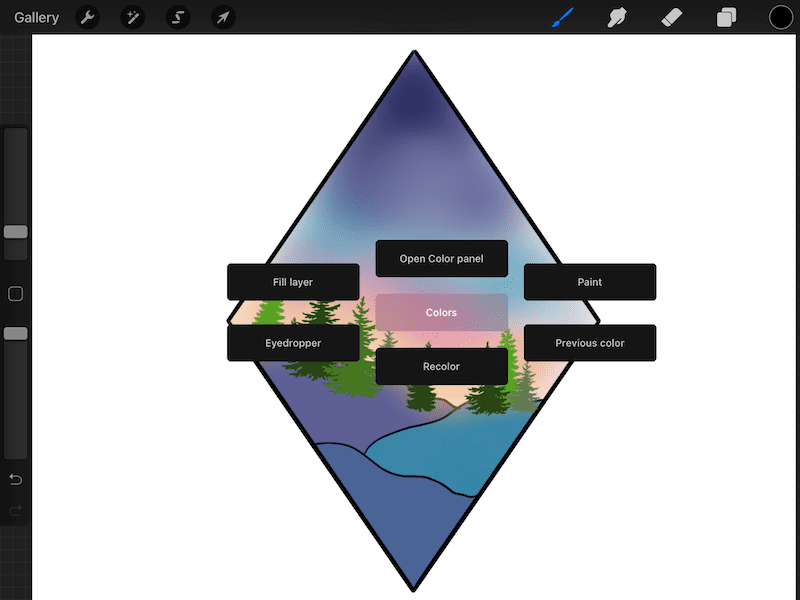
After the brushes QuickMenu profile, I create a colors profile. This is where I can quickly access any settings related to colors. My favorite action in this profile is the “Previous color.” This will re-select whatever color you were using right before the color you’re currently using. This is REALLY helpful if you forgot to save the color and want to use it again.

Next, I have a guides profile. This is where I put actions relating to the Drawing Guides. I like having these in the QuickMenu because it’s normally a few clicks in order to activate any of the guides. Putting them within the QuickMenu makes it quick and easy.
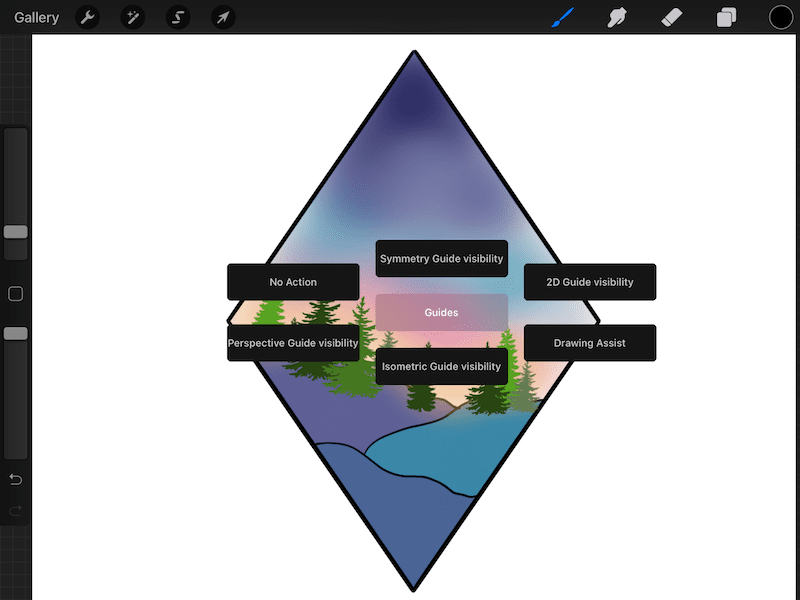

Note: with the symmetry guide, it will enable whatever symmetry guide you currently have setup (vertical, horizontal, etc). So, if you need a different type of symmetry, you will need to change that manually within the Drawing Guides settings.
Next, I have a layers profile where I put actions relating to layers. This can save you a few steps if you’re constantly opening your layers panel to adjust your settings.


Lastly, I suggest having a random profile where you store any actions that you use a lot, but don’t have a natural home in any of the other categories. Again, at the beginning, it might take some time to remember which actions you’ve assigned to this random profile, but it will be helpful and efficient once you get used to it.
Procreate’s QuickMenu is a great way to make your Procreate life easier and more efficient. Set your profiles and actions in a way that works best for you and your art life. In no time, you’ll find that you’re spending more time creating art, and less time scrolling through Procreate’s settings to find what you’re looking for.


Diana has been an artist for over 27 years and has training in drawing, painting, digital drawing and graphic design. Diana’s latest obsession is digitally drawing with Procreate and Procreate Dreams. Diana has experience selling her art across a number of platforms and loves helping other artists learn how to make money from their art as well.