At first glance, Procreate’s clipping mask and Procreate’s alpha lock seem very similar. While it’s true that the results of using both features look alike, there are very important behind-the-scenes reasons why you should pick one or the other.
Procreate’s clipping mask should be used for making additions to your art that are separated on a different layer. This makes it easier to change them or delete them later. Alpha lock should be used for making permanent additions to your art that are incorporated into your existing layers.
The decision to use a clipping mask or alpha lock depends on how flexible you want to be with making changes to your work down the line. There are also some implications to shading and blending your work, which we’ll talk about in detail.
We’re going to dive into everything you need to know about the difference between Procreate’s clipping mask and alpha lock. If you want a deep dive into Procreate’s masks in general, be sure to check out my guide on how to use Procreate’s clipping masks and layer masks.
Before we get started, let’s be clear on why clipping masks and alpha lock are so similar in the first place. Generally, they are both used for the same overall function – to draw within the lines of your work.
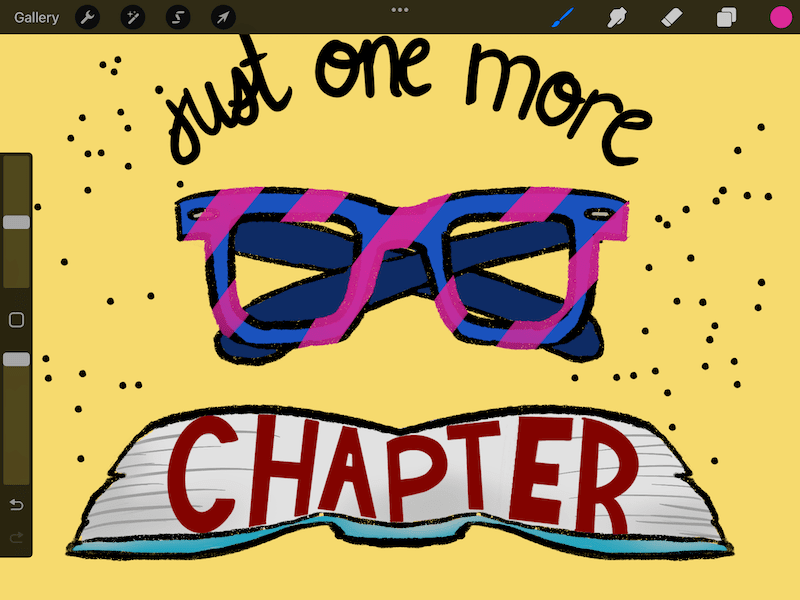
For example, with both clipping masks and alpha lock, I can draw pink stripes on the blue glasses shown below. Even if I run my Apple Pencil all over my canvas, as long as the clipping mask or alpha lock is applied to my glasses layer, those pink stripes will ONLY stay on my glasses.

So, both features have a similar function. But, behind-the-scenes, things look very different, which can have big implications for your work. Let’s dive in!
When to Use Procreate’s Clipping Masks
Procreate’s clipping masks are great for making additions and changes to your work that are temporary, experimental, or otherwise need to be adjusted down the road. A clipping mask is a separate layer, which allows your changes and additions to be separated from the rest of your existing work.
Layer layer layers. Being savvy about using Procreate’s layers is an important skill to master.
Separating your work on different layers gives you more freedom to change things down the line, delete elements without impacting the rest of your work, and overall having freedom to do what you need to do with your art.
Clipping masks are an important tool in the toolbox of a savvy Procreate layer user.
Here’s why.
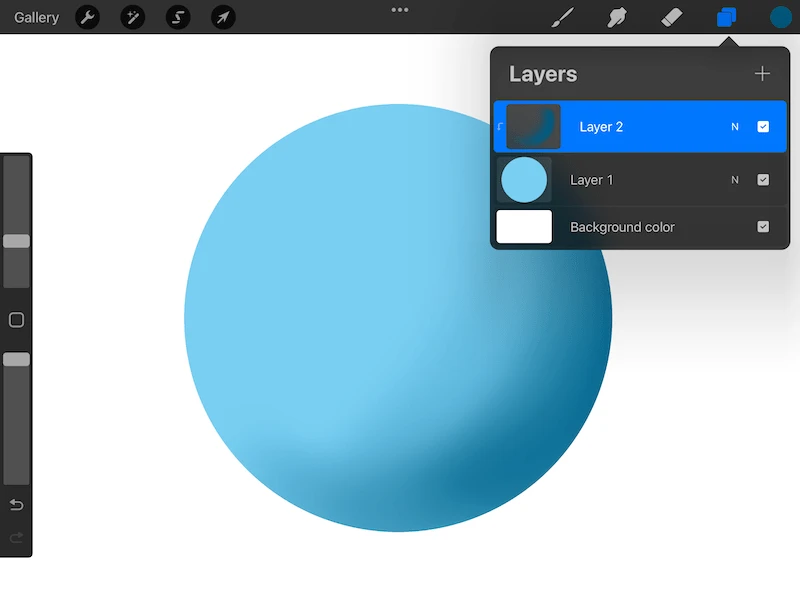
Let’s say you have a circle on your Procreate canvas and you want to shade it. You add a new layer above the circle layer and apply a clipping mask to it. If you want a step-by-step guide on creating clipping masks, read my guide on how to use Procreate’s clipping masks and layer masks.
You add your shading to your circle, but on the clipping mask. Because the clipping mask is applied to the circle layer, it will only let you shade within the lines of the circle and looks like it’s a part of the circle.
In reality, that shading lives on a completely separate layer – the clipping mask layer.

If I decide that I need to change, delete, or add to the shading down the road, I can easily do so from the clipping mask layer.
If I had drawn the shading directly onto the circle, it would be very challenging to manipulate the shading without creating a huge mess.
Don’t think that you can simply rely on Procreate’s undo feature either. Procreate’s undo history is erased every time you return to your project gallery or close Procreate. At that point, any changes you’ve made become permanent.
When you put your shading on a separate layer with a clipping mask, this gives you the freedom to make changes to your work down the road.
When to Use Procreate’s Alpha Lock
Procreate’s alpha lock is great for making permanent additions to your work that you will not need to change down the line. Alpha lock does not create a new layer. Instead, it is applied to your existing layer, meaning that any drawing you do will be incorporated into your existing layer of art.
Procreate’s alpha lock tool needs to be used carefully.
It’s similar to using a permanent marker instead of an erasable pen. You may choose the permanent marker because of its features and style, but it’s more risky than the erasable pen.
When you apply alpha lock to a layer, you’ll be applying any of your changes and additions to that layer itself. If you’re past the point of being able to undo your changes, it may be a rough road trying to manually remove your work.
There are also times when alpha lock seems like it’s not working. This is because there are some mistakes that are really easy to make when using it.
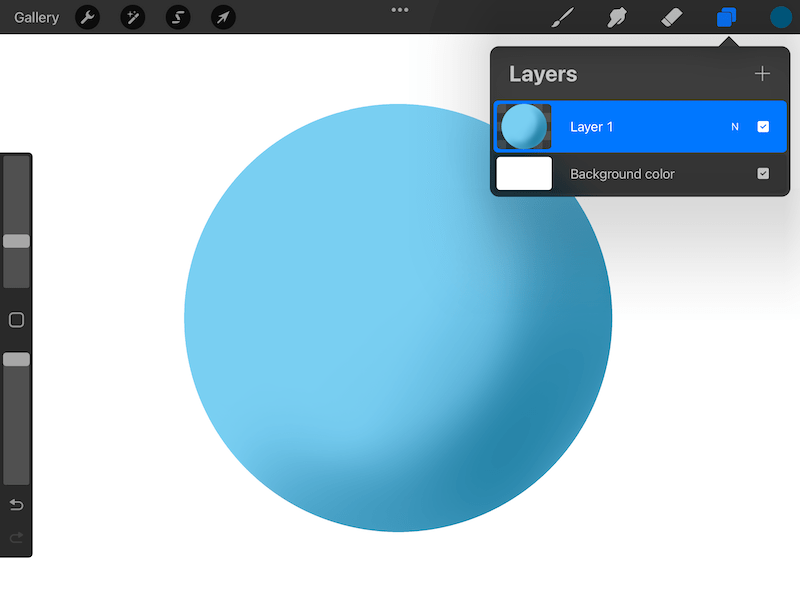

As you’ll notice, the blue circle that’s shaded with the clipping mask and the blue circle shaded with alpha lock don’t look very different.
The layer panels for each look different though.
You may be wondering: why the heck would I use alpha lock when clipping masks achieve the effect while making me a savvy layer user?
Well, I actually use alpha lock a lot because of the differences between clipping masks and alphas lock as far as blending is concerned.
Procreate’s Clipping Mask and Alpha Lock for Blending
When you use a clipping mask, your art is on a separate layer, which can make the process of blending it with the layer below it tricky. With alpha lock, your art is on the same layer as your existing art, which can make blending more seamless.
To illustrate the differences between blending with a clipping mask vs. alpha lock, let’s look at some examples.
To be clear, the differences can be subtle, but they are differences nonetheless.
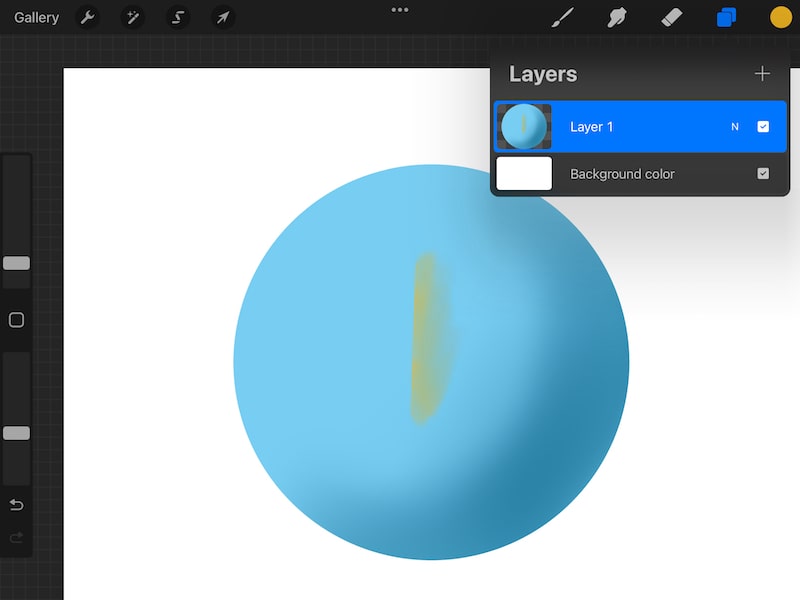
Here’s our circle with the clipping mask applied. I drew a yellow line on the circle and blended it into the circle.
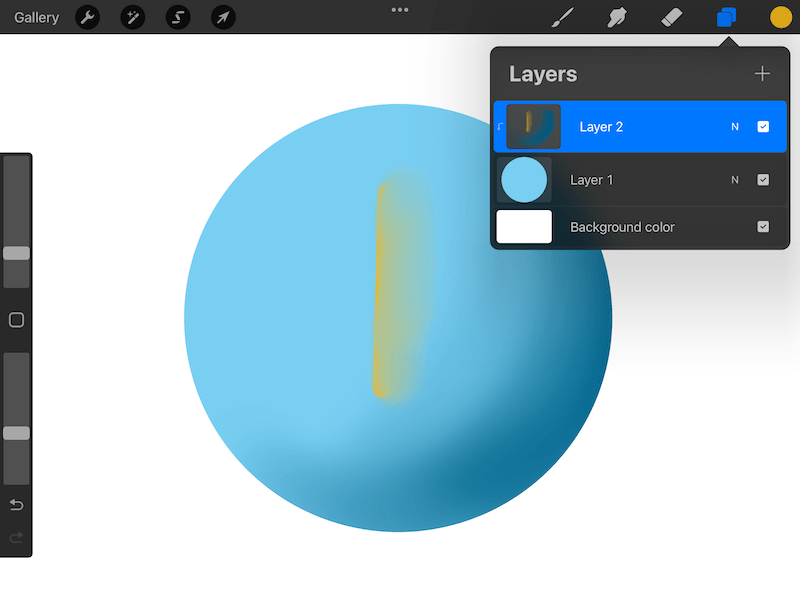

Because the yellow line is on a separate layer, I didn’t technically blend it into the blue circle. What I did was fade it out, which gave it the appearance of blending. I didn’t actually blend the blue into the yellow though.
Now, let’s look at the version with the alpha lock. Even though the difference is subtle, I technically blended the yellow into the blue because they are both on the same layer.

If this matters for your work, it’s an important difference to keep in mind.
If you want the best of both worlds, there is a workaround to consider.
Create your work on a clipping mask. When you’re 100% sure you are happy with your work and won’t want to change it later, merge your clipping mask layer down into your original layer.
Now you’ll be able to blend your colors together because they are on the same layer. Again, be extremely careful with merging your layers and only do it when you’re 100% sure you won’t want to change your work later.
Procreate’s clipping mask and alpha lock function seem similar from first glance. But, once we dug a little deeper, it hopefully became clear that you need to carefully consider whether you want to use a clipping mask or alpha lock to achieve the effects you’re looking for with your art.


Diana has been an artist for over 27 years and has training in drawing, painting, digital drawing and graphic design. Diana’s latest obsession is digitally drawing with Procreate and Procreate Dreams. Diana has experience selling her art across a number of platforms and loves helping other artists learn how to make money from their art as well.