Having the right DPI for your Procreate art impacts a lot of things, from your layer limit to the quality of your final product. So, if you make a mistake and don’t get your DPI right the first time, can you change the DPI of your Procreate art after the fact?
To change the DPI of your Procreate art, open the Crop & Resize settings. Type in your desired DPI. If you want to keep the dimensions of your art the same, toggle on the Resample setting. Otherwise, the dimensions of your art will change according to your new DPI. While changing your DPI is possible, it’s not recommended.
Changing your DPI is fairly easy in Procreate. It’s just a button. That said, there are quite a few complications that come along with it that we NEED to consider.
Important note: do NOT change the DPI for your Procreate art unless you really need to. Changing your DPI will have cascading effects on your art size and quality that you may not like or expect.
We’re going to talk about changing your DPI, step-by-step. Along the way, we’ll talk about these cascading effects that changing your DPI could have on your art so you’re more prepared.
1. Duplicate and make a copy of your art
Before we get started with changing the DPI of your Procreate art, it’s REALLY important to make a copy of it.
This is non-negotiable.
Procreate’s undo feature will preserve your DPI change, but you don’t want to rely on that. If you wait too long to undo it, wipe your undo history, or otherwise find yourself unable to go back to your original piece of art, you’ll be SUPER bummed.
Make a copy of your piece of art to save you the potential bummer of screwing up your piece of art.
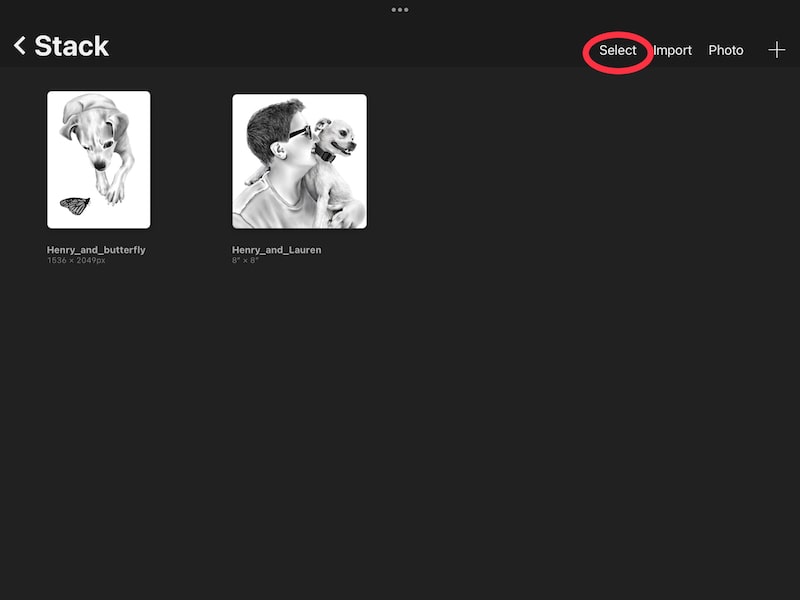
To make a copy of your Procreate art, navigate to your Gallery or stack where your art is located.
Tap on the Select button and select the piece of art you want to make a copy of.

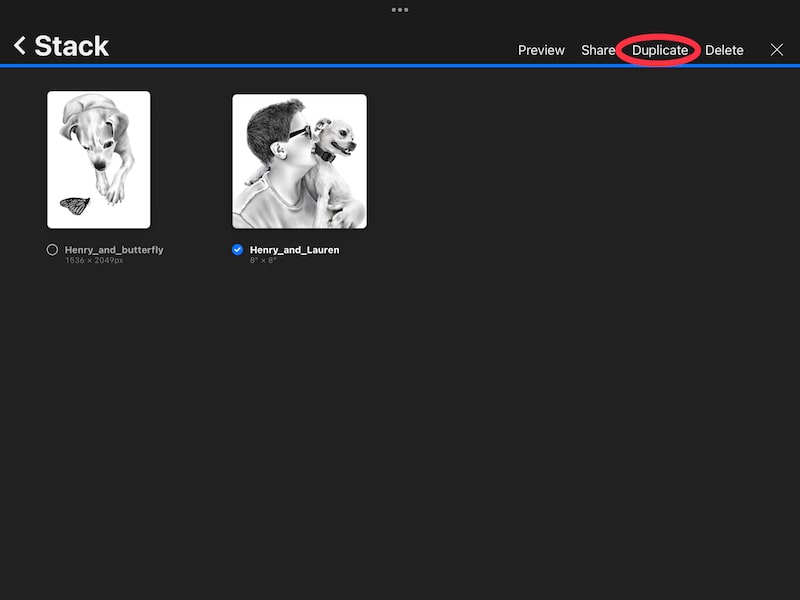
Tap on the Duplicate button to make a copy of it.

It’s also good practice to backup your art on another platform. Not just when changing your DPI, but all the time. I have a full guide on saving and backing up your Procreate art that digs into this.
2. Open your duplicated piece of art and open the Actions menu
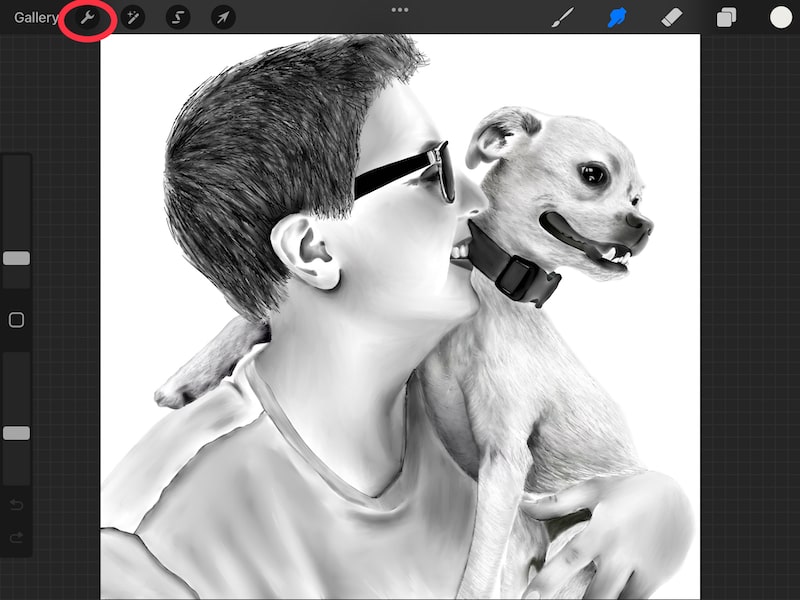
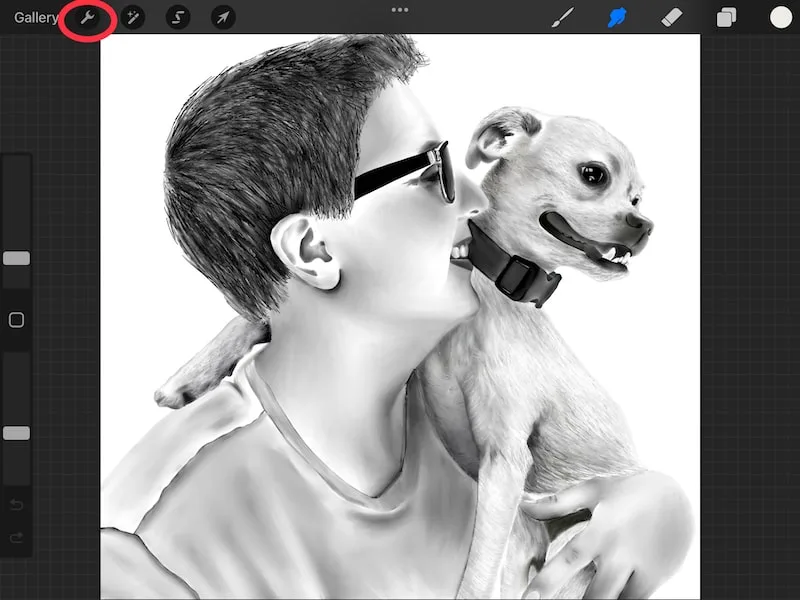
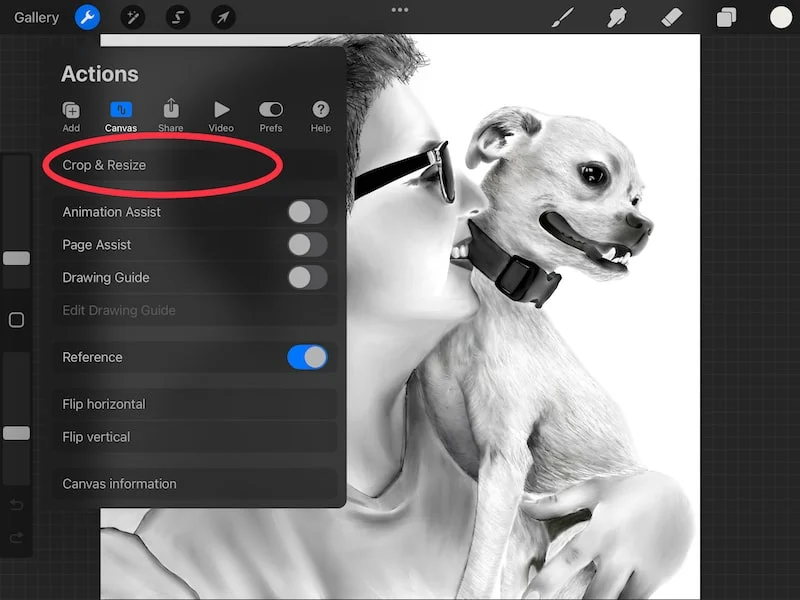
Once you’ve duplicated your piece of Procreate art, open it. Then, click on the wrench icon to open the Actions menu.
3.Tap on the Crop & Resize button
Within the Actions menu, find the Crop & Resize button within the Canvas submenu and tap on it

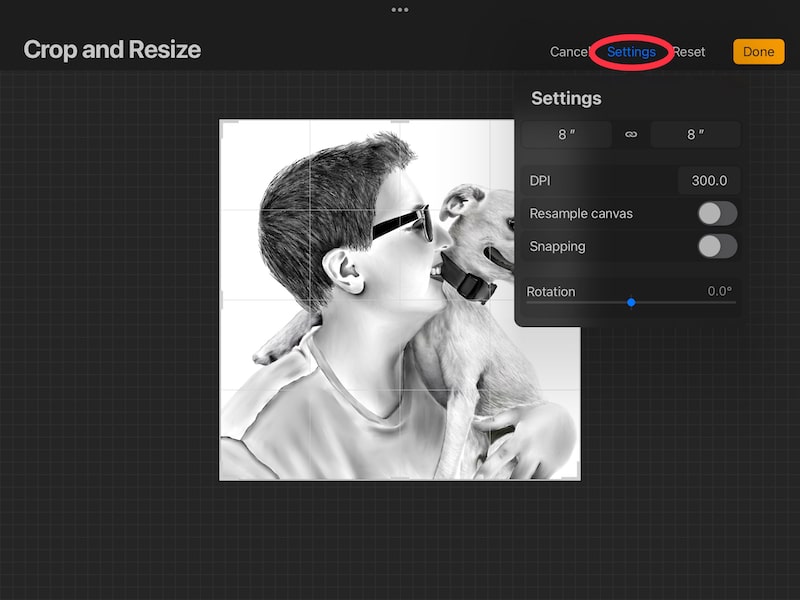
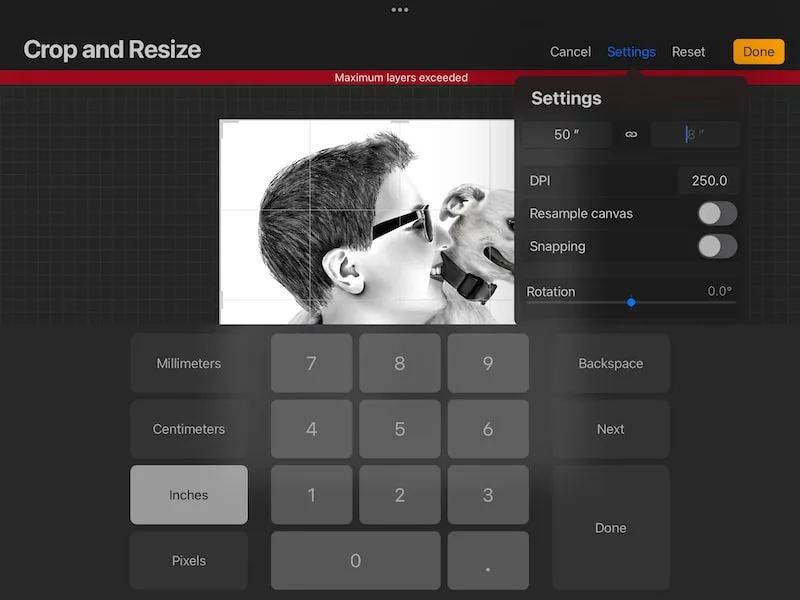
4. Tap on the Settings button
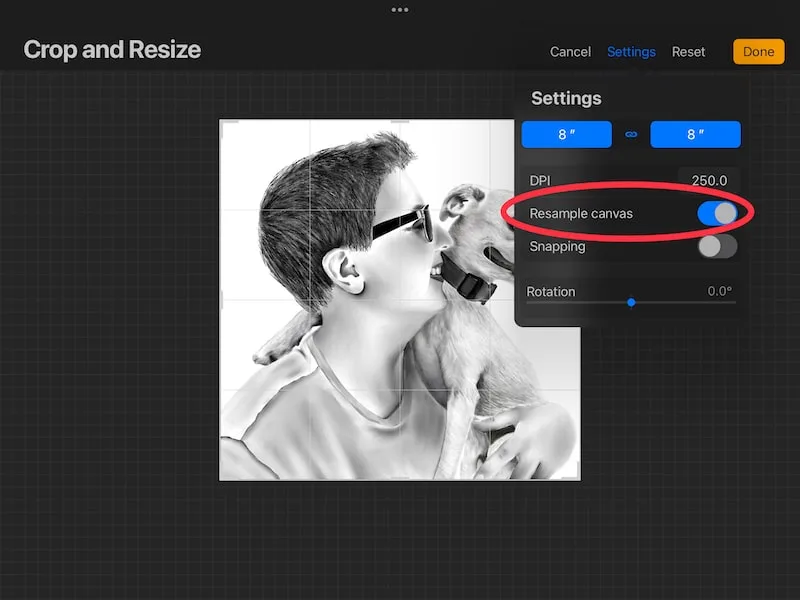
Within the Crop & Resize screen, find the Settings button and tap on it

Here’s where things get interesting and messy.
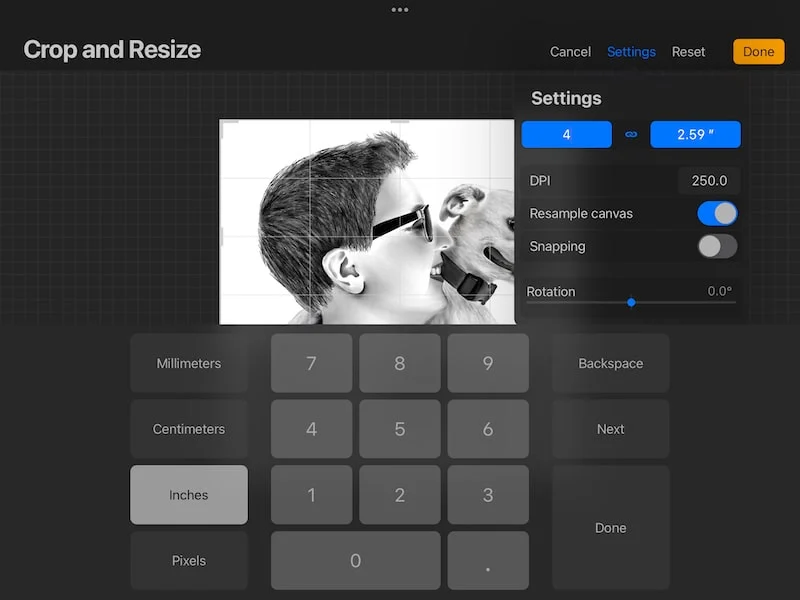
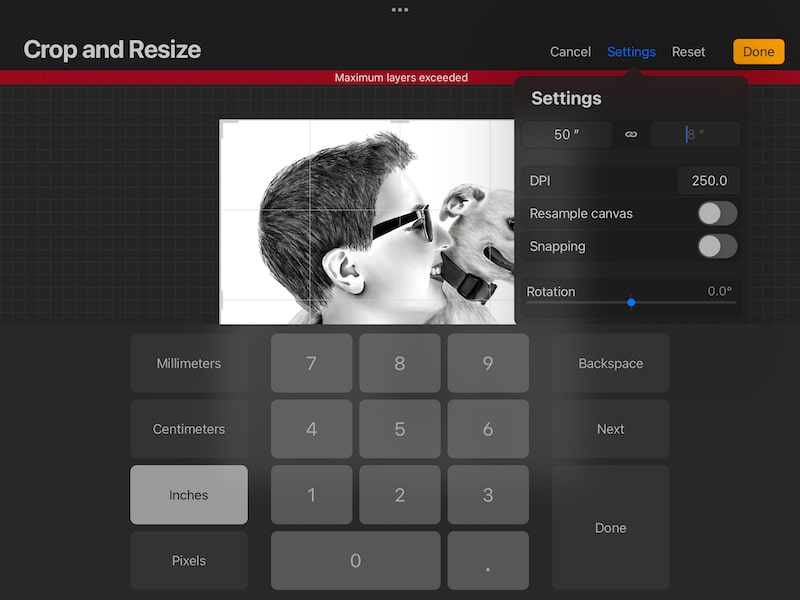
5. Enter your desired DPI. Do NOT click Done
Simply tap on your current DPI and enter in a new number. Do NOT click the Done button yet. We need to consider the sizing of your art first.
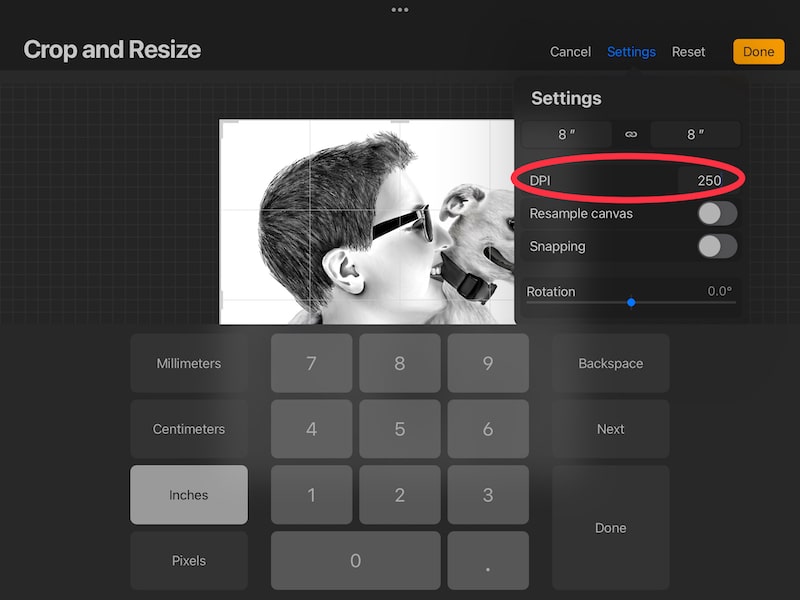
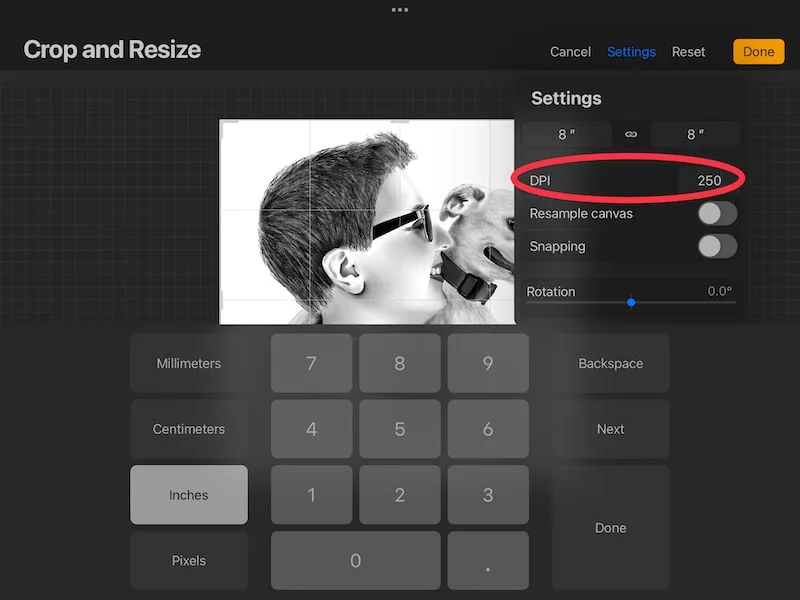
Important note: 250 DPI is just used for demonstration purposes. Make sure to choose the right DPI for your own artwork. 300 is usually recommended. This piece of art was already at 300, so I had to choose something else for this example 🙂
6. Consider the sizing of your art
For the next few steps of this tutorial, you have to consider what you care about.
If you DO care about the final dimensions and sizing of your art, there are a few things we need to do before finalizing everything. Before we dive into some possible scenarios and what to do with them, we need to talk about the Resample button and resizing your art in general.
When the Resample toggle is turned on, it will preserve your current aspect ratio. Given the new dimensions of your art, it will be scaled up or down to fit within your aspect ratio at your desired dimensions.

Whenever you resize your work, it can impact the quality of your art. This is whether you use the Resample button or not. Anytime you change the dimensions of your art AT ALL, you risk impacting the quality of your art.
This is because Procreate is a raster-based program, which means your art is created with pixels. Whenever you resize it, those pixels have to be rearranged, which can cause pixelation or quality loss overall.
I have a post on resizing Procreate art and quality loss that digs into this topic even more.
Due to potential quality loss, it’s good to limit the amount of times you resize your art. Try not to resize it AT ALL, if possible.
Alright, now that we know the risks of resampling and resizing, let’s talk about some scenarios for resizing your art prior to and how to deal with them:
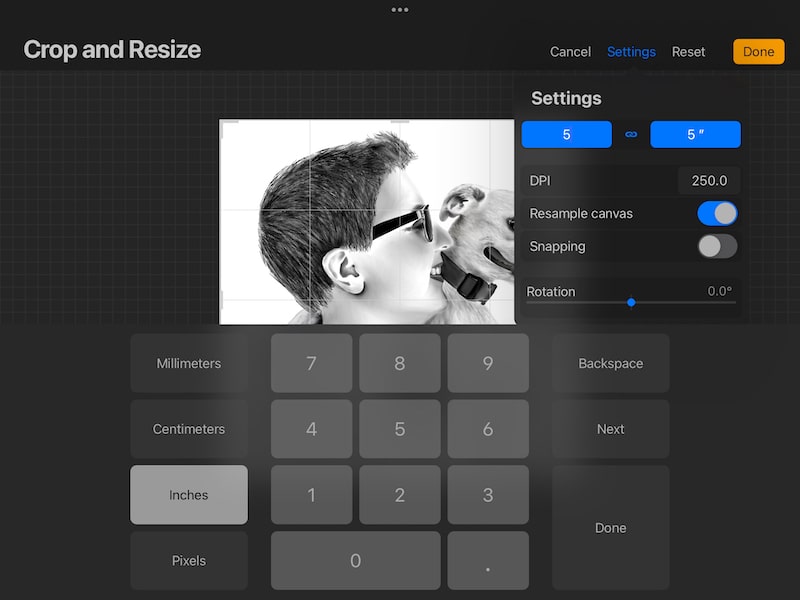
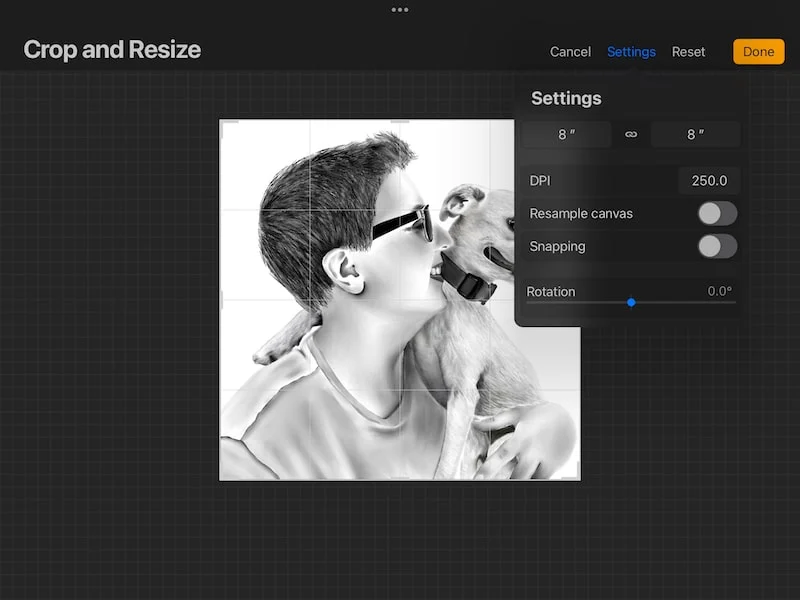
–If you want to keep the same dimensions for your art, toggle on the Resample button. Next, retype your dimensions into the dimension boxes. Yes, I know it looks like they’re already there, but you need to retype them.


–If you want different dimensions for your art, but want to keep the same aspect ratio, toggle on the Resample button. Next, type in one of your dimensions. Procreate will automatically calculate the second dimension in order to stay within your same aspect ratio.

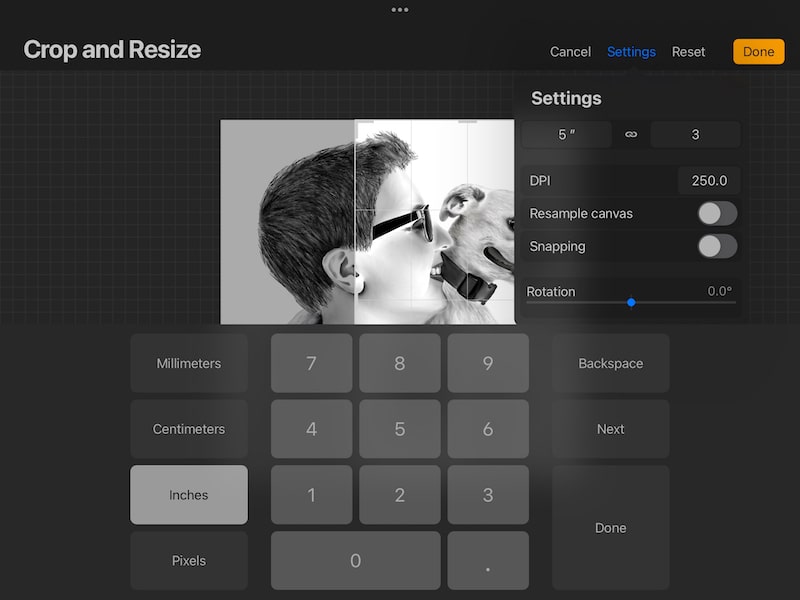
–If you want different dimensions for your art, but don’t care about the aspect ratio, type in your desired dimensions in the dimension boxes. Do NOT toggle on the Resample button.
Note: this will crop your image, so be careful you aren’t accidentally cropping your image in a way you didn’t intend to.

–If you want to change your aspect ratio AND dimensions, close the Settings menu. Adjust the grid around your art to your desired aspect ratio. This will crop your image.

Reopen the Settings menu and toggle on the Resample button. Next, type in one of your dimensions. Procreate will automatically calculate the second dimension in order to stay within your desired aspect ratio.

–If you simply want to crop your art without care for the dimensions or aspect ratio, close the Settings menu. Adjust the grid around your art until it’s cropped as you’d like. Reopen the Settings menu. Do NOT toggle on the Resample button.

Next, verify that everything is correct. Your dimensions, resampling, and DPI.
Phew! I know those were a lot of options to sift through.
Once you’ve verified that everything is correct, tap the Done button if Procreate allows you to.
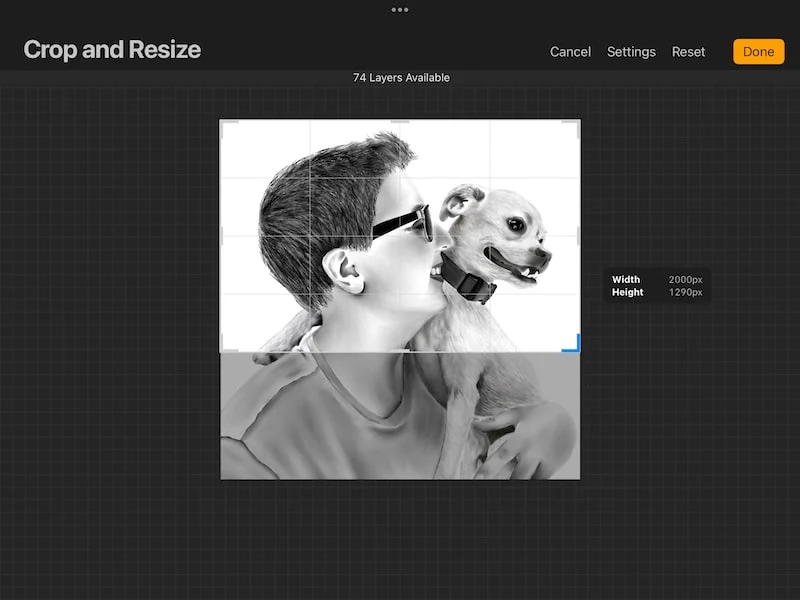
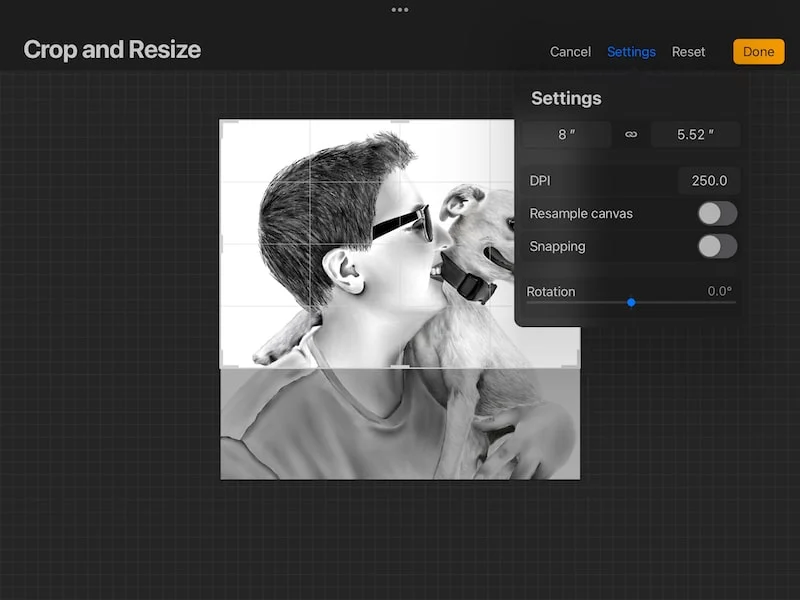
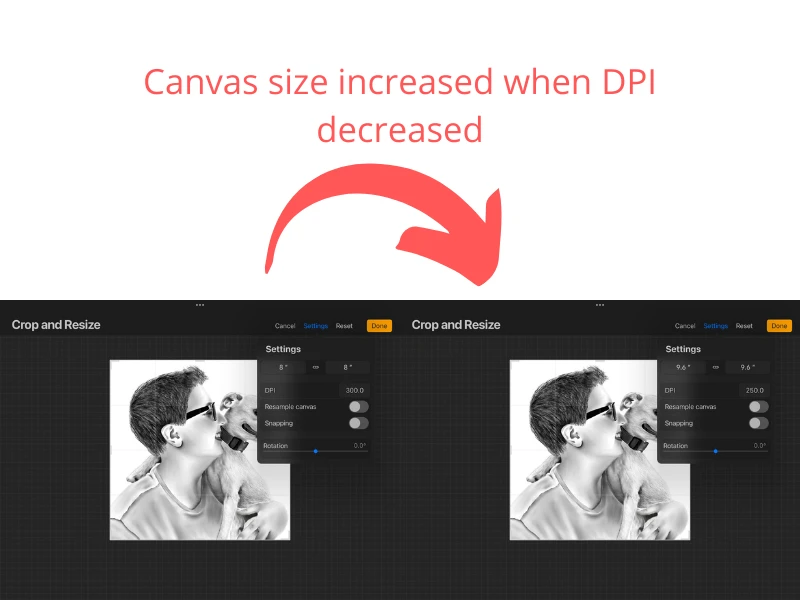
If you didn’t do anything to the dimensions of your art, you’ll notice that the size of your canvas has changed. This is because DPI refers to the “dots per inch” of ink on your canvas. This means that your canvas needs to adjust up or down to accommodate the new amount of dots per inch of ink that you just set.

If you did adjust the dimensions of your art, your canvas should now be set to your desired dimensions and your desired DPI.

Huzzah!
Now, you may have noticed that I said if “Procreate allows you” earlier on. This is because Procreate may give you an error message when trying to finalize your art’s new dimensions and DPI.
The most likely reason is that you’ve exceeded your layer limit.
Procreate layer limits are determined by canvas size and DPI. If you’re trying to raise your dimensions and/or DPI too high, you could possibly max out your layers and get an error.
In this case, you’d need to lower your dimensions and/or DPI until you’re within a reasonable layer limit again.
I know that was a lot to digest! Once you start playing around with DPIs and dimensions, things can get technical and complicated really quickly.
I hope this post made you feel empowered to tackle your own Procreate art’s DPI and change it as you need to.


Diana has been an artist for over 27 years and has training in drawing, painting, digital drawing and graphic design. Diana’s latest obsession is digitally drawing with Procreate and Procreate Dreams. Diana has experience selling her art across a number of platforms and loves helping other artists learn how to make money from their art as well.