I was so excited when I made my first animation in Procreate Dreams. Then, I gave my iPad the side eye. What do I do with it now? How do I get my animation off of Dreams and into the world?
That’s where exporting comes in! In this tutorial, we’re going to cover what you need to know to export your Procreate Dreams animations.
How to Find the Procreate Dreams Export Options
The export options can be found in your Procreate Dreams project settings.
To find the project settings in Procreate Dreams, tap on the name of your project in the left hand corner of your Procreate Dreams workspace.

Once you’ve opened your project’s settings, tap on the Share button in the menu on the left hand side.
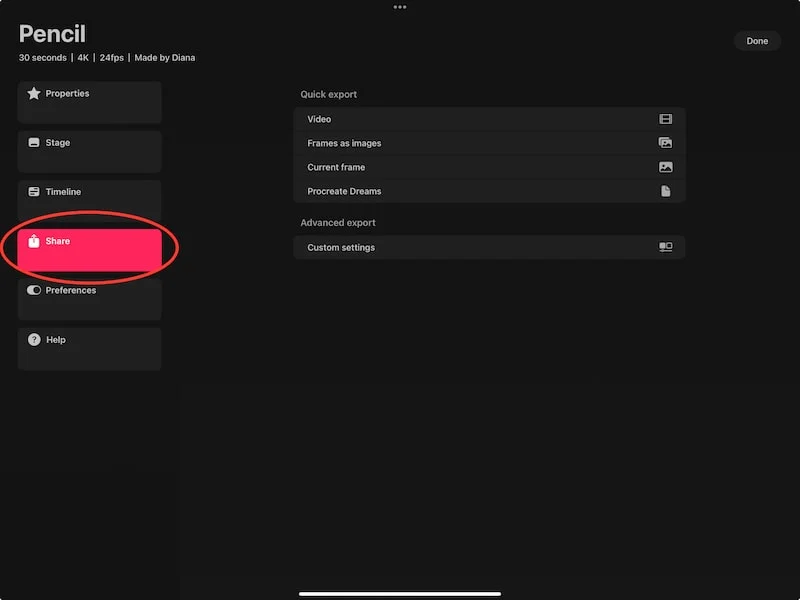
Here you’ll find your export options. Let’s walk through them.
Understanding Procreate Dreams Export Options
Now it’s time to export your animation! While it may seem like there are a lot of options, they all have unique purposes. So, it’s easy to choose between them once you know what they all do.
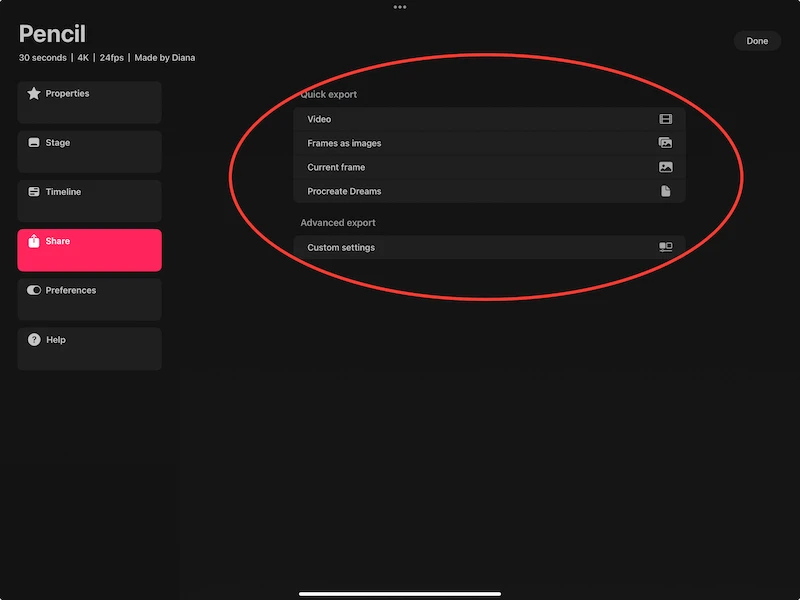
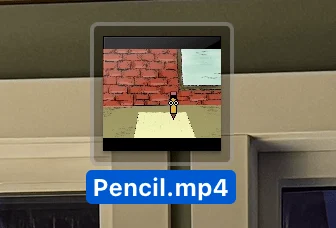
–Video: the video option will export your animation as a mp4 video file. This is the export option that I use the most, as it turns my finished animation into a video I can use and share!
–Frames as images: if you want static images of your animation frames, this option will turn each of the frames you’ve created into png image files.
Be aware that you could end up with a LOT of images with this option. When I exported my frames as images for a simple, 30 second animation, I ended up with almost 6GB of images.
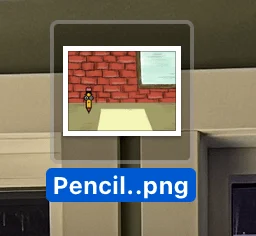
–Current frame: if you don’t want to be overwhelmed by a huge folder of images, you can choose to export a png image of just your current frame. I use this option more than the frames as images option so that I can keep my files under control.
–Procreate Dreams: this will export your project as a .drm file. This is a native Procreate Dreams file, which means that you can upload it into Procreate Dreams as a working project.
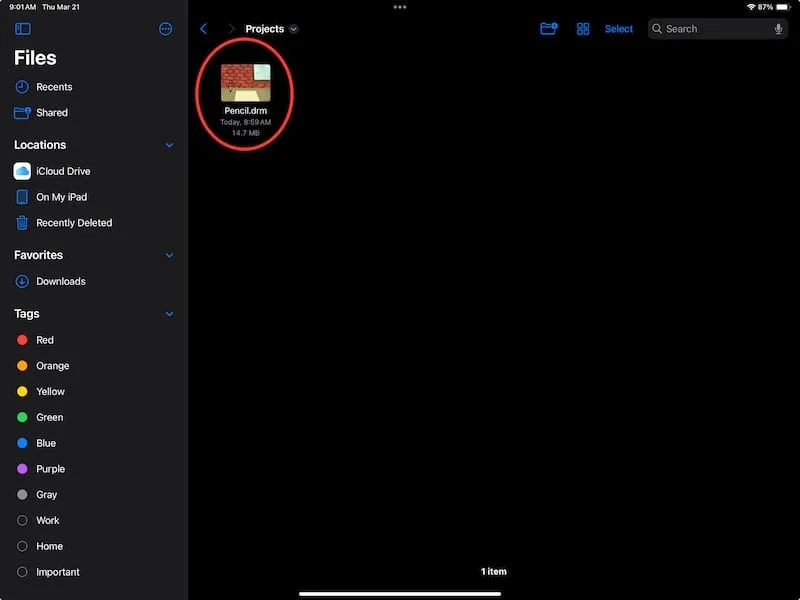
I highly suggest exporting .drm versions of your projects to a backup source such as Google Drive or an external hard drive. That way, if something ever happened to your iPad, you know where to find your art projects.

I’ve personally had some close calls with my iPad and been very grateful to have backups of my work!
–Custom settings: when you tap on the custom settings button, you’ll see a number of different ways to adjust the file format of the Dreams project you export.
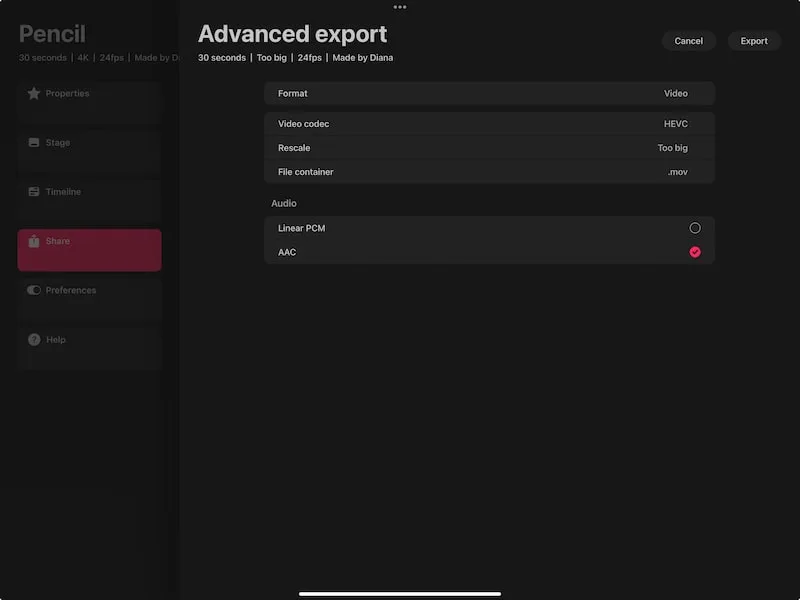
I suggest being very familiar with video and video files before jumping into these customizations, unless you want to experiment for fun.
There you have it! Exporting my Dreams animations gives me an awesome sense of accomplishment. Seeing my animations as videos?! So cool. I hope you have as much fun exporting your Procreate Dreams animations as I have!

Diana has been an artist for over 27 years and has training in drawing, painting, digital drawing and graphic design. Diana’s latest obsession is digitally drawing with Procreate and Procreate Dreams. Diana has experience selling her art across a number of platforms and loves helping other artists learn how to make money from their art as well.
