When you start a new Procreate Dreams project, it’s exciting to think about the animations you’re going to create. But, it can also be overwhelming to look at all of the buttons and wonder what they do.
In this tutorial, we’re going to walk through the Procreate Dreams workspace so that you can be more confident as you jump into your project.
Once you’ve set up your Procreate Dreams project, it’s time to jump into the workspace. Let’s walk through it!
The Stage in Procreate Dreams
In Procreate Dreams, the stage is where your drawings and animations will come to life.
Think of it, quite literally, as a stage.
This is where you’ll do your drawing and animation. It’s also where your animation will play. Anything that occurs on the stage is what will become a part of your finished animation.


The Backstage in Procreate Dreams
The backstage is the area behind your stage. This is where your drawings will prepare to enter the stage.
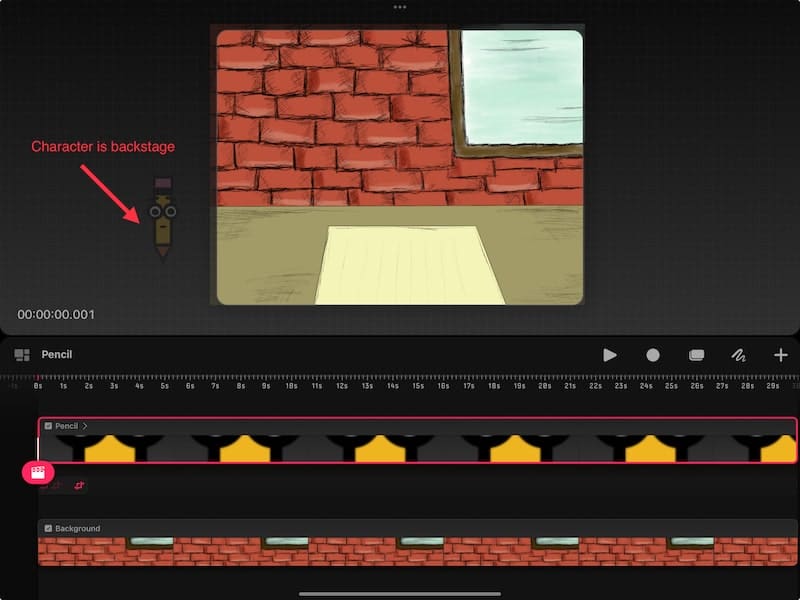

If the backstage is confusing, imagine sitting in the audience for a real-life performance. You can see what’s happening on the stage. But, in the wings, there is important preparation happening. Performers are waiting for their cue, sets and props are being prepared, quick-change costumes are at the ready. What’s happening backstage is SO important for what’s happening on center stage in front of the audience.
This is the way it works in Procreate Dreams as well.
Your backstage area is where you can create and store drawings that are about to enter your stage. For example, if you have a character that needs to walk across your screen, you’ll start that journey from the backstage so that it looks like your character is walking in from off the screen.
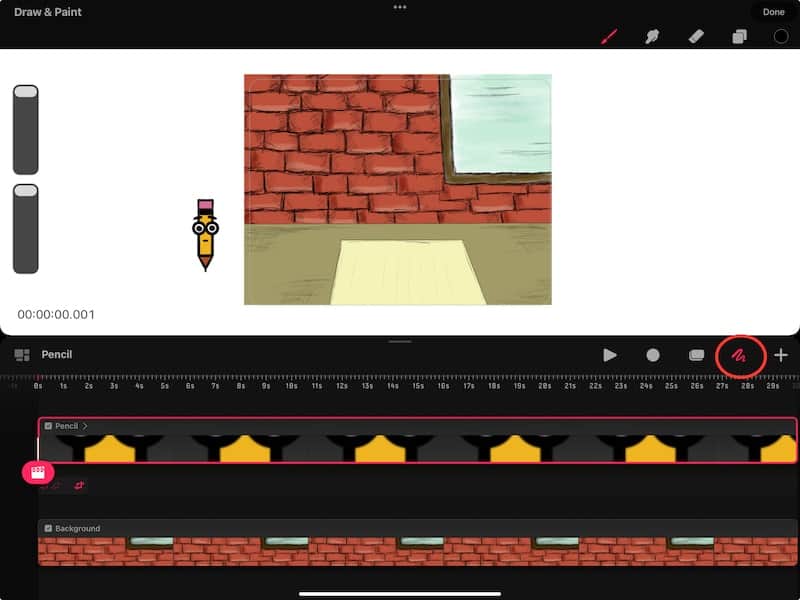
To see the elements that are on your backstage even more clearly, turn on Draw & Paint mode. This is the squiggly line in the right hand corner. We’ll talk about drawing mode later on in this tutorial but, for now, turn it on so that you can clearly see your backstage area.

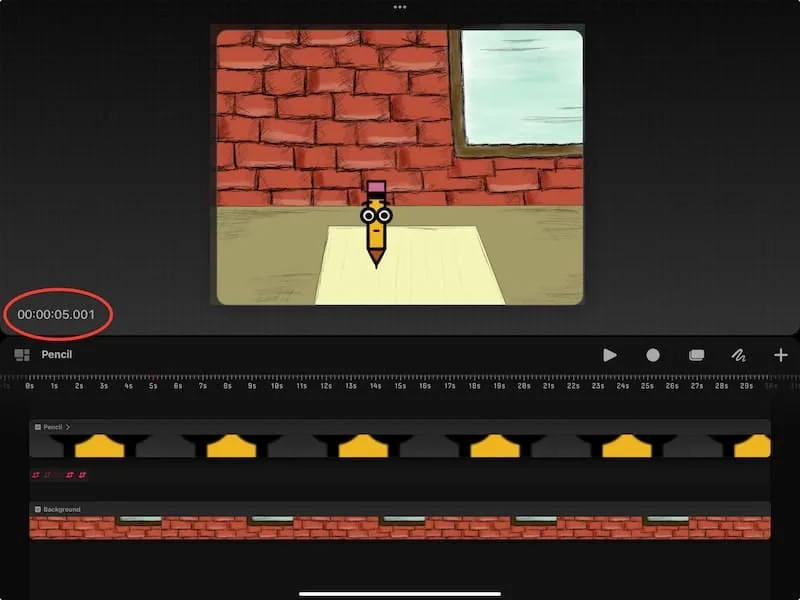
The Procreate Dreams Timeline
The timeline is the area below your stage and backstage. This is the area that holds your “tracks”, which are the different parts of your animation.

In accordance with its name, the timeline tells you what is happening when. For example, I can see that my animation is 30 seconds long in total, or that a certain portion of it is 2 seconds long. Maybe I want that 2 second portion to be 3 seconds, so I drag it out to 3 seconds.
Time becomes really important in animation. If elements aren’t timed correctly, the animation won’t work.
The timeline is an important way to understand and change how the timing of your animation is working.
I have a full guide on the Procreate Dreams timeline if you want to learn more!
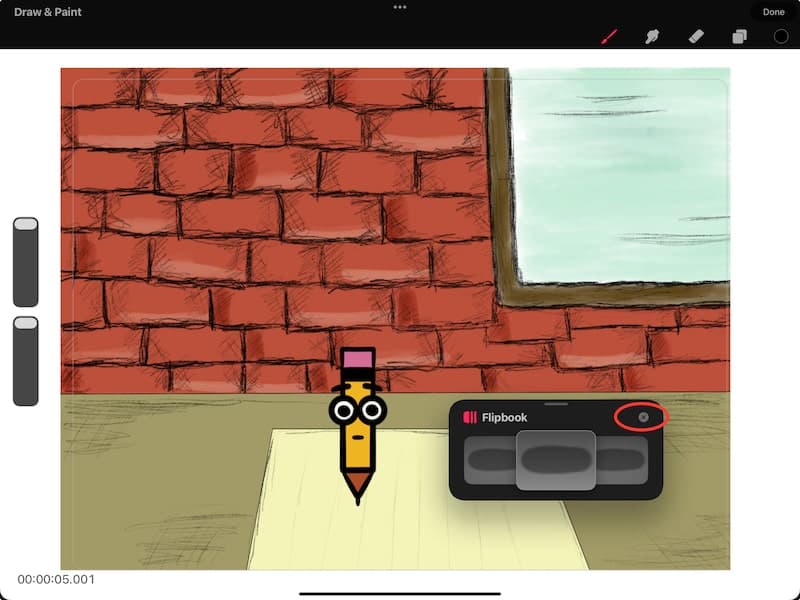
The Flipbook
The timeline in Procreate Dreams can turn into a flipbook. The flip book is a frame-by-frame representation of your animation. This can be really helpful if you’re drawing out each frame and need to make granular adjustments.
To activate the flipbook, tap on the squiggly line to activate Draw & Paint mode. Then, find the small line at the top of your timeline. Drag this line down to the bottom of your screen. This will hide your timeline and activate the flipbook.

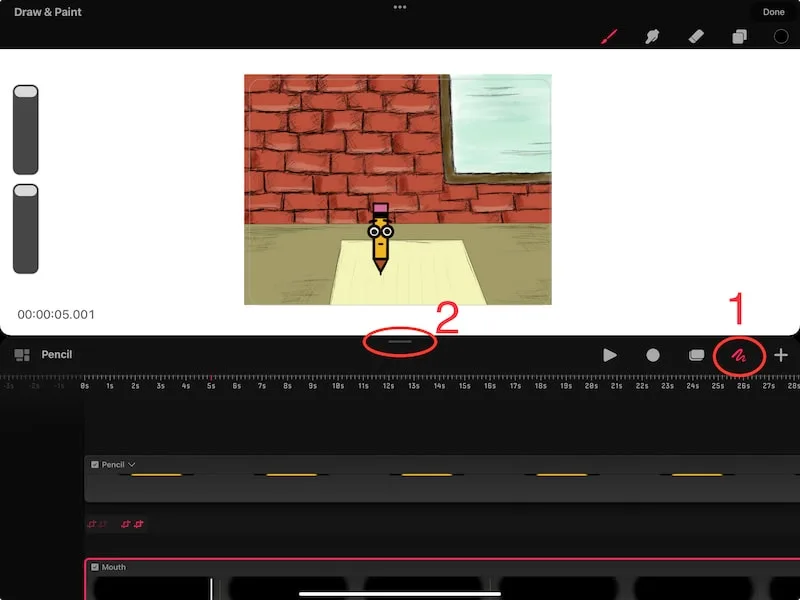
I always forget to turn Draw & Paint mode first, and then wonder where my flipbook settings are, so don’t forget that part!
Important note: you can’t open the flipbook if you have a group selected. You can only use the flipbook with single layers.
To restore the timeline again, you can either tap on the x, or quickly drag the flipbook into the bottom of your screen.
I have a tutorial on the Procreate Dreams Flipbook if you want to learn all of the awesome features of this tool!

Return to the Theater
The area where all of your Procreate Dreams projects are stored is called the Theater. If you ever want to leave your current project and return to the Theater, simply tap on the collection of small boxes in the left hand corner of your screen.


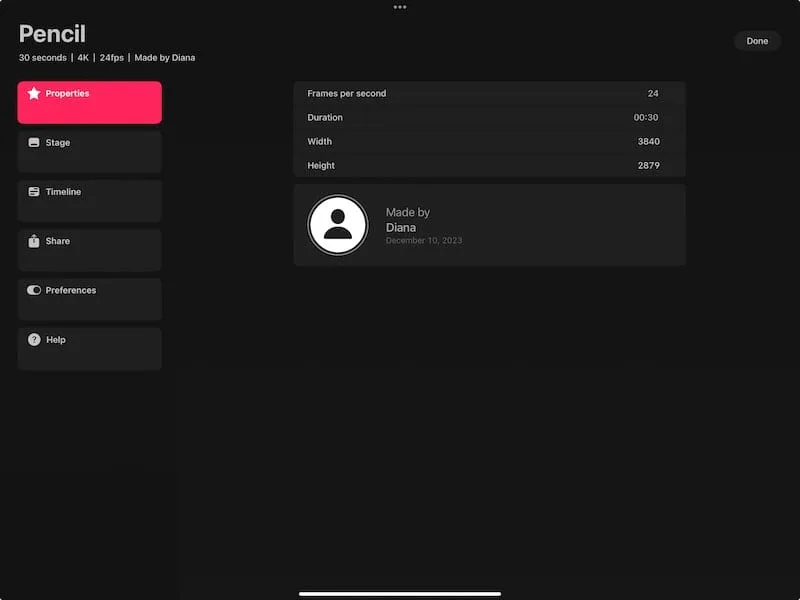
Project Settings in Procreate Dreams
Your project settings are where you can adjust everything from frame rate to preferences. This is also where you’ll go to share your work.
To access your project settings, tap on the name of your project in the left hand corner of your screen.


I have a guide on using the Procreate Dreams project settings that I suggest checking out if you want to learn about all of the submenus you can find here.

As a reminder, when sharing your work, use this as an opportunity to backup your work as well! When you’ve worked so hard on a project, you don’t want it to be lost should something happen to your iPad.
Diving into every setting is worthy of a separate post, but know that this is where you can access them – Properties, Stage, Timeline, Share, Preferences, and Help.
I always like to backup my projects as I go, both in Procreate and Procreate Dreams. In Dreams, I do this by exporting a .dreams file that I upload to a folder in Google Drive. That way, if something were to happen, I have a native Dreams file that I can reupload into the app.
Stage Options in Procreate Dreams
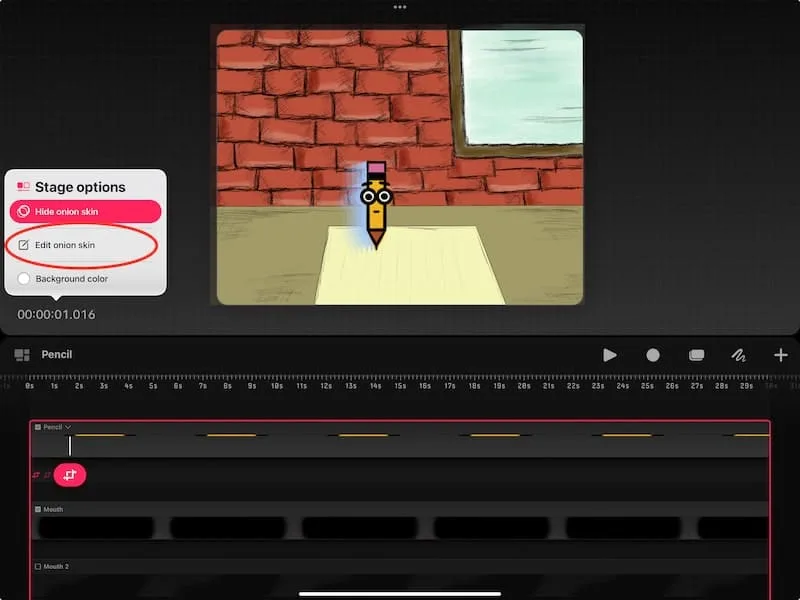
Tap on the timestamp at the bottom left corner of your screen to activate the stage options for your Procreate Dreams project.

Show Onion Skin
Firstly, you’ll see a button to show your onion skin. Once it’s activated, it’ll give you the option to hide it again.
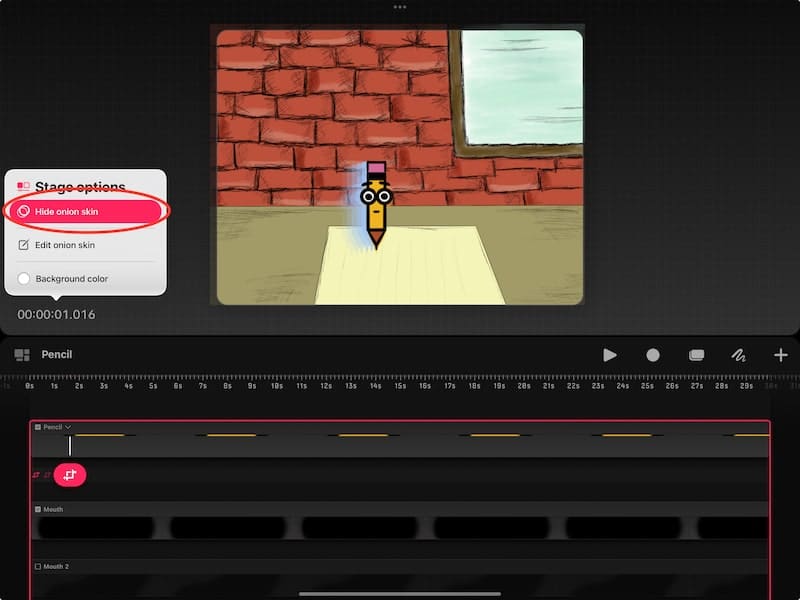

An onion skin is a faint representation of your previous frame. Especially if you’re animating frame-by-frame, onion skins can be helpful for seeing where your character was previously. That way, you have a better sense of how to draw your next frame in a continuous way.
Edit Onion Skin
After you’ve activated your onion skin, you can edit it! Customize the color, frames, and opacity you would like to use so that your onion skin is as helpful as possible for your specific project.

For example, in this project, I wouldn’t want to use a red color for my onion skin because it would be hard to see against the brick background.
I also want enough onion skin frames to see where my character has been, but not too many to overwhelm things. I went with 4 frames.
Lastly, I choose my opacity. For this project, I chose 100% opacity because my pencil character is the only character on the stage. If I had a more complex design, I may want to lower the opacity so that I could see the elements behind my onion skin.
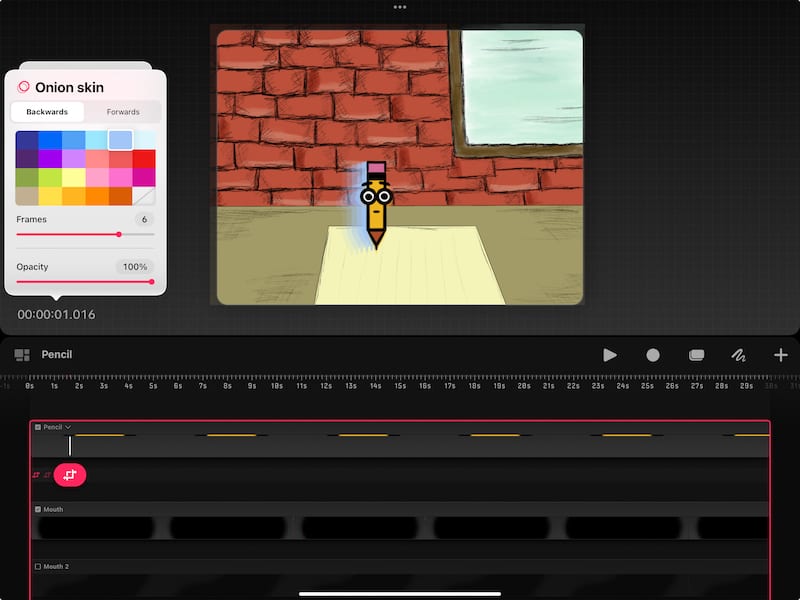

You can also decide the direction of your onion skin by selecting either Backwards or Forwards, or both. Each of these are customizable.


Simply adjust the opacity to zero for either the forwards or backwards onion skin option if you only want to view one of them.
You can also choose to have your onion skin be your image, instead of a color. To do this, tap on the option for no color.
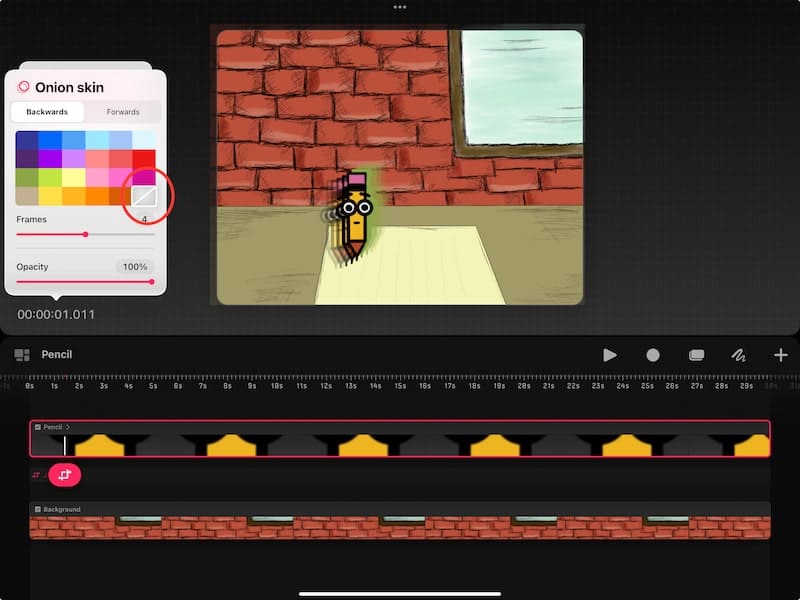

As you can see, it’s important to customize these options depending on your specific project.
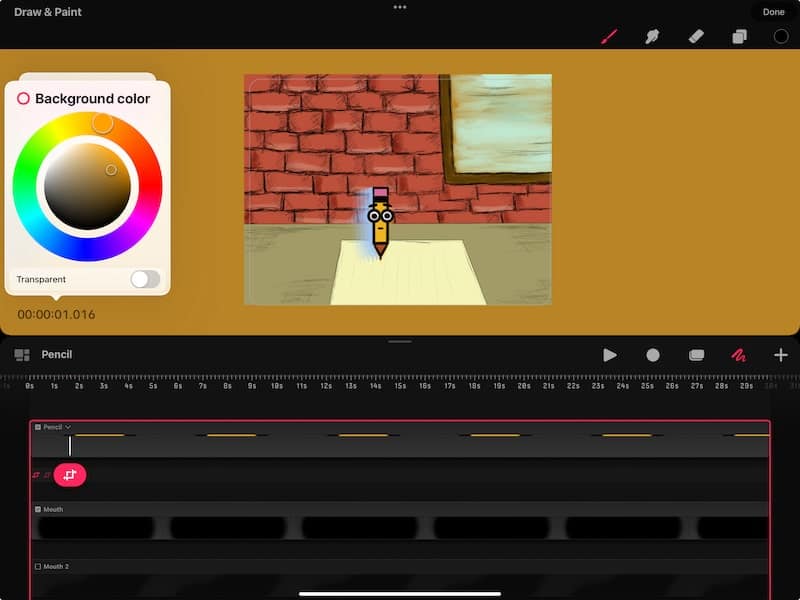
Background Color
The background color option will change the color of your background when you’re in Draw & Paint mode.
Important note: your background color will show through any transparent parts of your drawing!

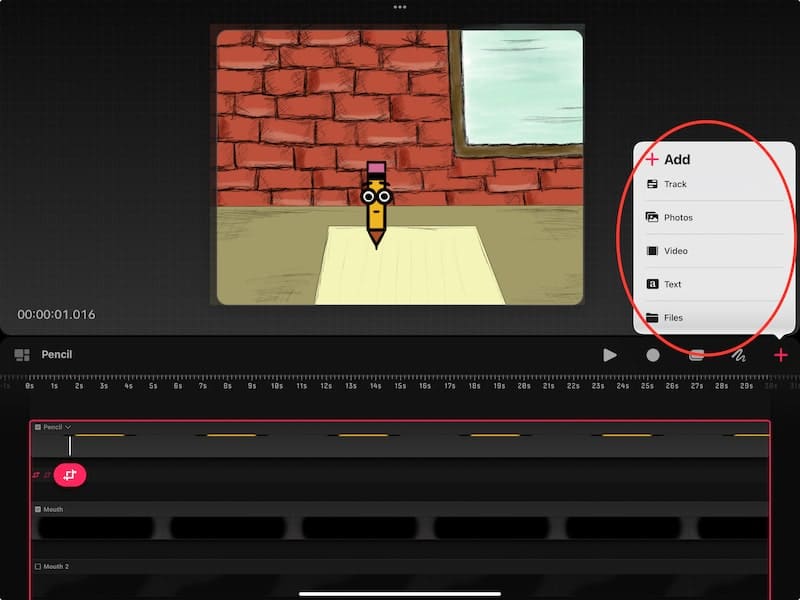
Add Button Options
The add menu of options can be found by tapping on the plus button in the right hand corner of your screen. As the name suggests, this is where you will find the options for adding various elements to your project.


You’ll notice a number of options when you open the Add menu. Let’s run through them.

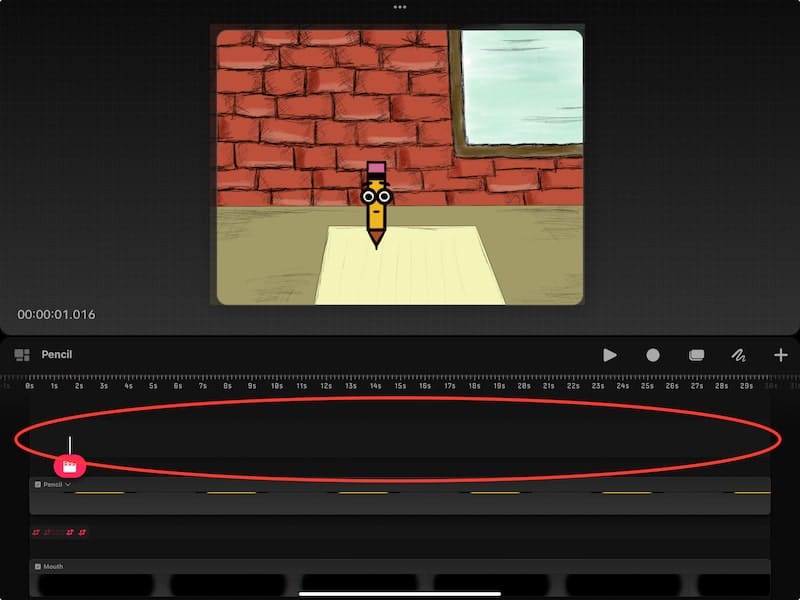
Add a Track
When you choose to add a track to your project, you’ll see a blank track appear on your timeline. You can use this track to draw new animations, create events, or otherwise build upon your project.

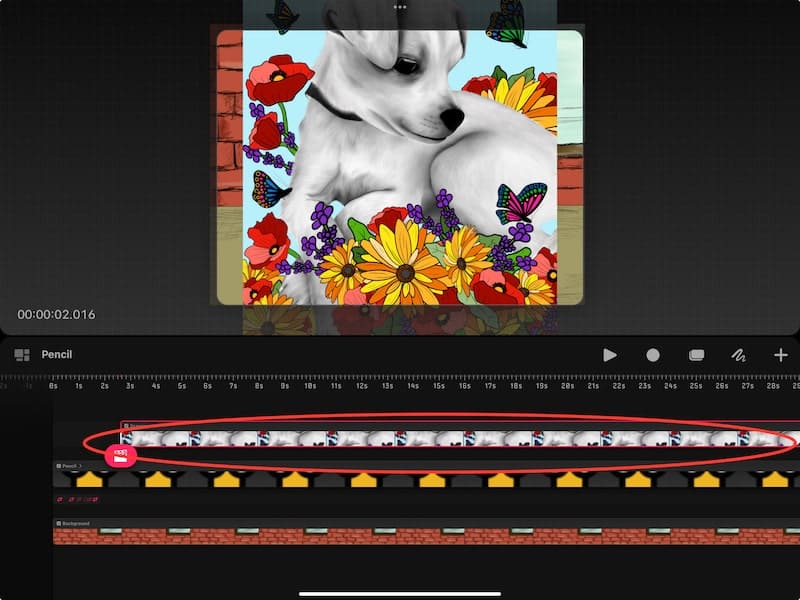
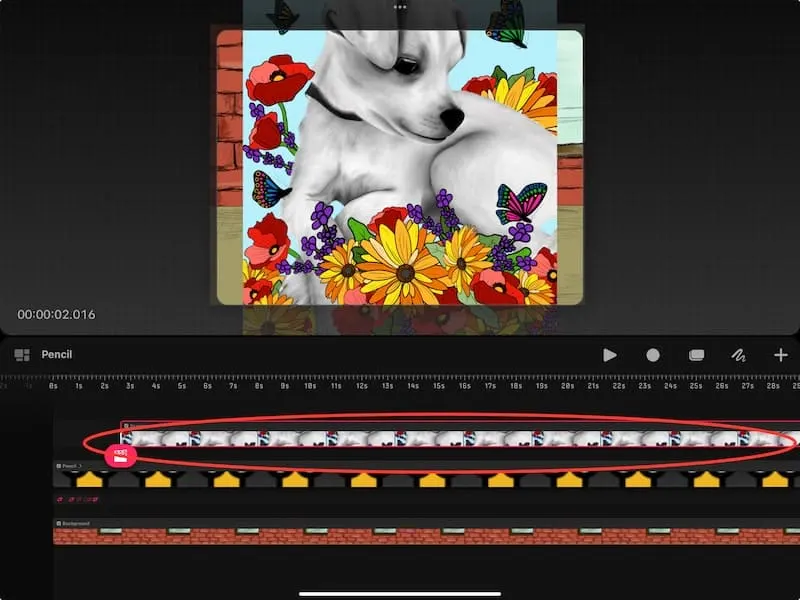
Add Photos
When you choose to add a photo to your project, your photo library will appear. Choose the photo you would like to import into your project.
Keep in mind that your photo will import into the track you currently have selected, if you have one selected. Unless you want your photo added to one of your current tracks, go ahead and create a new track before importing it.
Add Video
When you choose to add video to your project, your video library will appear (from your Apple photos app). Choose the video you would like to import into your project.
Unlike adding a photo, your video will automatically import on a brand new track, so you do not need to create a new track ahead of time.
Add Text
When you choose to add text to your project, you’ll see your keyboard appear, along with a text box.
Type in the text you’d like to use.
Similar to adding a video, your text will automatically import on a brand new track, so you do not need to create a new track ahead of time.


Add Files
When you choose to add a file to your project, your file library will appear. Choose the file you would like to import into your project.
Similar to adding a video and text, your file will automatically import on a brand new track, so you do not need to create a new track ahead of time.
You can use this Files option to import your Procreate art into Procreate Dreams. Simply find the .procreate file on your iPad and tap on it.
That said, this is not my favorite way to import my Procreate art. Check out my post on importing Procreate art into Procreate Dreams to learn more!
Draw & Paint Mode
Tapping on the squiggly line next to the Add button will activate Draw & Paint mode. If you’re a user of Procreate, this is where things will start to look familiar.
When you activate this mode, you’ll notice that both your stage and backstage turn into a canvas. This will allow you to draw on your stage and backstage so that you can add to your animation.
I have a tutorial about Procreate Dream’s Draw & Paint mode if you want to learn more!
Timeline Edit Mode
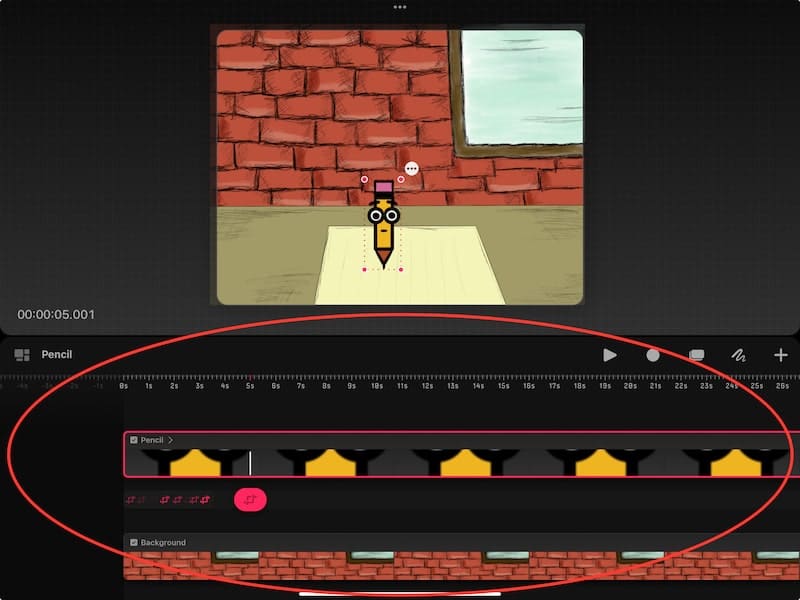
Tapping on the square next to Draw & Paint mode will activate Timeline Edit mode. This mode allows you to make selections and changes to your timeline tracks more efficiently.


For example, with Timeline Edit mode turned on, I can use my Apple Pencil to select all of my tracks by drawing a circle around them.
If there’s anything in regards to my tracks that I need to do in bulk, timeline edit mode is very useful.


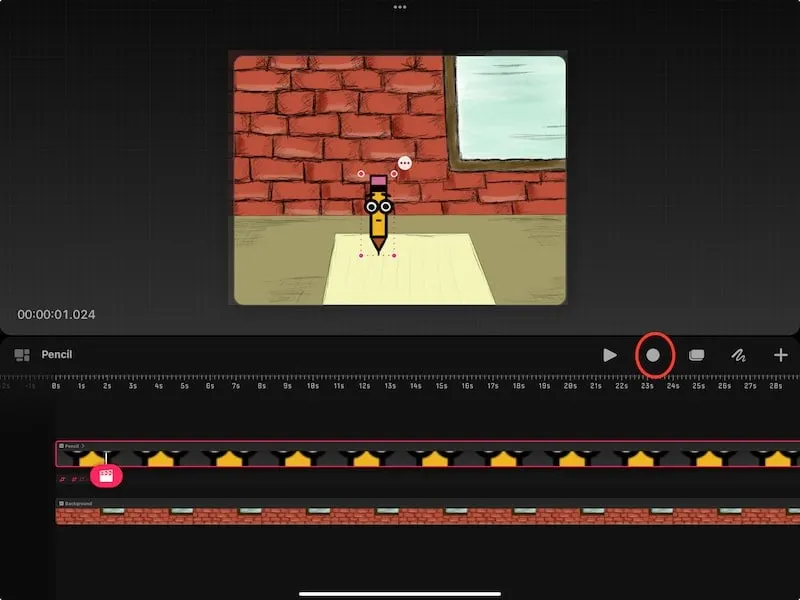
Perform Mode
Tapping on the circle next to Timeline Edit mode will activate perform mode. With the perform feature activated, any movements or changes you make to your animation will be recorded.

This means that you can have your character walk across your stage simply by dragging it along with your Apple Pencil. To say that this is cool and helpful is an understatement.
Be patient when learning this feature because it can take some time to get used to.
Once comfortable with it, it can be a game changer. It’s also so much fun. There are times when I’m not even trying to create an animation, but I turn on perform mode and have fun seeing my characters come to life!
Use the ruler at the top of your timeline to know how much time has passed for each of your movements as you’re using the perform feature.
I have a tutorial on perform mode in Procreate Dreams if you want to learn more!
Play
The play button will play your current animation.


It’s important to note that it will only play the part of the timeline that’s visible on your screen. So, if you’re zoomed in, it will only play the zoomed in portion of your timeline.
When I’m creating projects in Dreams, I’m constantly forgetting to zoom out before playing my animation, so keep this in mind!
While there is a lot to learn in Procreate Dreams, it becomes easier overtime with practice! Have fun using all of these settings and creating your animations!


Diana has been an artist for over 27 years and has training in drawing, painting, digital drawing and graphic design. Diana’s latest obsession is digitally drawing with Procreate and Procreate Dreams. Diana has experience selling her art across a number of platforms and loves helping other artists learn how to make money from their art as well.