Setting up a project is the first step to creating an animation in Procreate Dreams.
Starting a new canvas, importing an old Procreate project, frames rate, screen size – what does all of this mean?!
Don’t worry! We’re going to walk through everything you need to know to set up your project, so that you can jump into your animation.
The Procreate Dreams Theater
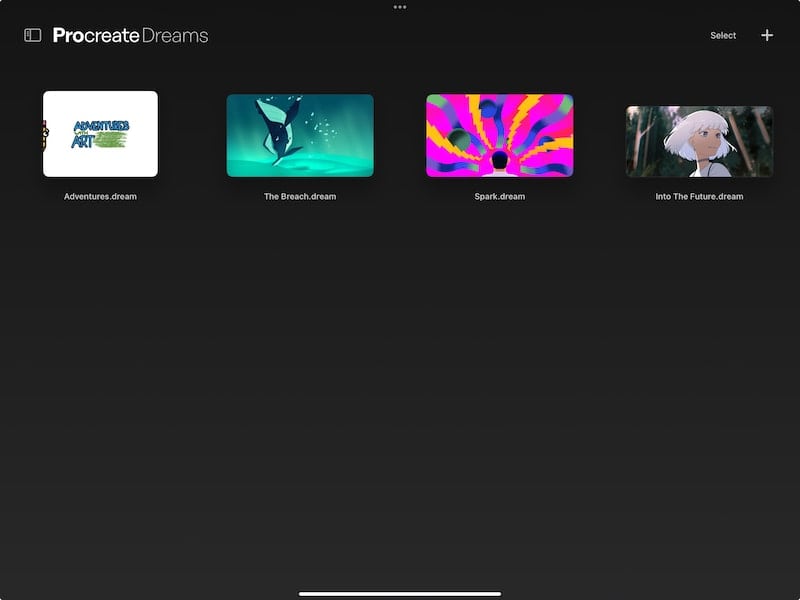
The area where all of your animations are stored is called the Theater.
If you’re a Procreate user, you may know this area as the Gallery. Fittingly so, this is what your collection of art is called in the Procreate app.
In Procreate Dreams, your collection of animations is called the Theater. I love this name!
I imagine sitting down with my iPad, with a bucket of popcorn, to watch some animations. It’s so cute!
Anyways, the Theater is where you’ll find all of your animations, and set up new animations.
Once you’re in your Theater, it’s time to start your project.

Creating a New Procreate Dreams Project
Let’s talk about how to create a Procreate Dreams project from scratch. We’ll be talking about how to import projects later on in this post.
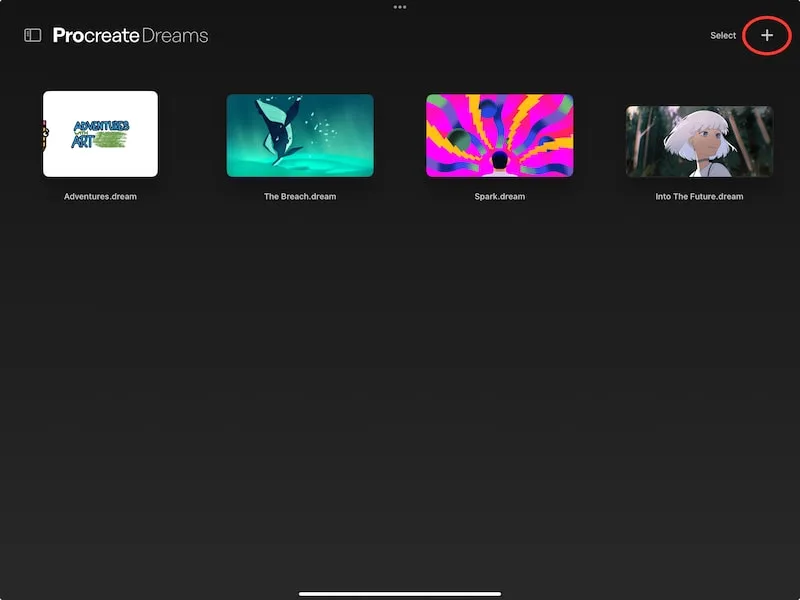
To create a new Procreate Dreams project, tap on the plus button in the top right corner of your Theater.
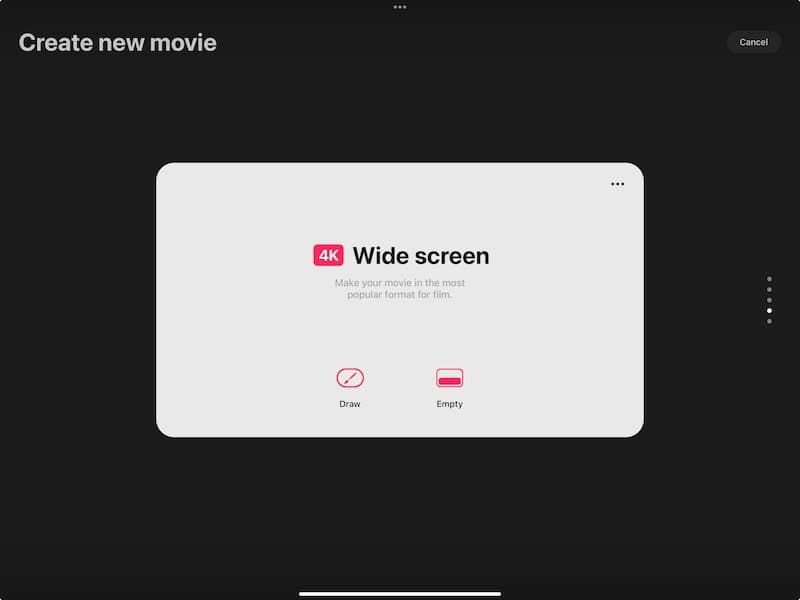
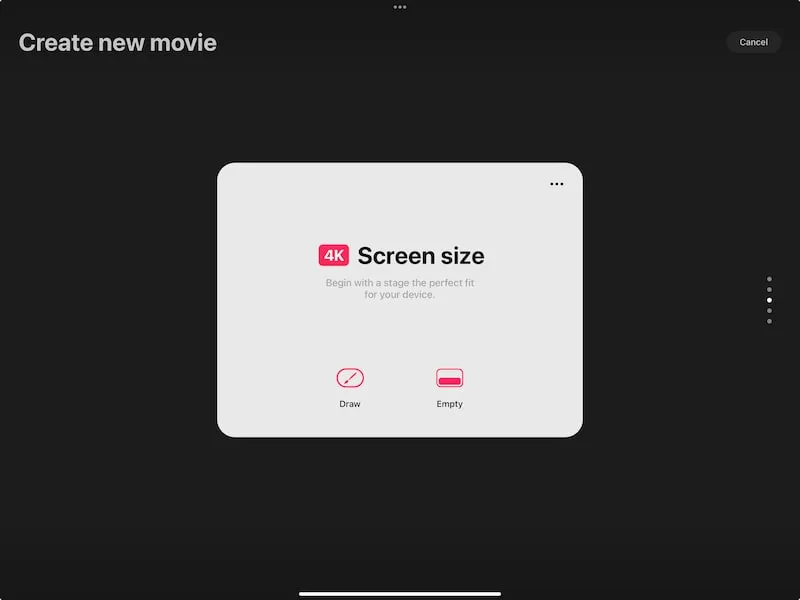
Once you do that, the first decision you need to make is what size you want your animation to be.

Procreate Dreams Project Sizes
You can scroll through a handful of project sizes depending on what you need. Once you pick a project size, don’t activate it yet – there are a few more things we need to look at before we get started.
Here are each of the project sizes, and what they can be used for.
Wide Screen
Wide screen format is 16:9 in size, the most popular for film.
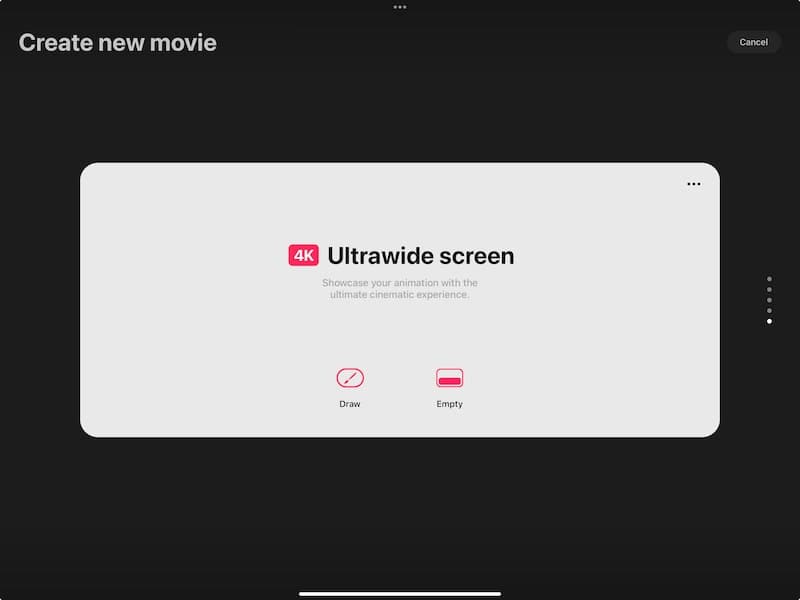
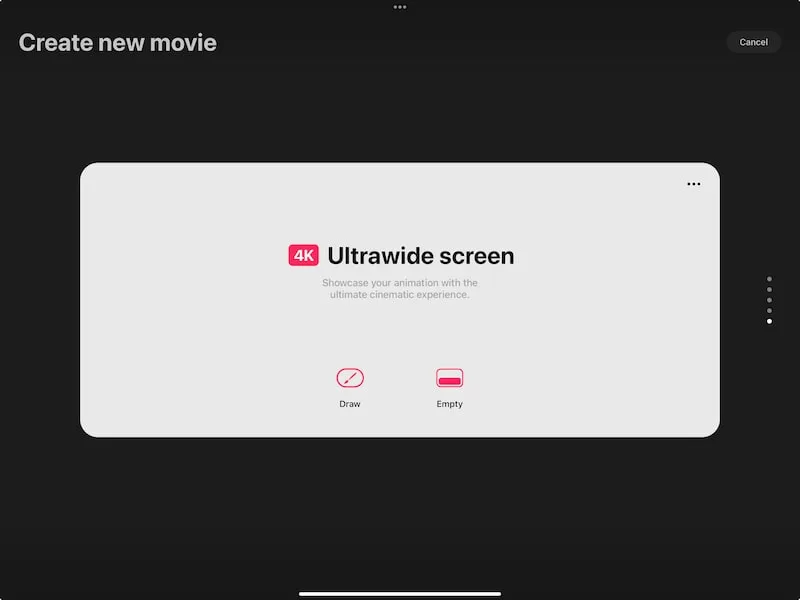
Ultrawide Screen
Ultrawide screen format is 21:9 in size, great for larger works that will be shown on large, cinematic screen.
Social
Social format is 9:16 in size, accommodating social apps that are viewed vertically on phones.


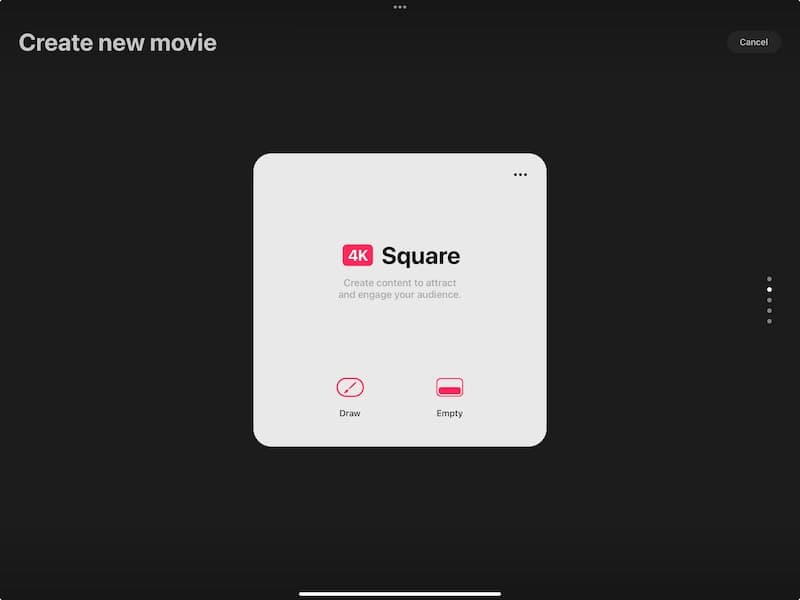
Square
Square format is 1:1 in size. It’s…square. It’s great if you need a square.

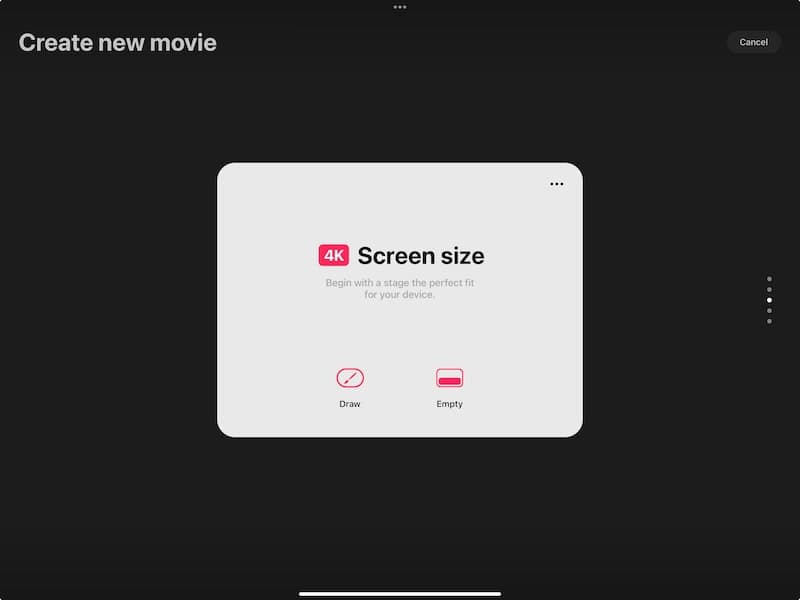
Screen Size
Screen size format will vary in size depending on the size of your screen. This is my personal favorite because it gives me a stage and drawing area that fits nicely on my iPad.
I don’t suggest changing your project size after you’ve started it unless you really know what you’re doing. If you do end up changing your project size, you can find the place to do that within your Procreate Dreams project settings.
Resolution
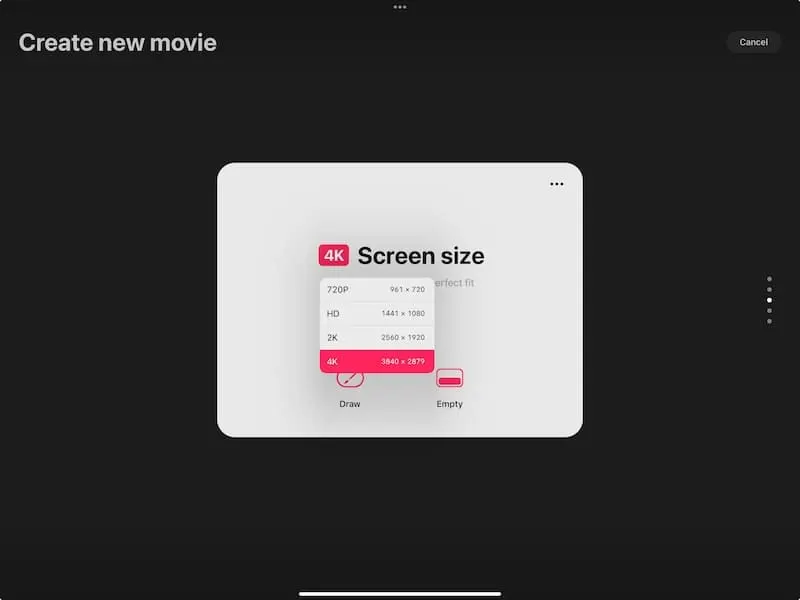
Now that you’ve decided on a project size, it’s time to look at the resolution. 4K is the default, which you will see listed next to the name of the project size you chose.
Tap on that 4K icon to open your resolution options.
What you see for your resolution options may depend on your iPad. Procreate Dreams says there are 5 resolution options available, but I only have 4.

I currently have a 12.9 iPad Pro 6th generation, which has few limitations, but I imagine this discrepancy somehow has to do with the capacity of my iPad.
If you have other types of iPads, I’d be curious to know what resolution options you have!
Regardless of the resolution options available to you, keep the balance of quality and storage in mind as you’re making your decision on the resolution you want to use for your project. A higher resolution will result in a higher quality project, but it will also take up more storage.
You can change your resolution later on in your project settings, but I often like to settle these things ahead of time to prevent any mishaps.
Frames per Second and Duration
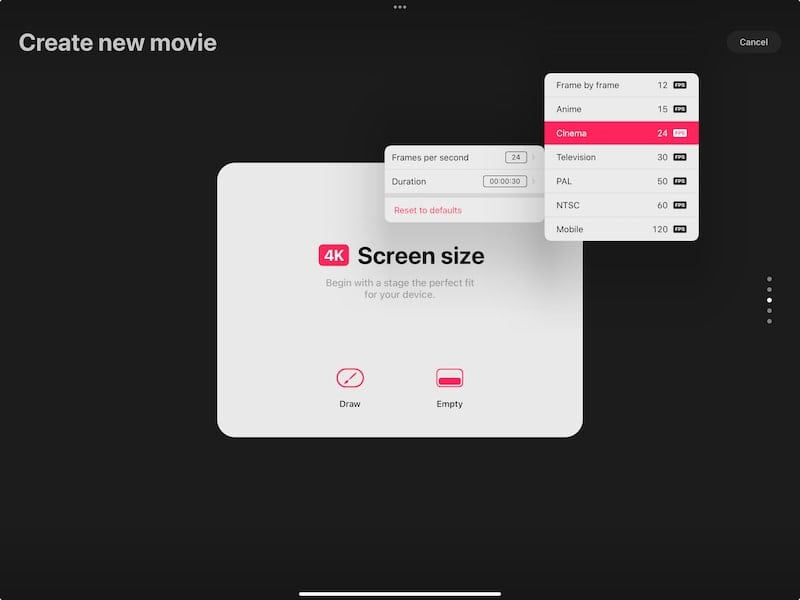
Once you’ve chosen your project’s resolution, tap on the three dots in the right hand corner to determine your frames per second and duration.
For duration, take your best guess at how long you want your animation to be.
If this is your first animation, don’t go overboard! You can always make your animation longer as you go, but you don’t want to overwhelm yourself in the beginning.
At default, the duration is set to 30 seconds, but you can make it shorter if you’d like.


After choosing your duration, it’s time to choose your frames per second.
If you’re new to animation, this may be a new concept, so let’s do a quick review.
Remember that animation is a series of still images that are strung together in a way to make them look like they’re moving.
Each of these still images is called a frame. When we determine the frames per second for a project, we’re deciding how many frames we want to string together per second of our animation.
In general, the higher the frame rate, the more detail you will see. This is because you’re incorporating more images in each second of your animation.Depending on how low you go with your frame rate, your animation may look choppy.
This will depend on the type of animation you’re creating, but that’s a general overview to keep in mind.
When you tap on the frames per second option for your Procreate Dreams project, you’ll see a list of options, along with a name that can help guide you towards a decision, depending on your project.

Changing your animation duration is fairly easy mid-project. That said, I would NOT advise changing your frame rate unless you really need to, or feel ok with making adjustments.
Frame rate plays a big role in determining how our animations look. So, if you create an animation at a given frame rate, then change it, you may change how your entire animation looks.
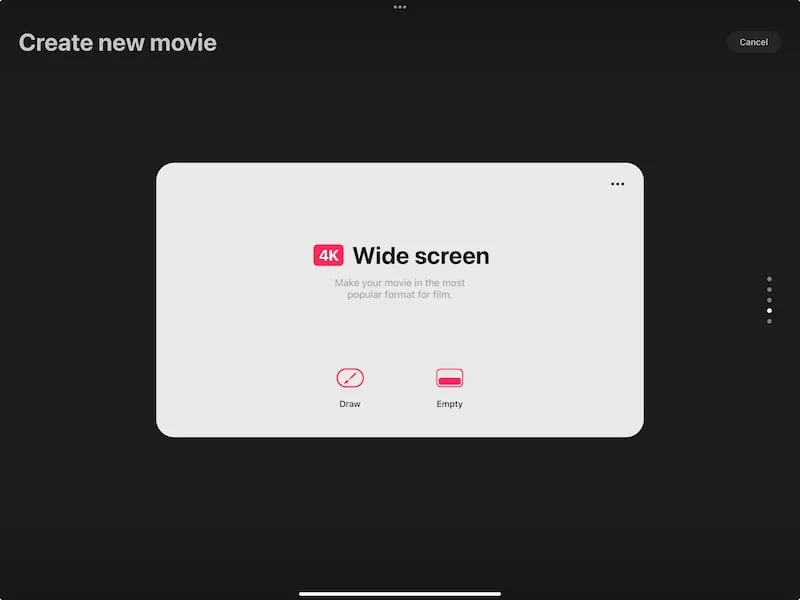
Draw vs. Empty
We’re finally at the last step of creating your Procreate Dreams project!
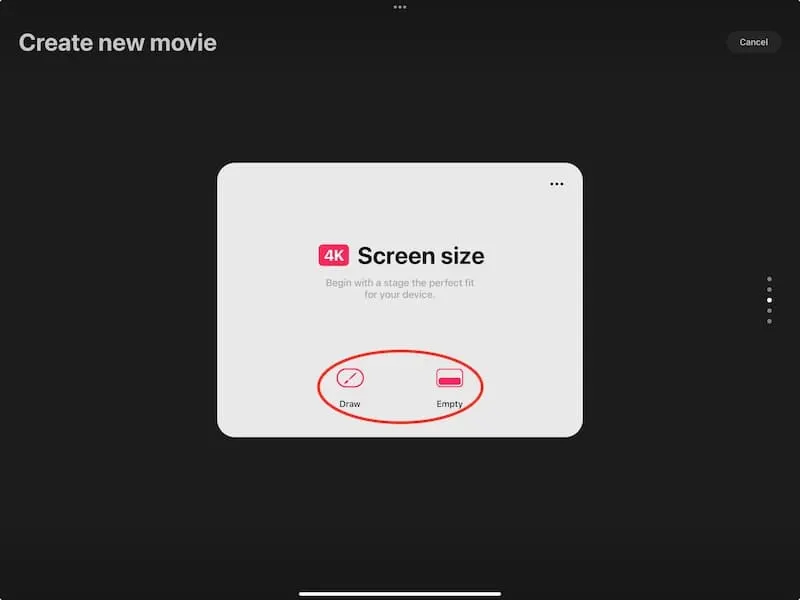
Once your screen size, duration, and frame rate are set, choose whether you want to be launched into drawing mode or not.

This decision isn’t a huge deal.
If you choose the Draw option, your project will open in drawing mode. You can easily turn off drawing mode by tapping on the drawing mode button.
If you choose the Empty option, your project will open without drawing mode enabled. You can easily turn on drawing mode by tapping on the drawing mode button.
It’s easy to toggle drawing mode on and off, so choosing between the Draw and Empty option isn’t crucial.
There we have it! Once you tap on either Draw or Empty, you will be launched into your new Procreate Dreams project.
Have fun animating!


Diana has been an artist for over 27 years and has training in drawing, painting, digital drawing and graphic design. Diana’s latest obsession is digitally drawing with Procreate and Procreate Dreams. Diana has experience selling her art across a number of platforms and loves helping other artists learn how to make money from their art as well.