As a long time Procreate user, turning on draw and paint mode in Procreate Dreams feels like coming home.
This is what is so wonderful about Procreate Dreams. Since it’s a sibling of Procreate, you’ll notice that a lot of the drawing features in Procreate Dreams mirror those in Procreate. I love it!
But, before you start drawing into the sunset, let’s talk about the specifics of the draw and paint mode in Procreate Dreams so you can use it to its fullest potential.
How to Activate Draw Mode
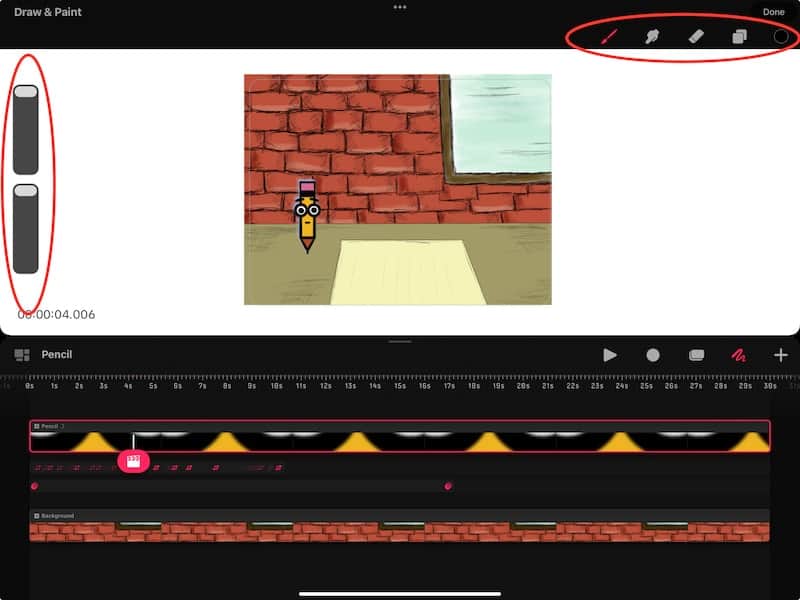
To activate Draw & Paint Mode in Procreate Dreams, simply tap on the squiggly line on the right hand side of your screen.
This will give you access to the brushes, layers, colors, and other tools you may be familiar with in Procreate.

You can enter draw and paint mode in any of your content layers. So, if you’ve imported your art from Procreate into Procreate Dreams, you can continue drawing on it using draw mode.
That said, there’s something really important to keep in mind!
Important note: you can only use Draw & Paint mode on a single layer. It does not work on groups! Make sure to select a single layer before getting started.
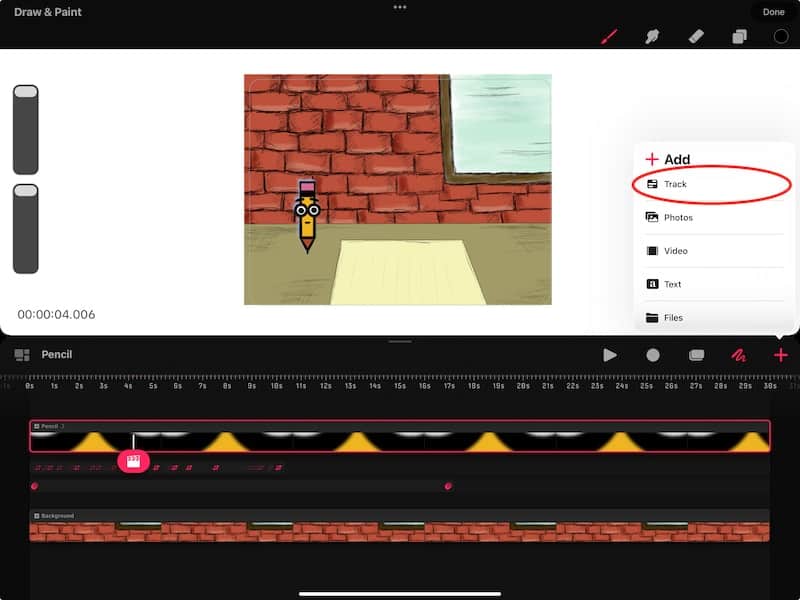
You can also create a new track to use with draw and paint mode. This can be really helpful if you have elements you want to draw from scratch, or simply want to keep your work separated.
To add a new track, tap on the plus button and choose the track option.

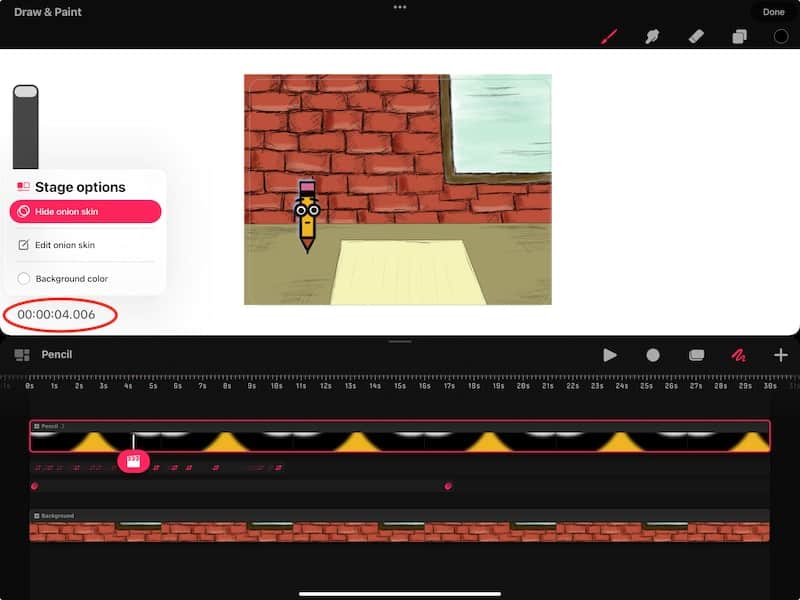
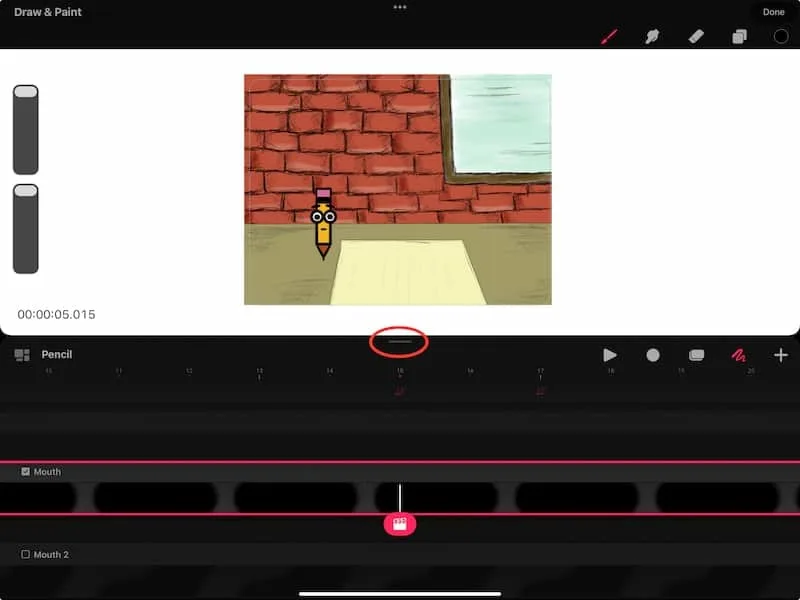
In the example above, you may notice that my pencil character seems to be glowing! This isn’t a part of my animation. This is actually showing you the onion skins for my character!
The onion skins show you the movement of your animation in previous and future frames. The “movement” is what you have drawn in any frames before or after the frame you currently have selected.
To activate the onion skins, tap on the timestamp in the bottom left corner of your screen.

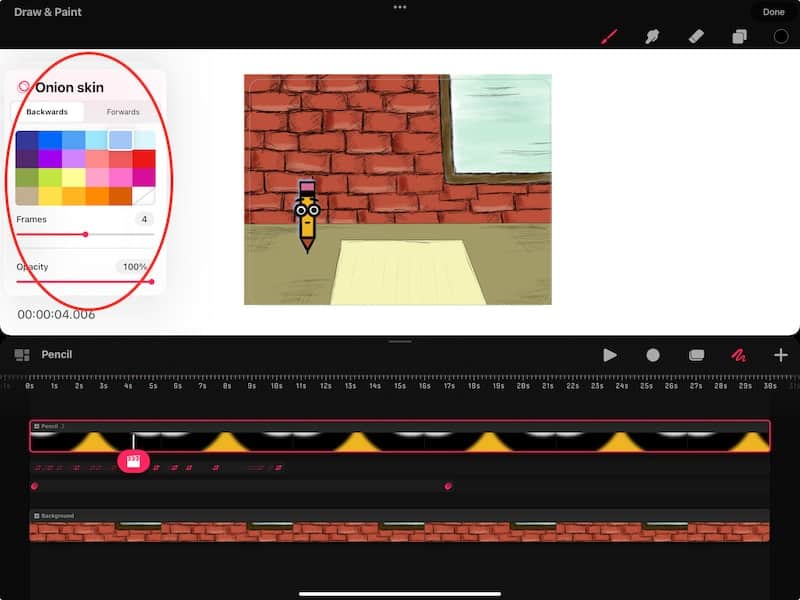
Here you will see options to enable your onion skins, as well as adjust the color of them.

You can use onion skins in regular Draw & Paint mode, or in Draw & Paint mode with your Flipbook. Let’s talk about Flipbook next! Personally, I love this feature!
Activate the Flipbook with Draw & Paint Mode
Once you’re in draw and paint mode, you can start drawing with your Dreams timeline visible. This can be nice so that you can see all of your motion keyframes, filter keyframes, and your tracks.
But, if you want to focus on the frame-by-frame progress of your drawing, this can be a good time to activate the Flipbook.
To activate the Flipbook, start by making sure you only have 1 layer selected. Just like the rest of Draw & Paint Mode, it can only be used with a single layer.
Next, grab the small line at the top middle of your Procreate Dreams timeline.

Drag the timeline down to the bottom of your screen. I think of it as “wiping away” my timeline.
Once you do this, your timeline will fall away, and your drawing canvas will cover your screen.
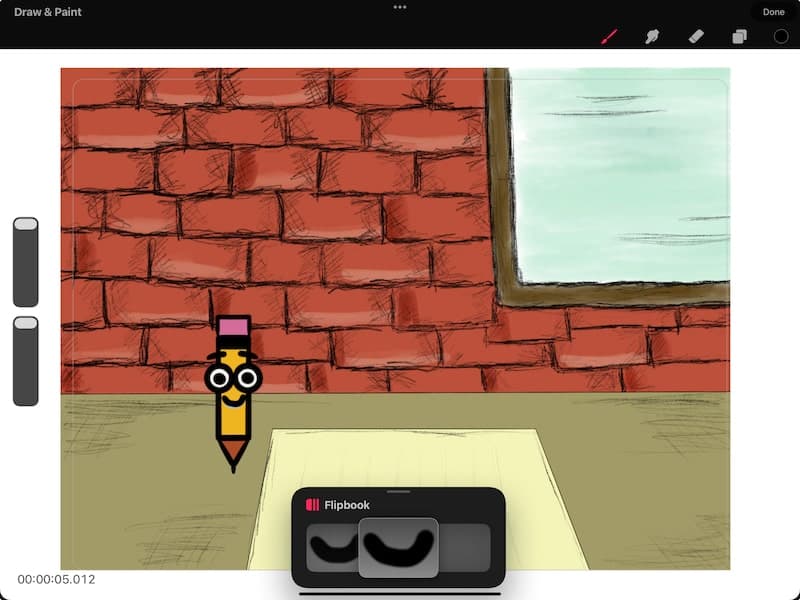

This is why I said it reminds me of drawing in Procreate.
You’ll also notice a rectangle pop up that shows your frames. This is your Flipbook.
Here, you can start drawing on each “page of your flipbook.” Each page represents a frame.
I have a tutorial on using the Procreate Dreams Flipbook that I suggest checking out to learn more!
Draw & Paint mode is one of those amazing features in Procreate Dreams that makes my jaw drop. To me, it really combines animation with the magic of digital art in such a seamless way. I hope you have fun with it!


Diana has been an artist for over 27 years and has training in drawing, painting, digital drawing and graphic design. Diana’s latest obsession is digitally drawing with Procreate and Procreate Dreams. Diana has experience selling her art across a number of platforms and loves helping other artists learn how to make money from their art as well.