Drawing in perspective can add dimension and realism to your art, but it can often feel overwhelming. Placing vanishing points, drawing straight lines, making sure everything is in the right place. Luckily, Procreate’s drawing guide makes perspective drawing fun instead of overwhelming.
To activate Procreate’s perspective tools, turn on your drawing guide in the Actions menu and edit it. Choose the perspective option and add your vanishing points. If you need help drawing in perspective, turn on Assisted Drawing, which will snap your lines to your perspective grid.
When I was a kid, I loved drawing in perspective! A simple box could turn into a complex cube. It felt like magic.
But, to achieve this magic, I needed to grab my ruler and make sure it was always in the correct spot at the correct angle. Can we say tedious?
So, when I started learning Procreate, the perspective grid was something that I was instantly amazed by. Instead of sweating over my ruler, I could simply choose vanishing points. To make it even better, I could instantly create perfectly straight lines that snapped to the vanishing points I created.
If I thought perspective drawing was magic before, now I was really blown away.
In today’s post, we’re going to dive into all of the amazing things that Procreate’s perspective guide can do.
Before we begin though, here’s an important point.There’s a lot of power in the perspective guide, but in order to use it to its fullest, it’s a good idea to understand perspective overall.
Where do you put vanishing points? What angles do you need? How do you construct a perspective guide that actually creates the realistic scene you’re looking for?
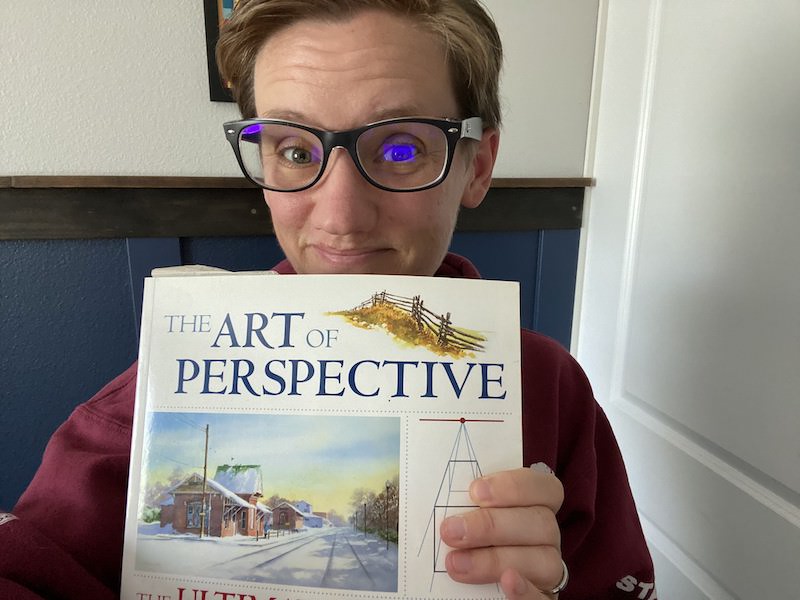
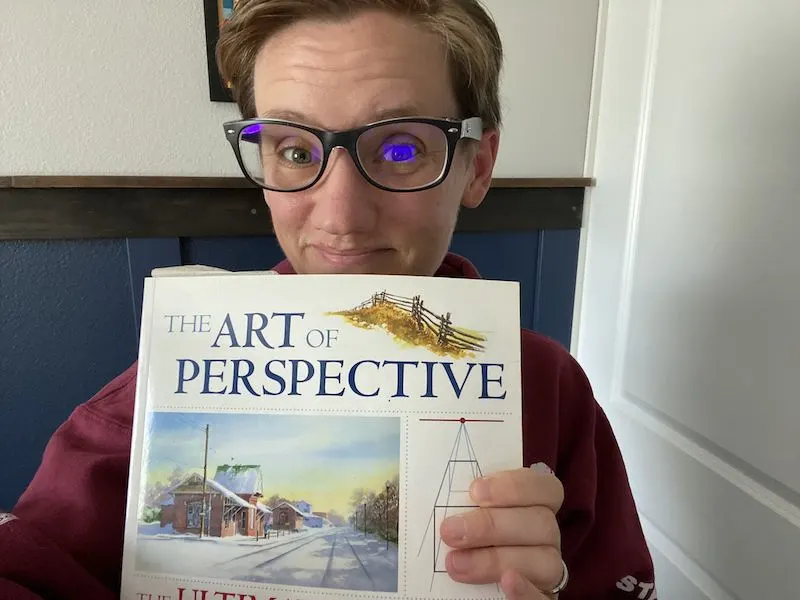
If you’re looking to brush up on your perspective drawing skills, The Art of Perspective is one of my favorite books. This book has helped me over the years with understanding and mastering perspective.
Once you feel ready to do some perspective drawing, it’s time to dive into Procreate’s perspective magic.
Let’s start with finding the perspective guide in the first place.
How to Turn On Procreate’s Perspective Guide
Here’s how to turn on the perspective guide:
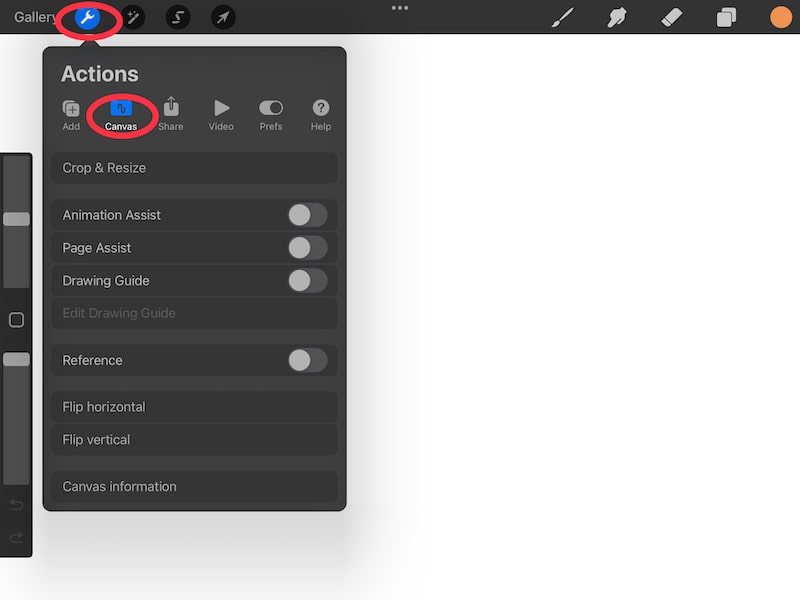
1. Open the Actions menu and choose the Canvas tab.

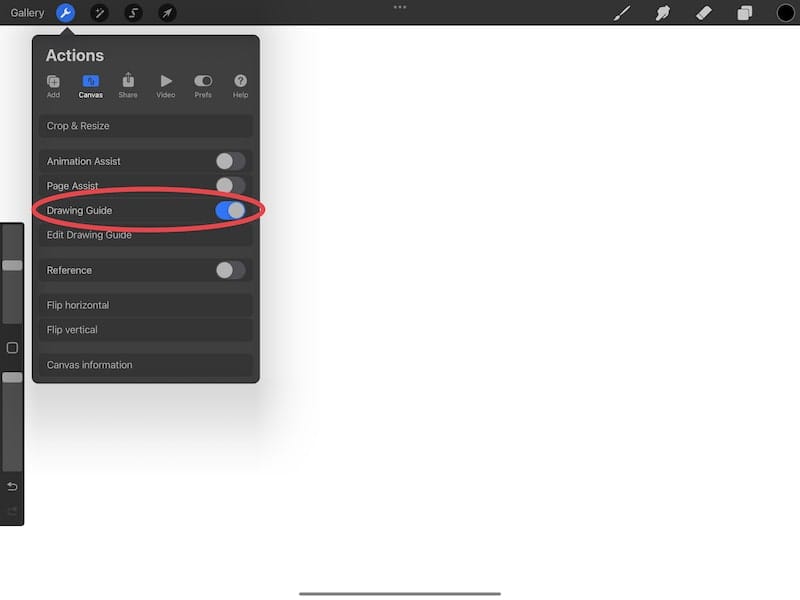
2. Toggle on the Drawing Guide

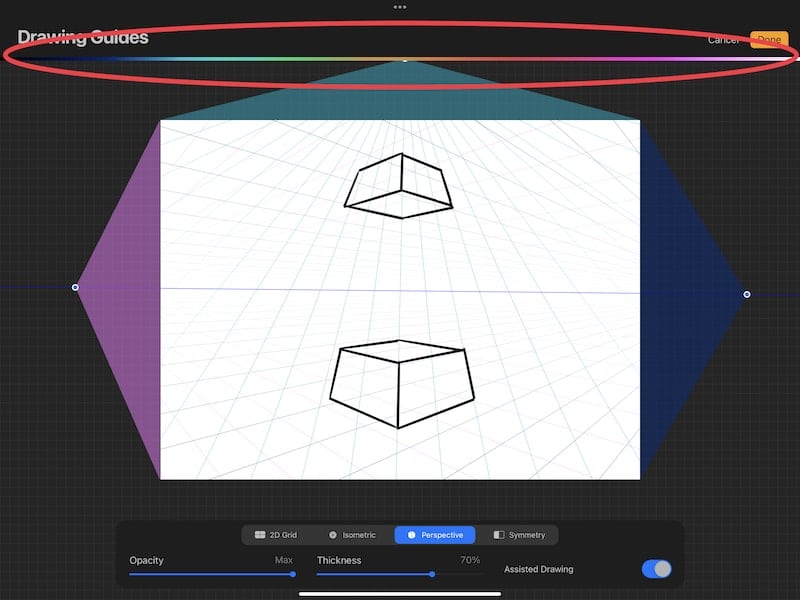
3. Tap the Edit Drawing Guide button


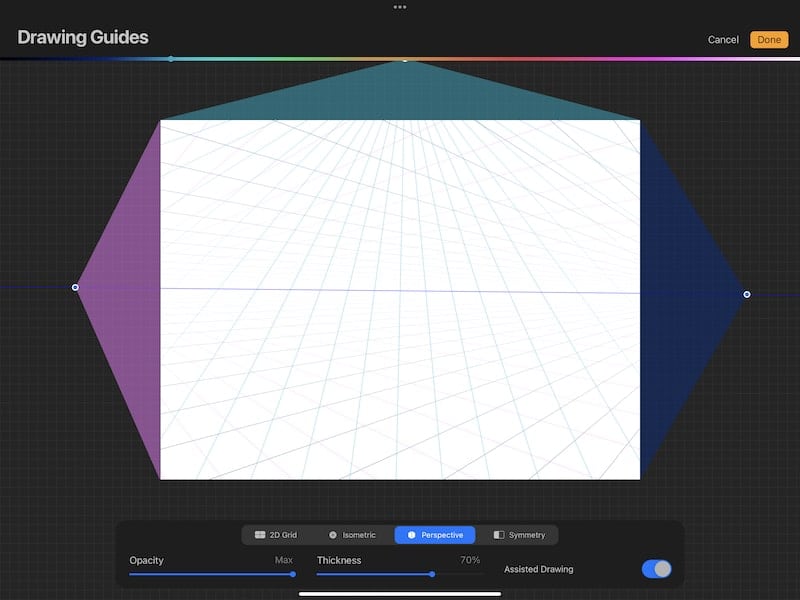
4. Choose the Perspective option
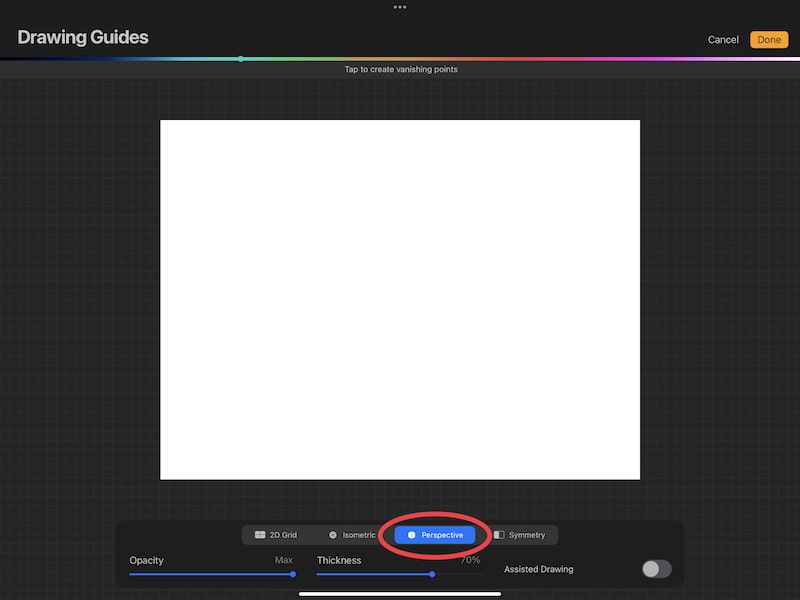
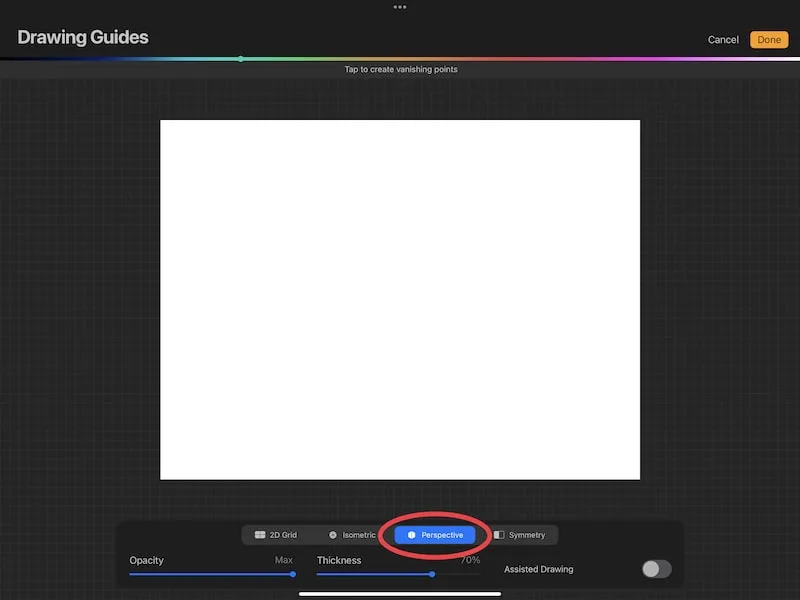
There are some awesome guides to choose from, including drawing grids, symmetry grids, and isometric grids. Check out my other posts to learn about what Procreate’s drawing guides can do! For now, let’s focus on the perspective guide.
Let’s set up the perspective guide! To do that, you’re going to add vanishing points to your canvas.
How to Add Vanishing Points to Your Procreate Perspective Guide
Vanishing points are the bread and butter of perspective drawing. They’re what give you the angles and lines you need to create your work.
How you position your vanishing points is VERY important for your perspective drawing. If you place them incorrectly, it’ll be a challenge to get the results you want, so be thoughtful with this setup process.
As we talk through adding vanishing points, let’s define how the different types of perspective work.
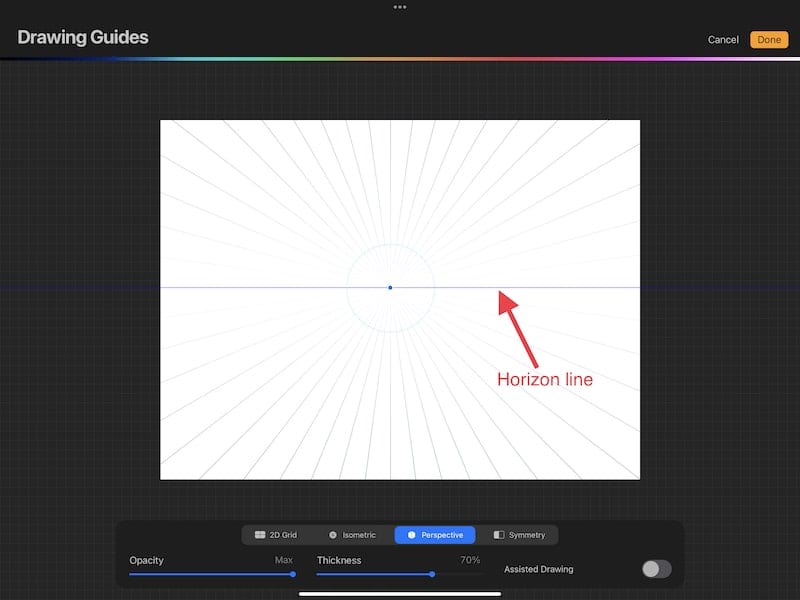
Let’s start with a piece of vocab – horizon line.
Horizon Line
Your horizon line is the line that all of your vanishing points will sit on.
All of the lines you draw will point back towards your vanishing points, which means that all of the lines you draw will point back to your horizon line as well.
As soon as you lay down a vanishing point on your canvas, you will see a line appear across your screen. This is your horizon line.

Given that your vanishing point needs to sit on your horizon line, you can move your horizon line by moving your vanishing point. Simply use your Apple Pencil to drag your vanishing point across your screen.
Now, let’s talk about the different types of perspective.
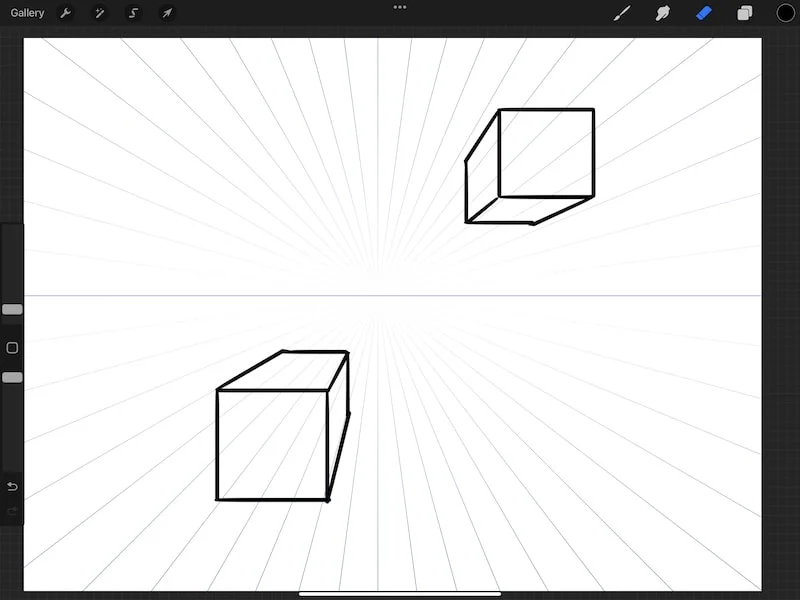
One-Point Perspective
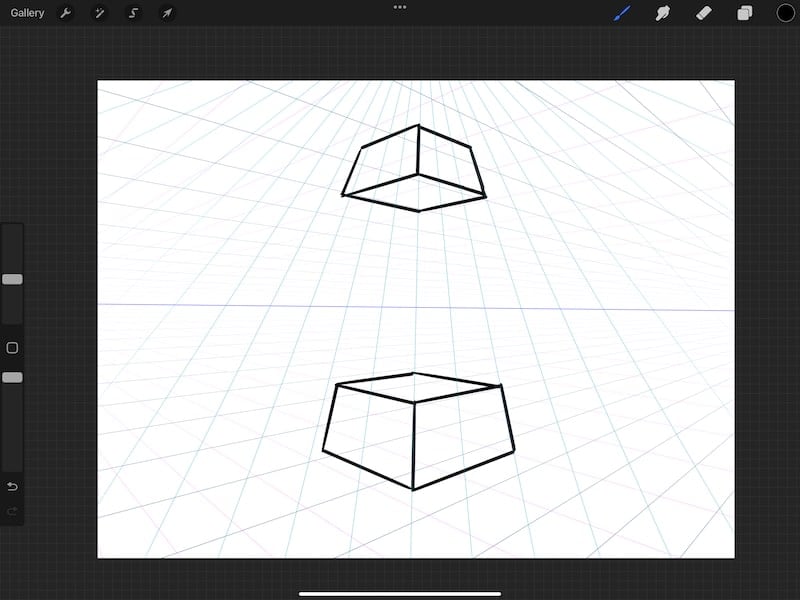
One-point perspective uses one vanishing point. This vanishing point will sit on your horizon line, and all of the lines you draw will lead back to this vanishing point.
When you use one-point perspective, it gives the illusion that your object is getting smaller as it “moves away” from your viewer.

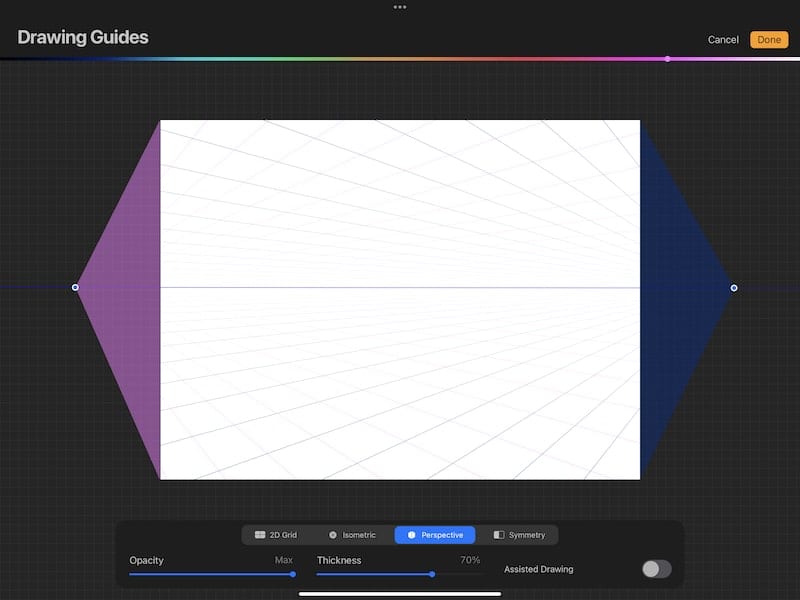
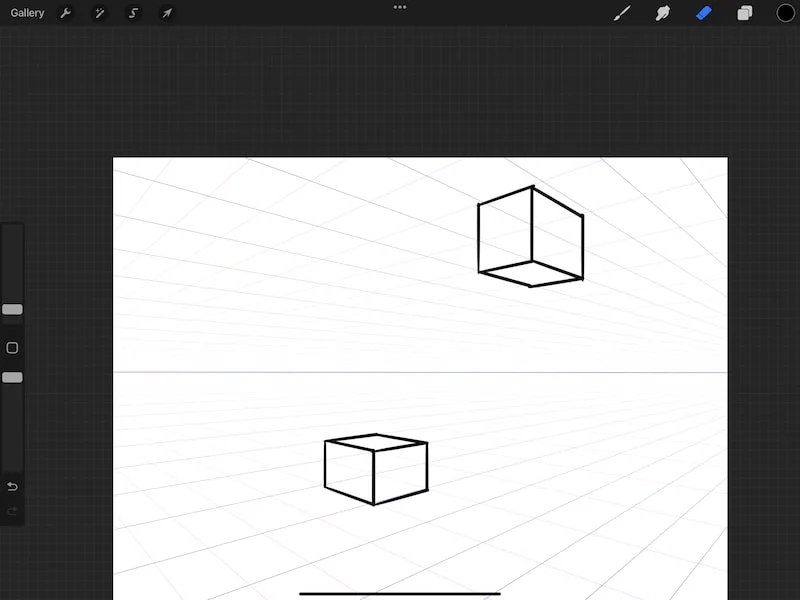
Two-Point Perspective
Two-point perspective uses two vanishing points. These vanishing points will sit on your horizon line, and all of the lines you draw will lead back to these vanishing points.
In order to prevent distortion in your drawing, it can be helpful to place your two vanishing points far away from each other.
Important note: you can drag your vanishing points off of your canvas; they don’t need to stay on your canvas. This gives you a larger area to work with to give you the effect you’re looking for.

Then, you can get started with two-point perspective drawing!

Three-Point Perspective
Three-point perspective uses three vanishing points. These vanishing points will sit on your horizon line, and all of the lines you draw will lead back to these vanishing points.

Using three-point perspective is the most complicated, but it can also be the most realistic.
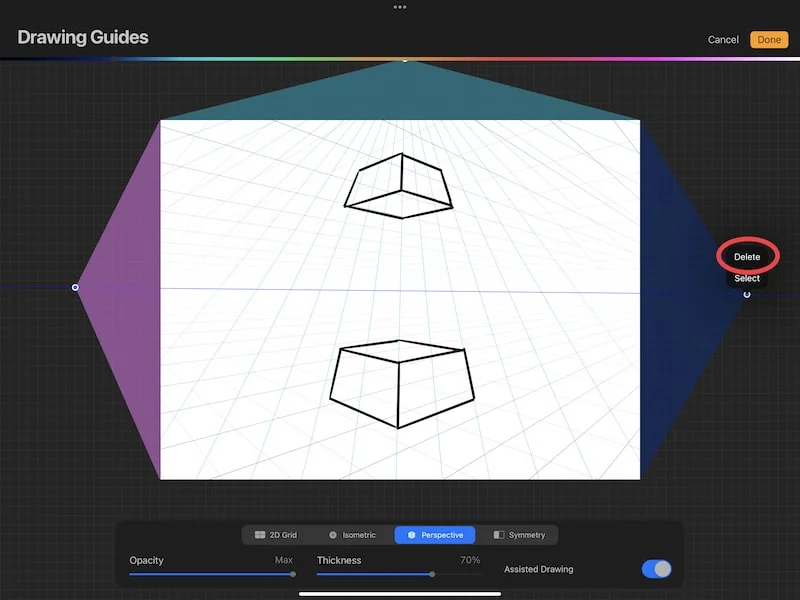
At any point, if you decide you need to delete one of your vanishing points, go back to your perspective guide and simply tap on your vanishing point. Then tap Delete.

Change the Way Your Perspective Lines Look
As you lay down each of your vanishing points, the lines they create will be the color of your slider at the top of your screen. Adjust the slider to the color you want each of your vanishing point lines to be.
I suggest using different colors for each of your vanishing points so that you can tell them apart.

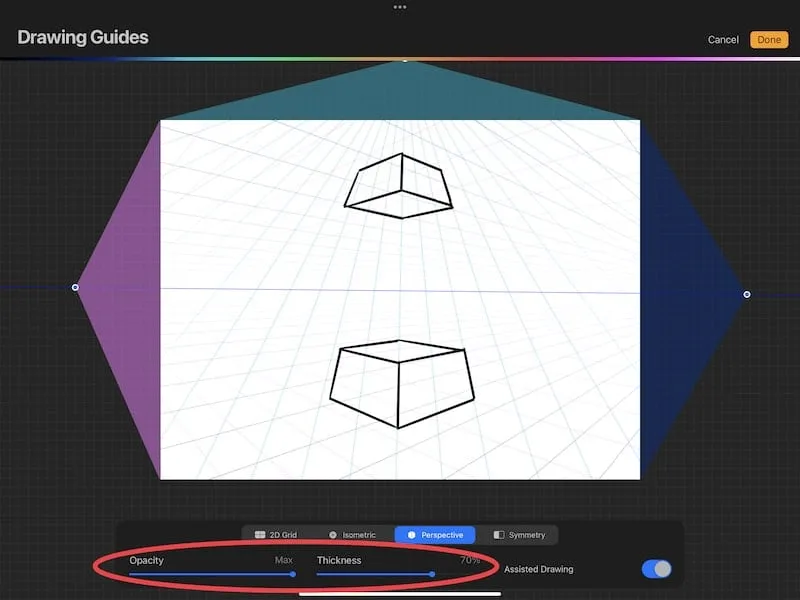
You can also adjust the thickness and opacity of your perspective lines by using the sliders. This can make your lines either more subtle, or more prominent, depending on what you need.

Using Assisted Drawing with your Perspective Guide
Procreate’s perspective guide is wonderful. Using it in conjunction with assisted drawing is incredible!
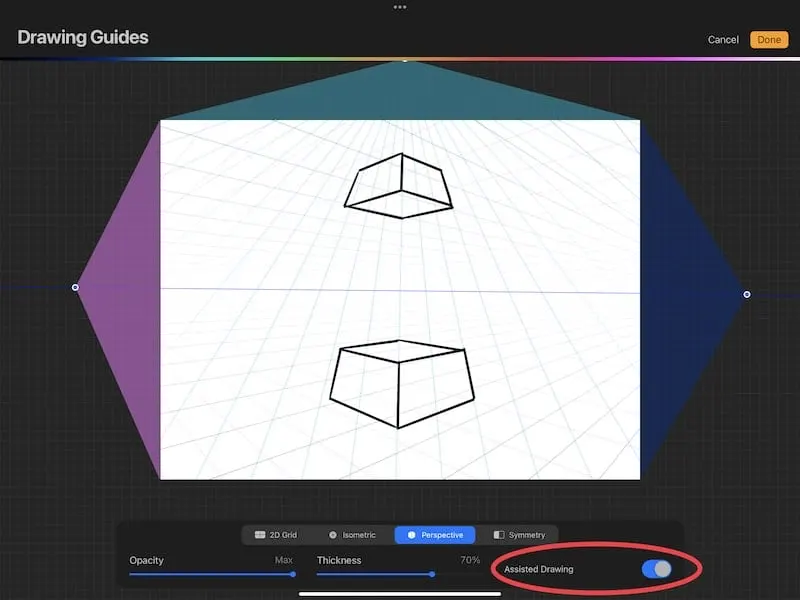
When assisted drawing is turned on, all of the lines you draw will snap to your perspective guide.
No more time and energy trying to create a line at just the right angle! The kid in me that spent hours drawing in perspective with my ruler and yellow pencil would be thrilled.
There are two ways to turn on assisted drawing. The first way is to toggle it on in your drawing guide.

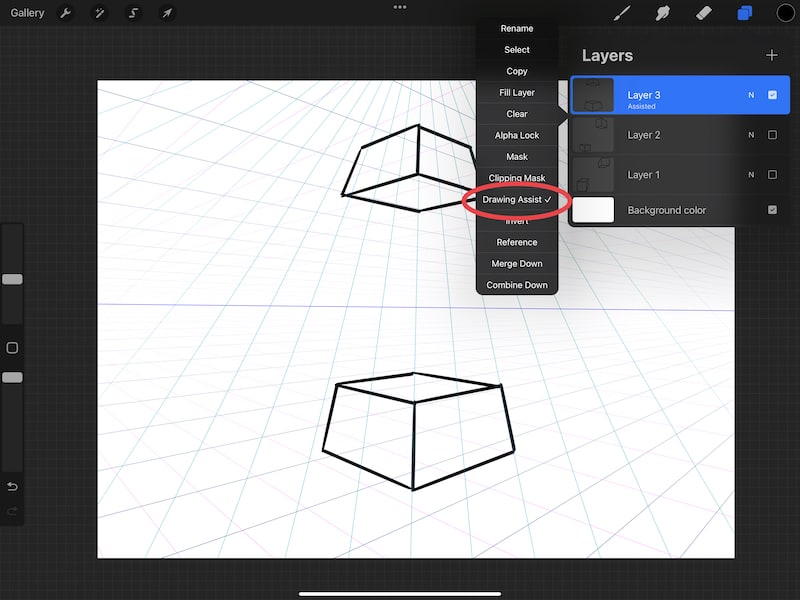
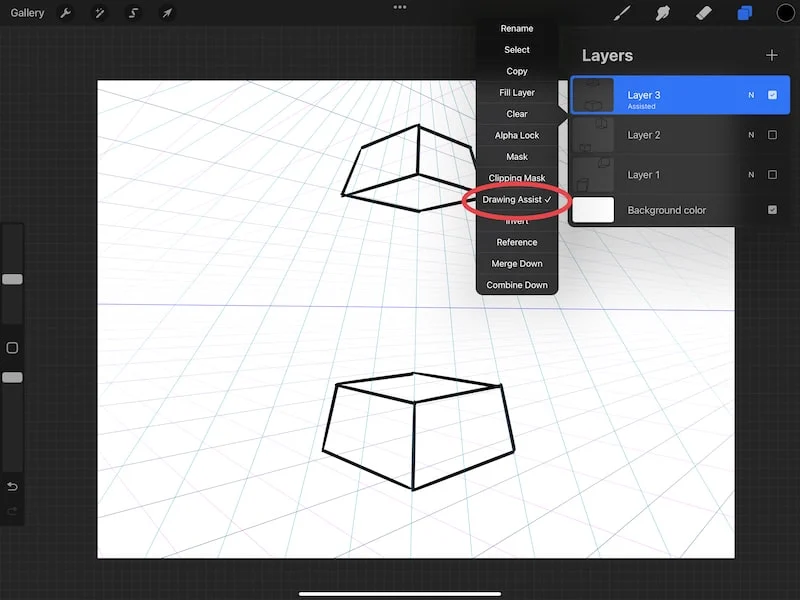
The second way is to toggle it on in your layer settings. Simply open your layers panel and tap on your layer twice to open the settings. Tap the Drawing Assist button. This will turn on assisted drawing for your layer.
Procreate’s perspective guide has a LOT of power and potential. Take some time to experiment with it and understand how it works. Once you become comfortable with it, you can start making your dreams of adding perspective to your art come true.


Diana has been an artist for over 27 years and has training in drawing, painting, digital drawing and graphic design. Diana’s latest obsession is digitally drawing with Procreate and Procreate Dreams. Diana has experience selling her art across a number of platforms and loves helping other artists learn how to make money from their art as well.