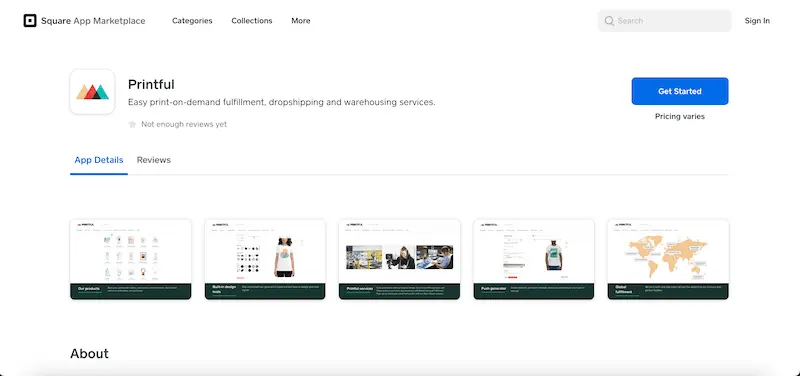
The Square and Printful integration has arrived! Now, setting up your online print on demand store is easier than ever.
I talk a LOT about how Printful is one of my favorite providers of print on demand products. It offers a huge range of quality products that my own customers are happy with time and time again.
In its own right, Square is also a powerhouse in the e-commerce industry. I always remember the first day that I got my first little Square card reader and thought that I had been transported to the future. I know, I’m a nerd, but it really was an amazing and innovative development.


Now with Printful and Square joining forces with their integration, we’re in for quite a wonderful ride as we see these two powerhouses work together in the e-commerce, print on demand space.
Why not jump in early and start taking advantage of everything that the Square Printful integration has to offer?
We’re walking through a step-by-step guide on how to set up your Square store and integrate it with Printful. Along the way, we’ll talk about any fees you might need to be prepared for, how to add products to your shop, and all of the important details that matter to you as a seller.
Let’s get started!
This post may contain affiliate links, which means I may earn a commission if you decide to purchase through my links.
1. Sign up for a Printful account
If you don’t have a Printful account yet, go ahead and sign up for one here. If you already have one, skip to the next step.
Signing up for Printful is free and easy. Fill out the needed info until you reach your dashboard.
Printful does not have any monthly recurring fees. You only pay for the products and shipping that you need and use. There are no additional fees on top of that.
Think of it like a store where you only pay for the products you choose. Though, in this case, you already have an order from a customer to cover the cost. Nice, right?!
Like I said, I LOVE Printful and used them for my own online stores. I highly suggest them if you’re looking to jump into the print on demand world. Even if you’re unsure, the account is free, so might as well try it out.
Again, you can sign up for Printful here.

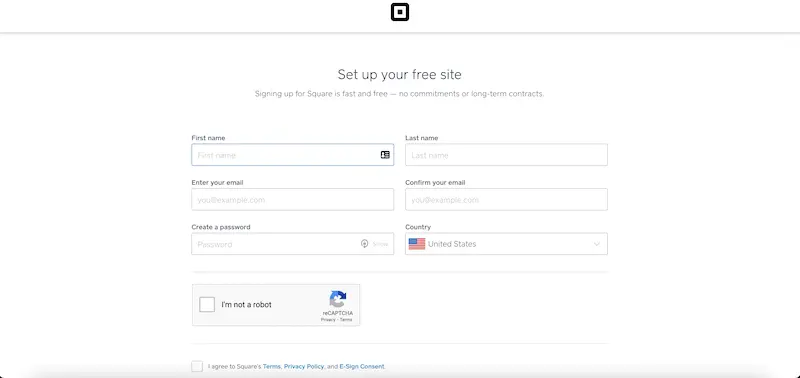
2. Sign up for a Square account
You’ll also need a Square account. If you already have a store with Square, you can skip to the next steps relating to Printful.
If you’re starting fresh, head to https://squareup.com/us/en/online-store/plans to pick your plan for your store. As you’ll see, this is when you’ll need to start making decisions. We didn’t waste much time getting to the brain crunching stuff, did we?
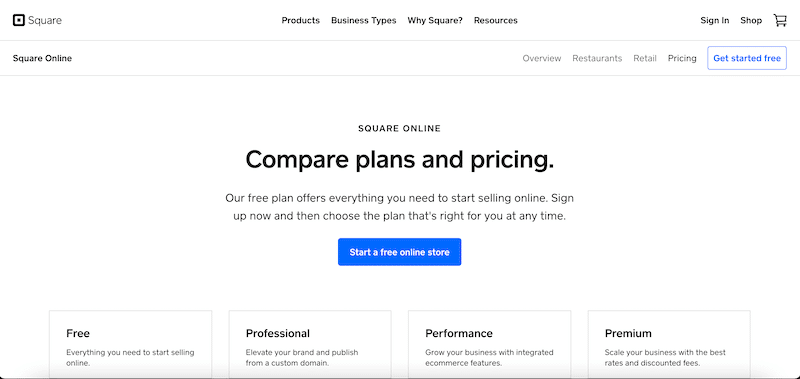
Don’t worry though; you can always change your plan later. If you want to get a feel for Square before investing with it, start off with the free plan and upgrade later as needed.
On the free plan, you will not have any recurring monthly fees. You will have fees everytime you make a sale though. This is a really common thing with store providers, even Etsy, and Square’s transaction fees are generally in line with what you would find elsewhere.
Every time you make a sale, you will pay a percentage and a fee. These rates vary depending on the Square plan you’re on. Check out the most up to date plans here.
You will always have fees of some sort, no matter which platform you choose. Simply work the costs into your product pricing and you’ll be fine.
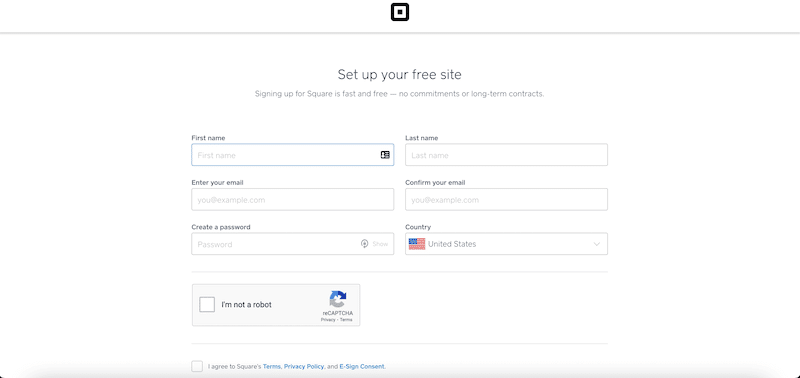
Once you’ve chosen a plan, enter in all of your info to set up your account. Follow the prompts and provide all needed info to get your Square site started.
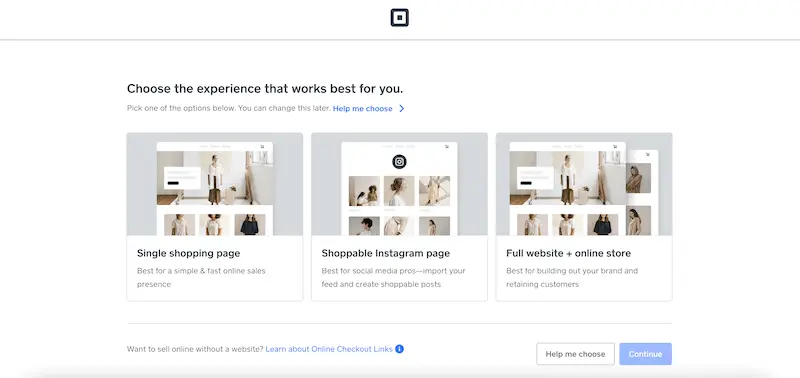
3. Choose the type of site you want to have
Once you’ve set up your account, the last step will be to choose the type of Square site you’d like to have.
You’ll have 3 options to choose from:
1. Single Shopping Page: this is best if you have a limited number of products to offer that can be highlighted nicely on one, simple, static web page.
2. Shoppable Instagram Page: this is best if you have a large social media presence and you consistently post on your social media accounts. If you drive a lot of sales through social media, this would be a good choice for you.
3. Full Website + Online Store: if you want the capabilities of a full website in addition to your online store, this will be a good choice for you. This is also a good option if you have a lot of product categories that you’ll want to feature on separate pages.
Don’t worry if you pick the wrong option — you can change it later!

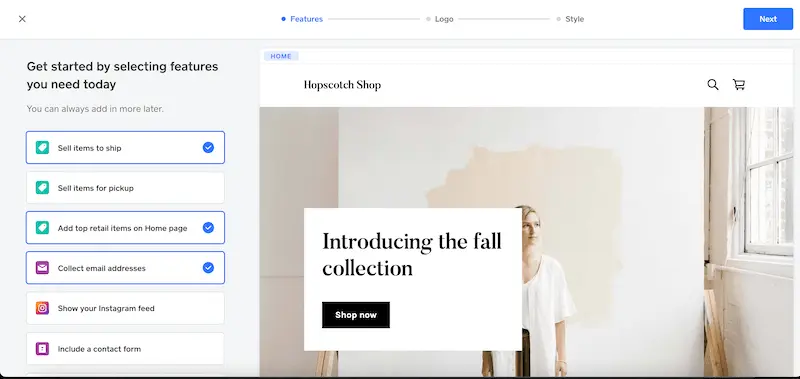
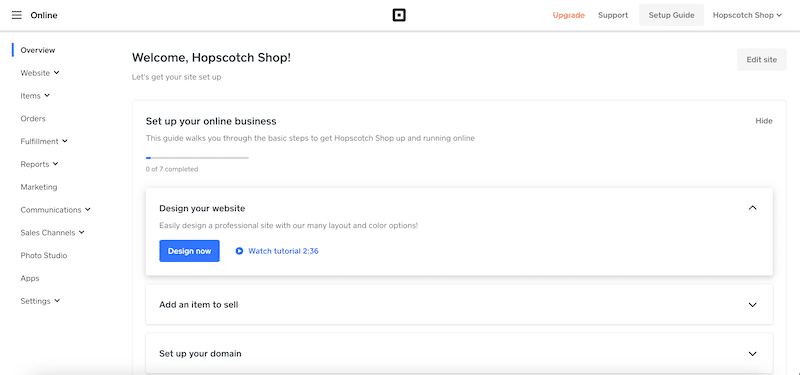
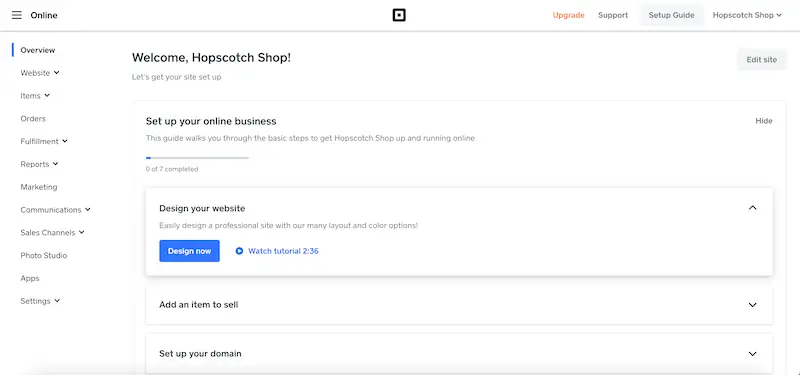
4. Work through Square’s checklist on your dashboard
Once you’ve picked a store type, you’ll be directed to your dashboard. You’ll see a checklist that you can work through to get your store set up.
The first item on that checklist is to design your store. I’m specifically pointing this out so that I can give you a warning.
DO NOT OBSESS OVER THE DESIGN OF YOUR WEBSITE AND STORE!
Was that clear enough? 🙂
Square makes it extremely quick and easy to create a customized, fully functioning store in just a few minutes. Roll with that for now! You can always tinker later.

It drives me crazy when I see people focusing on getting the “perfect” design when “good enough” will do. Get your website and store to a “good enough” place so that you can focus on what will actually bring in money – integrating with Printful and selling your products!
Get through Square’s checklist and then move on to setting up the Printful side of things. The next steps will tell you how to do that.
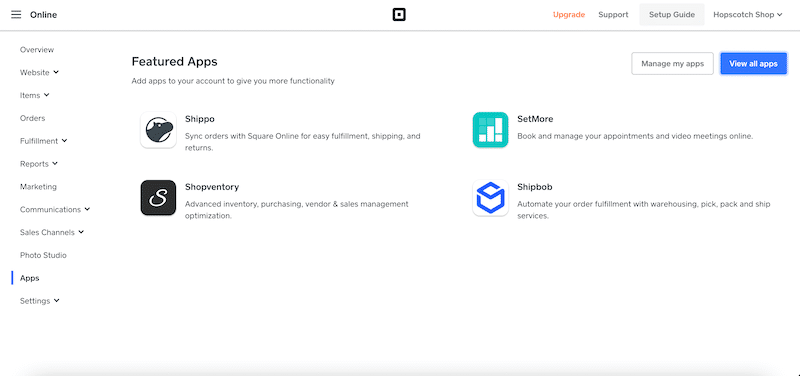
5. Find Printful in the Square app store
On the left hand side of your Square store’s dashboard, you’ll see a menu of options. Near the bottom, you’ll see a button that says “Apps.” Click on it.
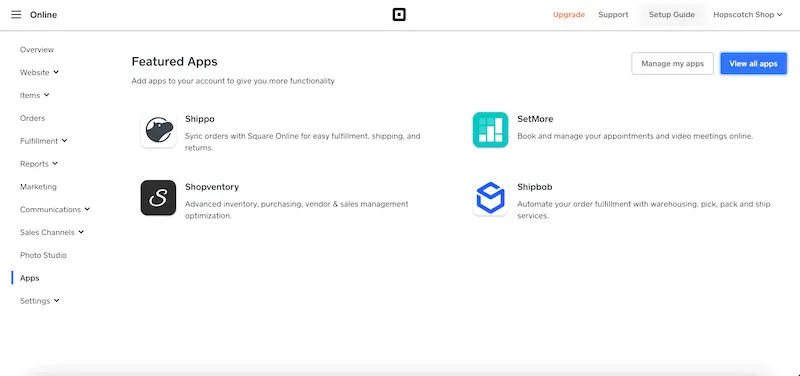
If Printful isn’t on the list of Featured Apps that appears, Click on the “View All Apps” button in the top right corner of your screen.
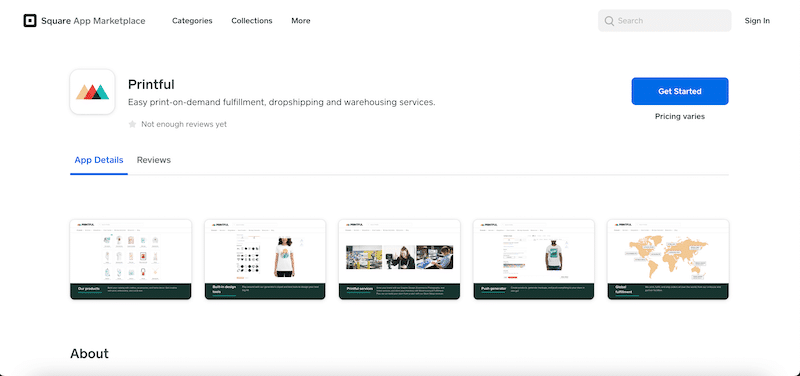
In the window that pops up, search for Printful and click on it. This will open the Printful app. Click on the large “Get Started” button.
6. Click the button to connect your Printful account to Square
After clicking on the “Get Started” button, you may need to log into your Printful account. Once you do, scroll down on the page you’re redirected to until you see the “Connect to Square” button. Click on it.
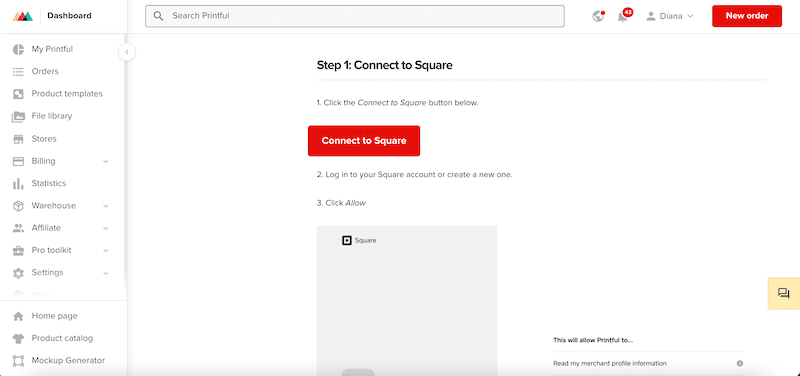
You’ll need to login to your Square account again and grant Printful the permissions listed for communicating with your Square store.
Confirm the connection and you’ll be all set!
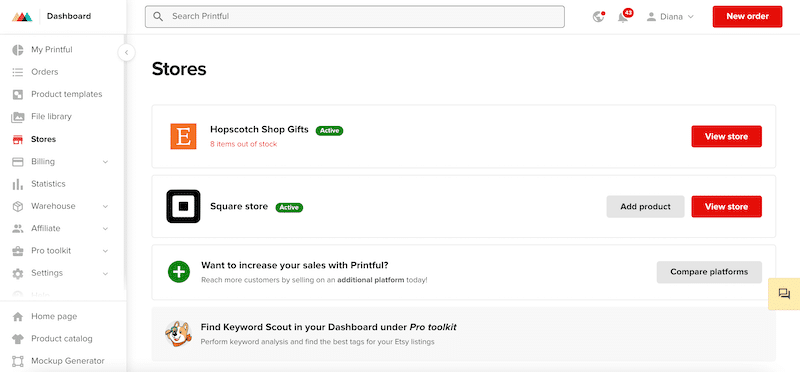
Within your Printful account, you have a “Stores” tab. This lists all of the stores you have with Printful regardless of the platform they are integrated with. For example, you can see that I have an Etsy store with Printful as well.

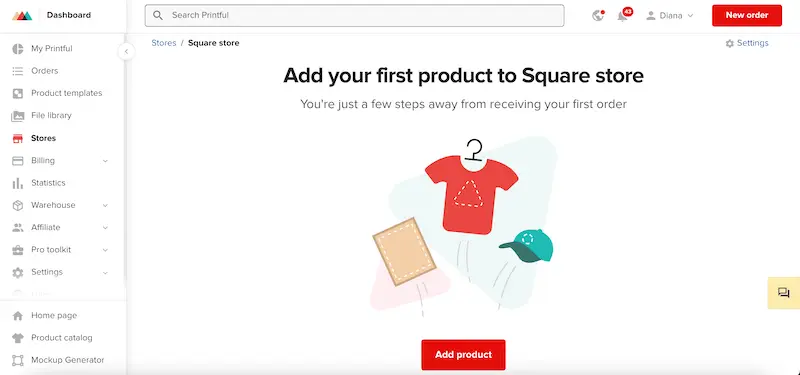
7. Add a product to your Square store
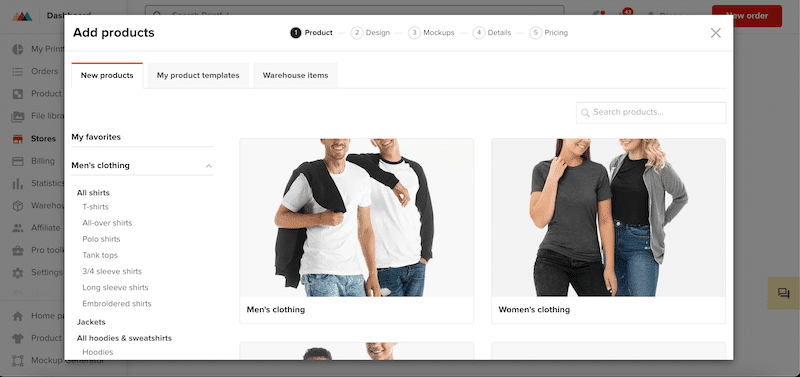
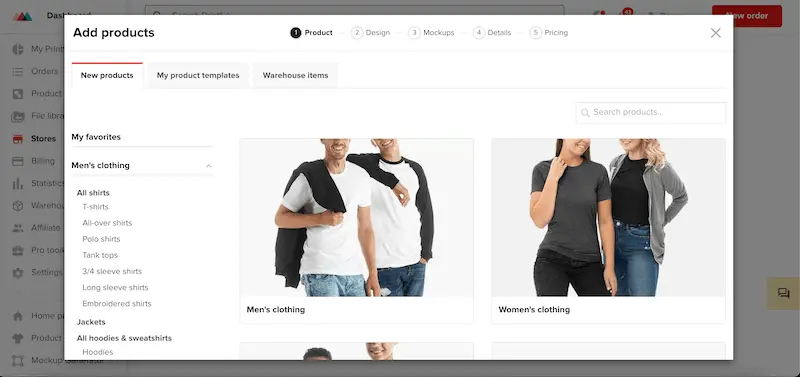
Now it’s time for the fun part! Let’s add your first Printful product to your Square store. To get started, click on the “Add Product” button.

Choose the product you want to offer. One of the huge perks of Printful is that they have a TON of great products to choose from.
Once you’ve decided on your product, add your design to it and adjust it until it looks the way you intend it to. Then, click “Proceed to Mockups.”

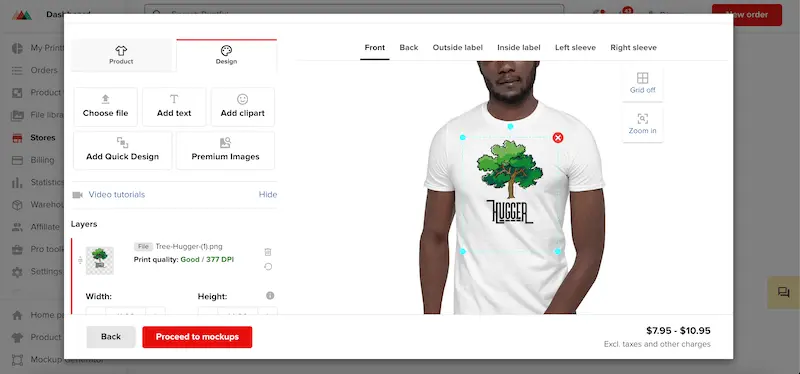
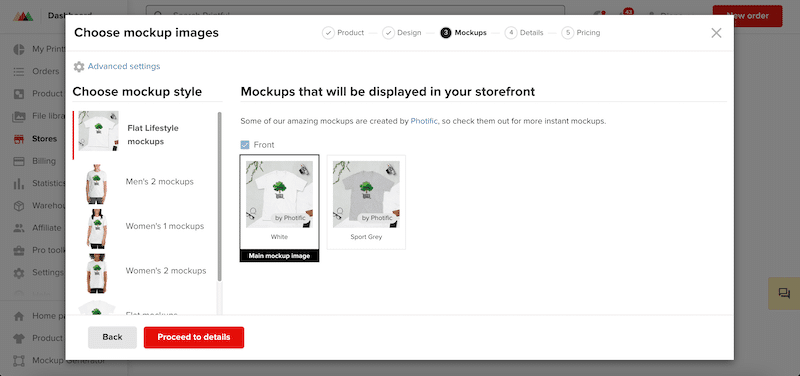
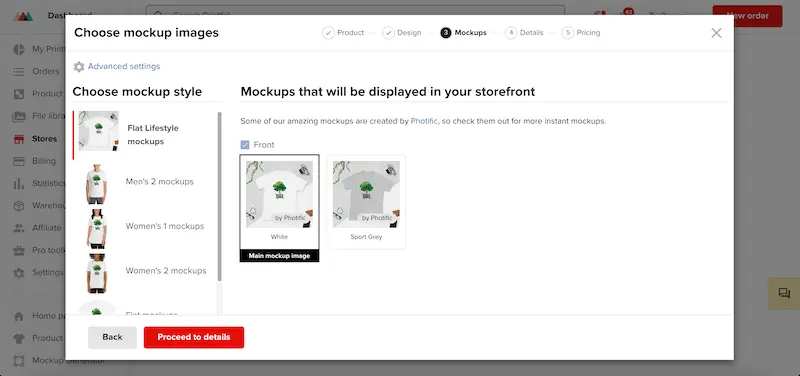
8. Choose the mockups you want to use
Another great perk of Printful is that they offer a lot of great mockups for you to use. Scroll through the options and choose the ones that resonate most with you and your store.
If you want additional mockups, head to Placeit. Some of my best selling products had featured mockups from Placeit. They are really high quality, easy to use, and literally offer you thousands of unique options to choose from.
You can check out Placeit here.
When you’re done, click the “Proceed to details” button.
9. Enter in your product details
On this page, you’ll want to enter in all of the details relating to your product. Remember, this is what will draw your customer in and ultimately get them to purchase, so have your sales cap on.


You’ll also want to think about SEO and the keywords you hope to rank for.
When you’re done, click the “Proceed to pricing” button.
10. Determine your product’s pricing
The last step to creating your Printful product is to determine the pricing. Printful makes it easy for you by listing the product price that you’ll need to pay to have your product produced. When you enter a retail price, Printful will tell you how much you’ll receive in profit.

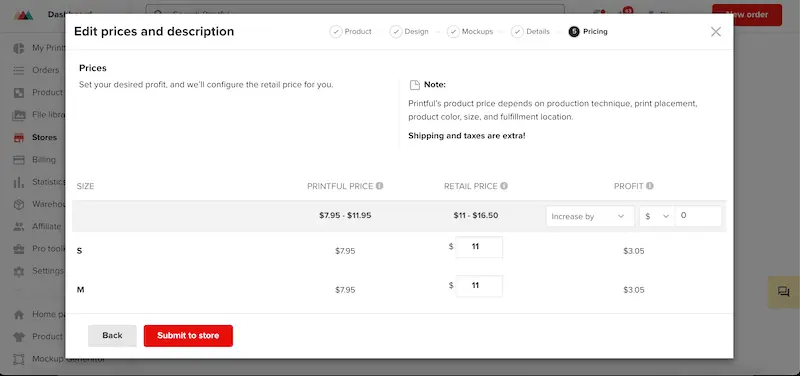
Hold on though. This isn’t the whole story.
Remember that Square will take a percentage and a fee for every sale you make. Look at your retail price and calculate what your Square fees will be. If you need to, raise your retail price to accommodate.
You also need to think about shipping. If you plan to charge your customers for shipping, you don’t need to consider shipping costs as a threat to your profits. That said, you still need to know what your shipping costs will be.
If you plan to offer free shipping, you’ll want to consider this when you determine your prices so that you don’t eat away at all of your profit.
Here are Printful’s latest shipping prices for you to reference.
I’ve seen sellers LOSE money on a sale because they didn’t consider the costs of fees and shipping. Don’t let that be you!
Grab a calculator and KNOW YOUR NUMBERS!
When you’re done crunching your numbers, click the “Submit to store” button.
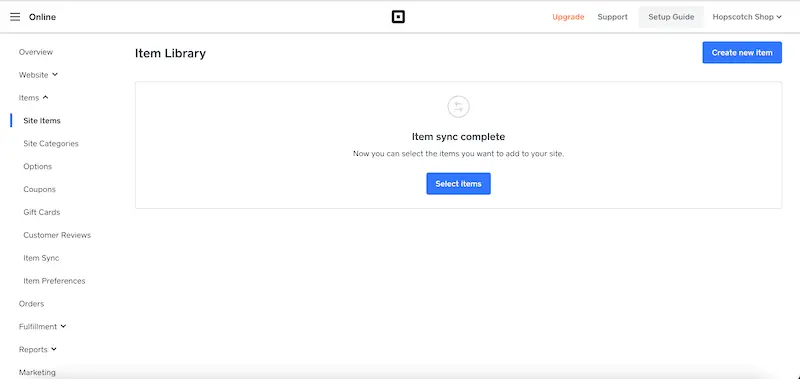
11. Navigate back to your Square store and click on Items
Now that we’ve created a Printful product, we need to make sure that it shows up on your Square store.
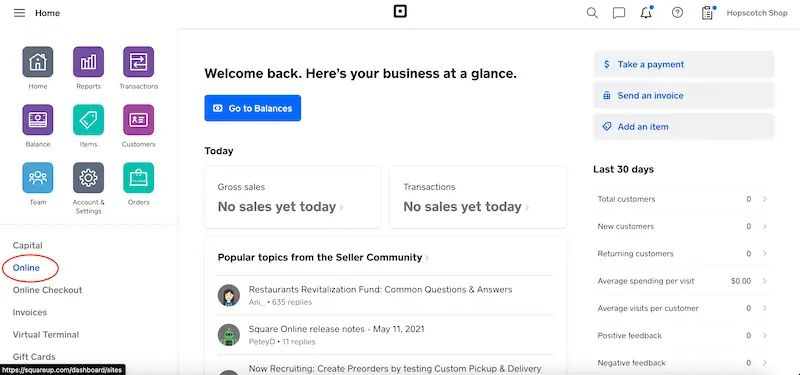
If you find yourself in the general Square dashboard, click on “Online” to get back to your online store settings.

Next, click on the “Items” button in your left hand side menu bar and then click on “Site Items.”
Lastly, click on the “Select Items” button.

12. Choose the Printful product you just created
You’ll be navigated to a page where you’ll see the Printful product you just created. Make sure that it’s checked and then click “Done.”
This will add your Printful product to your Square store.
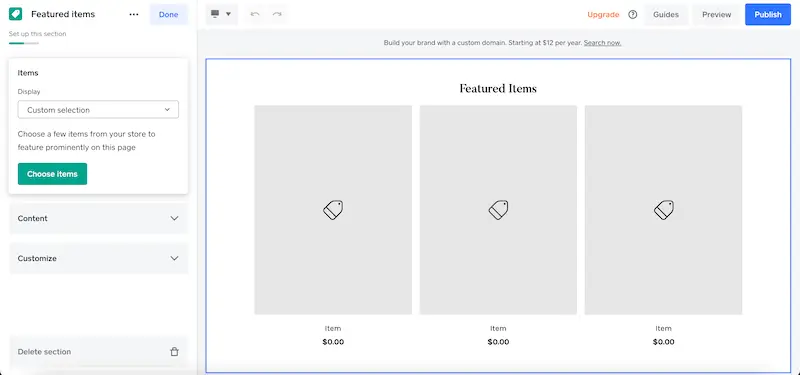
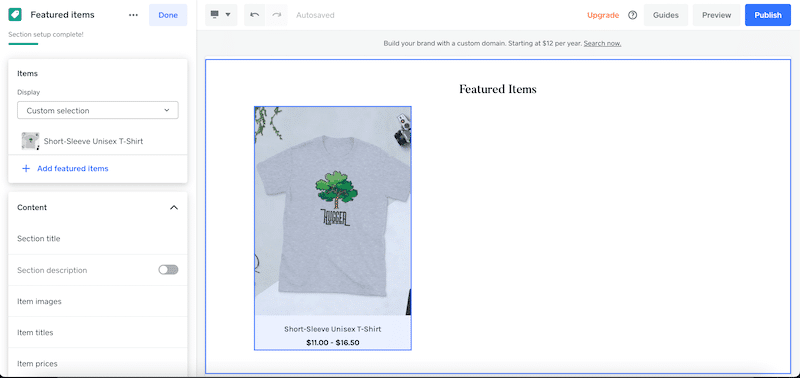
13. Edit your site design to include your new product
Even though your Printful product is now synced with your Square store, it won’t show up unless you edit your site design to feature it.
Click on the “Website” tab and click the “Edit Site” button.
Use the “Items” site block to choose your product and decide how you would like to feature it.

Make sure to hit the “Publish” button to make your site live and/or solidify the changes you just made.
14. Make sure that everything is set up on the Square side
We’ve covered everything you need to know about the Square and Printful integration and how to add products.
That said, there is still work you need to do on the Square side to make sure that you can start receiving orders. For example, you need to make sure that you have a bank account connected, the site design at a “good enough” place, and Square’s specific shipping settings changed to match Printful’s shipping costs.
As you would with any new platform you’re adopting, take some time to get to know it and make sure that everything is set up correctly. Feel free to do this with Printful as well!
15. Continue to add Printful products for your Square store and prepare for orders
Once you have everything set up, continue to build up your Square store with Printful products! This begs the question though — what actually happens when you get an order?
If you follow this process for adding products to your store, your Printful account will be synced with your Square account.
This means that, when you get an order for a Printful product on your Square store, it will automatically get fulfilled.
This is something I LOVE about Printful. Through their integrations, you don’t need to worry about manually inputting orders. As long as everything is set up correctly, your orders will be automatically imported into your Printful account and start the fulfillment process.
IF everything is set up correctly. It’s important to make sure that you are adding products correctly and maintaining the proper settings so that all of your products remain synced between your Printful account and Square store.
It might take some time and practice to get a handle on everything but, don’t worry, it will soon come naturally.
The Printful and Square integration is really an amazing development that opens up a lot of options for e-commerce sellers. I hope this guide has helped start you on your path to print on demand success!


Diana has been an artist for over 27 years and has training in drawing, painting, digital drawing and graphic design. Diana’s latest obsession is digitally drawing with Procreate and Procreate Dreams. Diana has experience selling her art across a number of platforms and loves helping other artists learn how to make money from their art as well.