Procreate gives you awesome ways to add text to your art, whether you want to use a typed font, or hand drawn lettering. But, what if you want that text to be outlined?
Well, you’re in luck!
In this tutorial, we’re going to cover everything you need to know about adding outlines to your text.
Use an Outline Brush
Did you know that there are specific outline brushes you can use with Procreate, and that I offer one to my readers for free when they sign up for my newsletter?!


I’m starting with this outlining tip because the box to sign up for my newsletter and get that awesome outline brush should be around this part of the post somewhere. Just scroll around a little bit if you don’t see it!
This outline brush was SO fun for me to create, and I love that I can share it with all of you.
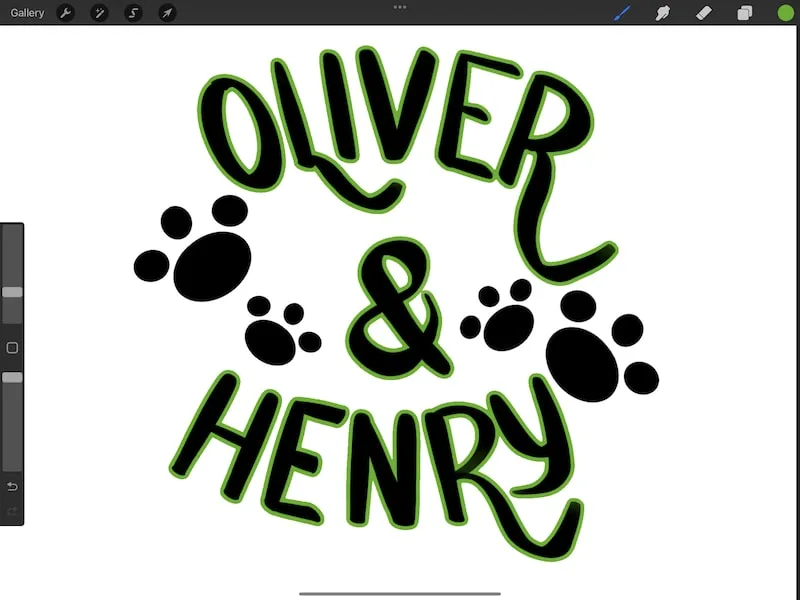
Once you have it installed, you’ll be able to draw letters that have a hollow center or, in other words, are outlined!
Using this outline brush is a great way to jump into the letter outline world in Procreate.
What if you already have your lettering completed and want to add a quick outline to it? Let’s talk about creating outlines with Procreate’s gaussian blur effect.
How to Outline Lettering Using Gaussian Blur
The steps we’re about to walk through are a REALLY neat way to outline your lettering in Procreate.
It may seem like a lot of steps to begin with but, once you get used to it, it can be a handy trick to have up your sleeve when you need to outline something.
Let’s dive in!
1. Finalize your letting
It’s best to have your lettering finished and finalized before going through this process. That way, you won’t have to redo anything.

2. Duplicate your lettering layer twice
If your layering is on multiple layers, you can repeat this process for each of your layers.
That can be tedious though, so the alternative is to merge down all of your layers into one layer. There are downsides to merging your layers that primarily revolve around having all of your work one one layer, so think through this before proceeding with merging your layers. I have a post on merging down layers in Procreate that can be helpful if you want to learn more!
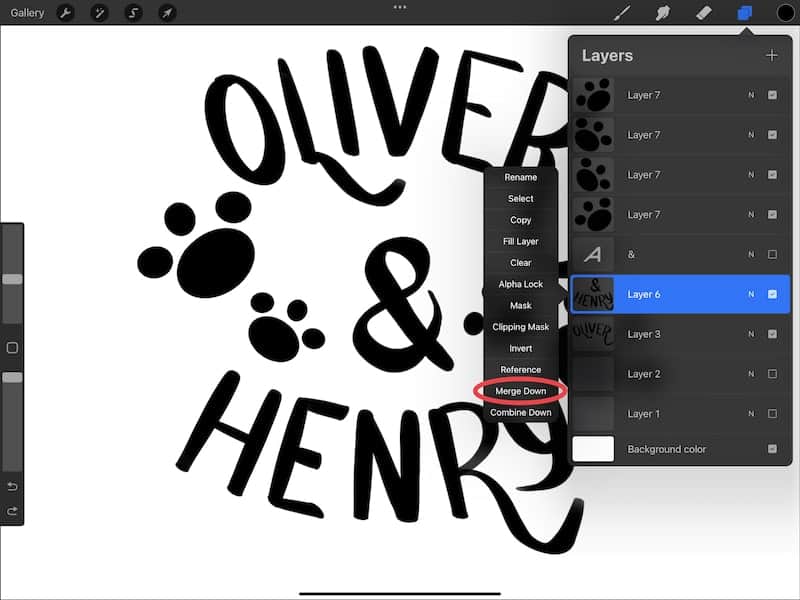

When you’re ready, duplicate your lettering layer TWICE. It’s really important that you have a total of 3 lettering layers.
To do this, swipe left on your lettering layer and you’ll see a Duplicate button appear.
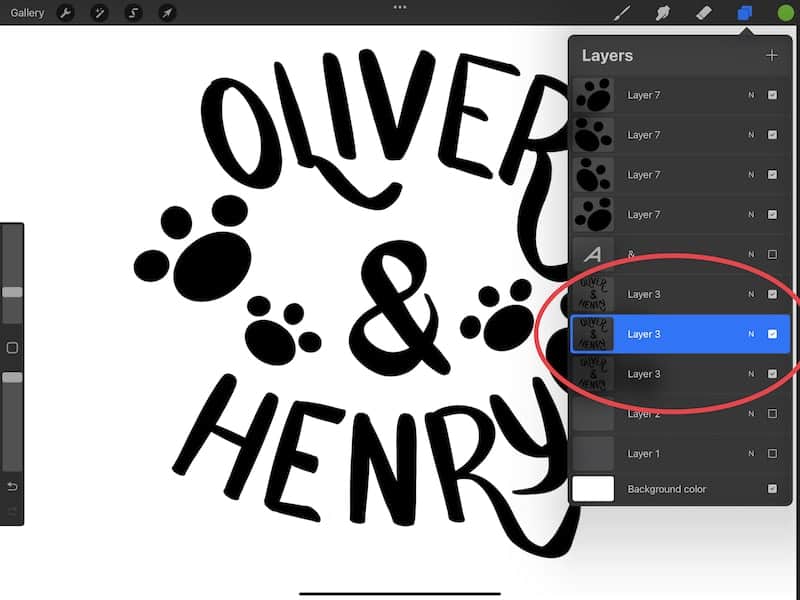

When you have your 3 lettering layers, keep the middle one highlighted and selected.
3. Apply gaussian blur to the middle lettering layer
Once you’ve duplicated your lettering layer, look at your layers panel and make sure that the middle lettering layer is selected.
There should be three lettering layers now that you’ve duplicated your original one. Make sure the layer in the middle is highlighted and selected.
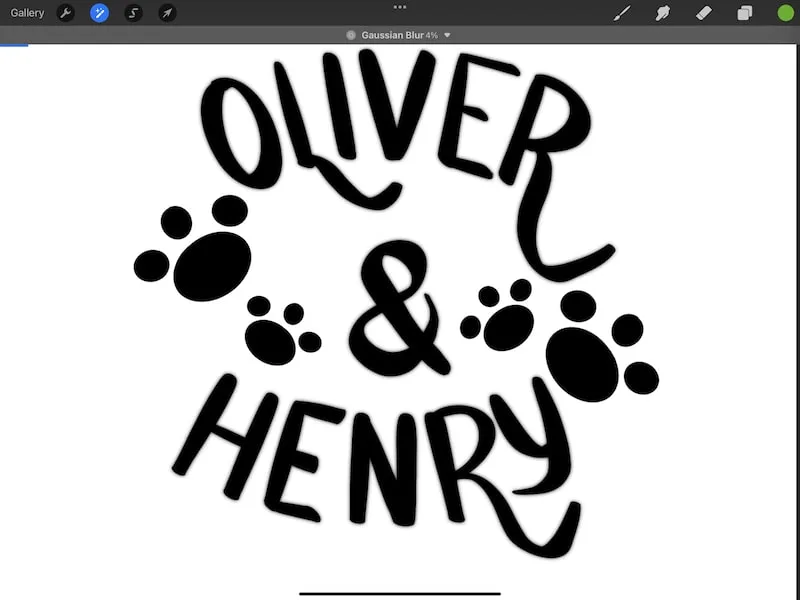
Next, open your adjustments menu and tap on Gaussian Blur.


Alright, so this can be the trickiest part. You want to apply a little bit of gaussian blur, but not too much. Essentially, you want to see that your lettering has a slight fuzziness to it.
As you can see in the picture below, I’m only at 4% gaussian blur, so when I say go light, I mean it.

4. Use the Automatic Selection tool to select your lettering
Once your gaussian blur has been applied, keep that middle layer selected. Then, tap on the selection tool and choose Automatic.


Ok, I said that applying the gaussian blur can be tricky. Well, this can be tricky too. It can just take some trial and error. That’s what Procreate’s undo feature is for!
Using the automatic selection setting, tap on your lettering. It’s REALLY important that you tap on your lettering, and NOT a different part of your canvas.
Once you’ve activated your automatic selection on your lettering, slide your Apple Pencil to the right to increase the selection threshold. Ideally, you want to see your letters outlined by your selection.

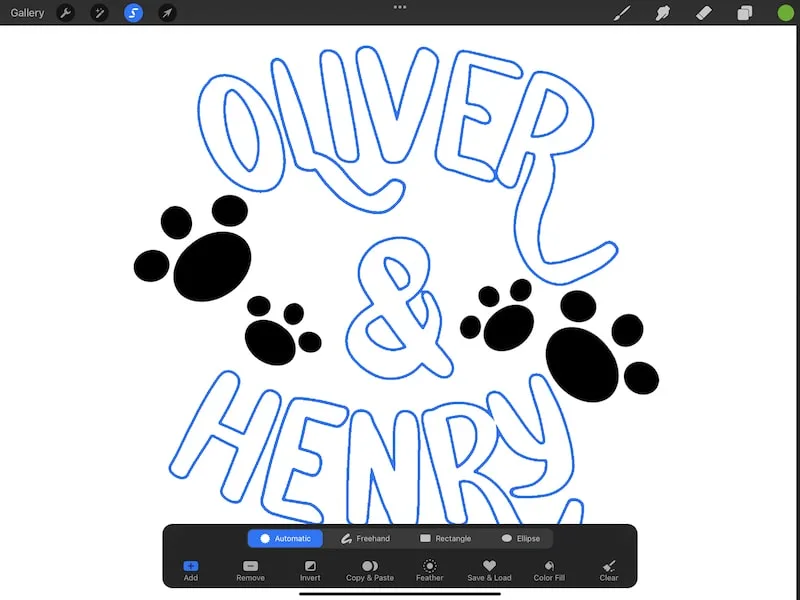
Technically, because you’re using the middle layer, you are selecting the middle layer that you applied the blur to. Given that you applied the blur to it, it sticks out behind the lettering layer on top of it. Hence, an outline! Fancy, right?
So, you want your selection threshold to look like an outline. If you slide your selection threshold too far, it will cover your whole screen. If this happens, back it up until you get an outline again.
You may or may not capture all of your lettering on the first go. If you don’t, that’s ok. Simply get your ideal threshold on the lettering that’s selected. Then, tap on the remaining parts of your lettering. This should apply your selection to those areas as well.
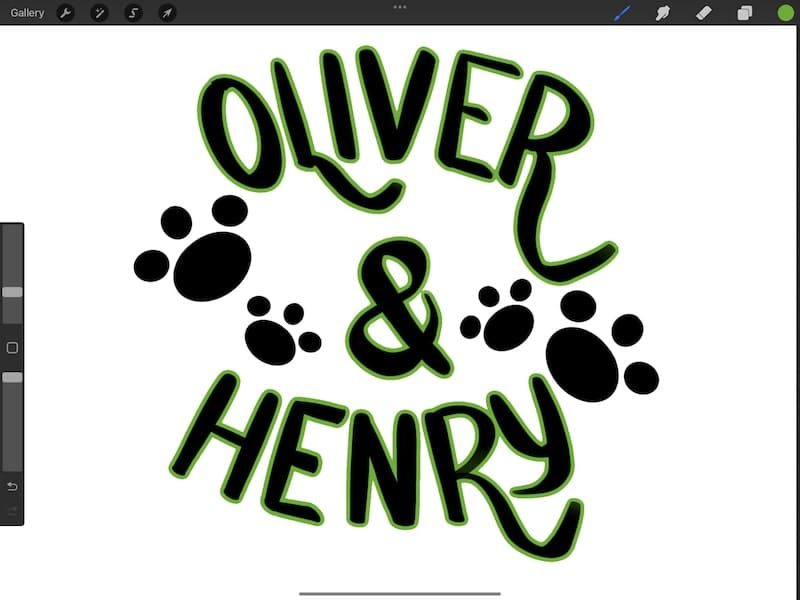
5. Color in your outline
Like I said, we essentially just created a middle layer that sticks out a bit beyond the layer above it, creating an outline.
So, in order to finish our outline, all we have to do is color in the middle layer.
With your selection still applied, choose a brush. The airbrush is a good one for making sweeping areas of color.
Choose the color you want your outline to be on the color wheel, and draw over your middle layer. When you’re done, your middle layer will be the new color you chose. But, because it’s hiding behind the layer above it, it will look like an outline!
We’ve covered outline brushes, and how to outline your existing lettering. What if you want to outline typed text?
How to Outline Typed Text in Procreate
If you’re using Procreate’s text feature, there’s an easy way to turn it into outlined text that you can leave hollow, or fill with color.
Let’s walk through it!
1. Add text to your canvas
I have a full guide of adding text in Procreate that you can read if you want an in-depth guide.
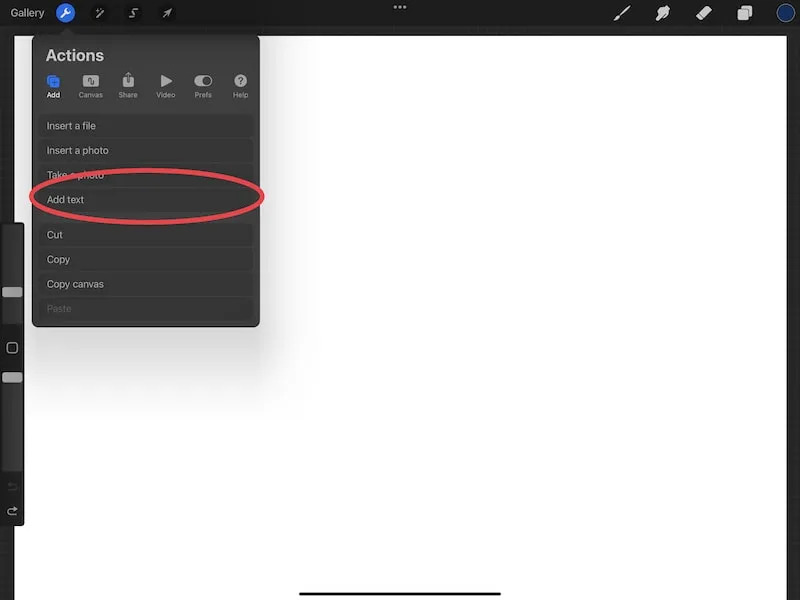
For now, simply go to your Actions menu and the Add submenu. Choose the Add text button.

2. Write your text
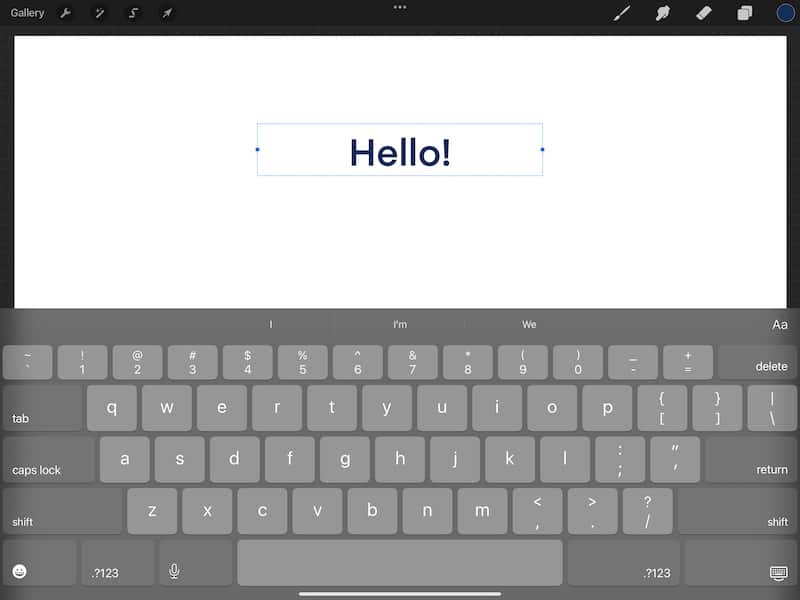
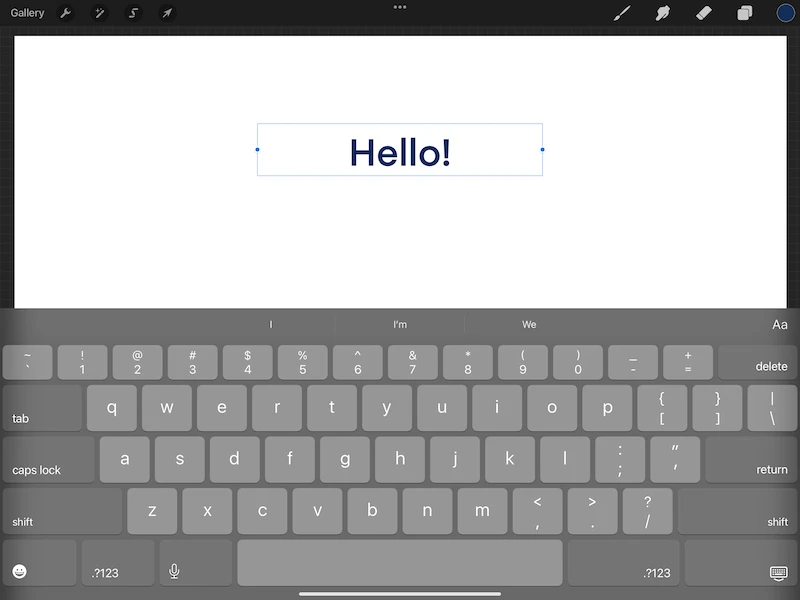
Once you add your text, it’s time to customize it. Go ahead and type the letters, words, or phrases you need.
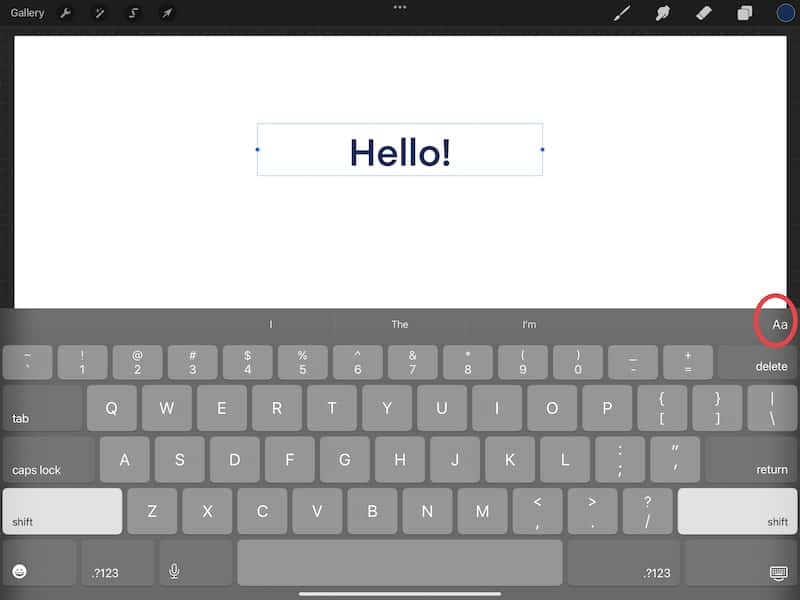
3. Tap on the text customization button
Once your text is finished, tap on the Aa button on the far right. This will open a panel of options for customizing your text.

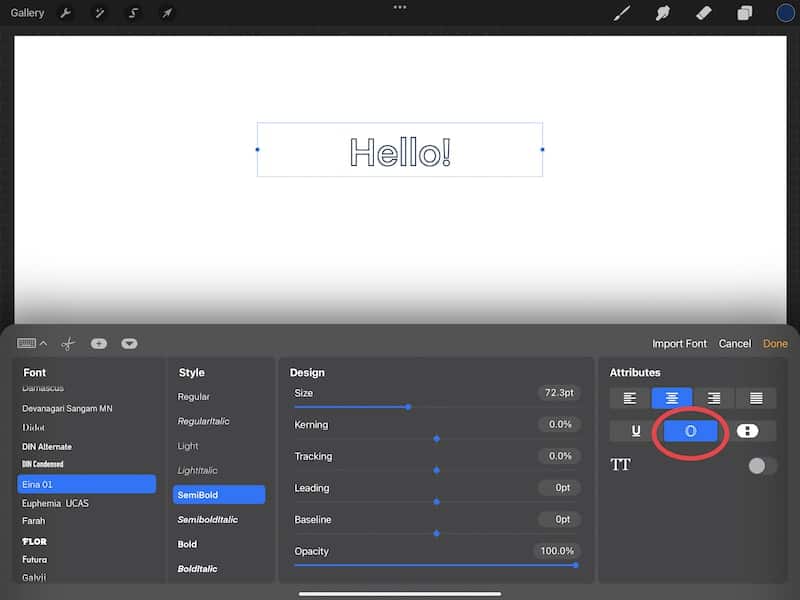
4. Choose the outline option
Once you open the text customization panel, you’ll see a lot of fun options to play around with. Font, spacing, style, positioning, etc. For now, let’s focus on the outline.
Tap on the hollowed out O on the right side of your screen.

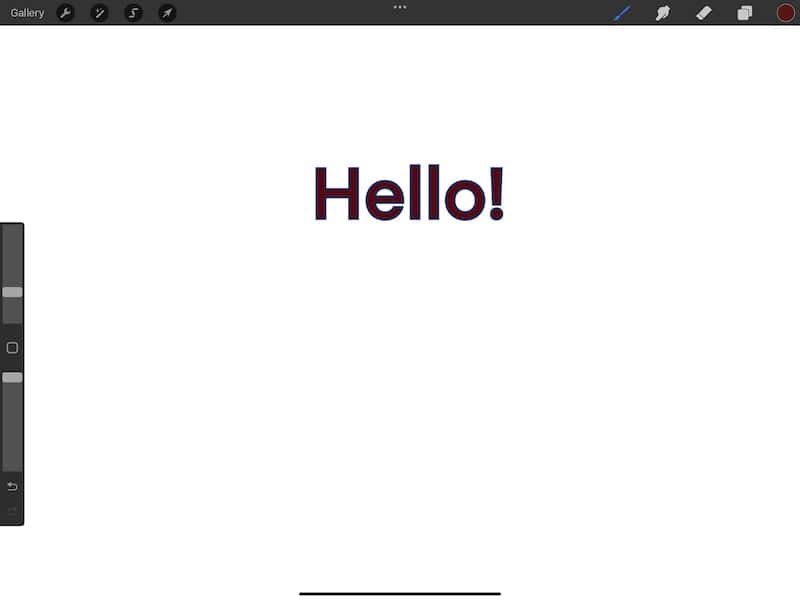
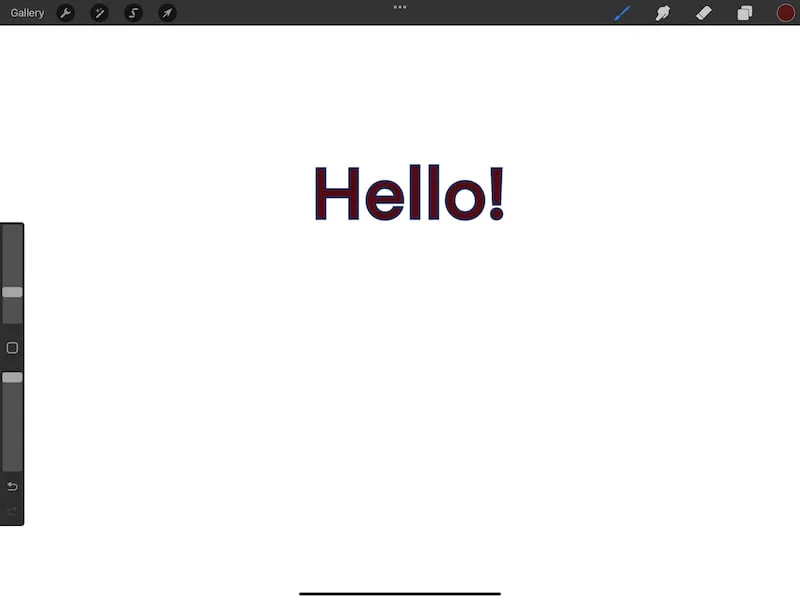
5. Fill your text with color
The neat thing about Procreate’s outline text feature is that it works with ColorDrop.
Simply choose a color in your color wheel and drag it into the outline of your letters. Just make sure that you’ve exited out of the text settings prior to dropping color into your letters. If you don’t, tapping on colors in your color wheel will change the color of your entire text.
I have a full guide on using Procreate’s ColorDrop if you want to learn more about using this awesome feature!
There you have it! Whether you want to outline your own lettering, or typed text, I hope this post has helped you have fun outlining your work!


Diana has been an artist for over 27 years and has training in drawing, painting, digital drawing and graphic design. Diana’s latest obsession is digitally drawing with Procreate and Procreate Dreams. Diana has experience selling her art across a number of platforms and loves helping other artists learn how to make money from their art as well.