Have you ever drawn something elaborate in Procreate just to realize that it’s all the wrong color? Yeah, me too. Many times. Luckily, Procreate makes it easy to change the color of a layer, whether you want to change the color of an entire layer, or just the elements within it.
To change the color of a layer in Procreate, make sure your desired layer is selected. Drag your color onto your canvas and let go in order to fill your layer with color. To color elements within your layer, either use the Color Fill option within the Selection Tool or use the Alpha Lock feature.
There are multiple ways to change the colors of your layers in Procreate, which we’ll dive into.
1. Use Color Drop to Change the Color of Your Entire Layer or Layer Elements
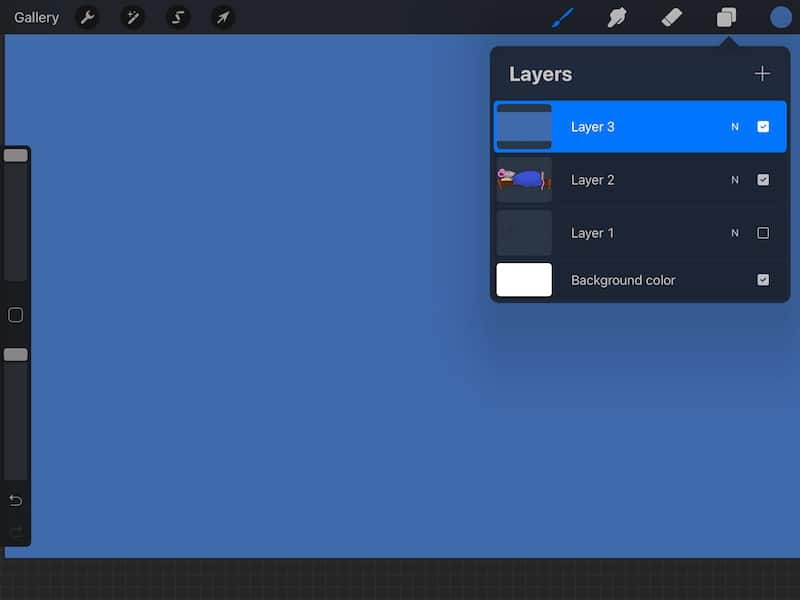
If you want to completely fill your entire Procreate layer with color, drag your color into your canvas, but not into a specific element. This will flood your layer with color. If you want to change the color of specific elements, drag your color into your desired element.
There aren’t a lot of times when you would want to flood your entire layer with color. That said, if you ever do, all you need to do is drag your color into your canvas.
Just make sure that you have the correct layer selected and that you pick an empty spot of your canvas that doesn’t have an element in it.
This can be useful if you want to use a separate layer as your background instead of the designated background layer. You may want to do this if you plan to draw on your background.
When doing this, just make sure that you move your new “background layer” you’ve just created to the bottom of your layers list below all of your other layers, or lower the layer’s opacity. If you don’t, this big splotch of color will cover all of your elements.

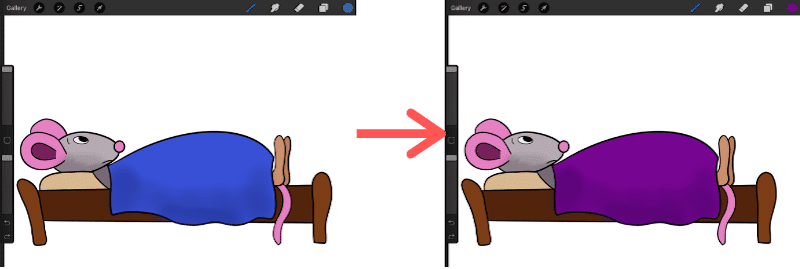
Now, let’s say that you want to change the color of specific elements on your canvas. Firstly, make sure you have the right layer selected.
Next, drag your color into the element you want to change the color of.

Important note: your element needs to be closed. This means that you can’t have any gaps in your lines. If you try to drag color into one of your elements and it fills your entire canvas instead, this means you have a gap in your lines somewhere.

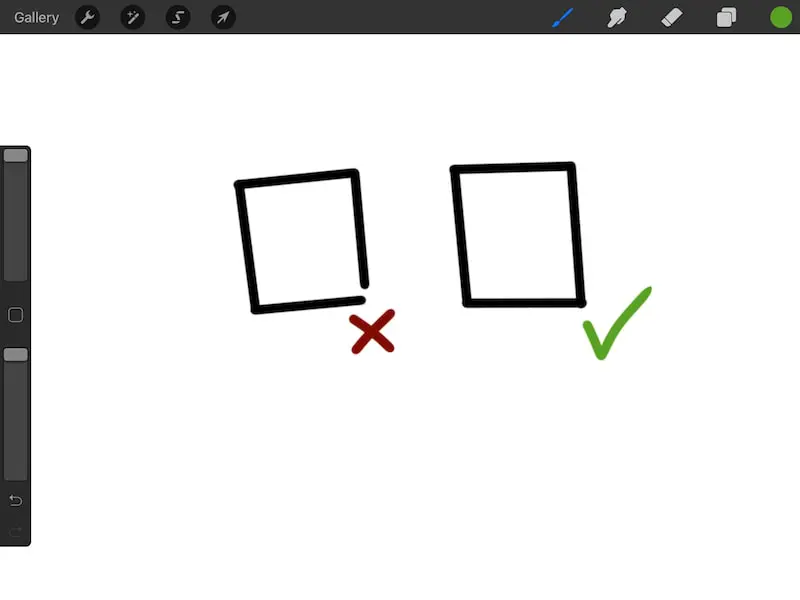
Zoom in on your element and scan through your lines until you find the gap. Connect your lines and try filling your element again. This should fix the problem. If it doesn’t, you have another gap hiding somewhere.

Consider Using a Reference Layer
Procreate reference layers let you use ColorDrop without impacting your linework layer. This is a great way to test out colors.
I have an entire guide on using Procreate reference layers that I suggest checking out if you want a deep dive on them. Reference layers are super helpful, so I definitely suggest it!
For the purposes of changing the color of your Procreate layers, reference layers can help you test out colors without impacting your original layer.
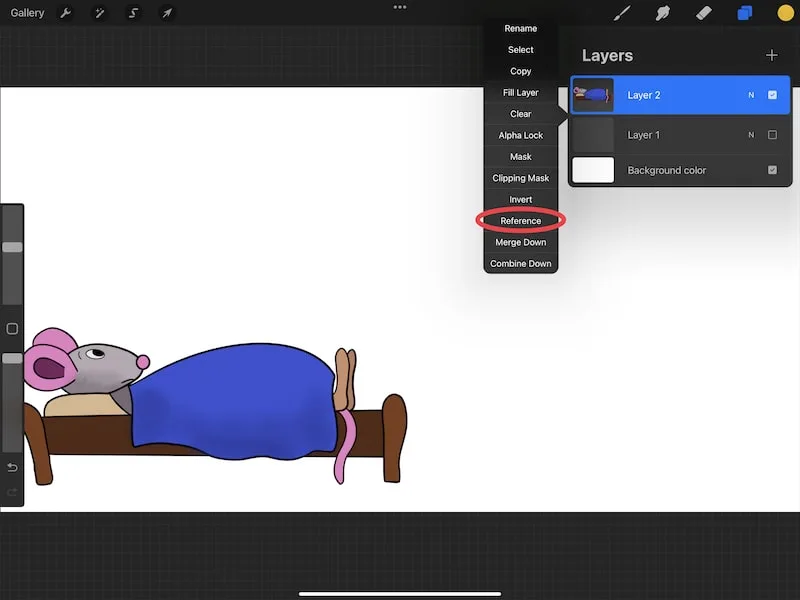
To do this, tap on your layer within your layer’s panel to open its settings. Next, tap on the Reference button.

Add a new layer on top of your reference layer by tapping on the plus button in your layers panel.
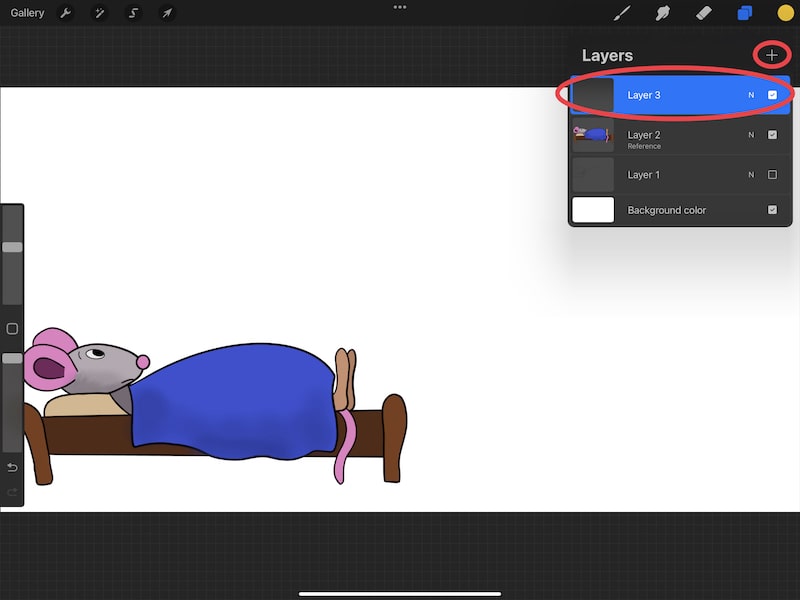

Keeping this layer selected, use ColorDrop to drag and drop your colors into your canvas. As you’ll see, you new colors will abide by your linework on your reference layer, but they will be separated on a separate layer.


How to Change the Color of Your Procreate Lines
You can use Procreate’s Color Drop feature to change the color of your lines. Zoom in on your line so that you can precisely drop your color on your line. This will change the color of your lines to the color you have selected within the color wheel.
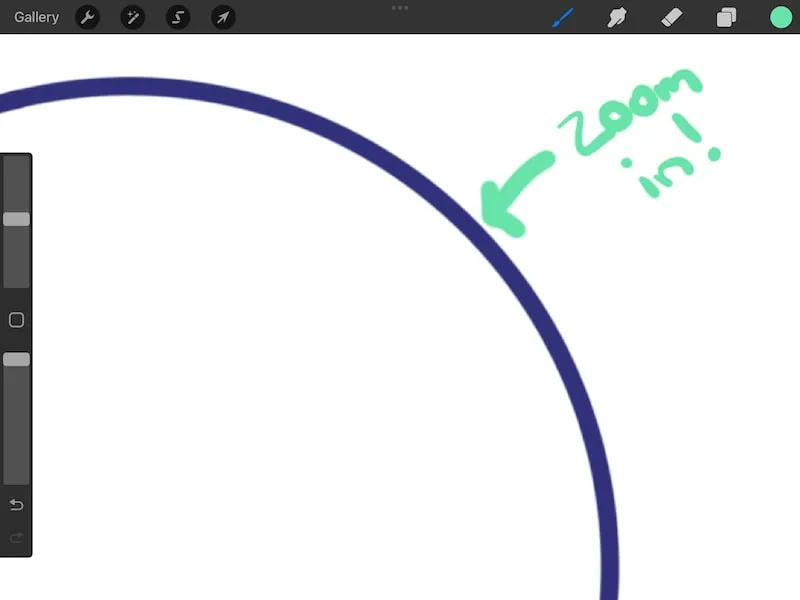
For example, let’s say you have a circle. If you want to fill your circle with color, drag your color into the middle of your circle. If you just want to change the color of the outline of your circle, drop your color along your outlined line.
When you’re changing the colors of your lines, it can be tricky to drop your colors directly on your lines, especially if your lines are thin. This is where zooming in will work in your favor! Zoom in as much as needed so that you can accurately drop your colors on your lines.

2. Use the Quick Menu to Access the Recolor Tool
The easiest way to use the Recolor tool is to add it to your Quick Menu. Then, use Recolor to tap on any elements of your art that you want to change the color of.
If you remember older versions of Procreate, the Recolor tool used to live in the Adjustments menu (the one that has the magic wand as an icon).
Recolor is no longer in the Adjustments menu, but there’s still a way to access it.
For me, my preferred way to access the Recolor tool is in the Quick Menu.
1. Activate your Quick Menu
If you know how to activate your Quick Menu, go ahead and activate it.
If you don’t, check out your Gesture Controls menu that you can find within the Actions menu (wrench icon).
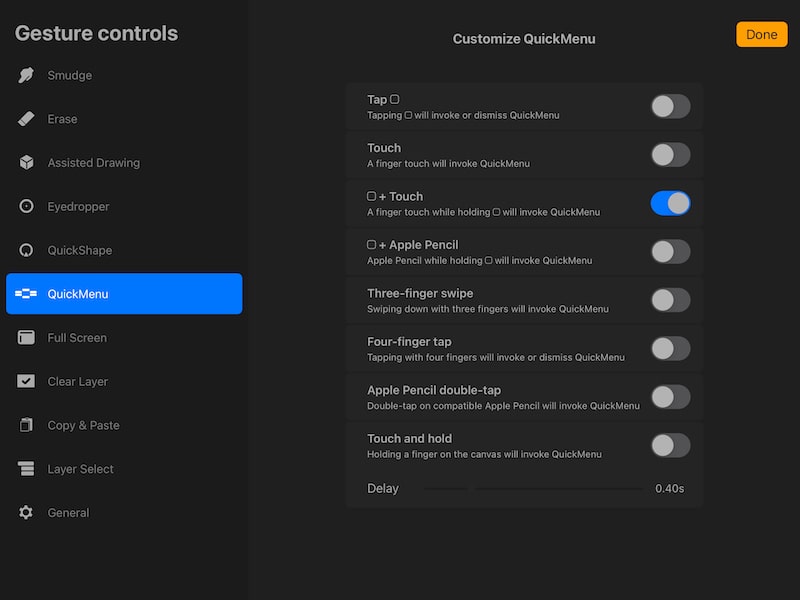

Pick a gesture that you want to use to activate your Quick Menu. I have a full guide on using Procreate’s Quick Menu that gives a deeper dive into this awesome tool.
2. Assign “Recolor” as one of the tools in your Quick Menu
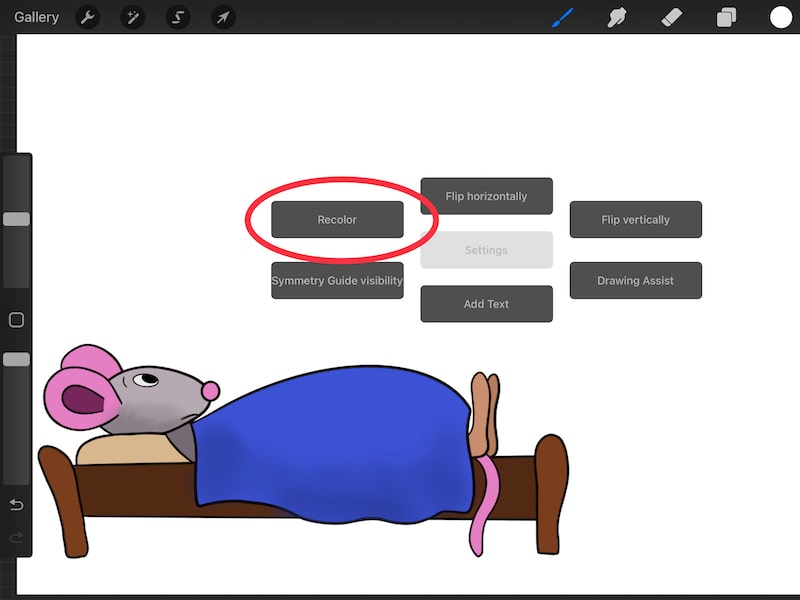
Activate your Quick Menu and long hold on one of the spots within your Quick Menu to open all of the options you can assign to it. Choose the “Recolor” option.

This will assign the Recolor tool to your Quick Menu. Whenever you want to use it, simply activate your Quick Menu.

If you like using Recolor, it’s worth it to add it to your Quick Menu so that you can access it easily.
3. With Recolor activated, tap on elements you want to change the color of
Make sure you have your desired color selected in your color wheel. When, with the recolor tool activate, tap on elements you want to change the color of.

Now, let’s talk about what the Color Fill tool can do.
3. Use the Color Fill Tool to Change the Color of Elements on Your Procreate Layer
To use the Color Fill tool, the first thing you need to do is make sure you have the correct layer and color selected. Next, click on the Selection tool in the top menu bar and choose the Color Fill tool on the bottom right. Lastly, tap on any elements to color them with your desired color.
I LOVE the Color Fill tool, but it does take some getting used to. Here’s a step-by-step guide on how to use it:
1. Open your layers panel and choose your desired layer.

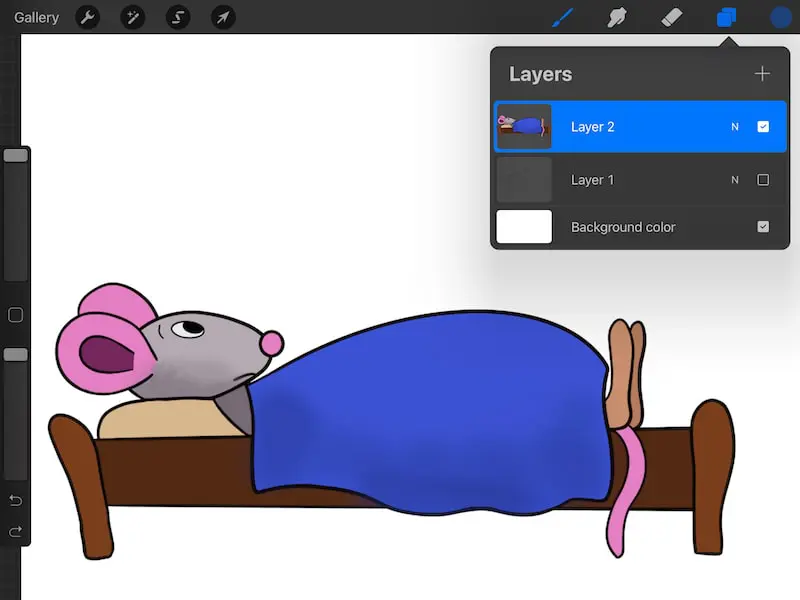
Your “desired” layer is the one that has the elements you want to color on it. Your elements might be on multiple layers. If so, repeat this process for each layer.
My experience is that the Color Fill tool doesn’t work well with multiple layers at once. It will acknowledge the first layer that you selected, but not the others. So, my default is to use the Color Fill tool with one layer at a time.
It’s important that you choose your desired layer before you move on to the next steps.
If you open the layers panel once you’ve activated the Color Fill tool, it will kick you out of the Color Fill tool.
Of course, it’s not a huge deal to open the Color Fill tool again, but it can get annoying if it happens too often, so just get in the practice of checking that you have the correct layer selected before moving on.
2. Open the color panel and choose the color you want to use
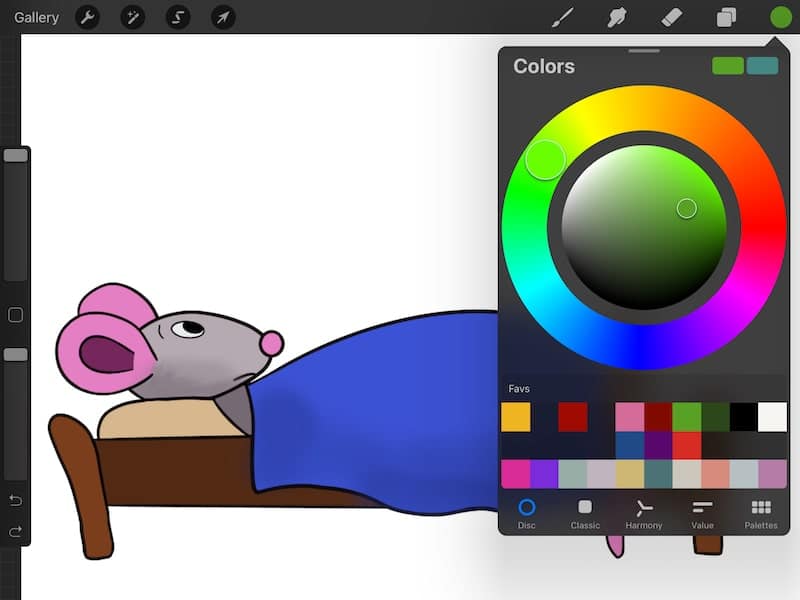

Once you have your layer selected, it’s time to choose the color you want to use.
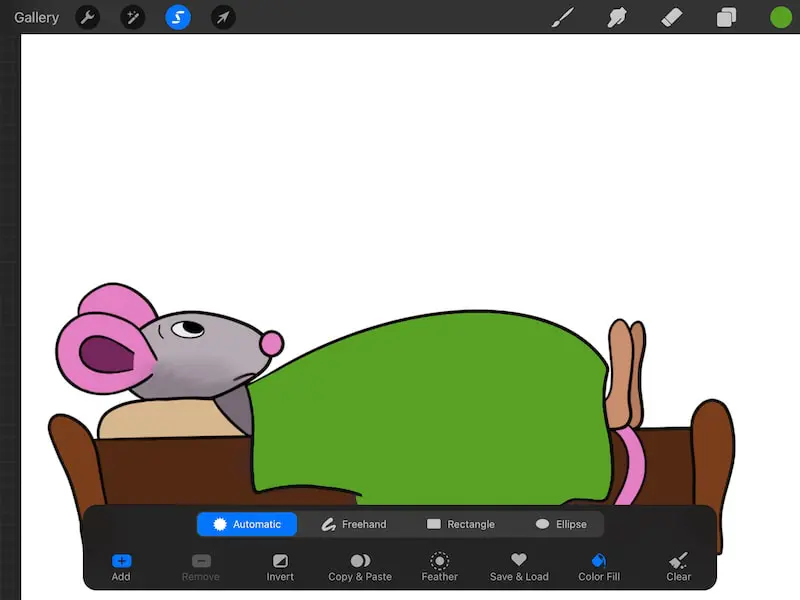
3. Open the Selection tool
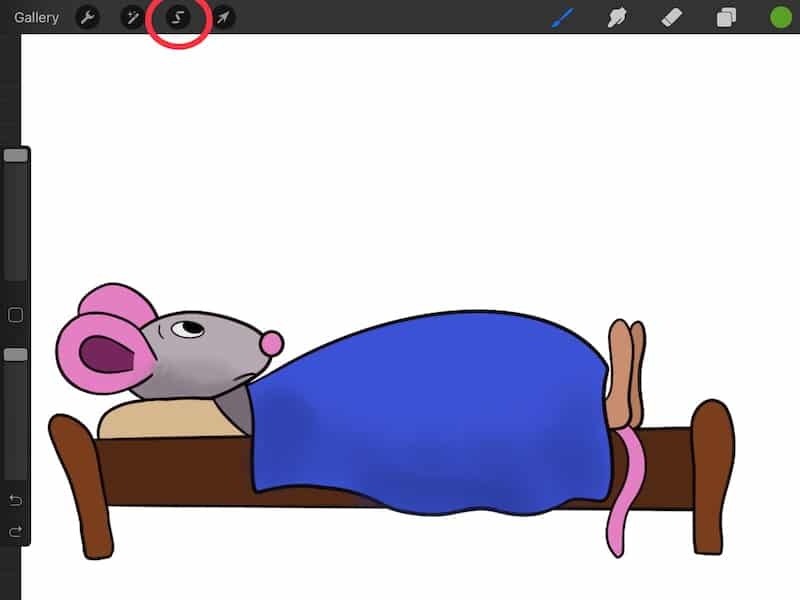
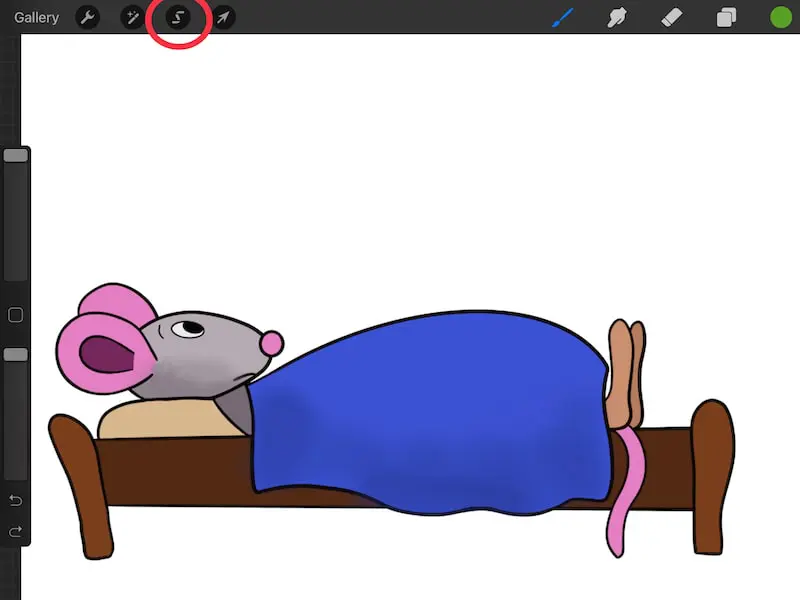
The Selection tool is in the top menu bar and has an icon that looks like the letter “S”
4. Choose the Color Fill option with the Automatic setting selected

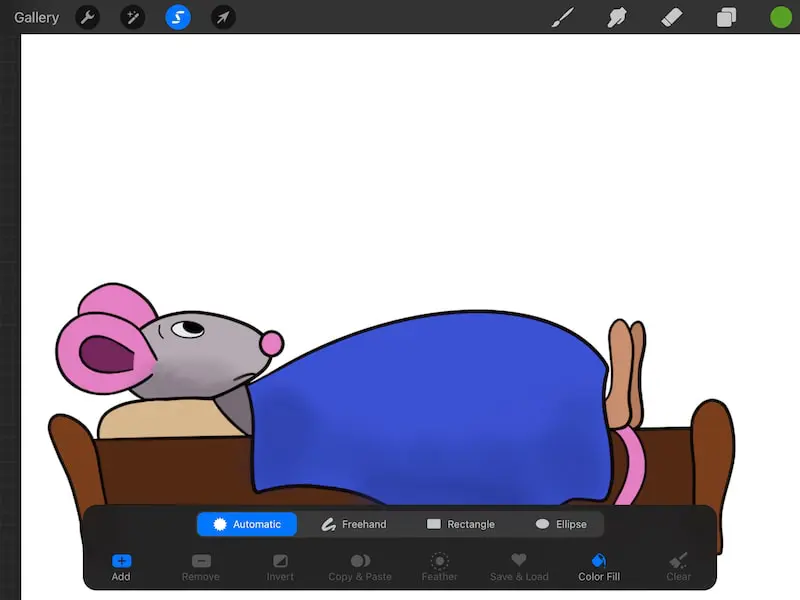
Once you’ve opened the Selection tool, you’ll need to click on the Color Fill option within the bottom control panel that appears. The Color Fill tool is on the bottom right and has a paint bucket icon.
5. Click on elements you want to change the color of

Here is where things get fun and interesting.
It’s important to remember that the Color Fill tool is layer specific. It will respond based on the layer you have selected. This means that if one of your elements isn’t on that layer, it won’t change the color of it.
To use the Color Fill tool, all you need to do is tap on your elements. This will apply your new color to them.
As you recolor your elements, you can tap on your outlines to solely recolor your outlines.
The Color Fill tool works similarly to the color drop option in this way.
But, keep in mind that it’s LAYER SPECIFIC! Did I say that loud enough? If you tap on something that isn’t on your selected layer, it will likely fill your whole canvas with color, using any elements that ARE on your selected layer as a barrier.
This can get tricky to explain, so the best thing to do is experiment with it. See what happens when you click on various elements and add various colors to your work.
Lastly, let’s talk about one more way that you can change the color of your layer in Procreate. I personally think that this one is pretty fun.

4. Use Clipping Masks or Alpha Lock to Color Inside the Lines and Change the Color of Your Elements in Procreate
Clipping Masks and the Alpha Lock tool make it quick and easy to “color inside the lines” of any elements in your chosen Procreate layer. This means that you can quickly color in an element, either partially or fully, without going outside of the barrier of your elements.
I have a full guide on how to color inside with lines with Procreate. This will tell you everything you need to know about what the Clipping Masks and Alpha Lock tool can do, as well as how to color with the Selection tool.
For the purposes of this article, we’ll talk about what Clipping Masks and Alpha Lock can do in relation to recoloring your Procreate layers.
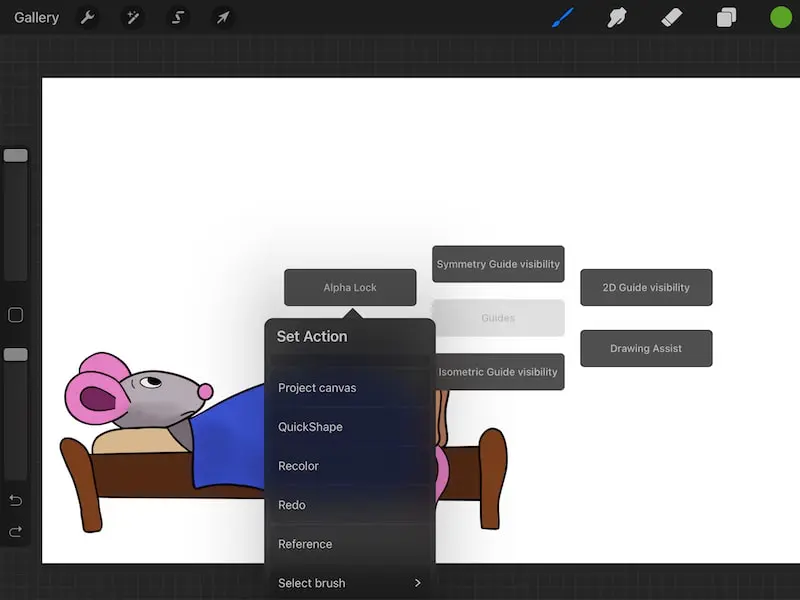
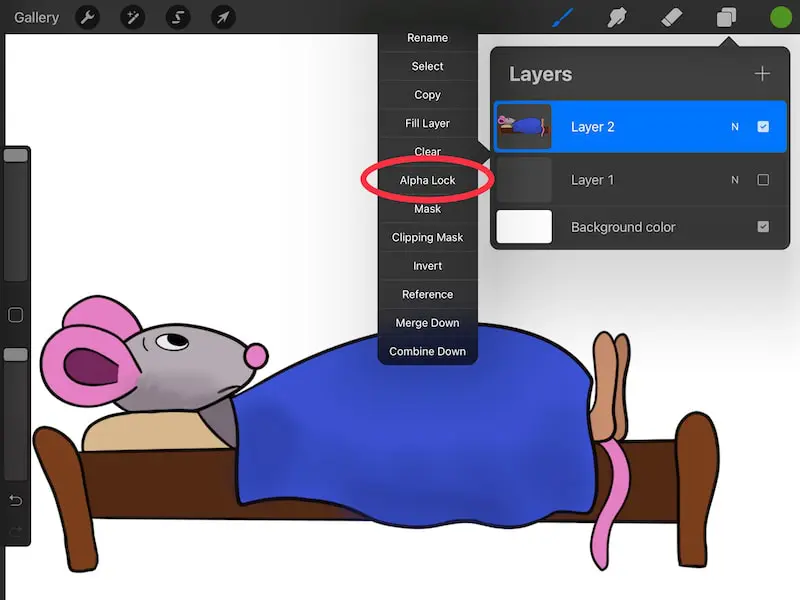
Basically, when you turn on Alpha Lock, or add a Clipping Mask layer, you can only color on top of paint that has already been laid down on that layer (turn on Alpha Lock by clicking on your layer and choosing “Alpha Lock” from the drop down menu that appears).

So, let’s say that I have my circle. When I turn on Alpha Lock, I can only color within the bounds of that circle, as long as the circle has paint in it. If the circle is hollow, I will only be able to color over the outline.
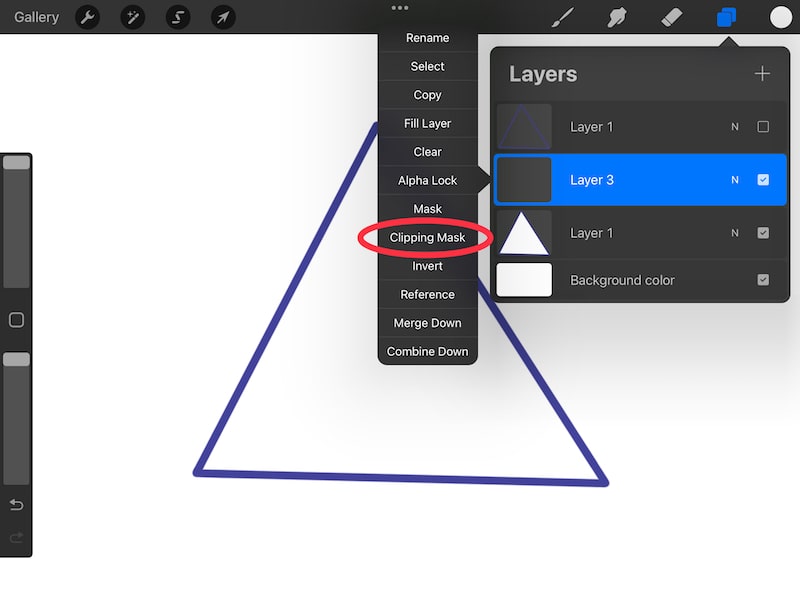
For Clipping Masks, create a new layer above the layer you want to color and choose the Clipping Mask option.

Rule of thumb: when Alpha Lock or Clipping Masks are enabled, you can only color over paint that already exists on your layer.
Again, read my guide on coloring with the Alpha Lock tool to learn more.
Using the Alpha Lock tool or Clipping Masks are GREAT options if you need to draw within your elements, or only partially recolor them.
All of the other options we’ve talked about will fully flood your elements with your new color.
Using Alpha Lock or Clipping Masks will let you control how much of your new color gets put onto your elements. This lets you be more precise and particular about how you recolor your elements, without fully washing over them with your new color.


Diana has been an artist for over 27 years and has training in drawing, painting, digital drawing and graphic design. Diana’s latest obsession is digitally drawing with Procreate and Procreate Dreams. Diana has experience selling her art across a number of platforms and loves helping other artists learn how to make money from their art as well.