Reference photos can be a big help when creating art. What’s an even bigger help is having quick access to those reference photos without having to open a bunch of new tabs, print anything out, or go through a world of hassle. Luckily, Procreate makes it easy to add reference photos to use for your art.
To add a reference photo in Procreate, open the Actions menu and tap on the Canvas menu. Toggle on the Reference tool. You can also add reference photos as layers. If you need multiple reference photos, my best suggestion is to use the split screen function with the Photos app.
There are a couple ways to add reference photos in Procreate depending on your needs and how many reference photos you want.
Let’s walk through them!
Enable Procreate’s Reference Feature
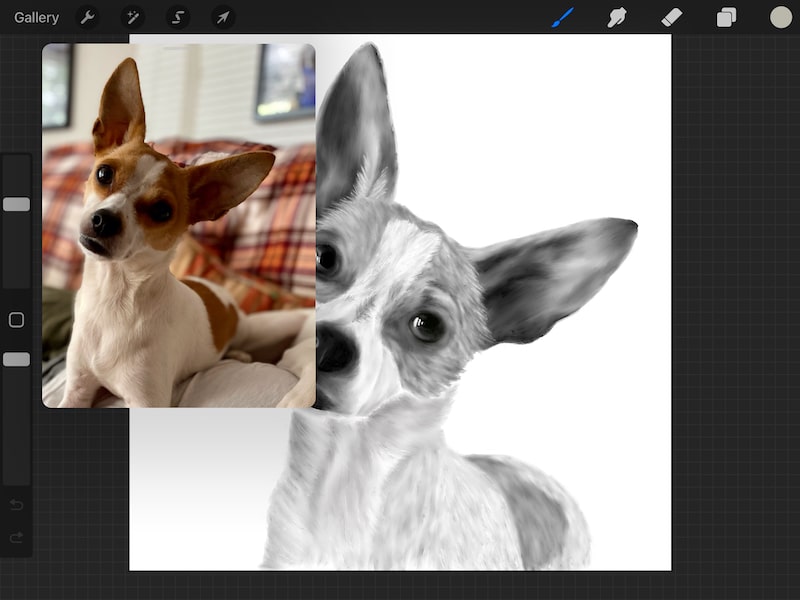
If you have one reference photo you want to use, Procreate’s reference feature works really well. This will give you a reference photo that floats on top of your canvas that you can move around and resize, as needed.
You can even zoom in on the picture if you need to see smaller details. Yes, it’s awesome!
Ok, here’s what you need to do.
1. Open the Actions menu
Tap on the wrench icon in your top Procreate toolbar to open the Actions menu.
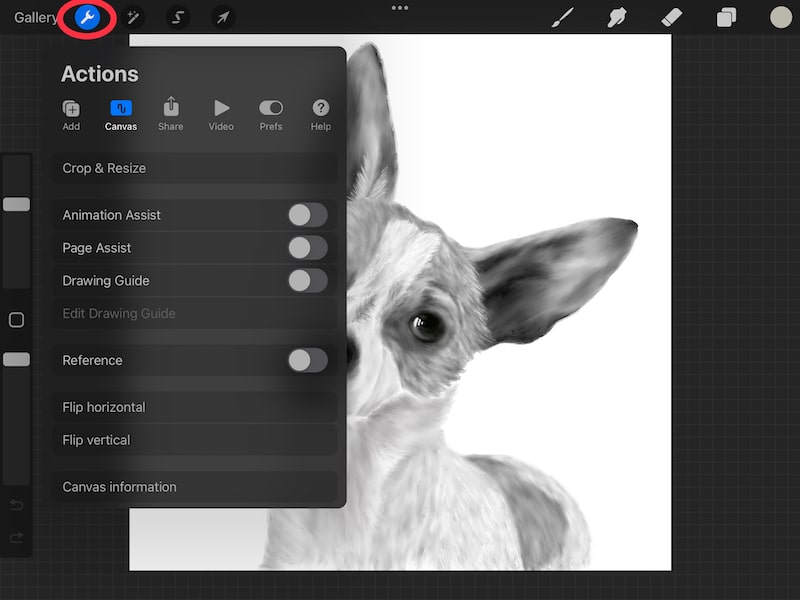

2. Open the Canvas menu
Within the Actions menu, tap on the Canvas menu.
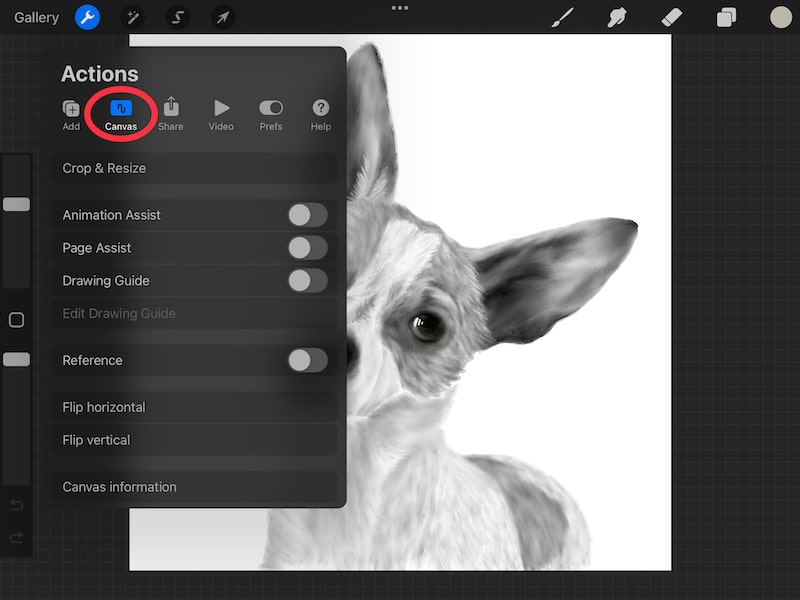

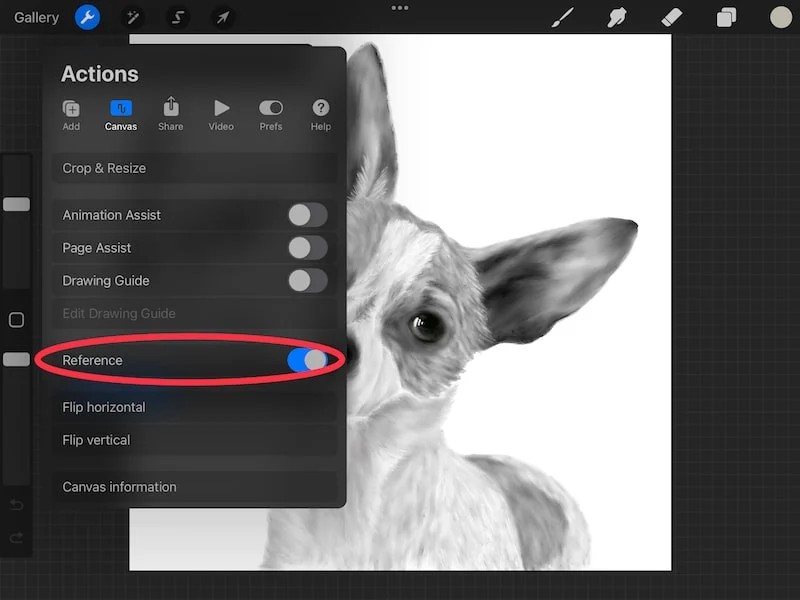
3. Toggle on the Reference feature
Within the Canvas menu, you’ll see a Reference toggle. Turn this on to activate the Reference feature

4. Import your reference photo
Once you’ve activated the Reference feature, it’s time to put your photo into it. To do this make sure you choose the Image option. The Canvas option will show your working canvas in your reference box. This is super cool, but not what we’re going for here.
Then, tap on the Import button at the top or middle of your Reference box.

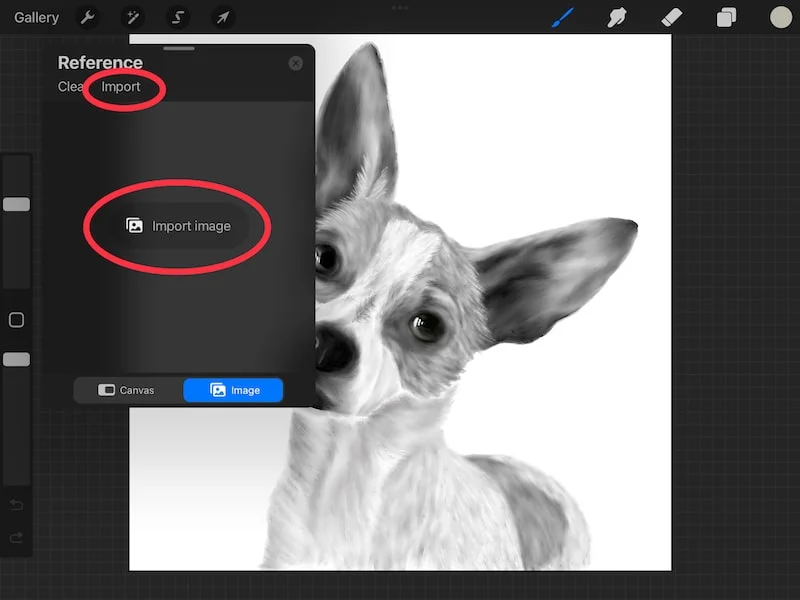
Find your photo and import it.
Once you’ve added your photo to your reference box, you’re ready to get started!

If needed, drag the corners of your reference box to resize it. You can also move it around your canvas so it doesn’t get in the way.
You can also zoom in and out on your photo. Simply use two fingers to pinch your photo to maneuver it. With two fingers, or just with one, you can also drag your photo around your reference window. This gives you freedom to see different angles and make the most of your photo.
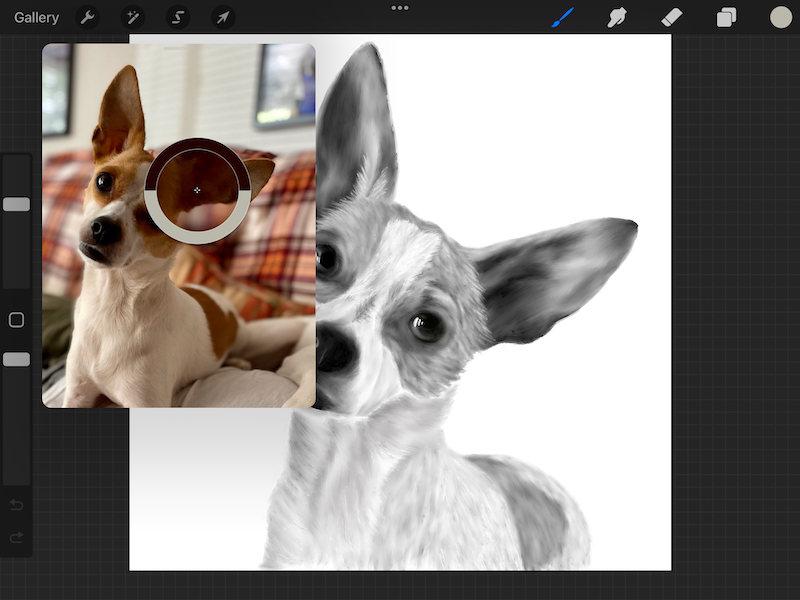
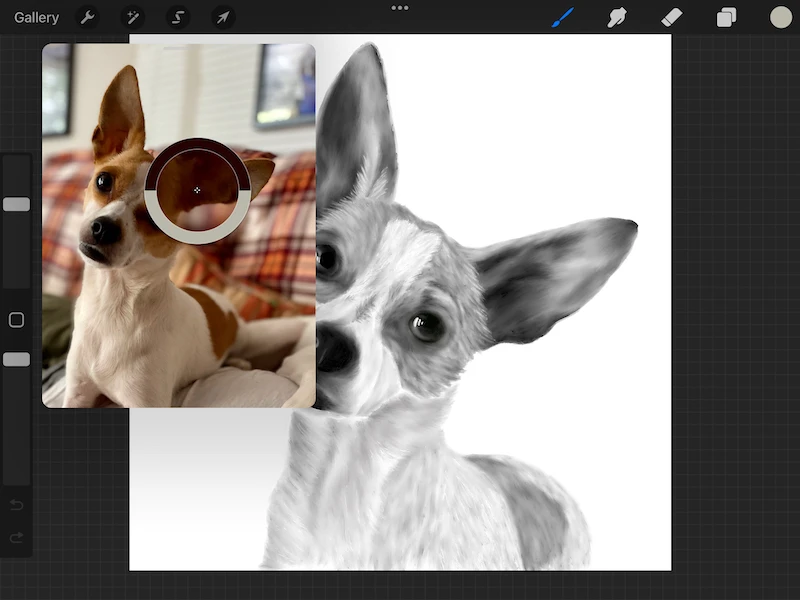
Another REALLY neat thing you can do with your reference photos is use the eyedropper with them. Simply activate your eyedropper and use it anywhere you need to in your reference photo to capture any colors you need.
I love adding reference photos with the Reference feature! It’s so cool.
What if you have multiple photos you want to use at the same time though? Well, you could create a collage and stitch them into one photo that you can use with the Reference feature…um, no thanks. That would take too long.
This is where split screen comes in!
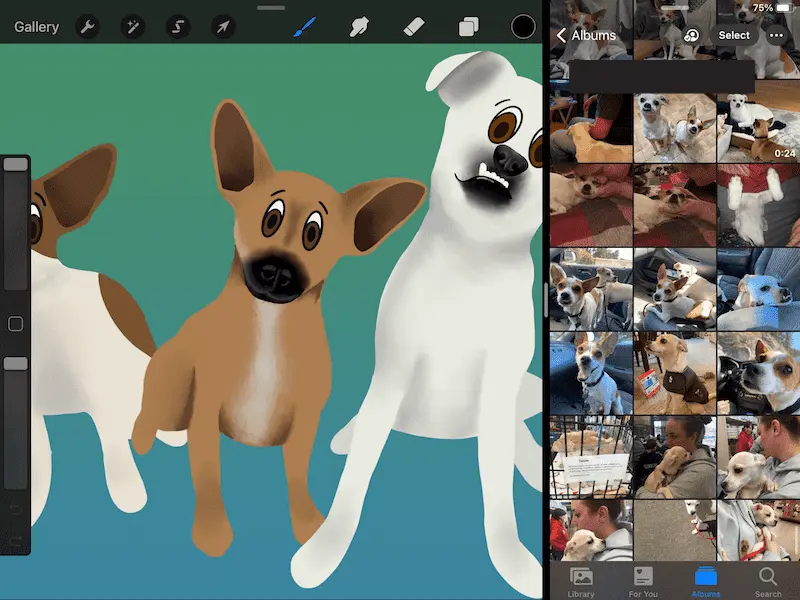
Use the Split Screen Feature with the Photos App
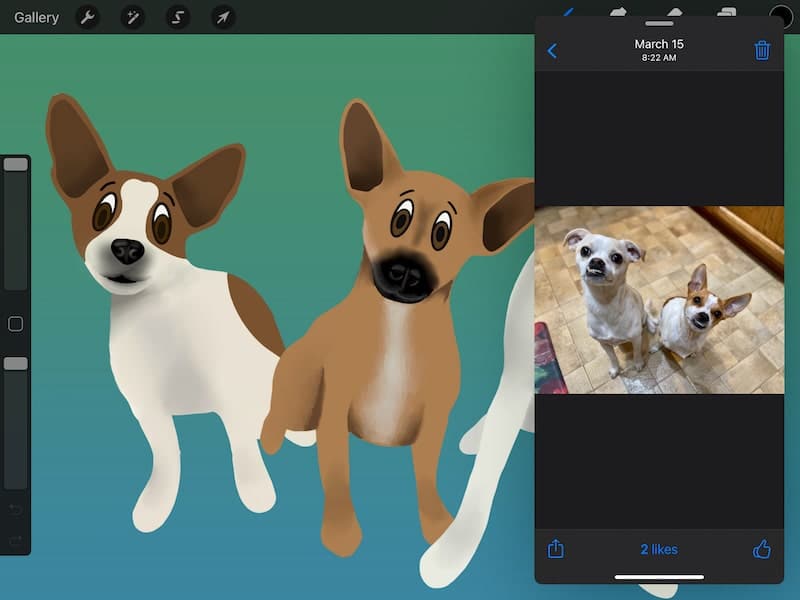
If you have multiple reference photos you want to use, or you don’t want your reference photo hovering over your canvas, the split screen feature is a great choice.
That said, keep in mind that the split screen function isn’t a part of Procreate. This means that you can’t use Procreate’s features with it.
For example, we talked about how you can use the eyedropper with Procreate’s reference photo feature. You can’t do that with the Photos app in split screen.
I have a full guide on using the split screen feature on your iPad, and we’ll go over those instructions here.
1. Slide up from the bottom of your iPad screen onto your canvas
Use your finger to slide up on your canvas, starting at the very bottom. To make it easier, I usually start sliding at the very bottom rim of my iPad. By starting with the inactive part of my screen, it makes sure that I don’t accidentally start too high up.
If you accidentally swipe too high on your screen, you’ll just end up drawing a line on your canvas. You need to make sure that your swipe is hitting the very bottom of your active canvas, which is why getting a running start from the rim of your iPad helps.
The goal is to have a little arrow appear. It might be that your apps appear without seeing an arrow first. That’s great! Skip to the third step.

2. Drag the arrow upwards until your apps appear
If you did your swipe correctly, you’ll see a little arrow appear at the bottom of your screen.
If you don’t see an arrow appear, try your swipe again until you’re able to get that arrow to appear.
Once you see the arrow, drag it upwards. Don’t drag too much though. If you overdo it, you’ll end up closing out your Procreate app.
Only drag the arrow upwards until a toolbar of your apps is visible. Then, stop. It may take some practice, so don’t worry if you accidentally close Procreate a few times.

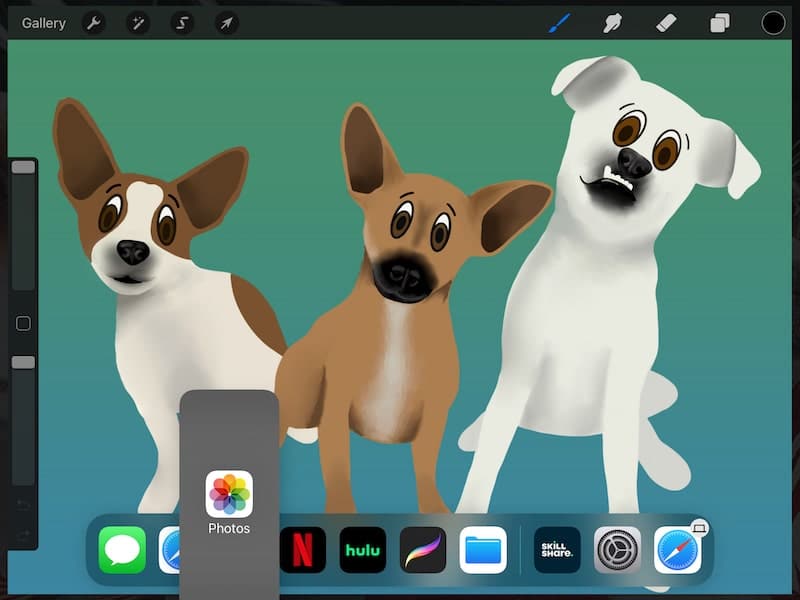
3. Hold down on your needed app until it floats
Whichever app that you need to split screen with Procreate, grab it from your toolbar and hold down on it. For the rest of this example, we’ll be talking about the Photos app, but it can be whichever app you plan to use.
It’s important to note here that you’ll need to have your desired app in your iPad app toolbar that lives at the bottom of your screen. This is what you’ll be able to see and choose from.

4. Drag your app and let go of it either on top of your Procreate canvas, or to the side of it
When you drag your app out of the toolbar and onto your Procreate canvas, you have two options.
The first option is to drop it onto your Procreate canvas directly. This will keep your Procreate image the same size, but it will put your app on top of it for you to use.
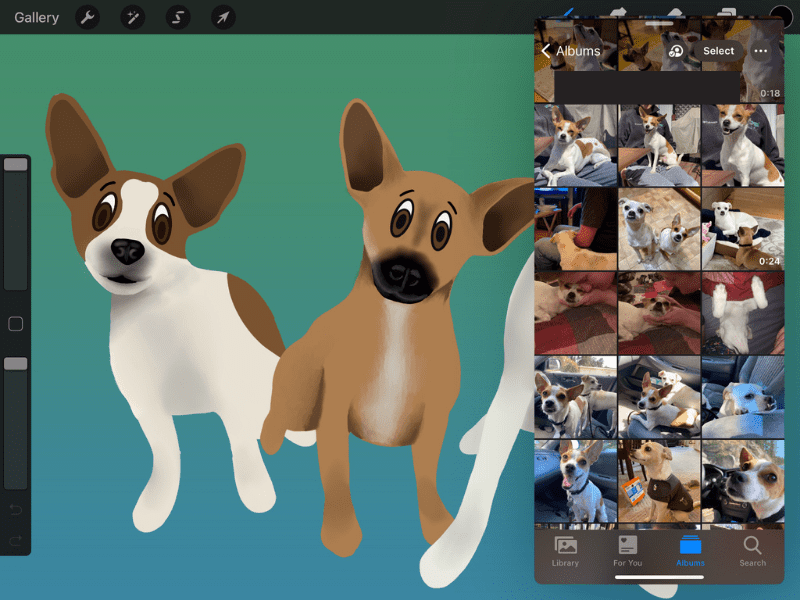
The second option is to drag it to the far side of your Procreate canvas. You’ll notice that this will trigger Procreate to become smaller in size while your app takes up a portion of your screen.

If you use this second option, you can use the line dividing Procreate and your app to adjust the sizes of both of them.
5. Use your app as needed alongside Procreate
Now that you have your second app opened on top of, or alongside of, Procreate, you’re ready to use it.
For example, if you’ve opened the Photos app, you can use it in the same exact way you normally would. Tapping between different albums, scrolling through photos, etc.

There’s another way to access Procreate’s split screen feature as well.
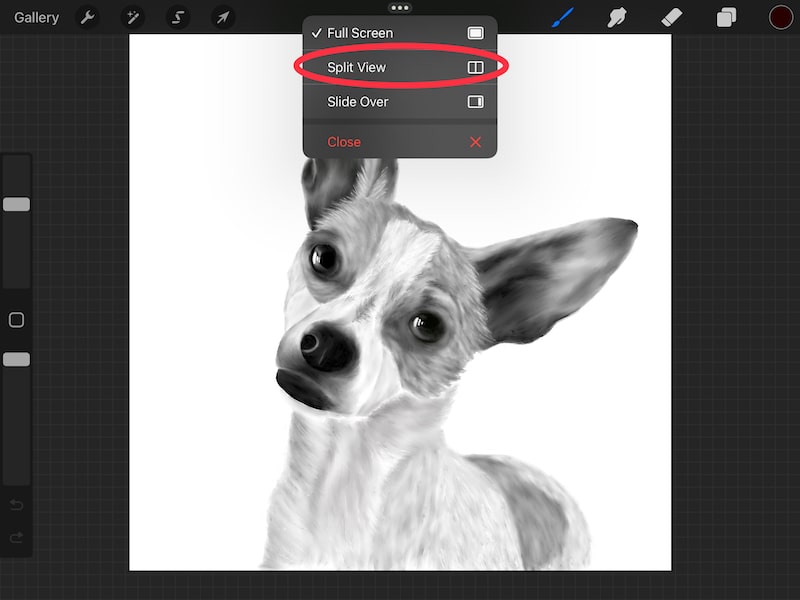
1. Click on the 3 dots at the top of your iPad screen.
In the top middle of your iPad screen, you should see 3 horizontal dots.
If you’re using a light screen interface, they might be hard to see. If that’s the case, change your screen to a dark interface to see them better.
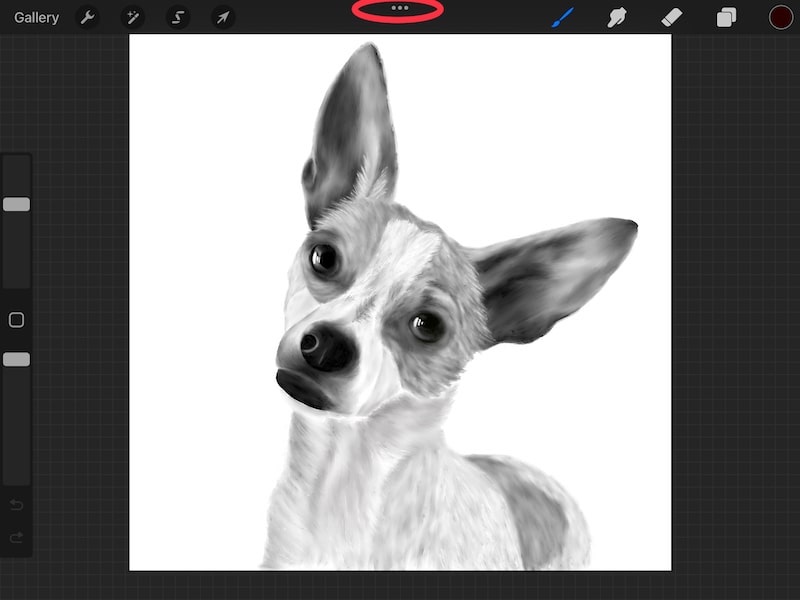
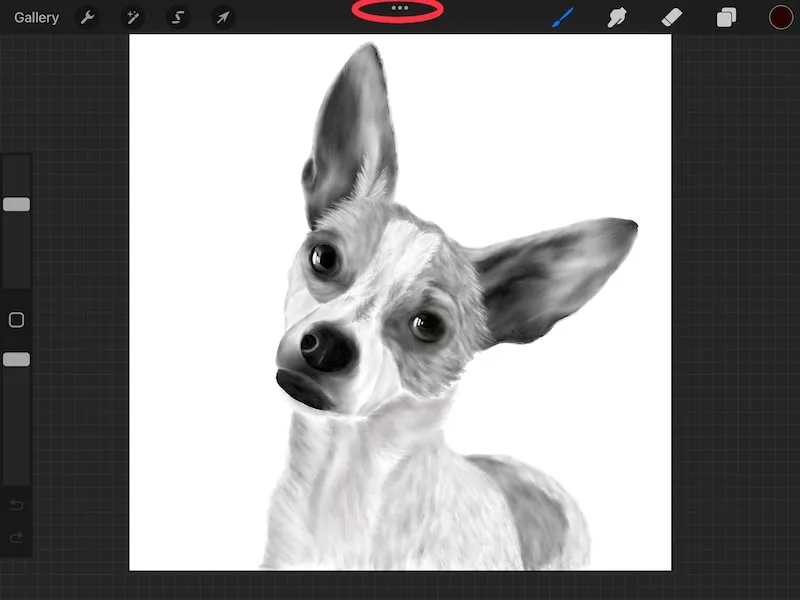
2. Choose the Split View option
With the options that pop up, choose the Split View option.
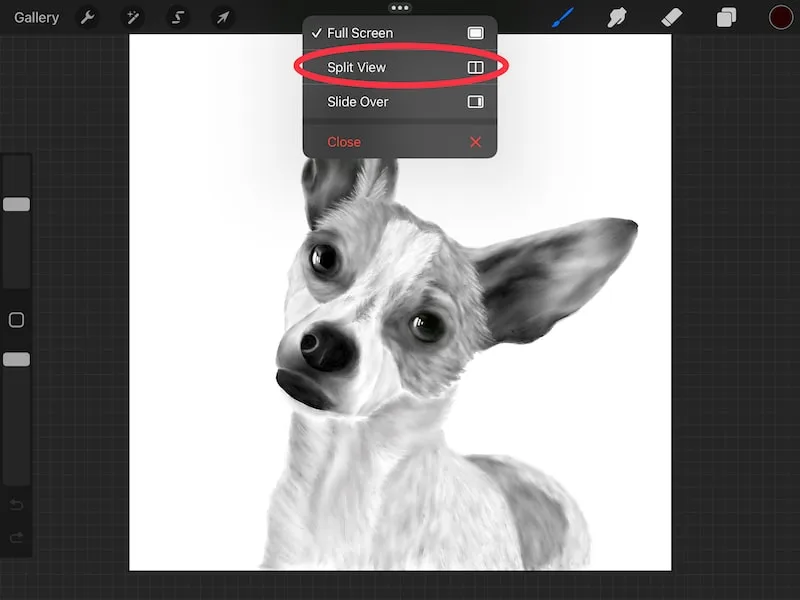
3. Choose the app you need.
At this point, you’ll see your iPad’s home screen. Choose your Photos app and it will open in split view next to Procreate.
Alright, let’s talk about one more way to add a reference photo in Procreate.
Add Your Reference Photo as a Layer
Having your reference photo as a layer can be clunky, but it’s still an option worth mentioning.
Here’s what you need to do.
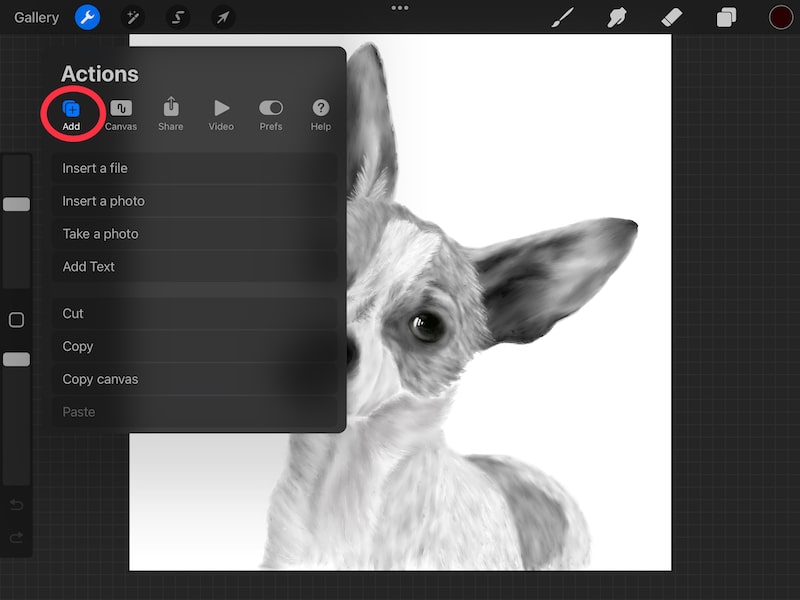
1. Open the Actions menu
Tap on the wrench icon in your top Procreate toolbar to open the Actions menu.
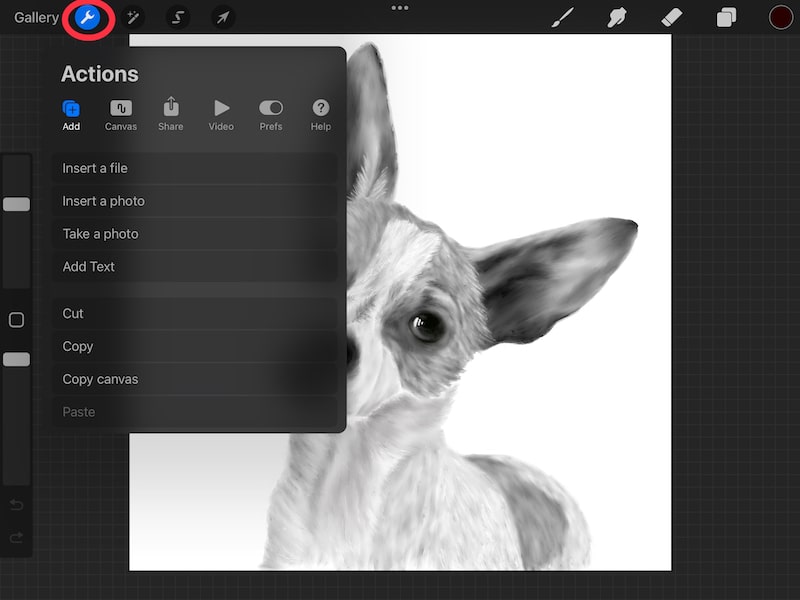
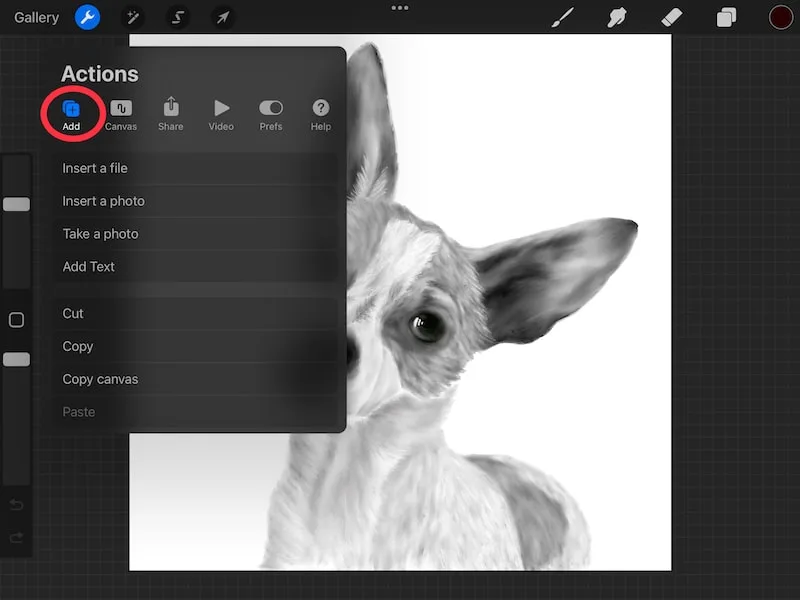
2. Open the Add menu
Within the Actions menu, tap on the Add menu.
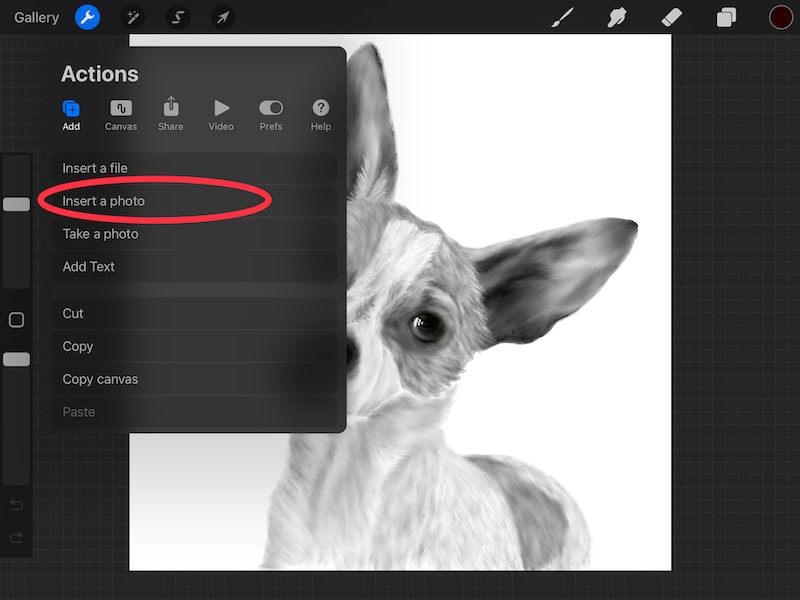
3. Insert a photo
Within the Add menu, you’ll have options to add text, add files, etc. The option we want to pick here is to Insert a photo. If you still need to take a photo, you can choose the option to Take a photo as well.

When you insert a photo, it’ll be added as a layer.
You can move it, group it, play around with it, and use it as any other type of layer!

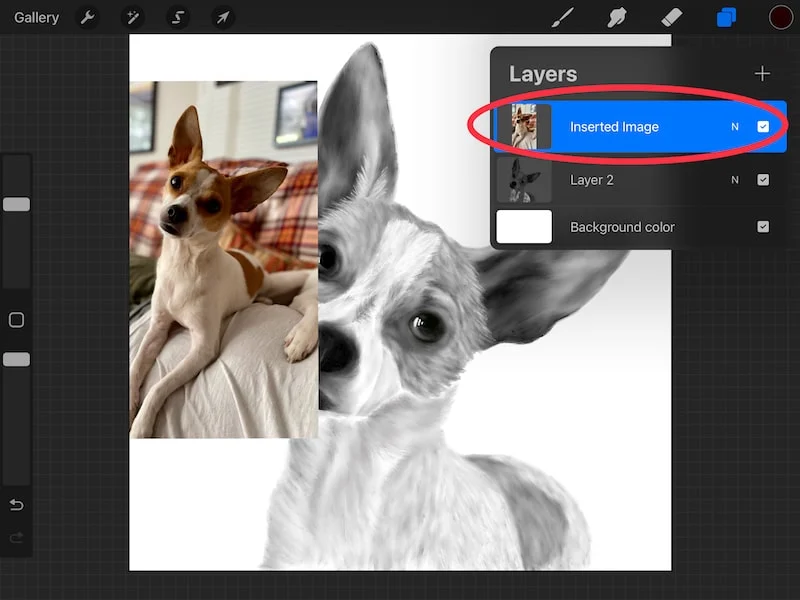
I don’t use this option very often because I feel like it can be more cumbersome than the other options we’ve talked about, but it’s good to have it in your back pocket.
Something I like about this option is being able to manipulate the opacity. Given that the photo acts like any other layer, you can change the layer opacity to also change the opacity of your reference photo.
There are some great ways to add reference photos that you can use for your Procreate art. Whether you use the Reference feature, split screen, or add your photo as a layer, choose the way that works for you and your reference photo needs.


Diana has been an artist for over 27 years and has training in drawing, painting, digital drawing and graphic design. Diana’s latest obsession is digitally drawing with Procreate and Procreate Dreams. Diana has experience selling her art across a number of platforms and loves helping other artists learn how to make money from their art as well.